About
In this guide, you'll learn how to create and set up channels in your video portal. If you're an organizational group manager or someone authorized by your organization to create channels in your video portal, you can also create channels in bulk and customize their settings and member permissions.
For more information, check out our article Channel management in bulk.
Access My Channels page
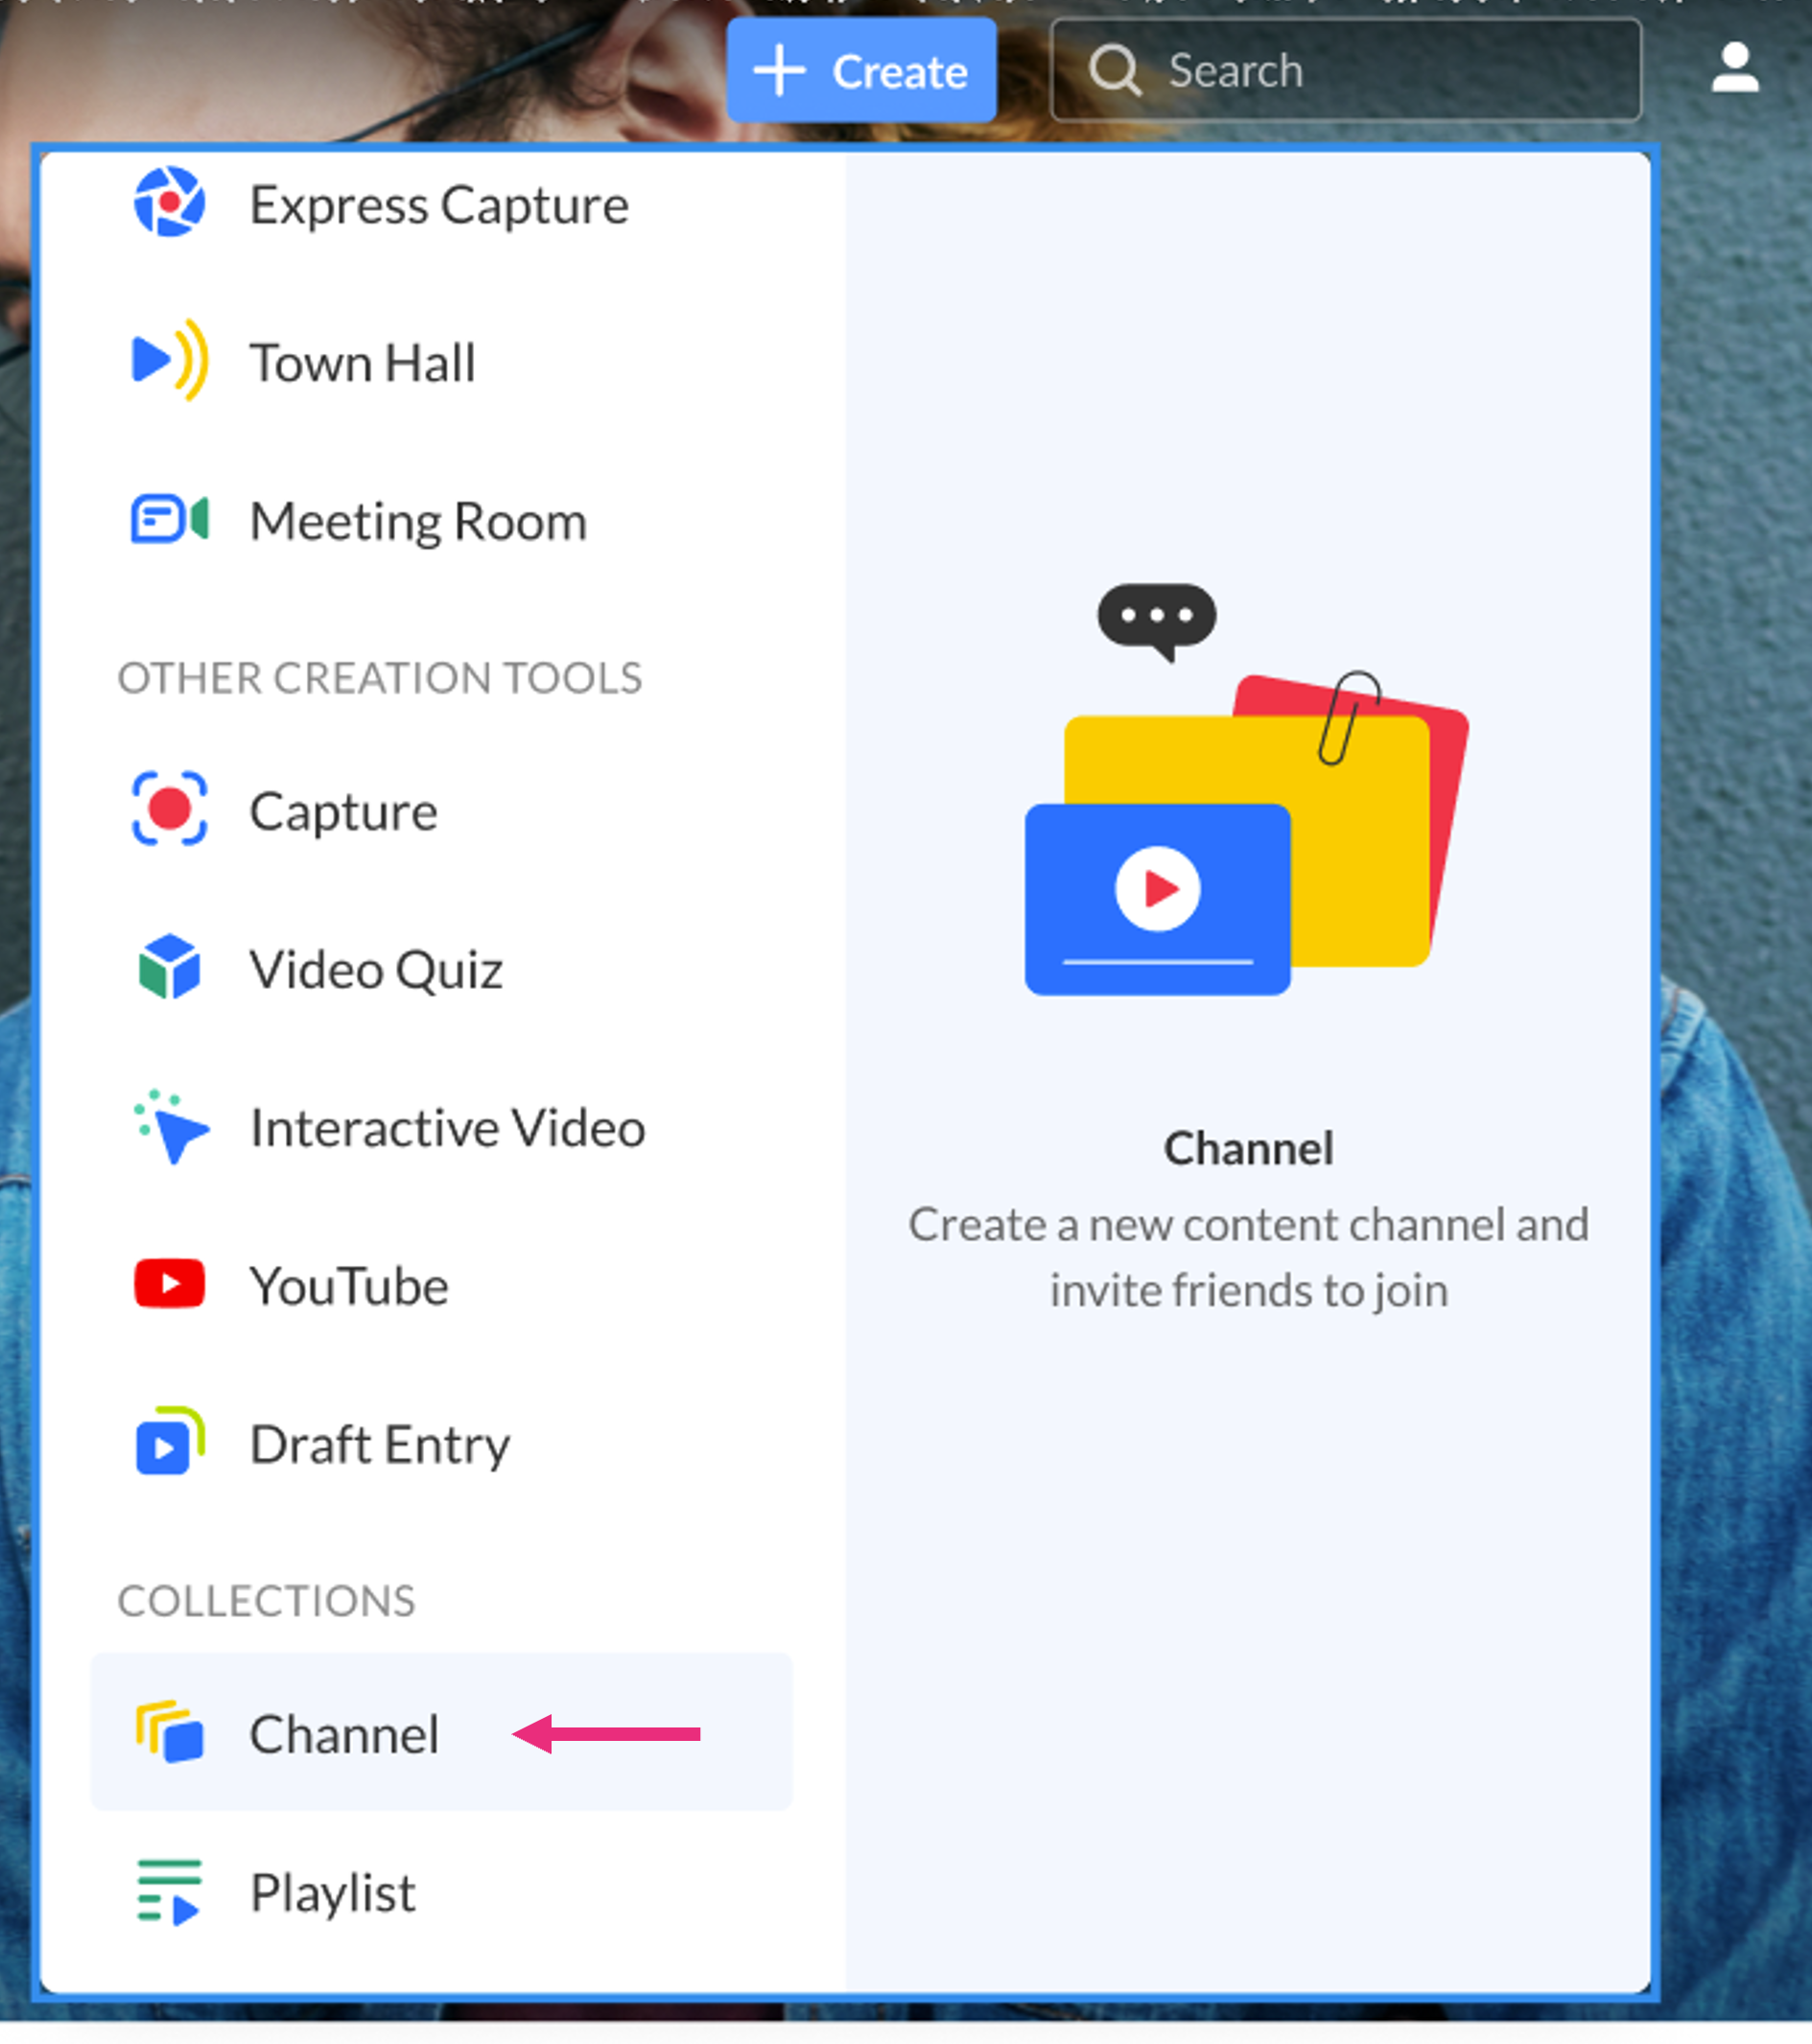
1. Choose Channel from the +Create menu.

OR
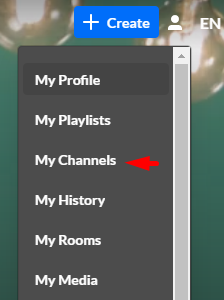
Choose My Channels from the user menu.
2. On the Channels page, click +Create Channel.
The Create channel box displays.

Set up your new channel
1. Enter values for:
- Name – Enter the name for the channel (60 characters limit).
- Description – Enter a summary of the channel content to display on the channel's page.
2. Click the Privacy drop-down menu and choose the privacy settings for the channel.

Choose from the following options:
- Open – All logged-in users can view and contribute content (contribution isn't allowed for viewer-role users).
- Restricted – All logged-in users can view content, and only channel members can contribute content.
- Private – Only channel members can view and contribute content.
- Shared Repository - Only channel members can view and contribute content. Content can be published to other locations based on entitlements.
- Public, Restricted - Anyone can view the content (including guests). Only channel members can contribute according to their entitlements.
- Public, Open - Anyone can view the content (including guests), and all logged-in users can contribute content. Contribution is not allowed for viewer-role users.
3. Enable Moderate content if you want to review and approve media before it gets published to ensure it follows guidelines and policies. (Media won't appear in the channel until the channel manager approves.)
4. Enable subscription to channel to let users subscribe to your channel and get an email notification for new content. The link to subscribe is provided: https://4834032.mediaspace.kaltura.com/channel/Training+channel/336930422/subscribe)
5. Enable Kaltura Room if you want to create a Kaltura Room. Read Create a Kaltura Room within a channel to learn more.
6. Click Create.
