About
This guide walks you through downloading and installing Kaltura’s desktop recording app, Capture, on Windows. For a step-by-step walkthrough, you can also check out the video tutorial.
Currently Capture is not supported on mobile or tablet. To learn more, see Prerequisites and system requirements.
For instructions on installing Capture for Mac, visit Install Capture for Mac.
Where to find Capture
Capture isn’t available in app stores or public download sites - you download it directly from your institution’s LMS. Once your system administrator enables the app in the Kalturacapture module, it appears in your site.
If you have trouble finding or downloading Capture, contact your institution’s IT department or faculty support team.
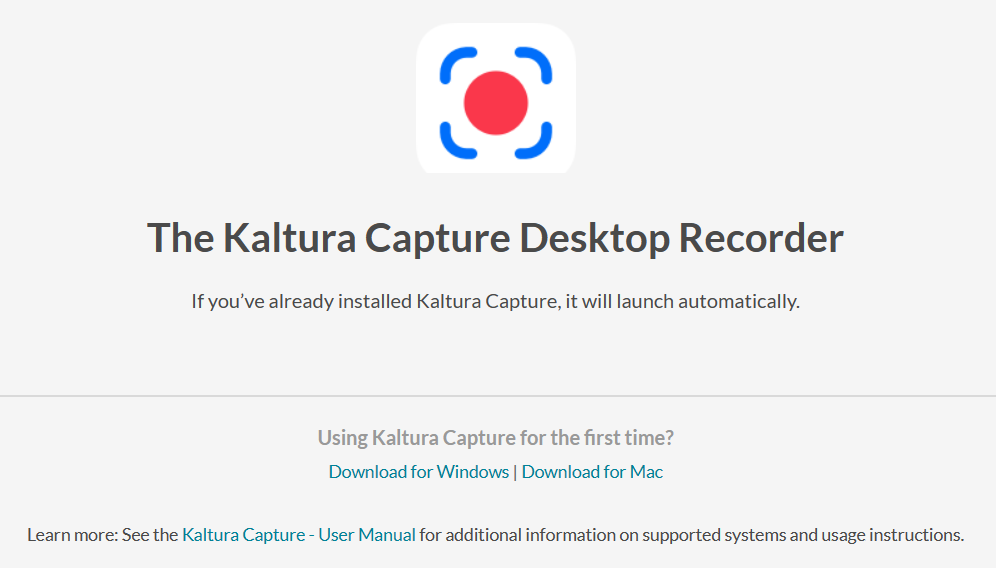
Download Capture
Your user interface may look different depending on whether Kaltura's Theming design system is enabled. Instructions for both Theming and non-Theming sites are included below.
Sites without Theming
- Log into your video portal.
- Go to the +Add New menu and select Kaltura Capture.
- On the download page, click Download for Windows.

You are redirected to a download page.
If you see a pop-up like this, just ignore it and move on to step 3.


A progress bar displays.
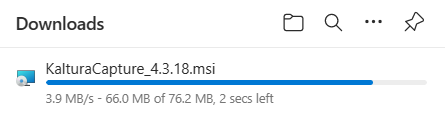
The graphic above demonstrates the Kaltura Capture version 4.3.18. However, you might have a different version.
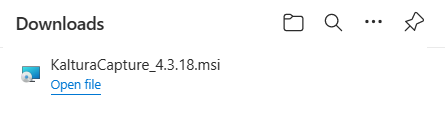
When the download is completed, you will see a file called KalturaCapture in your downloads folder.
Sites with Theming
- If Theming has been enabled on your video portal, go to the +Create menu and select Capture.
- On the download page, click Download for Windows.

You are redirected to a download page.

If you see a pop-up like this, just ignore it and move on to step 2.

A progress bar displays.
The graphic above demonstrates the Kaltura Capture version 4.3.18. However, you might have a different version.
When the download is completed, you will see a file called 'KalturaCapture' in your downloads folder.
Having trouble downloading Capture?
If you're using a school- or company-managed device, you may not have permission to install Capture. This is common in environments with strict IT policies.
Capture isn’t available in any app store or public download site. It can only be downloaded directly from your institution’s site. If you have trouble finding or downloading Capture, contact your institution’s support team.
- For users: If the download is blocked or fails, contact your IT team or try installing on a personal device.
- For IT administrators: To avoid install issues, we recommend deploying Capture via software management tools like SCCM. See Managed deployment of the Capture application.
Install
- In your downloads folder, find the KalturaCapture file and click Open File.
The Welcome to the Kaltura Capture Setup Wizard screen displays.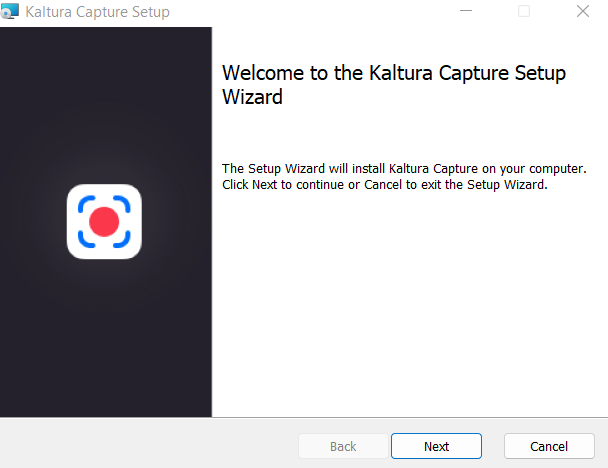
- Click Next.
The Installation Settings screen displays.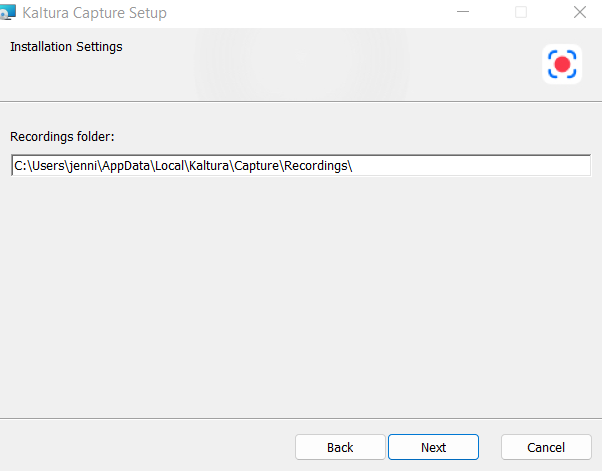
- Click Next.
The Ready to install Kaltura Capture screen displays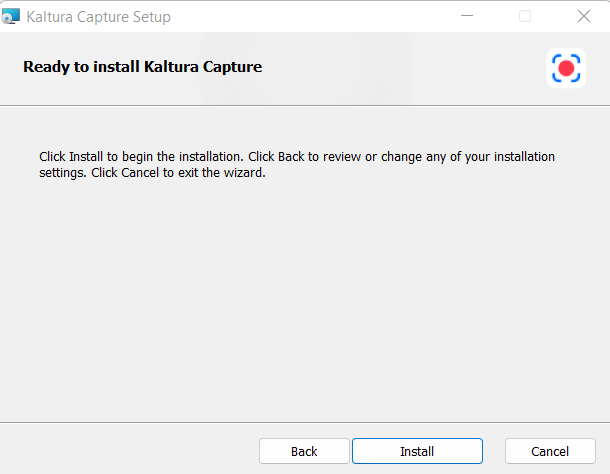
- Click Install to begin the installation.
A progress bar displays.
When the installation is completed, you will see this screen.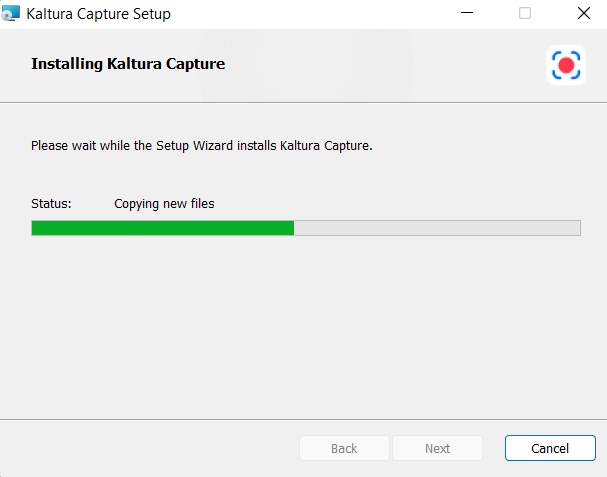
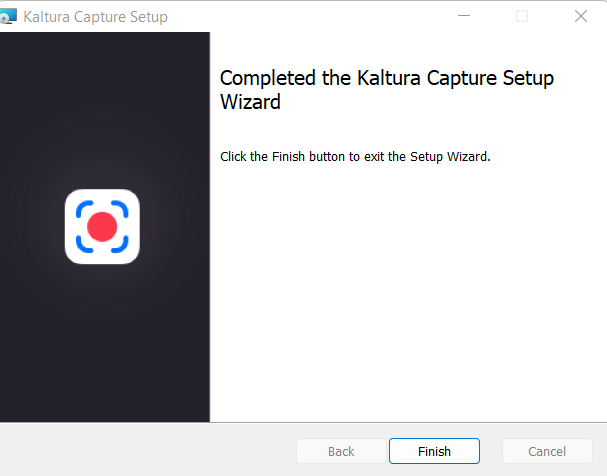
- Click Finish.


You can set the recordings folder to a location that’s easier to access. Delete the path after your username in the Recordings Folder field and enter a new location, such as “desktop.”


Having trouble installing Capture?
Capture isn’t available in any app store or public download site. It can only be downloaded directly from your institution’s site. If you have trouble finding or downloading Capture, contact your institution’s support team.
If you're using a school- or company-managed device, you may not have permission to install Capture. This is common in environments with strict IT policies.
- For users: If the download is blocked or fails, contact your IT team.
- For IT administrators: To avoid install issues, we recommend deploying Capture via software management tools like SCCM. See Managed deployment of the Capture application.
Record
1. To start recording, simply select Capture from the +Create menu (or Add New menu if you don't have Theming enabled).

The application opens on your screen.
You can grab and move the position of the recording tool.

2. Click the red button to start your recording.
You can also start recording by clicking the Capture icon at the bottom of your screen.

The recording tool displays. Click the red button to start your recording.

Troubleshooting Capture
Error messages
If you see error messages when trying to start or stop a recording, ensure that Capture has permission to access your camera and microphone. After adjusting permissions, restart your computer and try again.
For troubleshooting tips, visit our Troubleshooting guide for Capture.
Enable permissions
Enable camera access
- Open your Windows settings by clicking the Start menu and clicking the Settings icon (or press Windows + I on your keyboard), or by right-clicking the Start icon and selecting Settings from the menu.
- In the menu on the left, click Privacy & security.
- Scroll down to Camera in the list and click it to open its settings.
- In the Camera settings, scroll down to Let apps access your camera and confirm that Kaltura Capture is listed and enabled.

The System page displays by default.


The Privacy & security list displays.


The Camera settings display.


Enable microphone access
- Follow steps 1 - 2 above.
- In the Privacy & security list, click Microphone.
- Scroll down to Let apps access your microphone and confirm that Kaltura Capture is listed and enabled.


You may have to restart your computer for the changes to take effect.
