About
A custom metadata schema helps organize content better by adding specific details through created fields, making it easier to find and manage digital assets.
To learn more about metadata and custom metadata, check out our article Custom data.
Access the Custom Data page
- Log into your Rich Media CMS.
- Click the Settings gear icon at the right of the navigation menu.
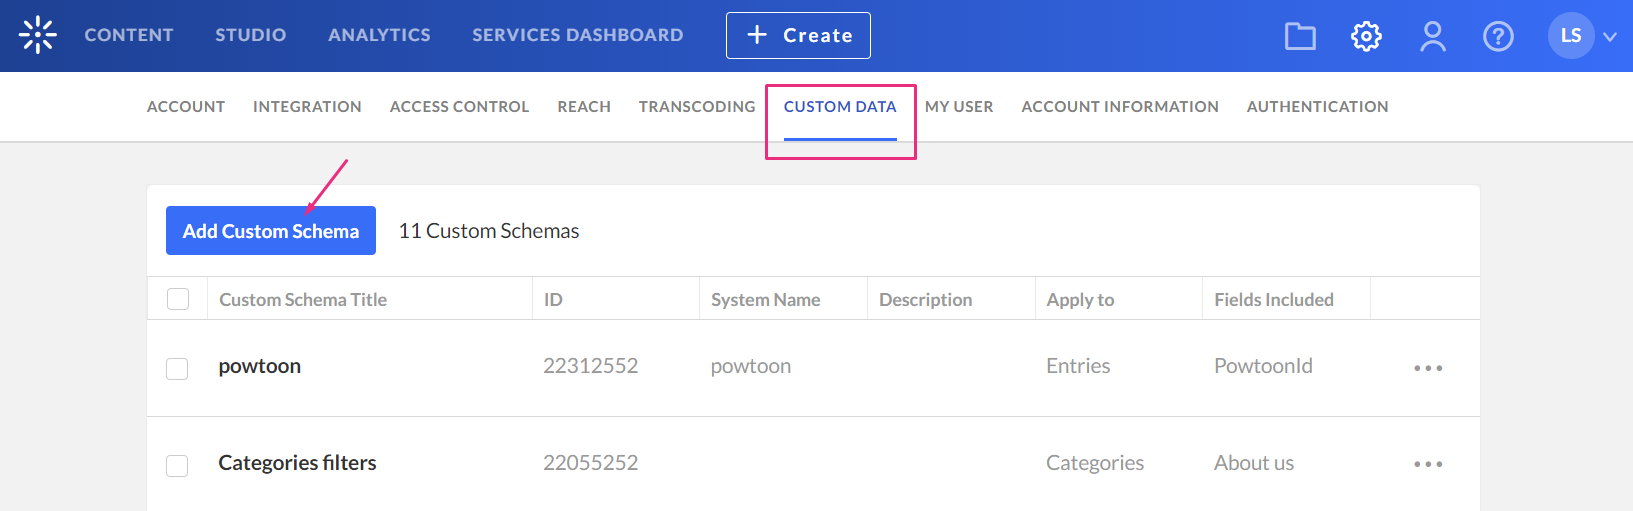
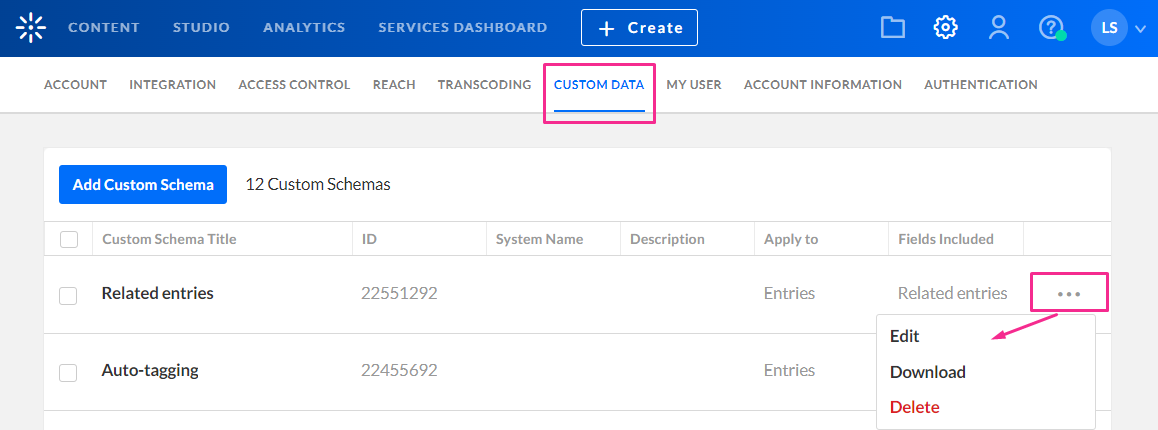
- Click the Custom Data tab.
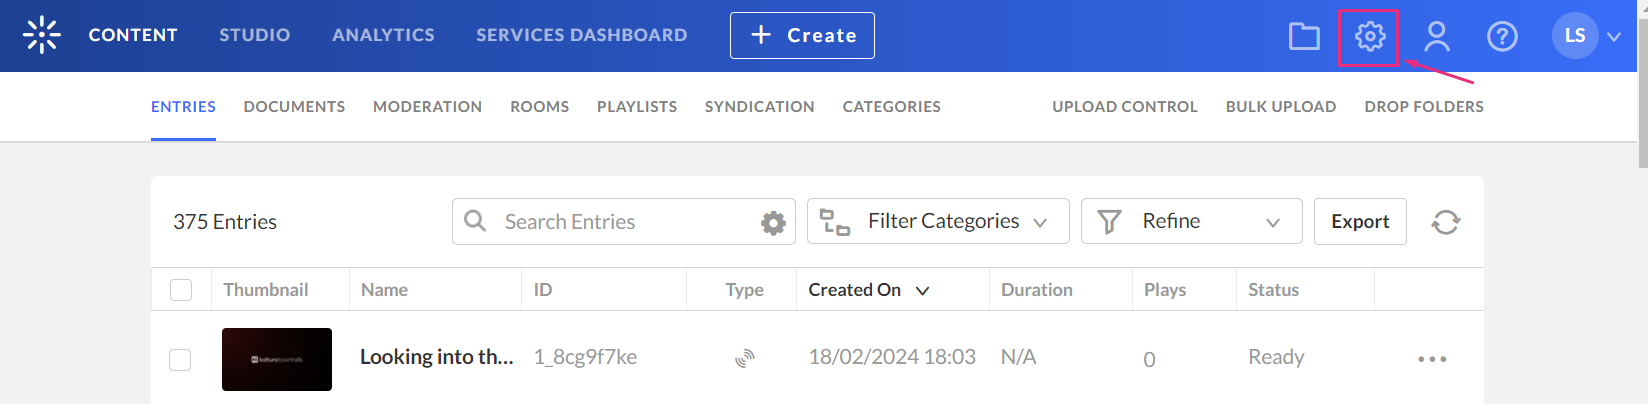
The sub-menu displays.

The 'Custom Data' page displays.
Create a custom metadata schema
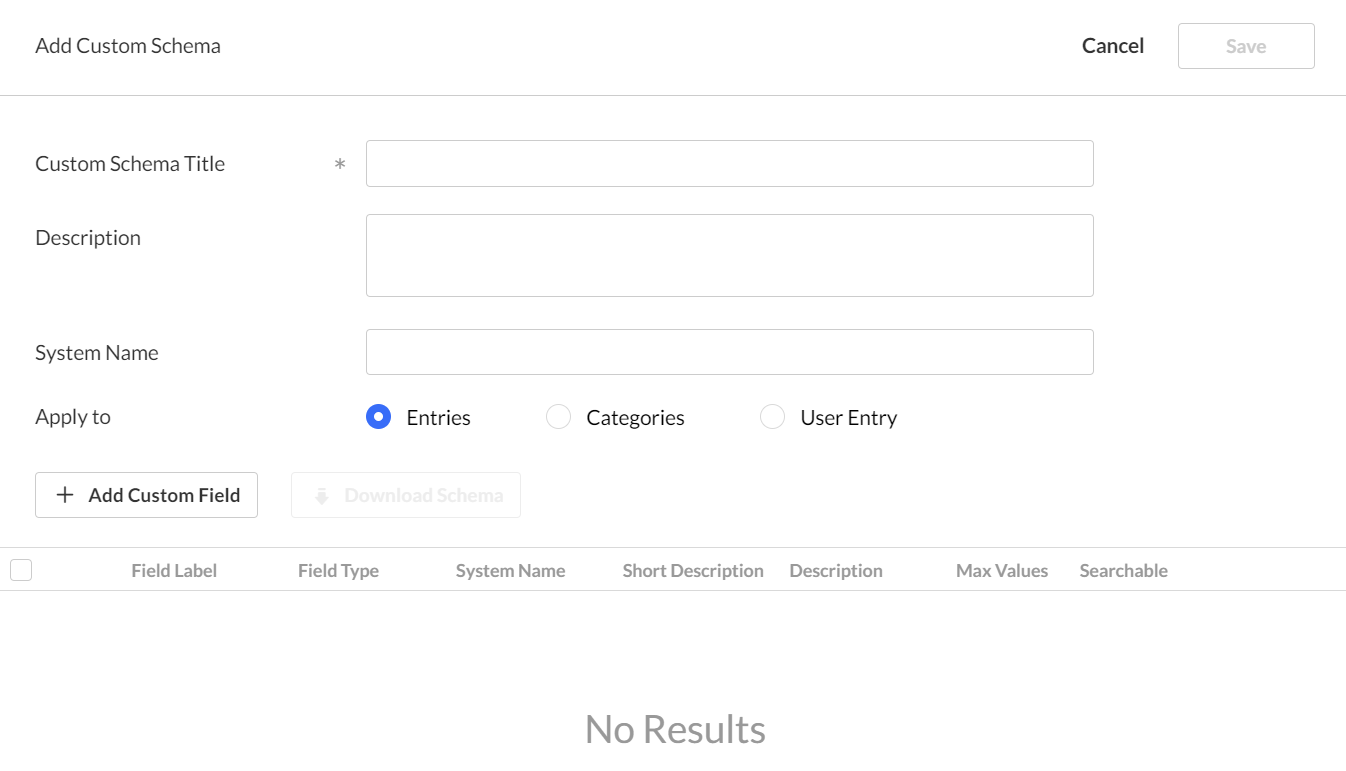
- Click Add Custom Schema.
- Complete the following fields:
- Custom Schema Title - add a title (for example, Main Schema)
- Description - optional
- System name - optional - This field is required if you are uploading content using Bulk XML files or if you need access to the schema via the API. Enter an System Name if you plan on filtering by topics in the Video Portal.
- Apply to - select Entries
- Click + Add Custom Field.
- Complete the following fields:
- Field Type - select from the drop-down menu.
- Text – gives you the option to add values in free text
- Date - this is a date field which will allow users to add a date
- Entry ID list - a list to a different entry (asset) that can be used to create compound structure, for example, for related videos, or linking a trailer to a full-length film
- Text select list – lets you define a preset list of values (for example, countries or months). Users choose from a dropdown instead of entering free text. Only Text select list fields are available as filters in the Rich Media CMS.
- Max No. of Values - single is default, or choose unlimited to add as many values as desired
- Field Label - type a name for the metadata field
- Short description - optional
- Description - optional
- Searchable - enabling this allows the metadata to be findable in the search results
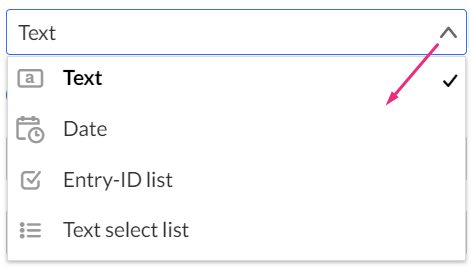
You can add the following types of fields:
- Click Add to save the custom field.
- Click Save.
The 'Add Custom Schema' window displays.
The 'Add Custom Field' window displays.


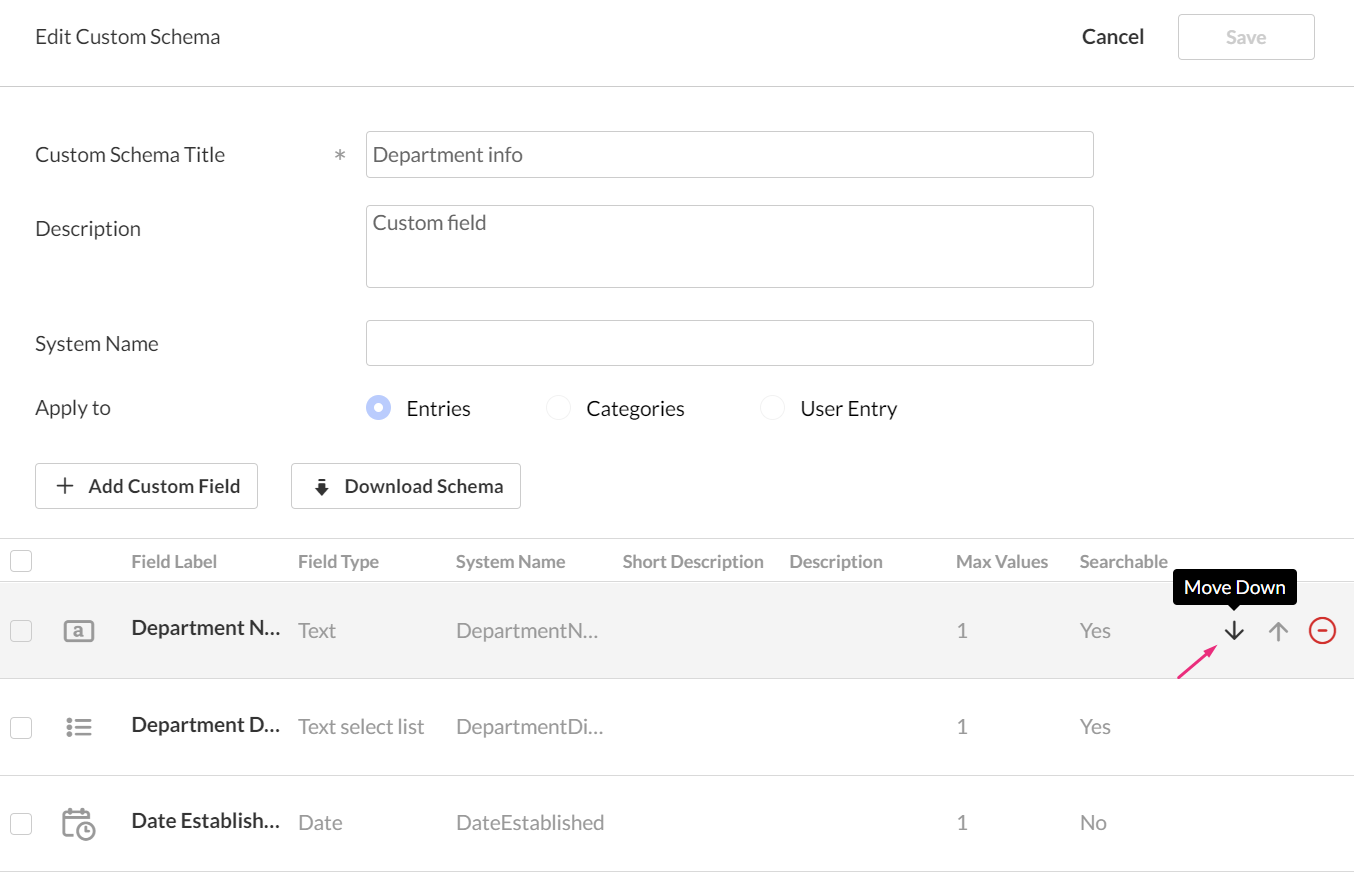
You can use the up / down arrows to change the order of the fields.
Edit your schema
- Click the three-dot menu on the entry line.
- Click Edit.
Some schemas that were created outside the Rich Media CMS are not editable.
The 'Edit Custom Schema' page displays.
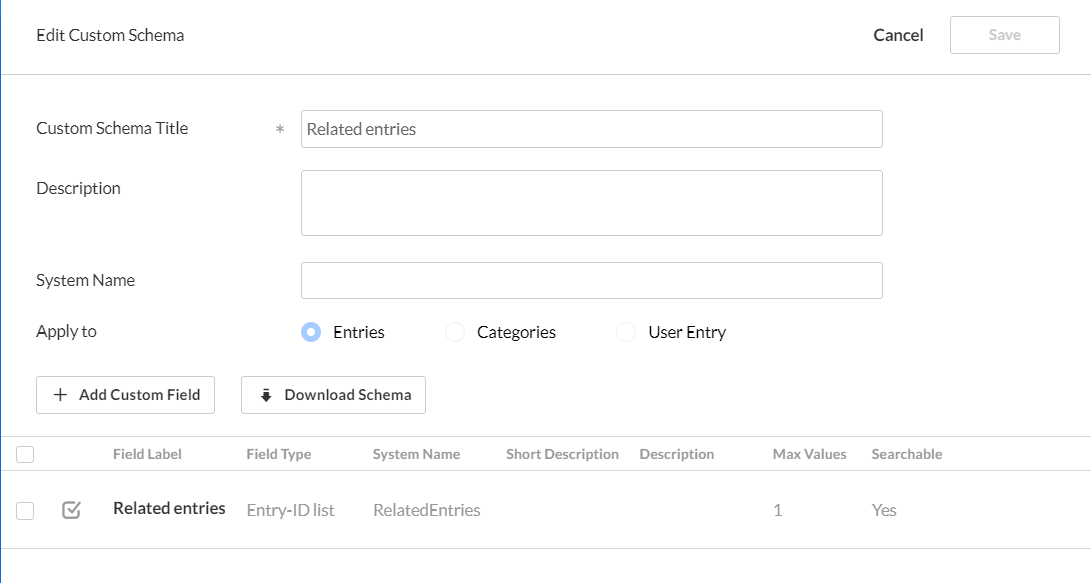
3. Make the desired changes, then click Save.
Removing metadata fields will remove them from the metadata of all existing entries that use the schema, and there’s no way to revert this change.
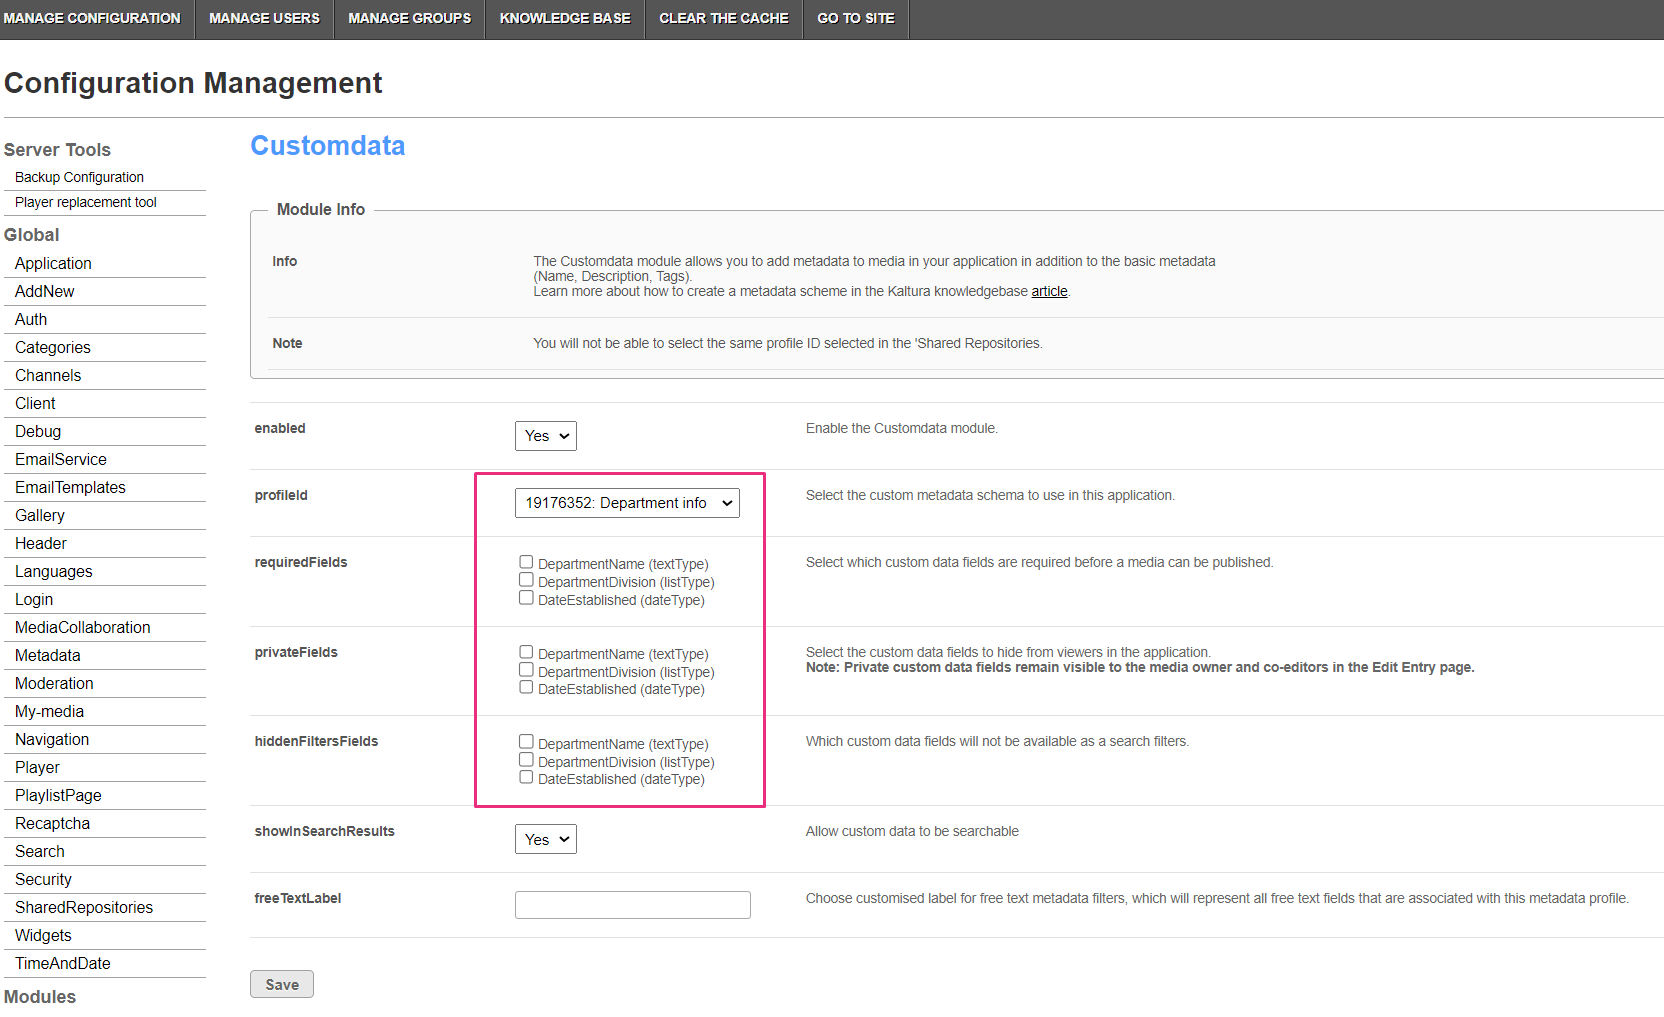
End result

Now that you have created your schema, you can apply it to your video portal site by selecting it in the Customdata module (as shown below).