About
Certain events or media entries may require users to complete a registration form before accessing the content. These registration forms are configured in the Kaltura Management Console (KMC) as a Custom Data Schema, which defines the fields registrants need to fill out.
Access the Custom Data page
- Log into your KMC.
- Click the Settings gear icon at the right of the navigation menu.
- Click the Custom Data tab.

The Account page displays.

The Custom Data page displays.

Create a custom metadata schema
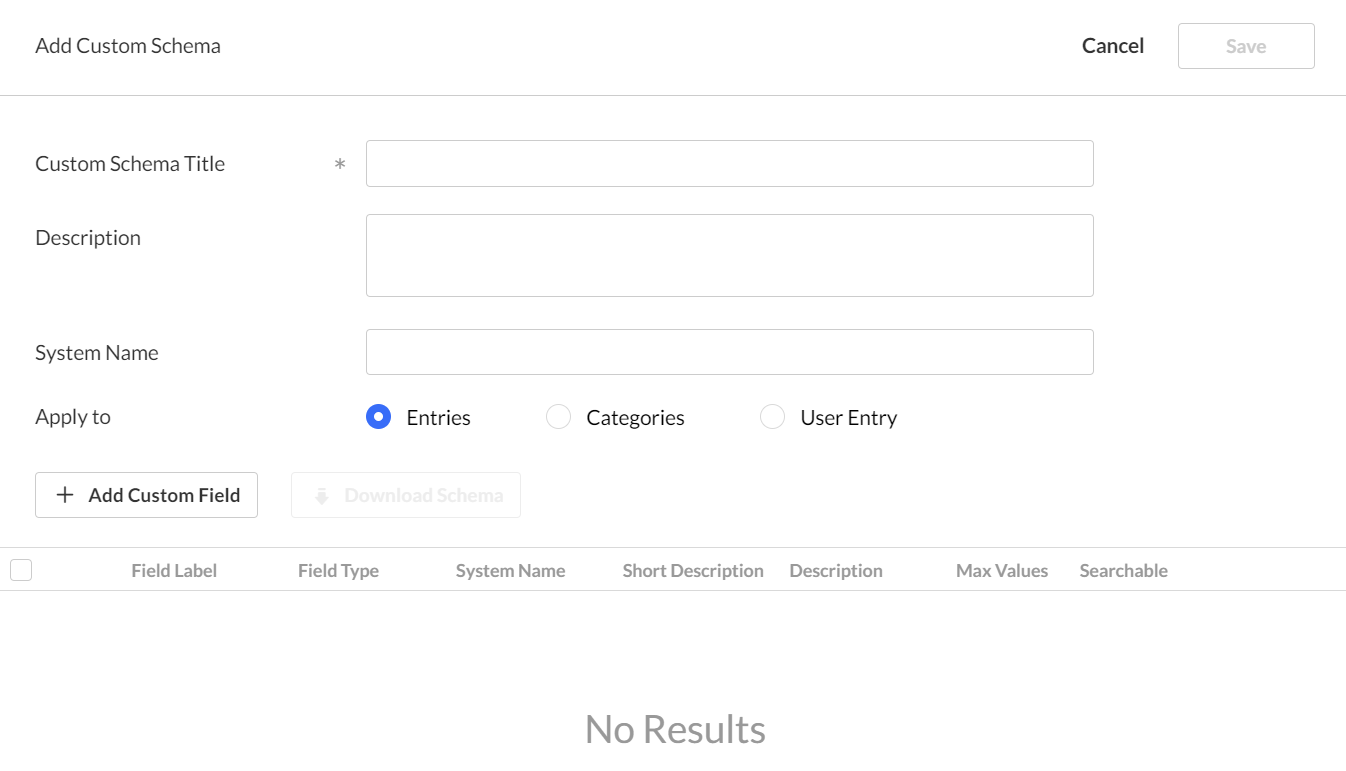
- Click Add Custom Schema.
- Complete the following fields:

The Add Custom Schema window displays.

- Custom Schema Title - Add a title (for example, ABC Event registration form)
- Description - optional
- System name - optional - This field is required if you are uploading content using bulk XML files or if you need access to the schema via the API.
- Apply to - Select User Entry.

3. Click + Add Custom Field.

The Add Custom Field window displays.

4. Complete the following fields:
- Field Type - Select Text or Text Select List (for a list of items such as countries or states) from the drop-down menu.
- Max No. of Values - Choose Single (default) or Unlimited to add as many values as desired.
- Field Label - Type a name for the metadata field.
- Short description - optional
- Description - optional
- Searchable - You might want to make sure the searchable button is enabled, this will allow the metadata to be findable in the search results.
- Required - This makes the field mandatory. The user must fill it out to submit the form.
- Hidden - This hides the field from the registration form. Use this option for fields you're unsure about, allowing you to show or hide them as needed without replacing the form.
5. Click Add to save the custom field.
The default fields for the registration form that are included in the Registration module are: First Name, Last Name, State and Country.
Below is an example of a registration form custom data schema.

Hover to use the up / down arrows to change the order of the fields.

6.Click Save.
Edit your schema
- Click the three dots menu on the entry line.
- Click Edit.
Some schemas that were created outside the KMC are not editable.

The Edit Custom Schema page displays.

3. Make the desired changes, then click Save.
End result
Your schema will be available in the Registration module's registrationForms field.

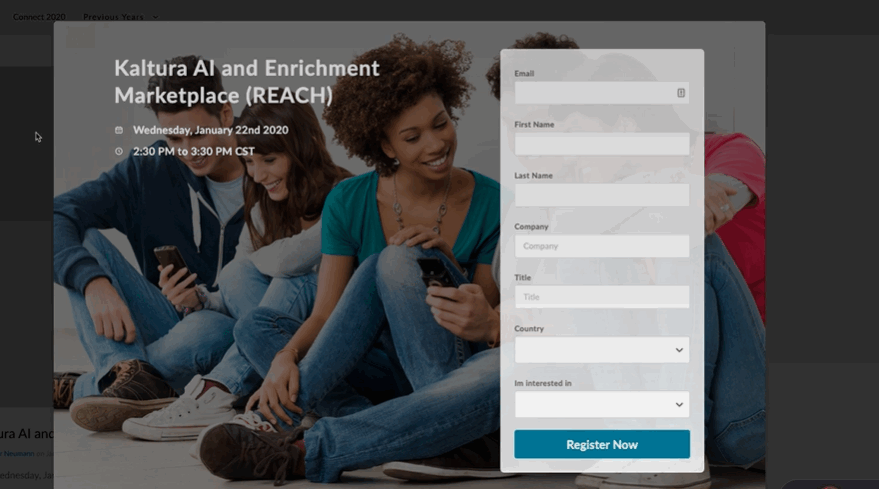
Below is an example of a registration form:

