About
This article describes how to create a webinar.
Create a webinar
- Log into your account. The Webinars home page displays with the Home tab open by default.
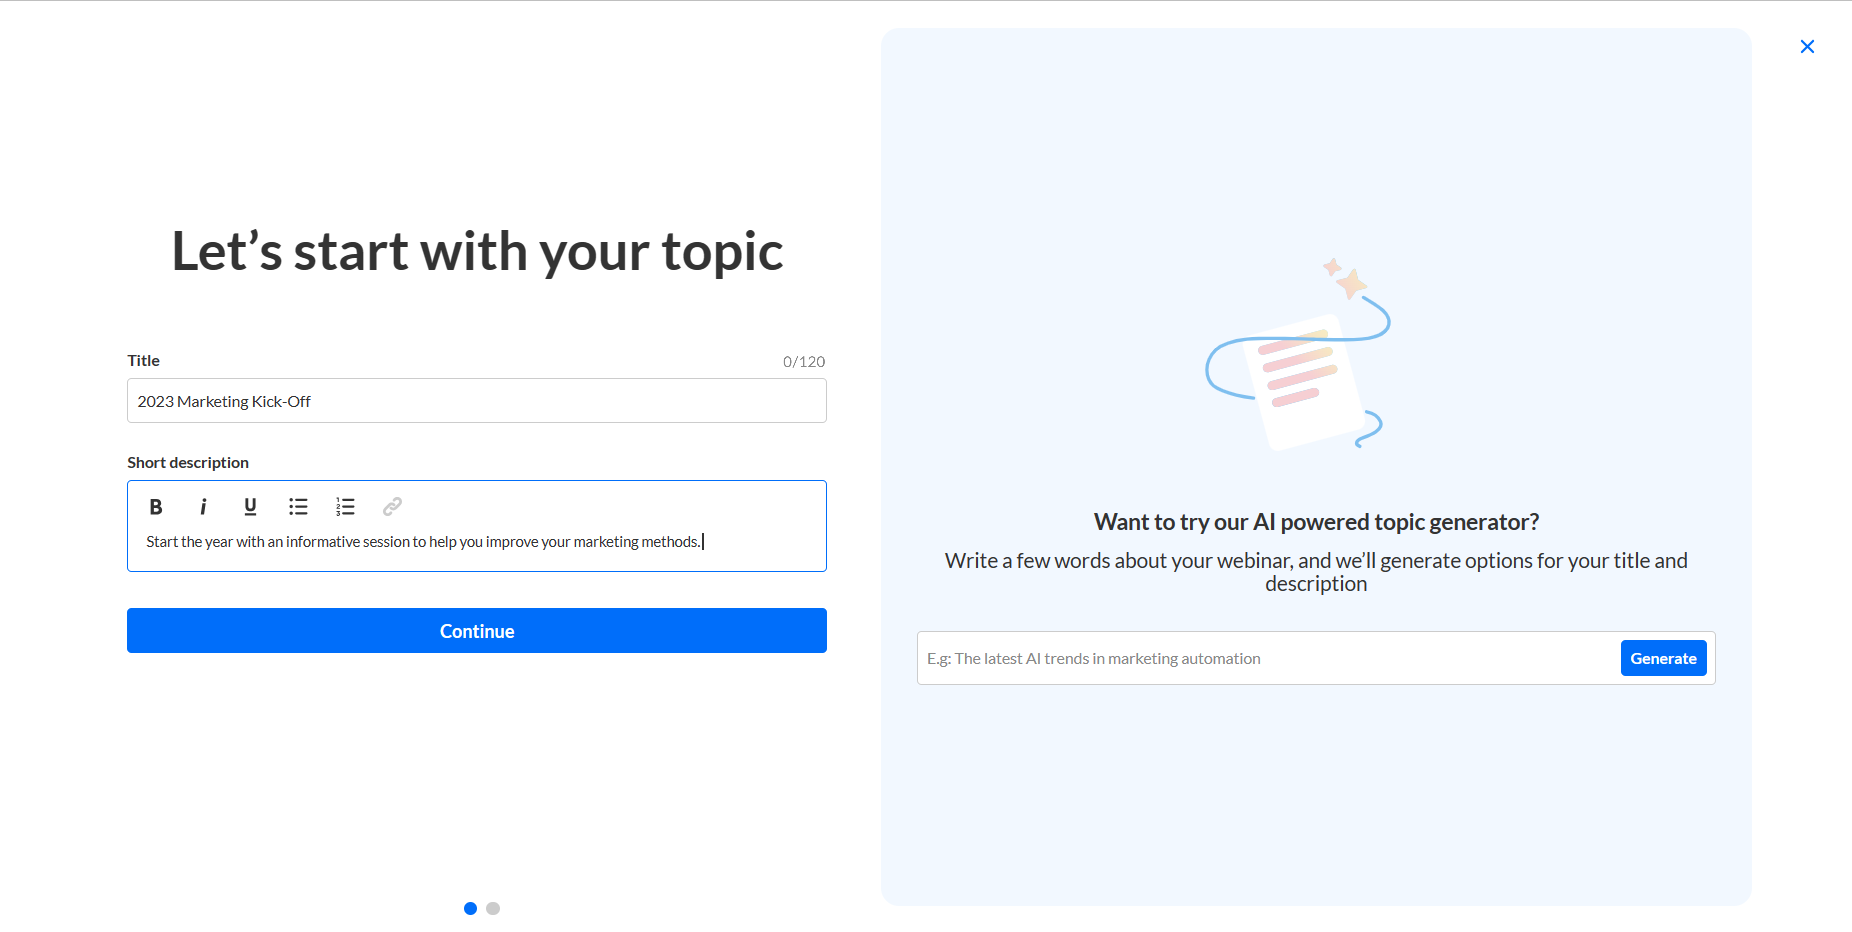
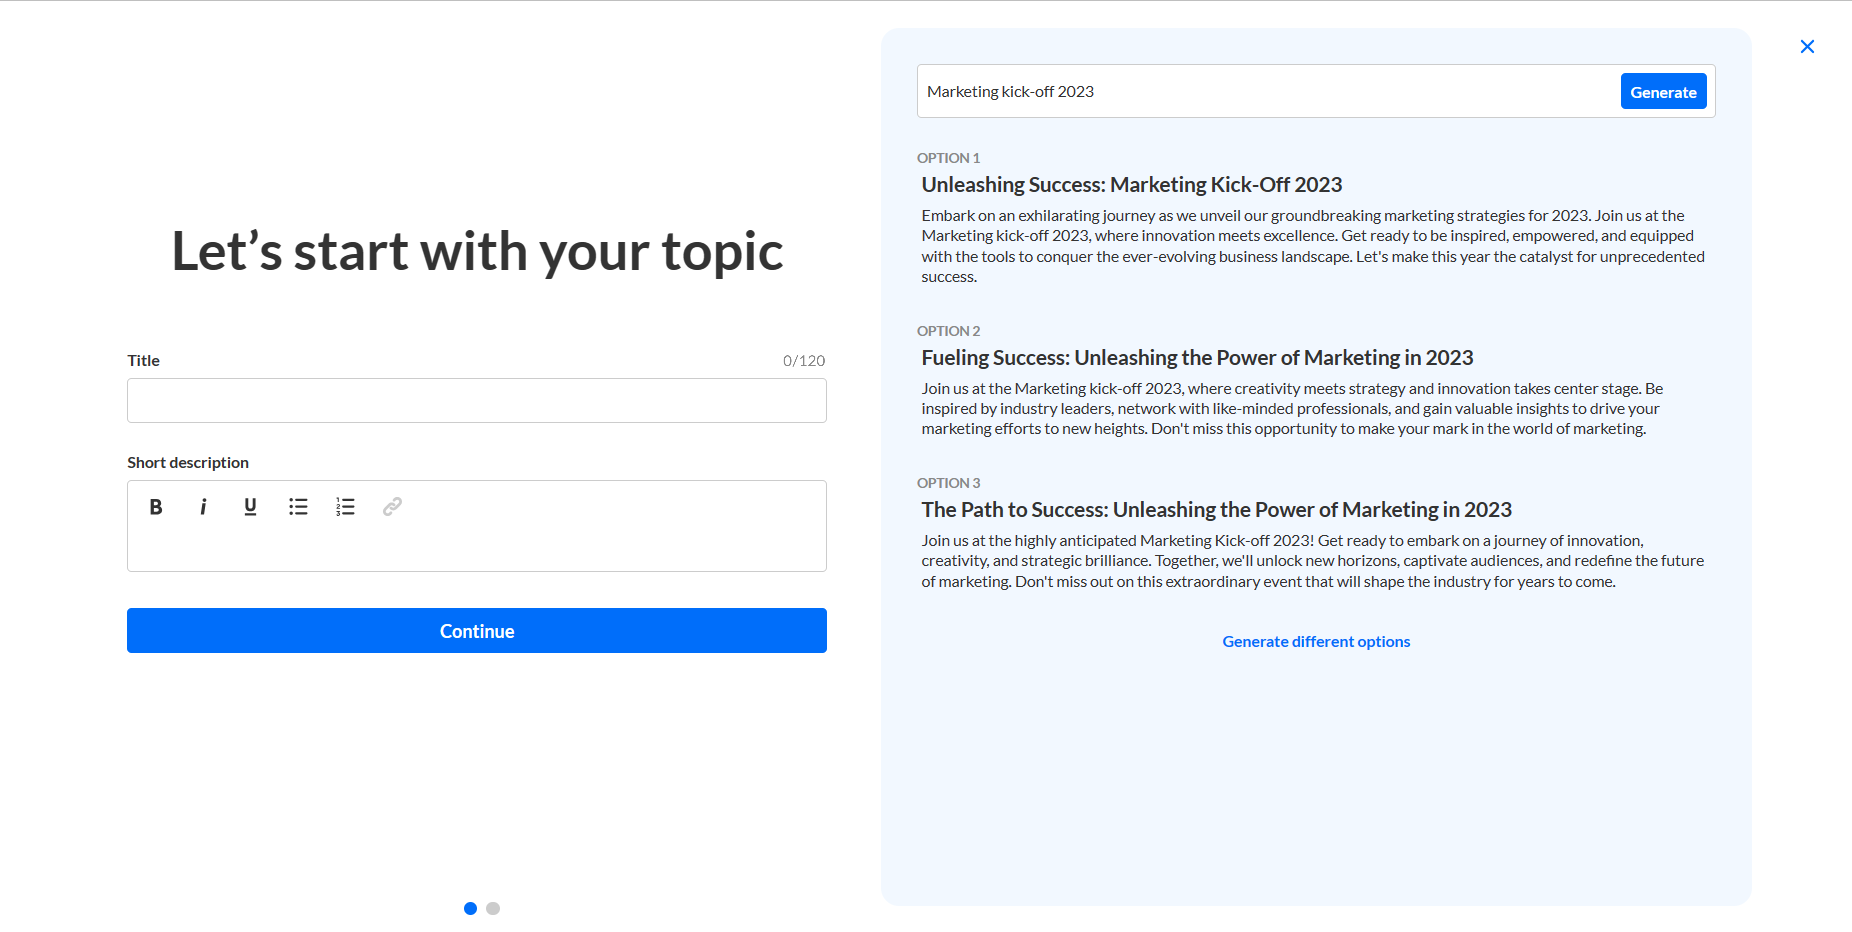
- Click the blue + Create button in the upper right corner of the screen. If no current events or webinars exist, you can also click the + Create button in the main body of the page. The Let's start with your topic page displays.
- If you already have a title and description in mind for your webinar, enter them in the appropriate fields in the left panel and click Continue (as shown below) (char limit is 120).
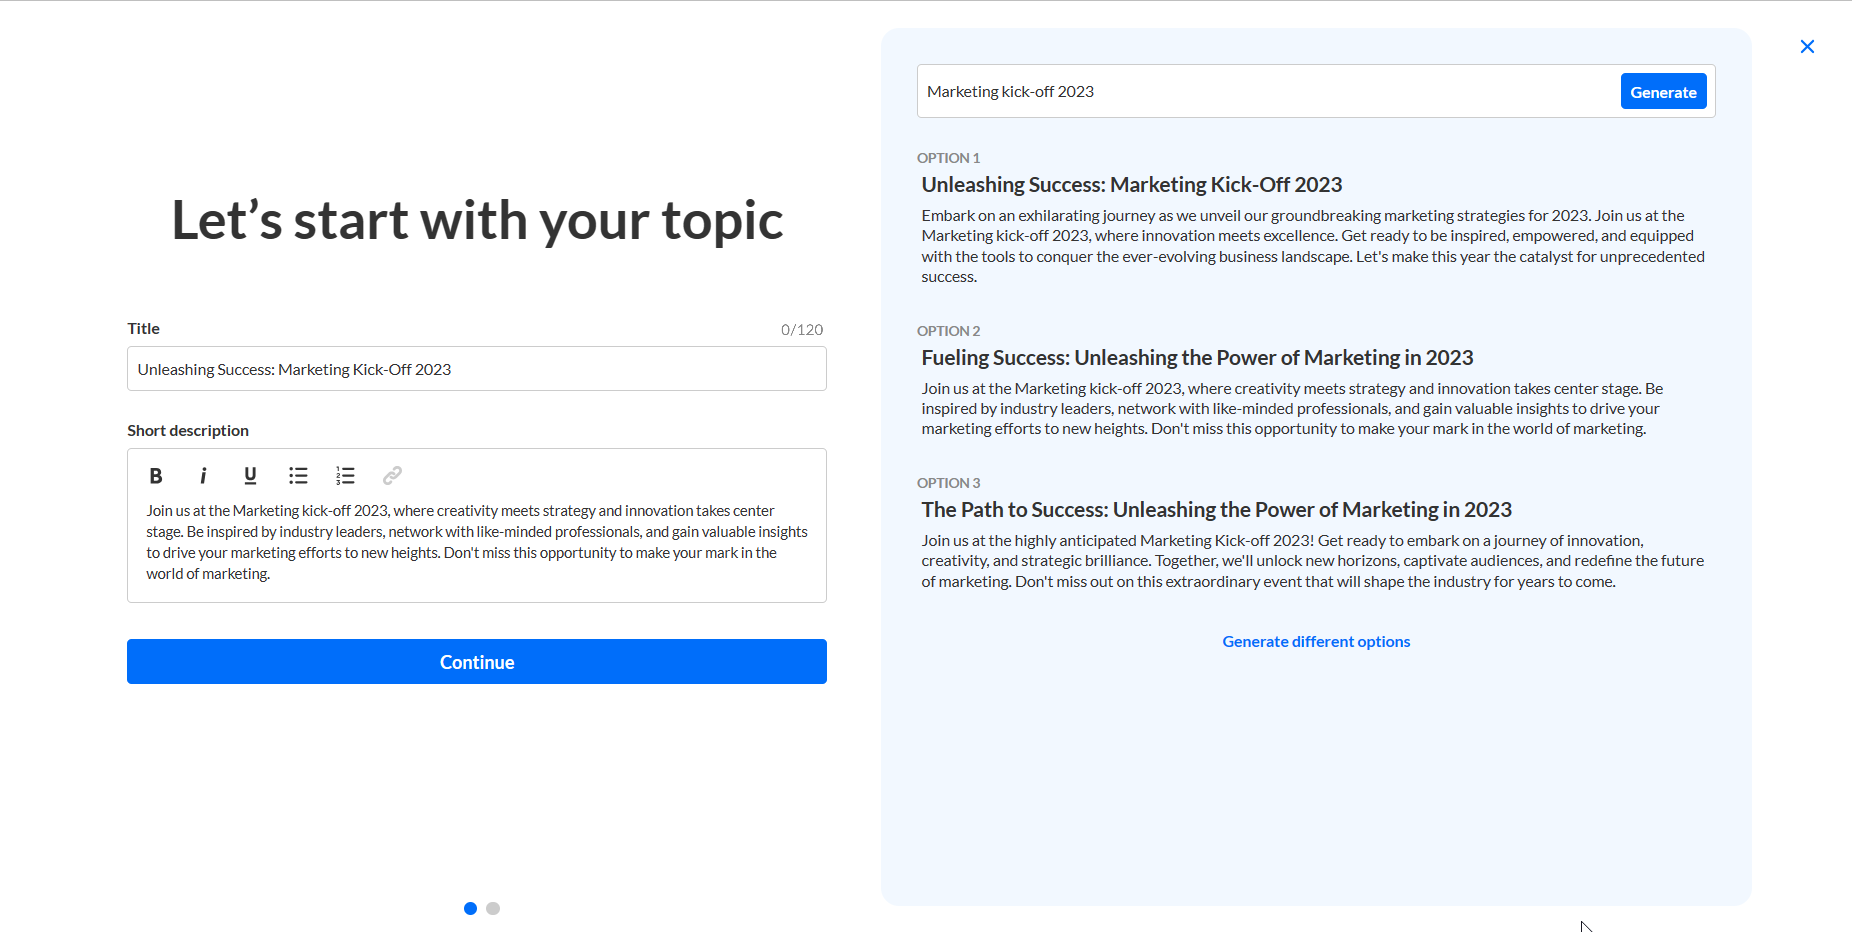
- Hover over a title and click Use title. The title will be populated in the left panel.
- Hover over a description and click Use description. The description will be populated in the left panel.
- Click Generate different options for three more options.
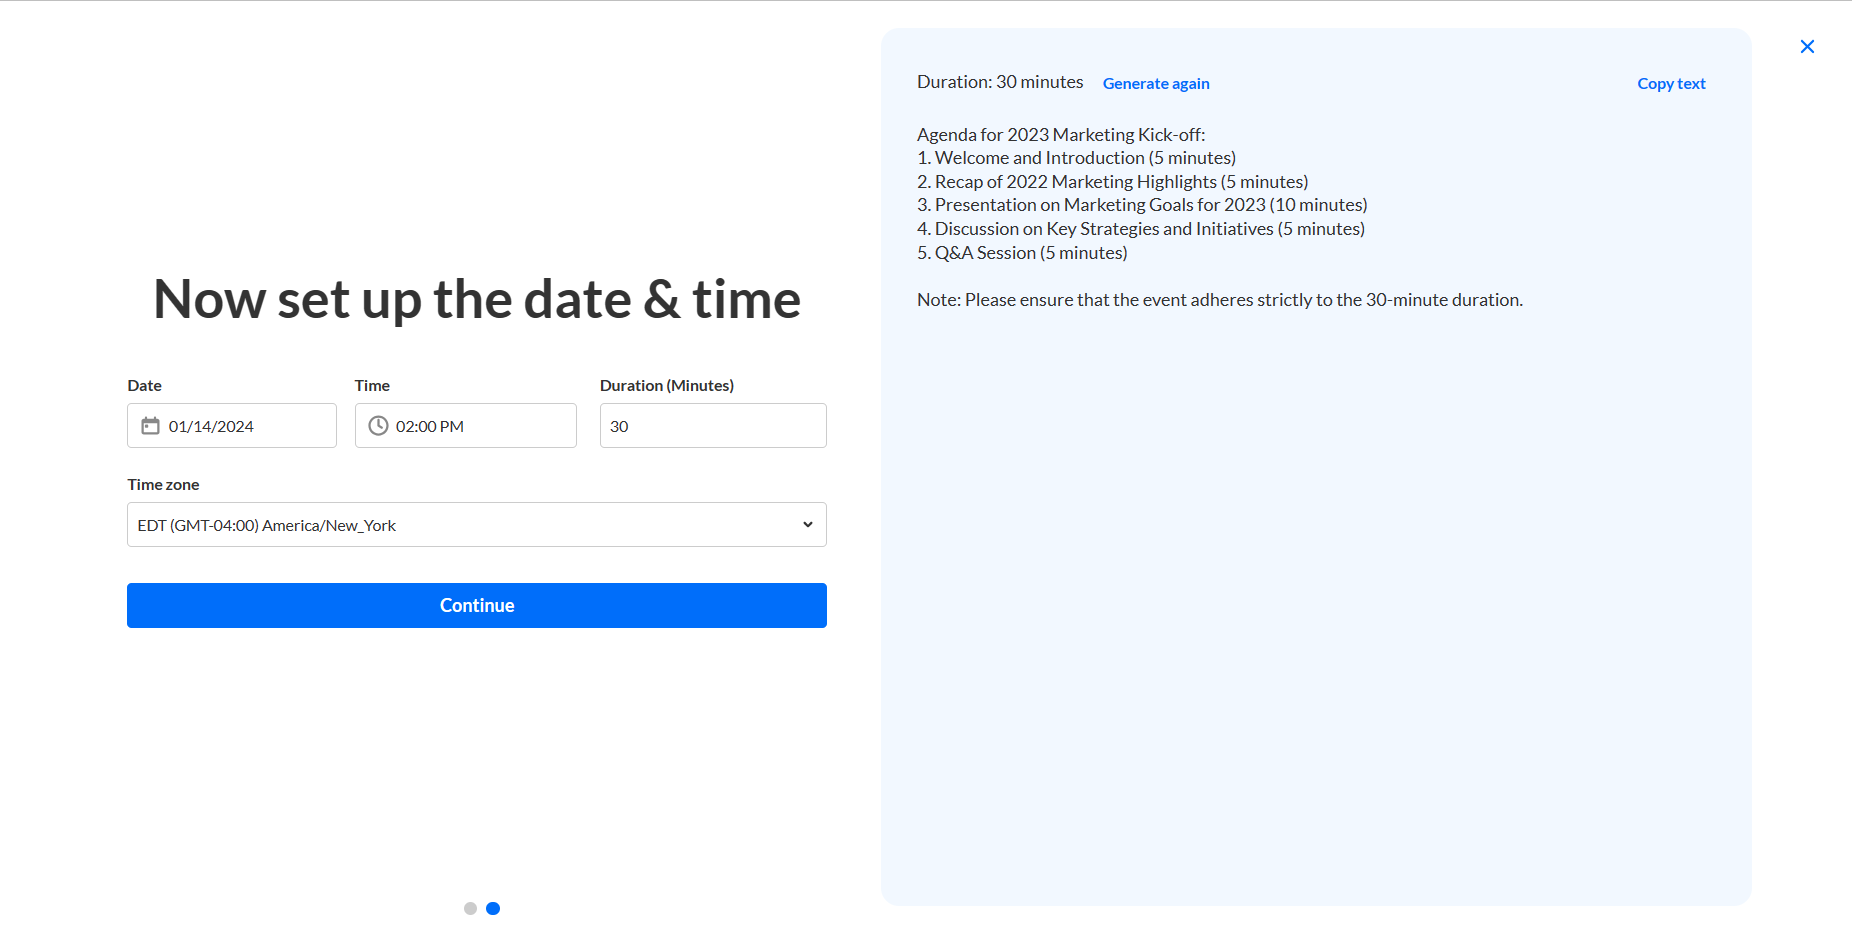
- Choose a date and time your webinar will start, a duration for your webinar, and a time zone. If you would like Kaltura to suggest an agenda for your webinar, you may click Generate in the right panel.
An agenda is generated for you. The longer your webinar, the more complex the agenda will be. You can copy the agenda by clicking Copy text and use it later as you plan for your webinar.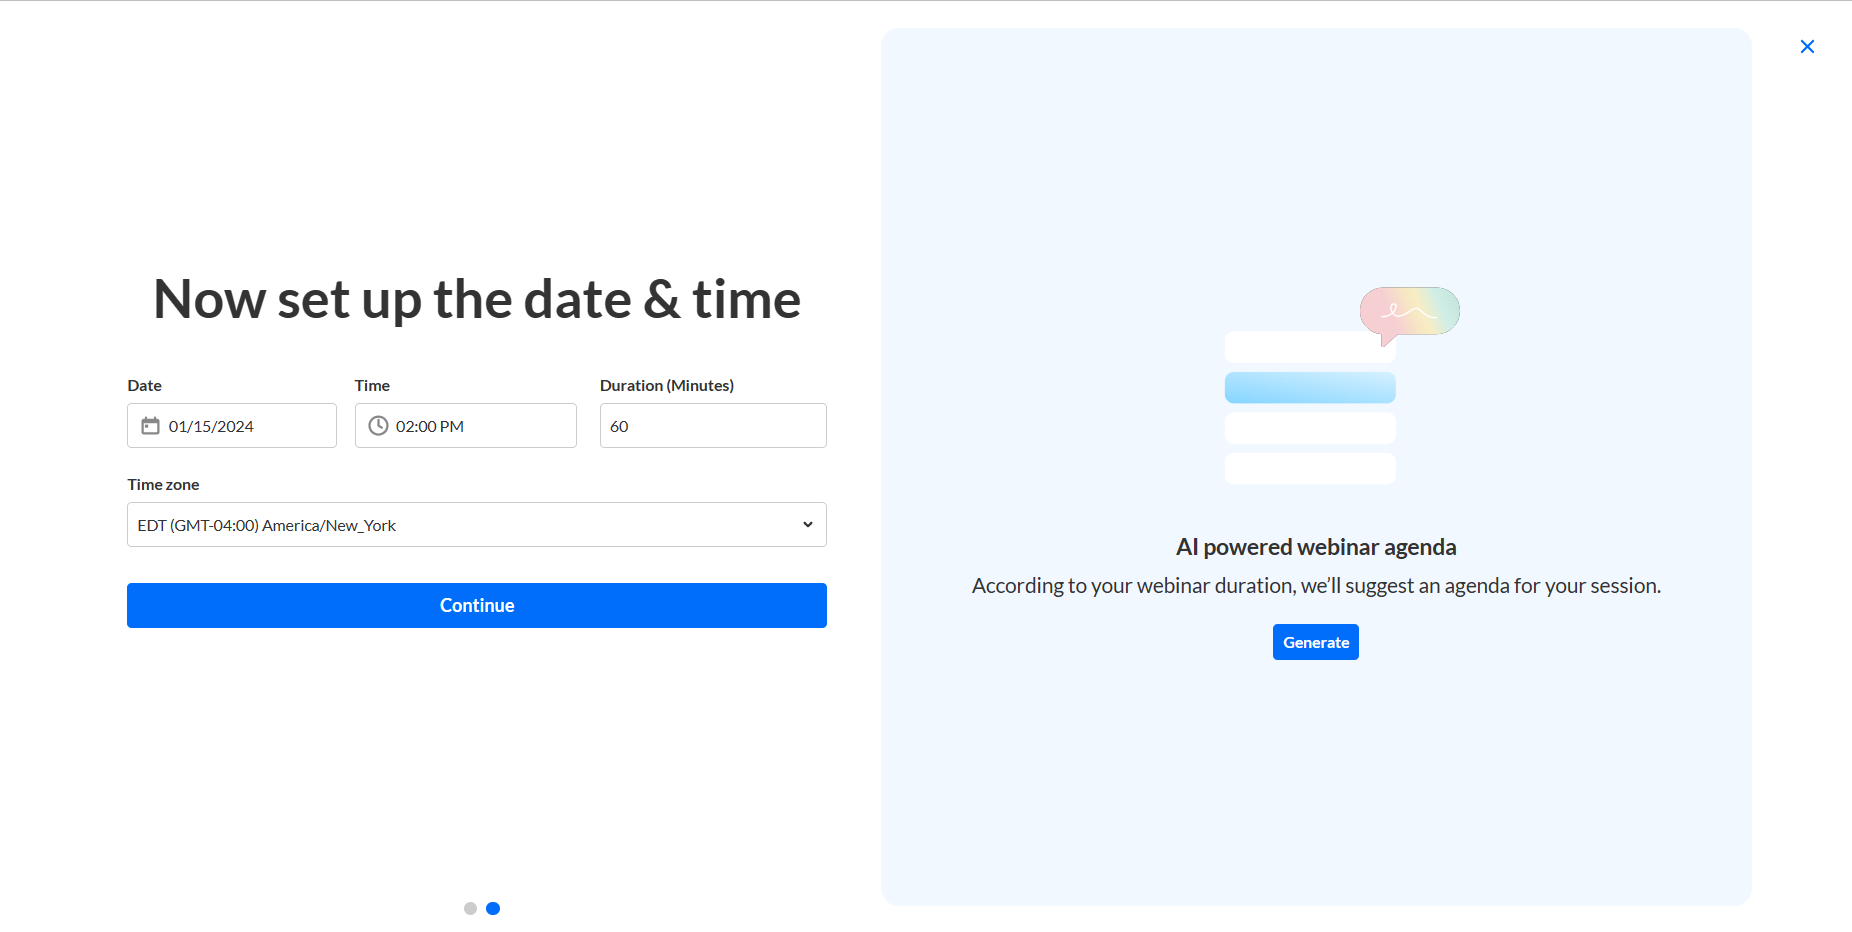
- Click Generate again for more options.
- Click Continue. The building process begins. This may take a few minutes.

Once complete, the site page displays with the Overview tab open by default.
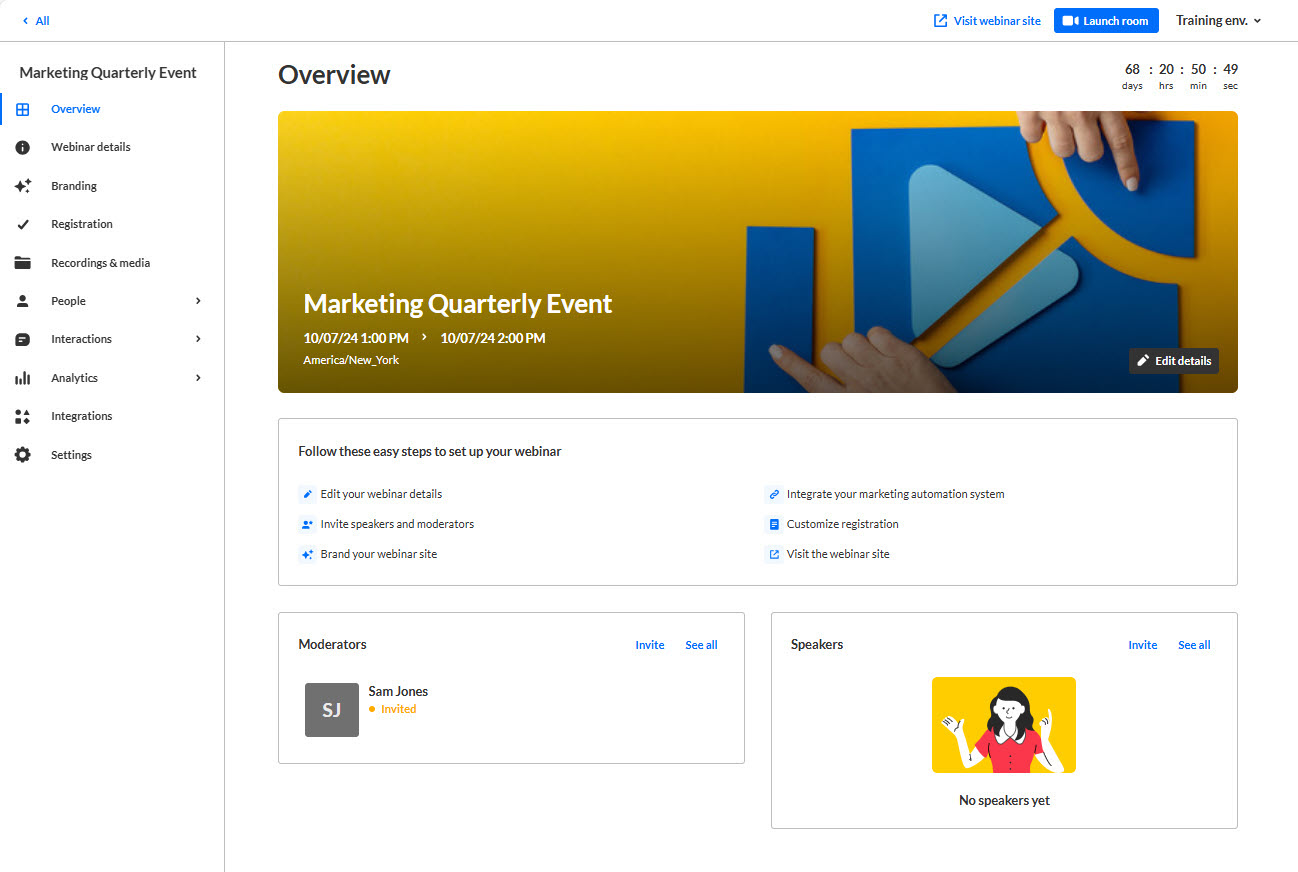
The Overview page acts as the home page for this particular webinar, displaying the vital details of the webinar.

Characters "<" and ">" are not supported.
If you would like to try Kaltura's AI powered topic generator, type a few words about your webinar in the right panel and click Generate (as shown below).
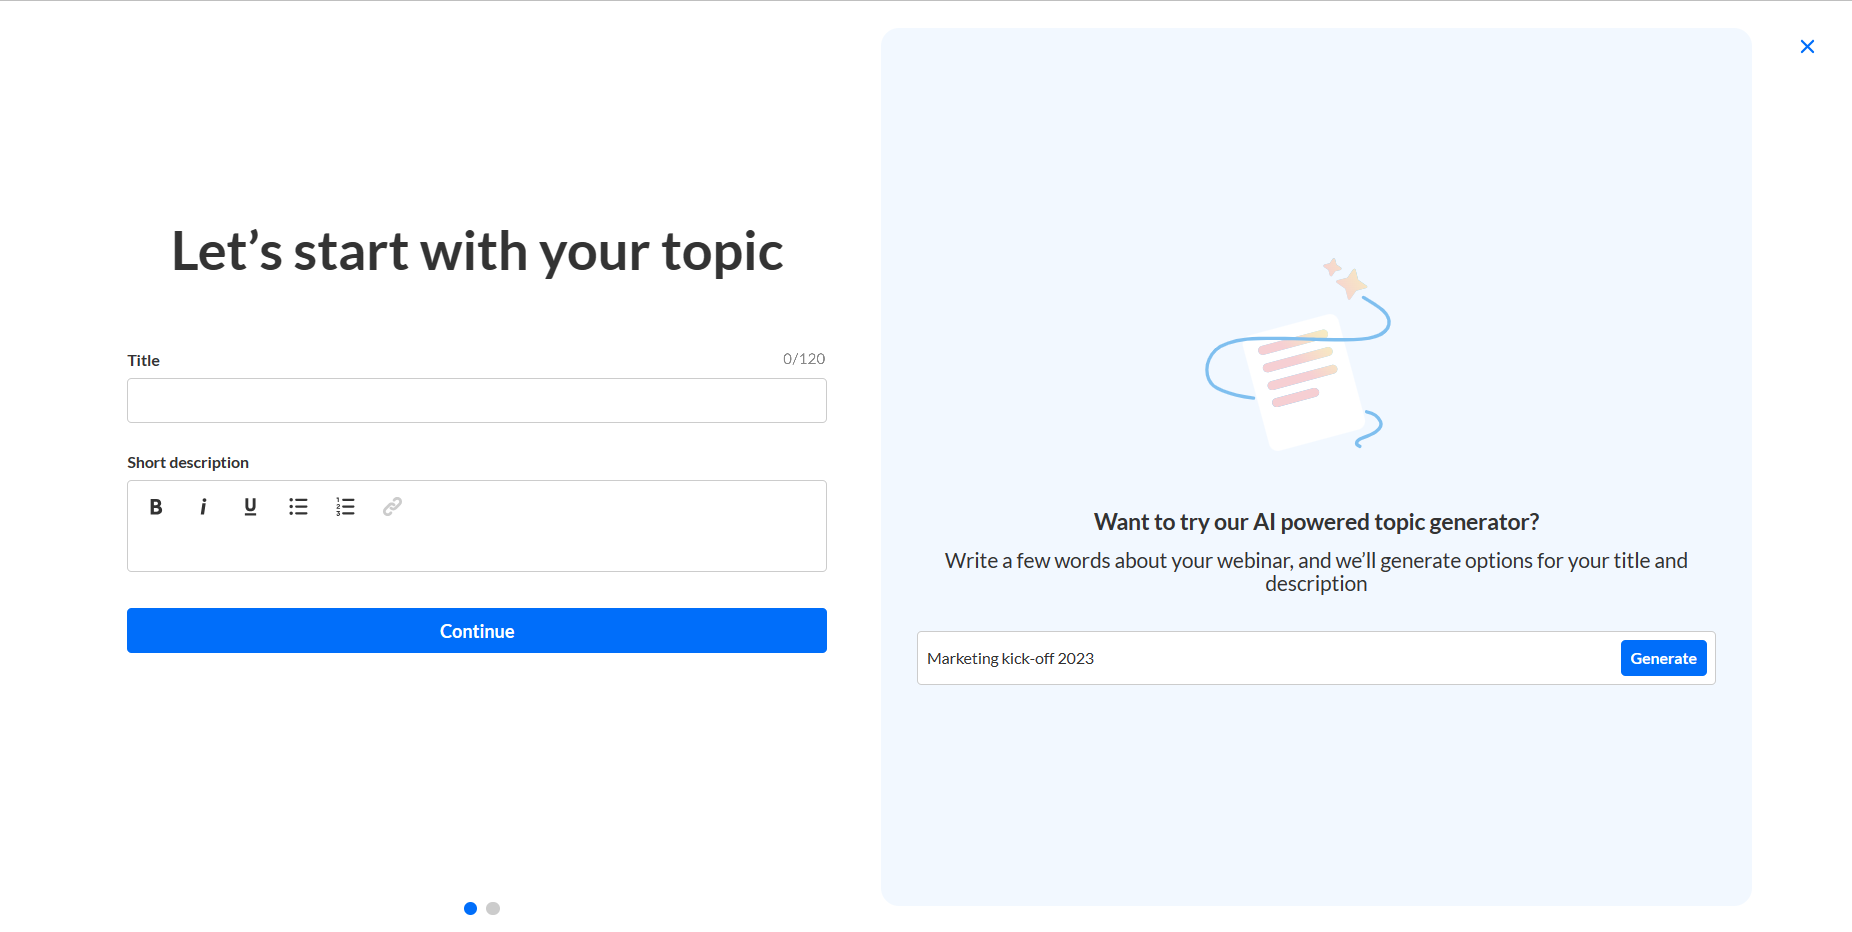
Three initial options for your title and description are generated for you.

You can also simply copy a title and/or description by clicking Copy text.
Once you've chosen a desired title and description, and they've been populated in the fields in the left panel, click Continue.
The Now set up the date & time page displays.


Additional functionality available on the Overview page
Click Visit webinar site to navigate to the Landing page or Webinar site. (This is available on every site page as well.) See Getting to know your landing page and webinar site for more information.
Click Launch room to launch the webinar. (This is available on every site page as well.) See Launch a webinar and enter the Kaltura Room for more information.
Click Edit details on the banner to edit webinar details. See Webinar Details tab - Edit the site details for more information.
Follow one of the links in the Site Navigation List to further customize your webinar.
In the Moderators box, click Invite to invite additional moderators, or click See all to see the Users list filtered by moderator.
In the Speakers box, click Invite to invite additional speakers, or click See all to see the Speakers list.
