About
Uploading media from your desktop is simple and straightforward. Just follow the steps below to easily share your videos, audio files, and images.
Once you've uploaded your videos, you can set up the player to play them the way you want by adjusting the look, features, and controls to match your style and needs. To learn more, visit our article Introduction to Kaltura's V7 player.
The instructions below are for non-Theming users. If you have Theming enabled, please refer to our article 'Upload media - Theming'.
Upload media
- On your My Media page, click the Add New button to the right and select Media Upload.

Depending on what is enabled on your application, your Add New menu may look slightly different. If there is an option missing, please contact your Kaltura administrator to discuss how to enable it.
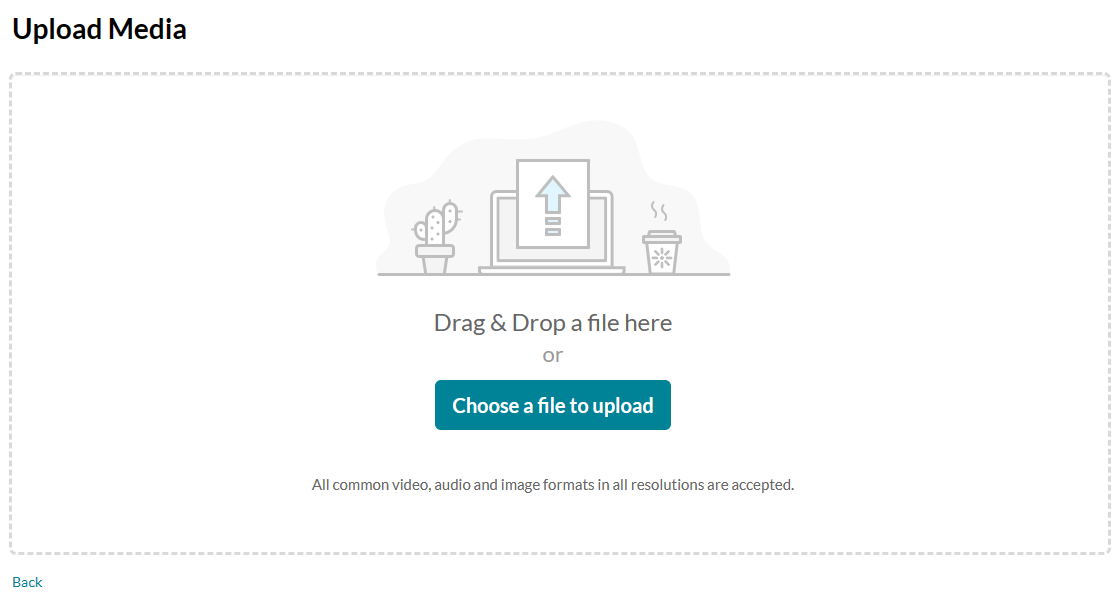
The Upload Media page displays.
- Drag and drop your file or select Choose a file to upload.
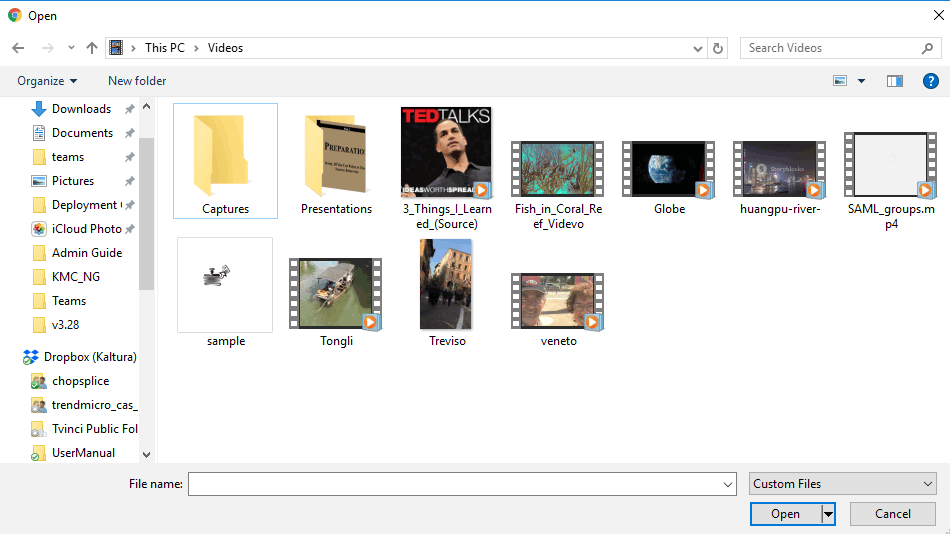
- If you clicked Choose a file to upload, select a file from your computer and click Open.
- While the file is uploading, you can enter the name, description and tags for the media. Once the upload has finished, a success message displays: Upload Completed! Complete the required information for the uploaded media below.


View your media
To view the media when uploading is complete, you can click either Go to media or Go to My Media.
Clicking Go to media will take you to the media page, as shown below:

Clicking Go to My Media will take you to your My Media page, as shown below:

After a video or audio is uploaded, it is converted for optimal playback. You cannot preview or publish a video during conversion. If an error occurs while uploading, please check your network connection.
Publish your media
You can publish your media directly from the upload page.
- Click the Published option (you must first click Save).
- Choose from the options available where you want to publish the media.
- After choosing an option, click Save. You can immediately see where the media was published.

An additional section displays.


For more information about publishing media, visit our article Publish media.


