About
This document details the steps required to install the Kaltura LMS Video integration 4.3.2 and 4.4.4 for Moodle version 3.x.
This guide applies to LTI 1.1-based deployments only.
Before you start
Make sure the following is already in place:
- A Kaltura account with:
- a Partner ID (PID)
- an Admin secret
- A KAF (Kaltura Application Framework) instance URL, e.g., https://12345.kaf.kaltura.com
- Moodle version 3.x
- Access to the KAF Configuration Management console
Install the Kaltura Video plugin for Moodle
Installing the Kaltura Video plugin is required before configuration. This step does not affect active Moodle users and can be completed anytime in advance.
When you install the Kaltura Video plugin, the following features become available in Moodle:
- My Media (personal media library)
- Media Gallery (course media repository)
- Kaltura Media Assignment
- Kaltura Video Resource
- Kaltura Media embedding in text editors
To install the plugin:
- Download the correct version of the plugin for the version of Moodle you are running. For the latest plugin releases, visit our official GitHub repo.
- Unzip the downloaded package and when prompted to choose an extraction location, select the Moodle root directory (the folder that contains the admin, mod, and local folders).
- Browse to the Moodle home screen and click Continue to begin installation.
- Complete setup fields as prompted and click Continue.
- Click Save changes.

Installation is processed. When finished, the Continue button displays.


Configure the Kaltura-Moodle connection and features
After installing the Kaltura Video plugin, complete the following configuration steps to connect Kaltura to Moodle and enable features.
Step 1: Configure the Kaltura connection in Moodle
- In Moodle, go to Site administration.
- Use the search field to locate Kaltura package libraries.
- Click to open the 'Kaltura package libraries' page. The KAF configuration page displays.
- Configure the following required settings:

- KAF URI: Format is [Instance ID].kaf.kaltura.com (e.g., 12345.kaf.kaltura.com)
- Server URI: Typically www.kaltura.com (for most use cases, this should not need to change)
- Partner ID - Enter your PID (Kaltura Partner ID). You can find this value on the 'Integrations' page in the Rich Media CMS (Rich Media Content Management System). For information, see Account information in Rich Media CMS.
- Admin secret - Enter the admin secret from the 'Integrations' page in the Rich Media CMS. For information, see Account information in Rich Media CMS.
- Enable trace logging: Checked
Do not include an ending "/".
5. Click Save changes.
When finished, the Kaltura Package Libraries page should look similar to the following:

Step 2: Configure Kaltura features and access
After installing the integration, configure Kaltura features and user access based on how you plan to use Kaltura in Moodle.
Enable the Kaltura media filter
The Kaltura Media filter enables embedded Kaltura media to display correctly in rich-text areas.
- Go to your Moodle Site administration and select Plugins.
- Scroll down the page to the Filters section and select Manage filters.
- Locate Kaltura Media in the list.
- Enable the Kaltura Media filter and click the Settings link.
- In the Kaltura Media settings, make sure Embed Kaltura Video Links is selected.
- Click Save changes.


The Manage filters page opens.


The Kaltura Media page displays.


Add the Kaltura embed button to Atto text editor
- Go to your Moodle Site administration and select Plugins.
- On the 'Plugins' page, scroll down to the Text editors section and select Atto HTML editor.
- Click Atto toolbar settings.
- Scroll down the page to the Toolbar config section.
- In the Toolbar config field, locate the line that starts with files =.
- Add kalturamedia to the end of the list, separated by a comma.
- Click Save changes at the bottom of the page.

The 'Atto HTML editor' page displays.

The 'Atto toolbar settings' page displays.


The Kaltura embed button now appears in the Atto editor toolbar.

Configure My Media placement
My Media is each user’s personal media repository in Moodle (based on their Moodle role and permissions). No setup is required for My Media. Users can find My Media under the My Home menu.
- Go to Site administration > Appearance > Navigation
- Select Site under "Default home page for users".
- Click Save changes.

The My Media link is now available to users in the selected location.
Media Gallery
The Media Gallery is a shared media repository for a Moodle course. It allows instructors and students to view and interact with media that is associated with a specific course.
Access to the Media Gallery and available actions are controlled by Moodle roles and permissions.
When using the Boost theme, the Media Gallery link may not appear in the standard Navigation menu. Instead, you can display the Media Gallery link in one of the following locations:
- Navigation block
- Course settings menu
To configure where the 'Media Gallery' link appears:
- Go to your Moodle Site administration and select Plugins.
- On the 'Plugins' page, scroll down to the Local plugins section and select Kaltura Media Gallery.
- In the Link location dropdown, select where you want the Kaltura Media Gallery link to appear.


Navigation block
Select Navigation block for the link to appear on the left Navigation block.

Course setting menu
Select Course settings for the link to appear on the course Admin settings menu:

The default display is in the Navigation block.
Adding a block
If you have permissions to add blocks to a course, you can add the Kaltura Media Gallery Block. The link to the Kaltura Media Gallery will be added to the course side pane.
- Navigate to the site administration.
- Turn editing on.
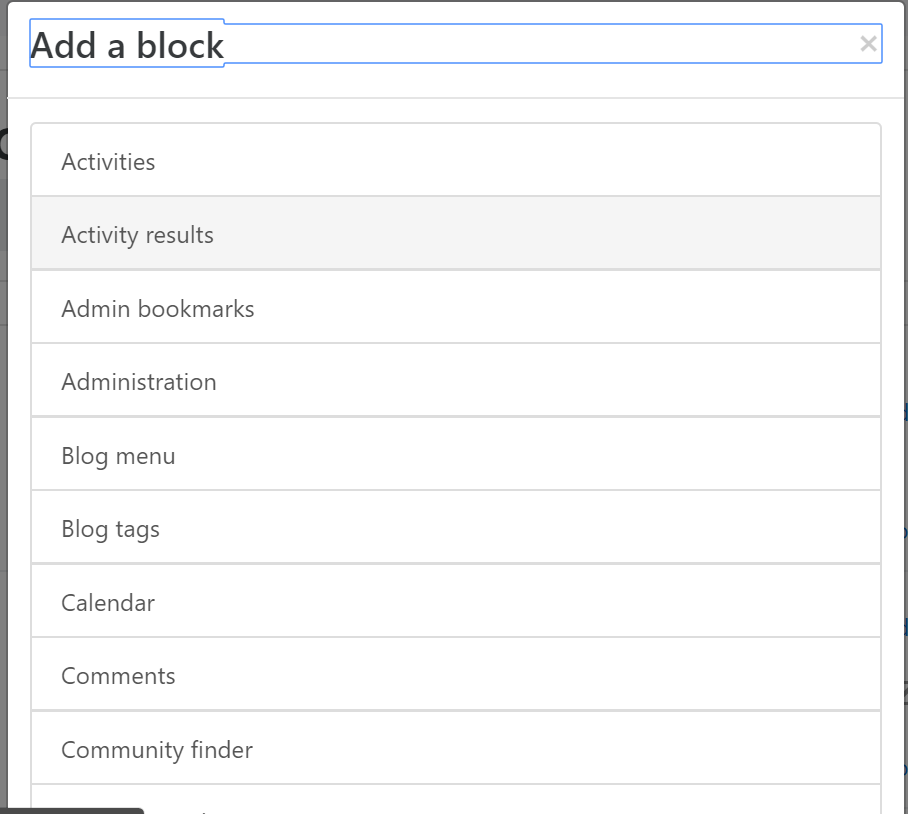
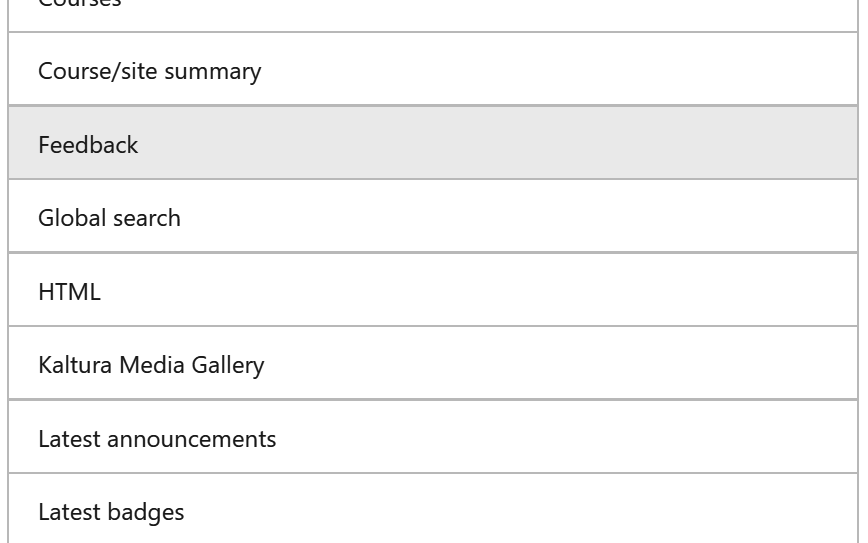
- Navigate to a course, and locate the Add a block button.
- Under the list of blocks, choose the Kaltura Media Gallery.


The results after adding the Kaltura Media Gallery block are as follows:

Roles and permissions
This section provides information on how to set roles and permissions for users to use the Kaltura features.
- Go to Site Administration > Users > Permissions > Define Roles.
- A list of all standard and custom roles is displayed.
- Select the role to edit and click the gear icon.
- Use CTRL+F to search for "Kaltura" (there are a several permissions related to the Kaltura extension)
- Set each permission to Allow.


Available permissions
The following lists the available features/permissions:
- Block: Kaltura Media Gallery
- Add a new Kaltura Media Gallery block to Dashboard
- Kaltura package libraries (recommended for admins only)
- Download Kaltura trace logs
- Migrate Kaltura Data
- Kaltura Media Gallery
- View Kaltura Media Gallery
- Activity: Kaltura Media Assignment
- Add a Kaltura Media Assignment
- Activity: Kaltura Video Resource
- Add a Kaltura Video Resource
- Activity: Kaltura Media Assignment
- Grade video submissions
- Submit videos
- Block: Kaltura Media Gallery
- Add a new Kaltura Media Gallery block
- My Media
- View My Media page

Next steps
To complete your Kaltura deployment, please see Deploy Kaltura Video Quiz Moodle Gradebook Integration with LTI 1.1.
