About
This article explains how to connect your legacy Video Portal to a network-level authentication system using header-based authentication.
With this method, your organization’s infrastructure (such as a load balancer, gateway, or reverse proxy) handles the login process. After the user is authenticated, that system adds the user’s ID to a predefined HTTP header in the request. The legacy Video Portal then reads this header and logs the user in automatically - no login screen appears inside the legacy Video Portal itself.
Set up header login
1. Go to your Configuration Management console, and navigate to the Auth module. You can also navigate directly: https://{your_video_portal_URL}/admin/config/tab/auth.
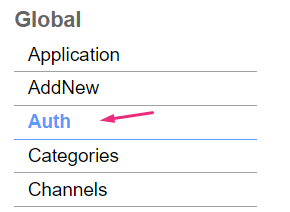
The 'Auth' page displays.

2. Scroll down to the authNAdapter field and select Header AuthN from the drop-down menu.
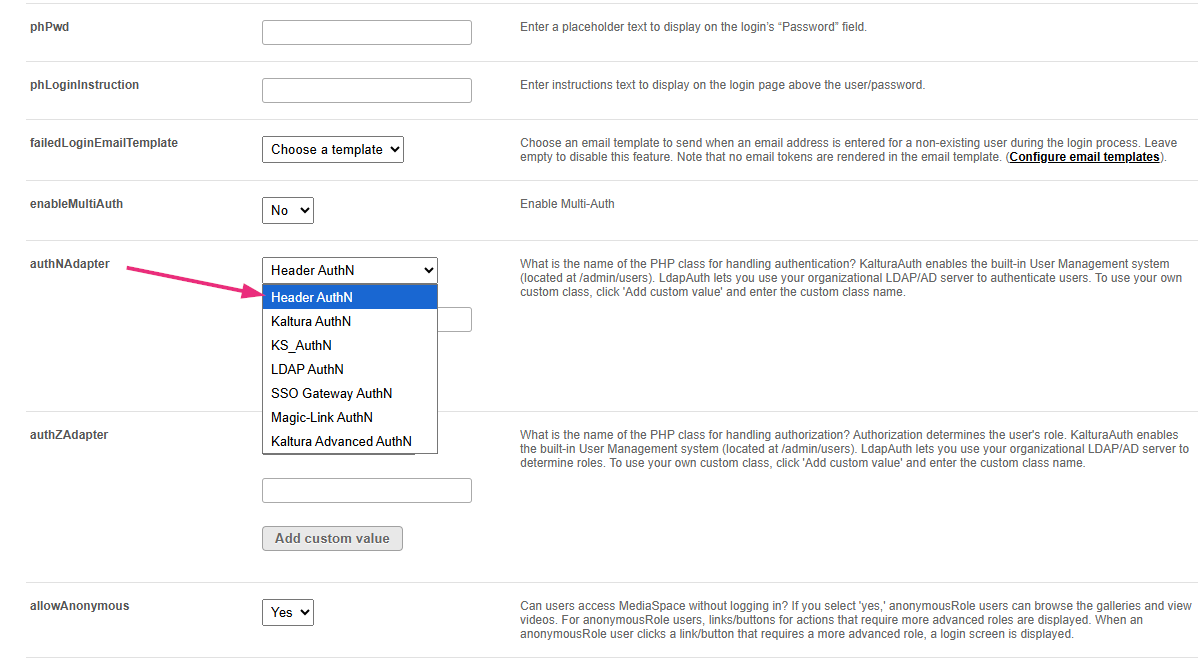
3. Scroll down to the refreshDetailsOnLogin field and choose whether to update user details (first name, last name, and email) from your organization’s authentication system each time a user logs in.
4. Scroll down to the headerAuth section.
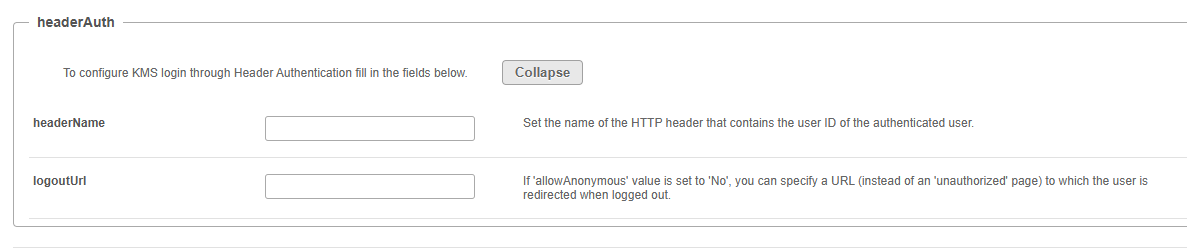
5. Configure the following fields:
headerName – Enter the name of the HTTP header that contains the authenticated user’s ID. Your network or authentication layer (for example, load balancer or reverse proxy) must set this header before the request reaches the legacy Video Portal.
logoutUrl – (Optional) Enter the URL users should be redirected to after logout when allowAnonymous is set to 'No'. If allowAnonymous = 'Yes', this field is generally ignored.
6. Click Save.
