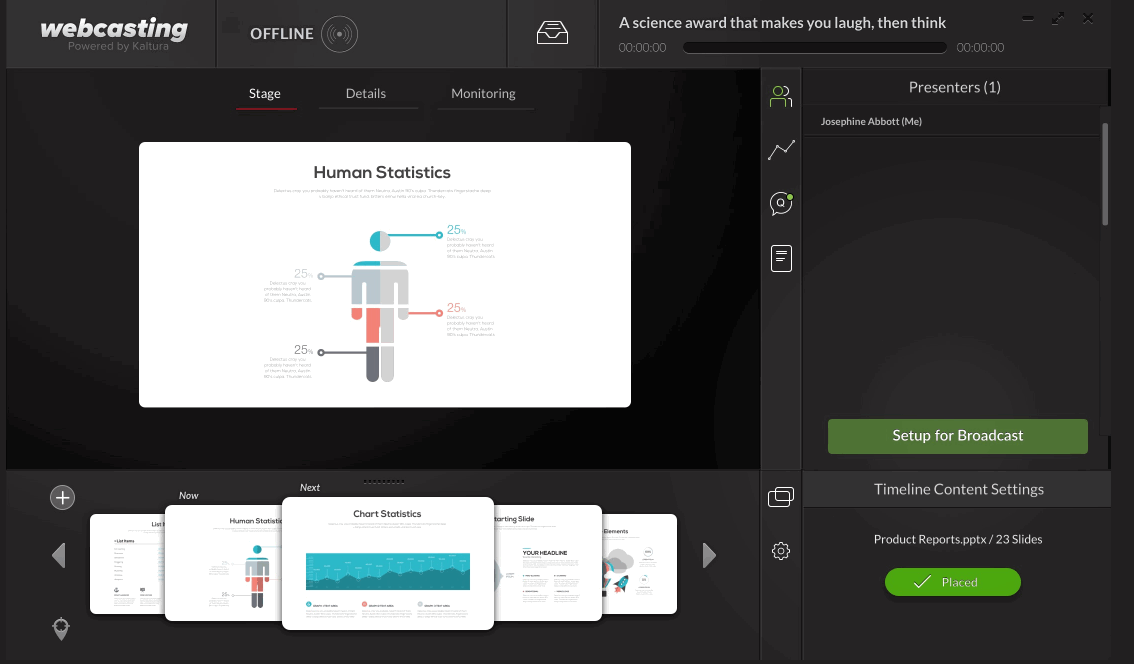
After you have configured the Kwebcast module and enabled Kaltura Webcasting with the Self-serve capabilities, the following screen is displayed when you launch the application:
By default, Preview Live is setup for self-serve broadcasting so that you can preview the broadcast from the Kaltura platform.
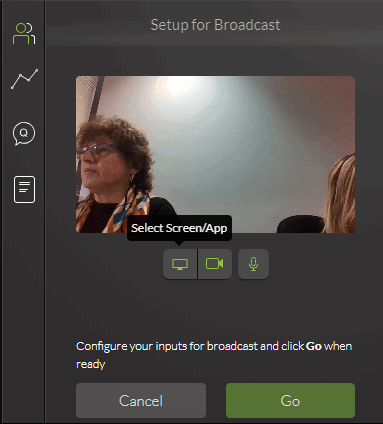
To set up self-serve for broadcasting
- Click Set up for Broadcast.
- Configure you inputs for broadcast and click OK.
The inputs may be:
Screen or Camera, Audio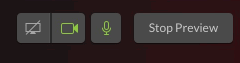
To broadcast video, ensure that both camera or screen and audio are enabled.
You can modify the setttings while you are broadcasting. You can mute the audio, change the screen or change from screen presentation to your camera. - Click OK.


Setup and Select the camera
- Click on the camera icon.
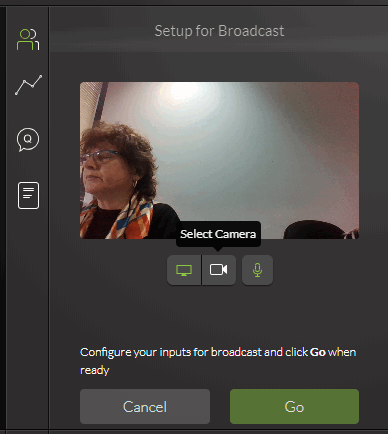
- Select the camera settings
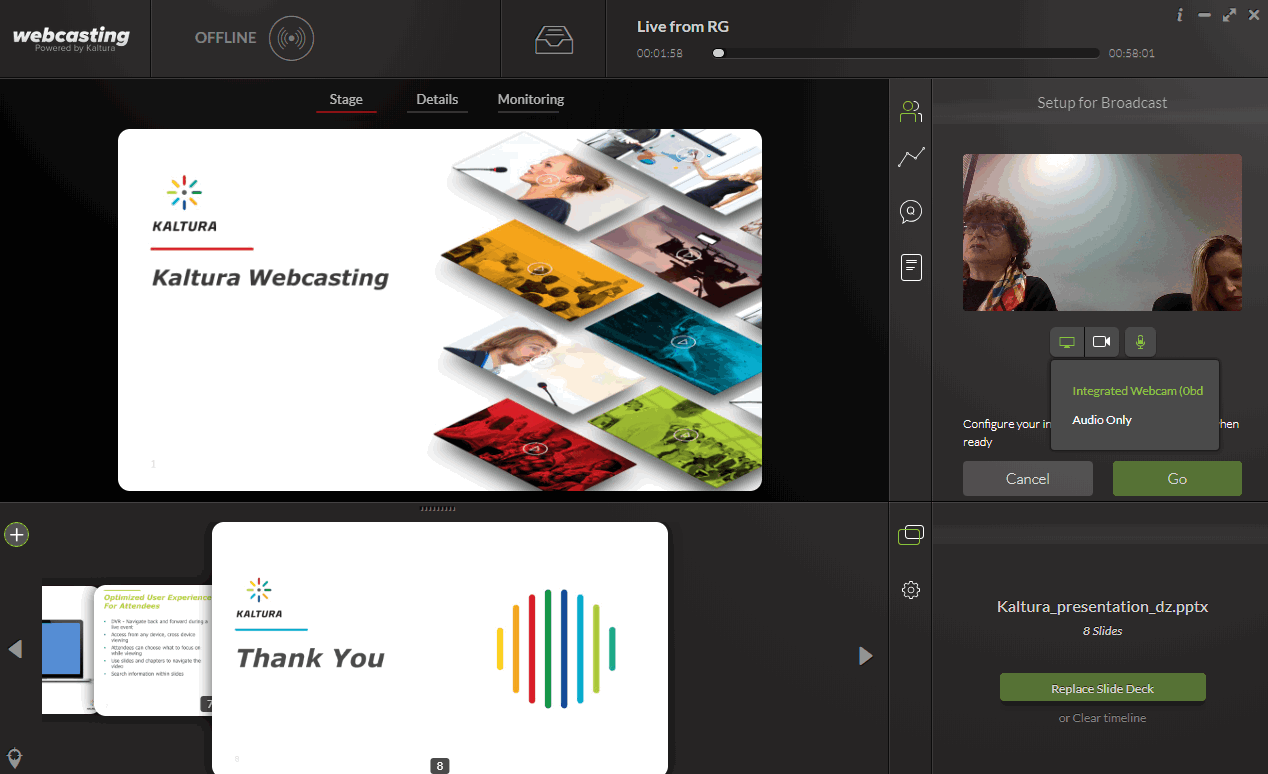


Setup and Select the Audio Device
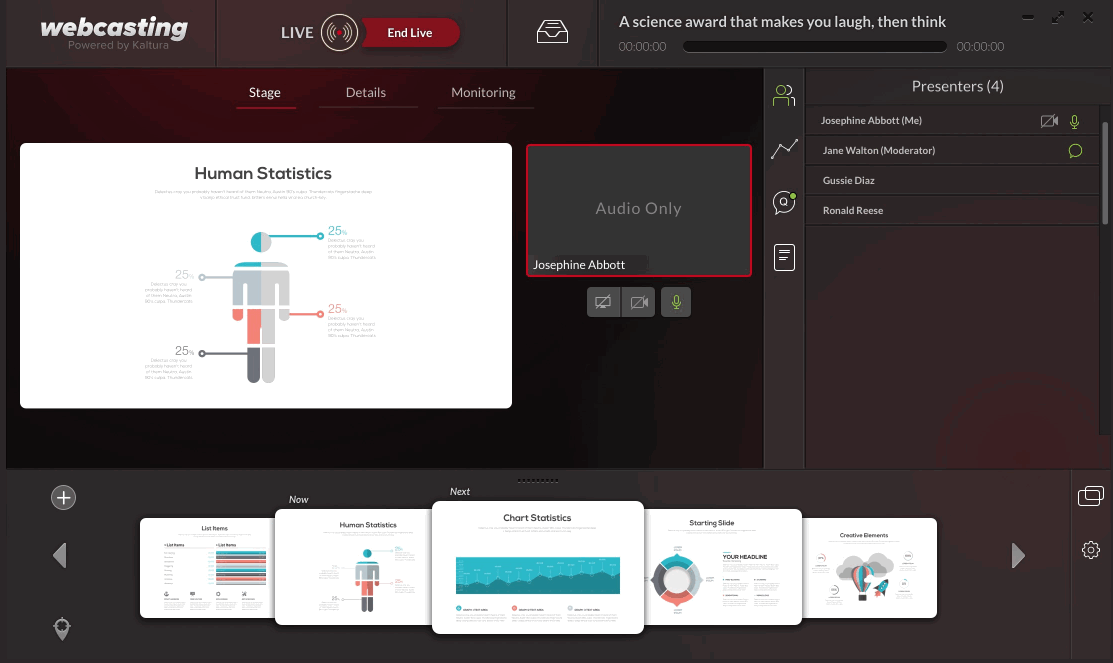
You can broadcast sound from a selected device. When Audio Only is selected, the presenter name is displayed in the webcast along with text marking that the broadcast is currently broadcasting only audio.
To setup and select the microphone
- Click on the audio icon.
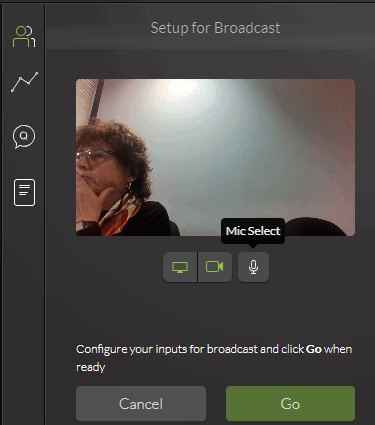
- Select the audio/microphone settings.
The following screen displays Kaltura self-serve Webcasting with audio only configured in the setup and a slide deck added.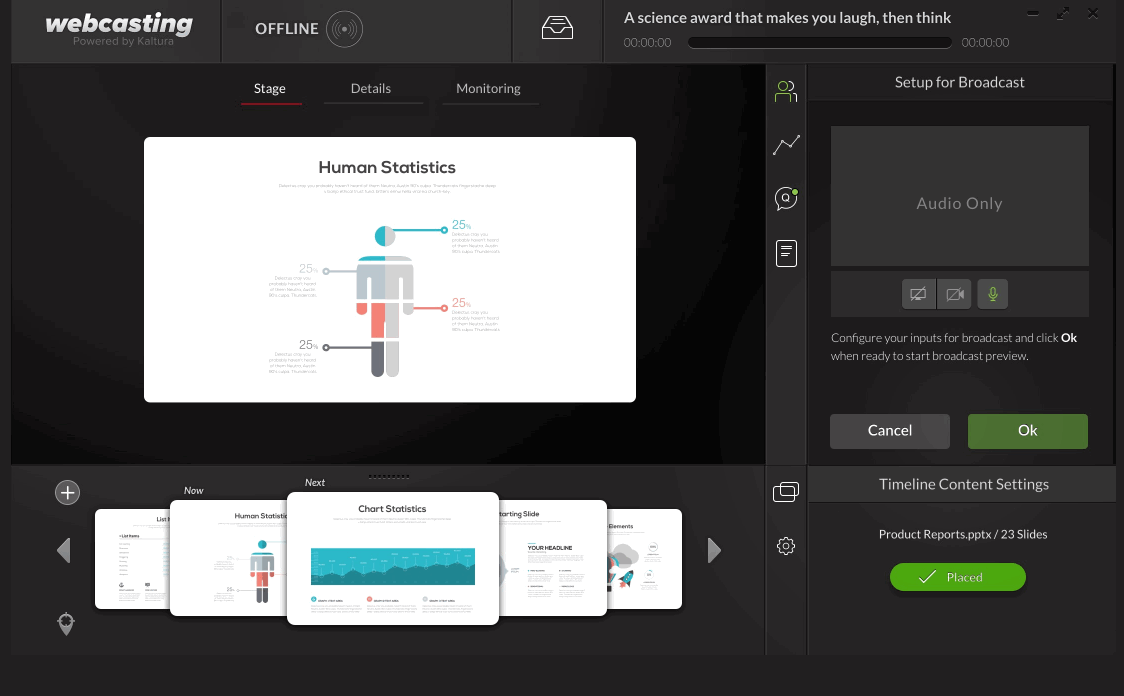
The following shows a preview of a self-serve webcasting setup audio configured.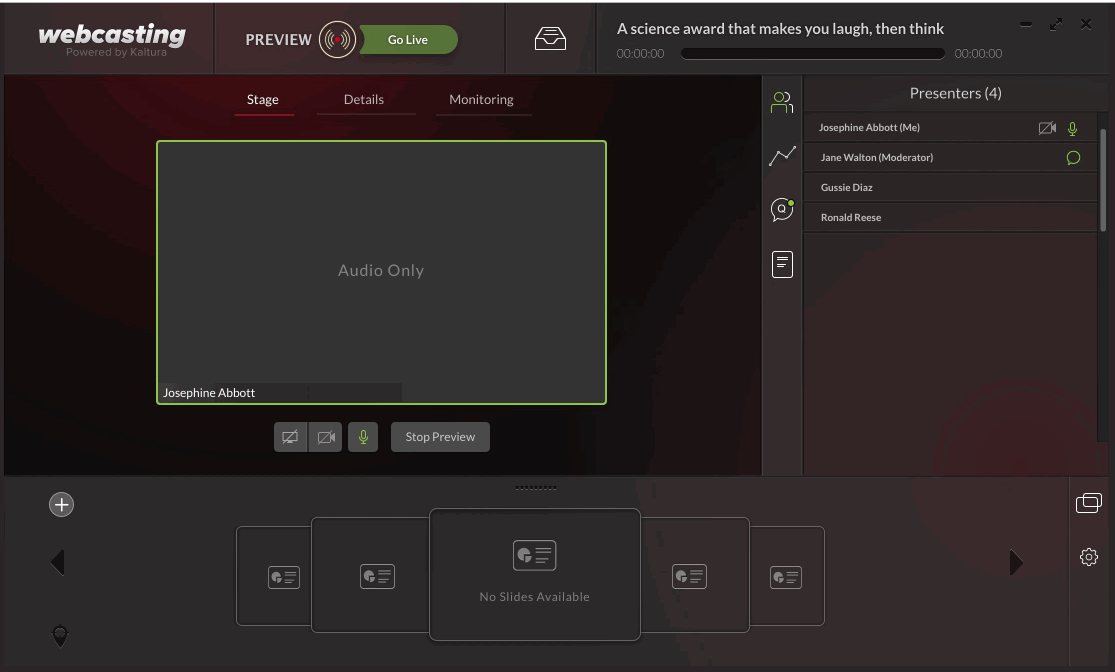
The following shows a preview of a self-serve webcasting setup with audio configured with slides.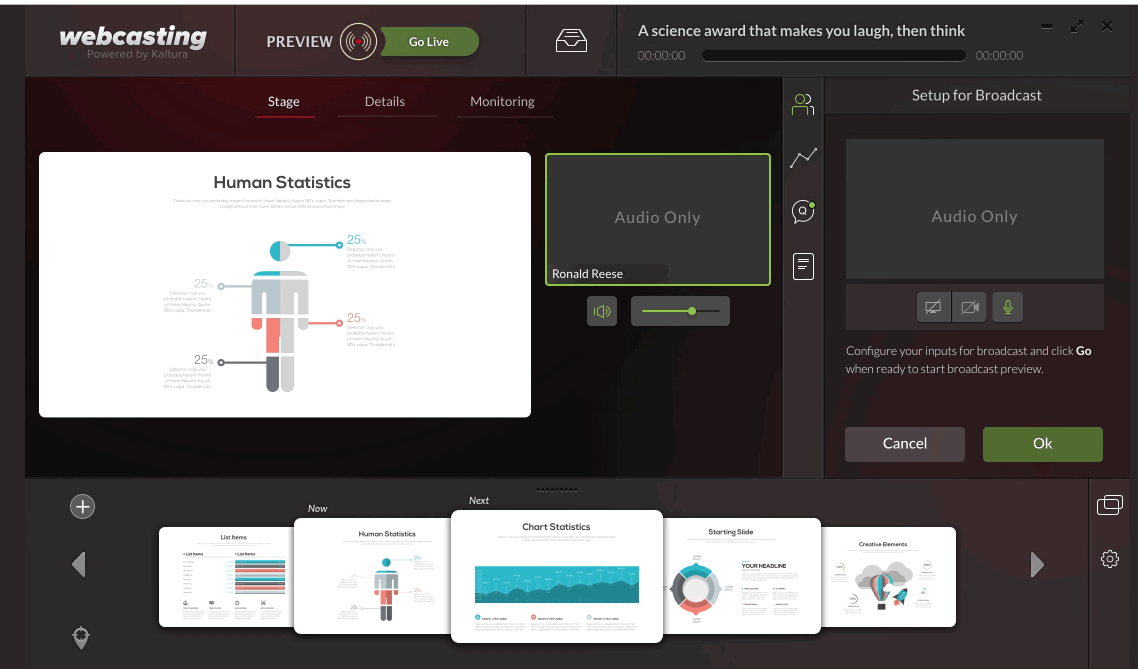
The following shows a preview of a self-serve webcasting setup with a camera and audio configured without slides. 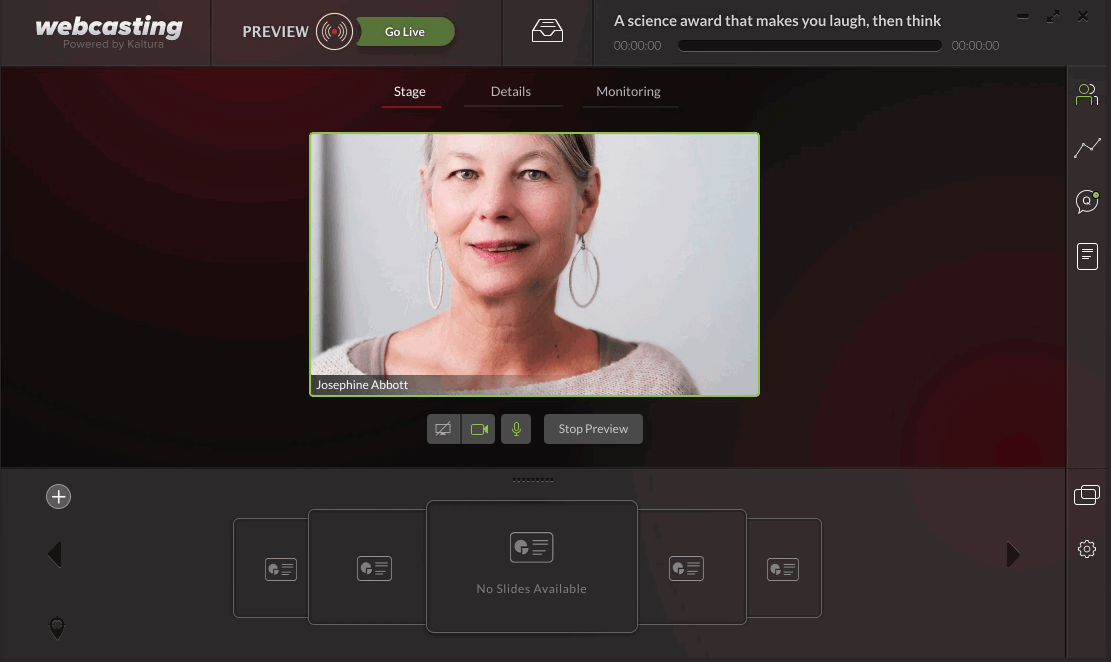


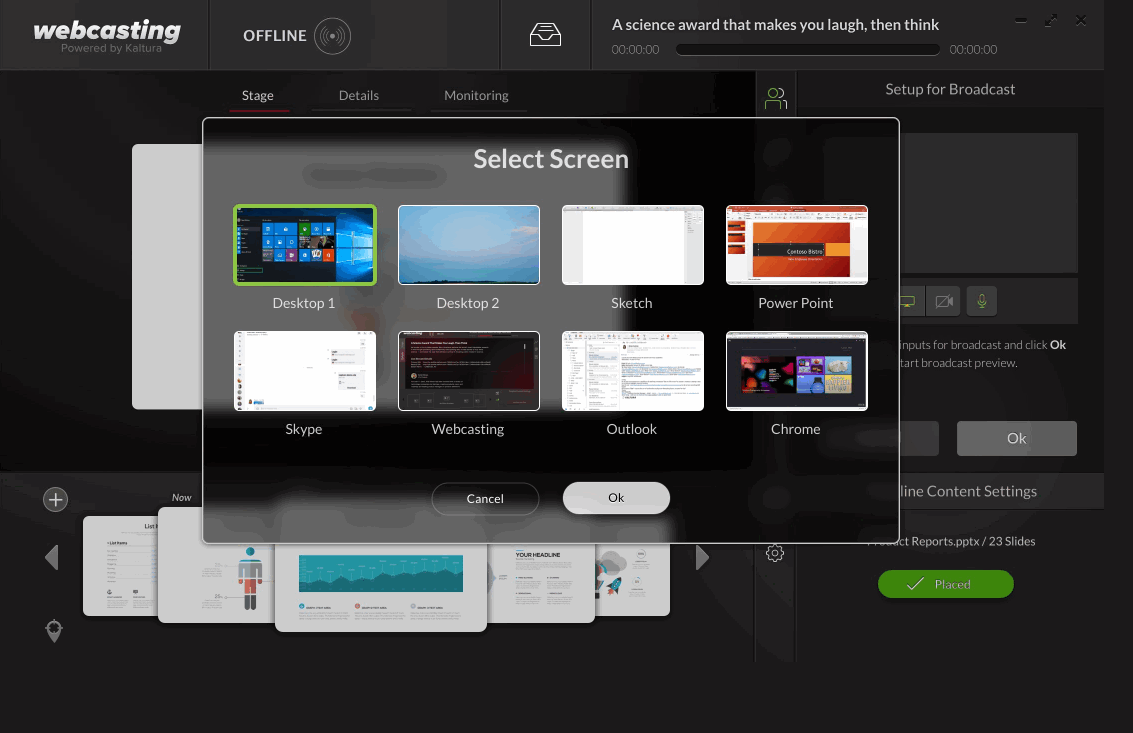
Select Screen Share - (instead of camera)
- Click on the screen icon.
- Select the screen you want to share and click OK.
The following screen shows the application offline with slides and the screen and audio selected: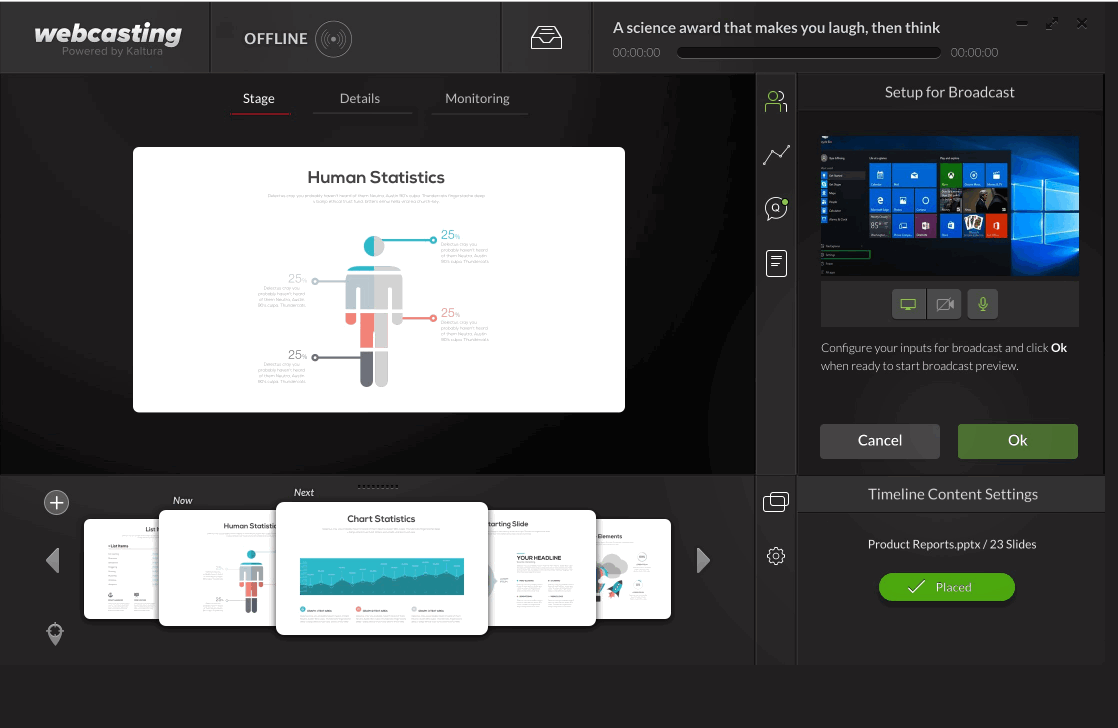


Preview the Broadcasting Setup
There are two types of previews:
- Local Preview – allows you to see the output from the camera locally on your computer.
- Kaltura Broadcasting Preview – shows you the preview after it’s been tunneled through the Kaltura platform giving you the real output.
If you are satisfied with your self-serve setup, click Go to see the Kaltura Broadcasting Preview.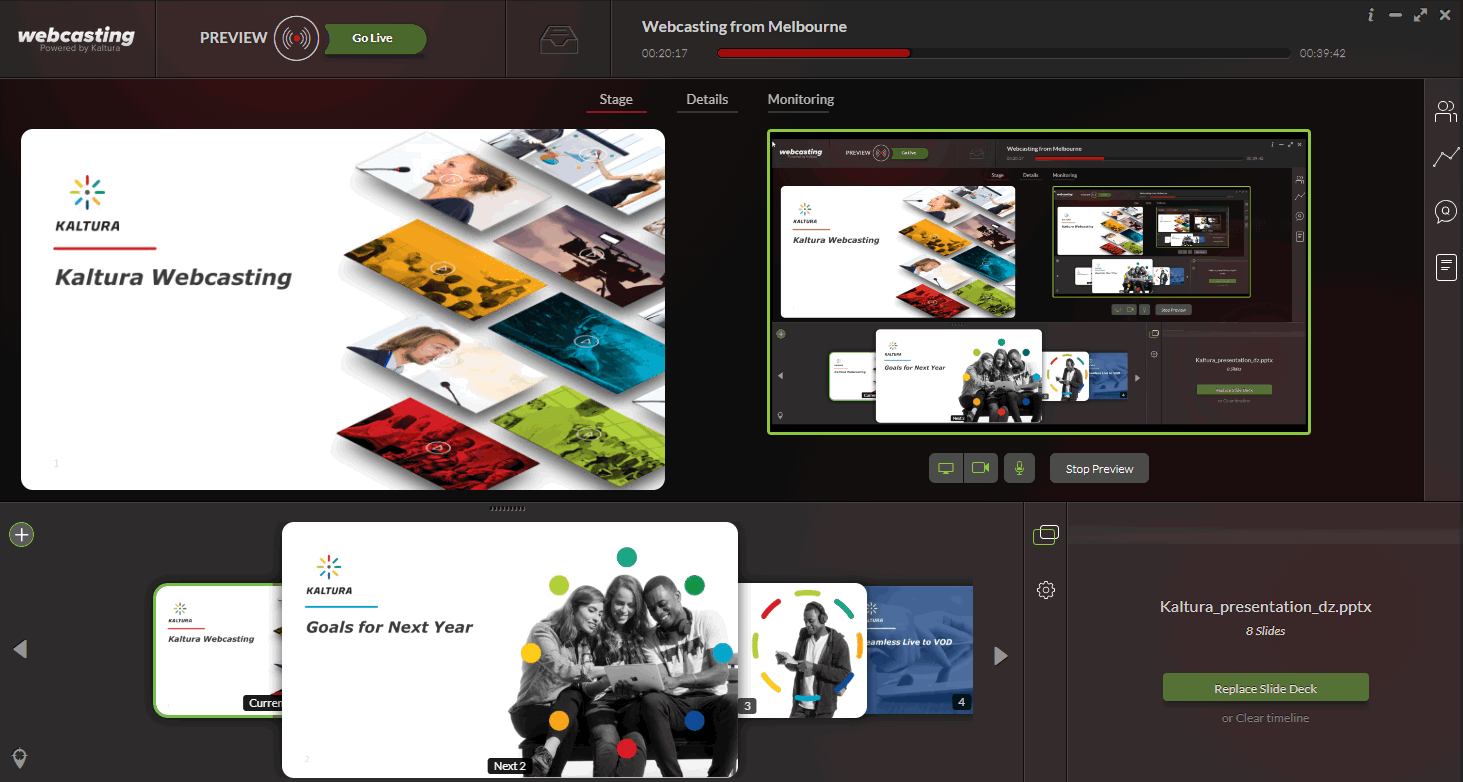
- Modify your settings using the screen, camera or audio icons.
- Check the Monitoring tab to determine the stream health.
- Click Stop Preview. to stop the preview tunneled by Kaltura and will return you to the local preview. Click Cancel to stop the usage of the camera and stop the self-serve process
Going Live
- Press Go Live to start streaming.
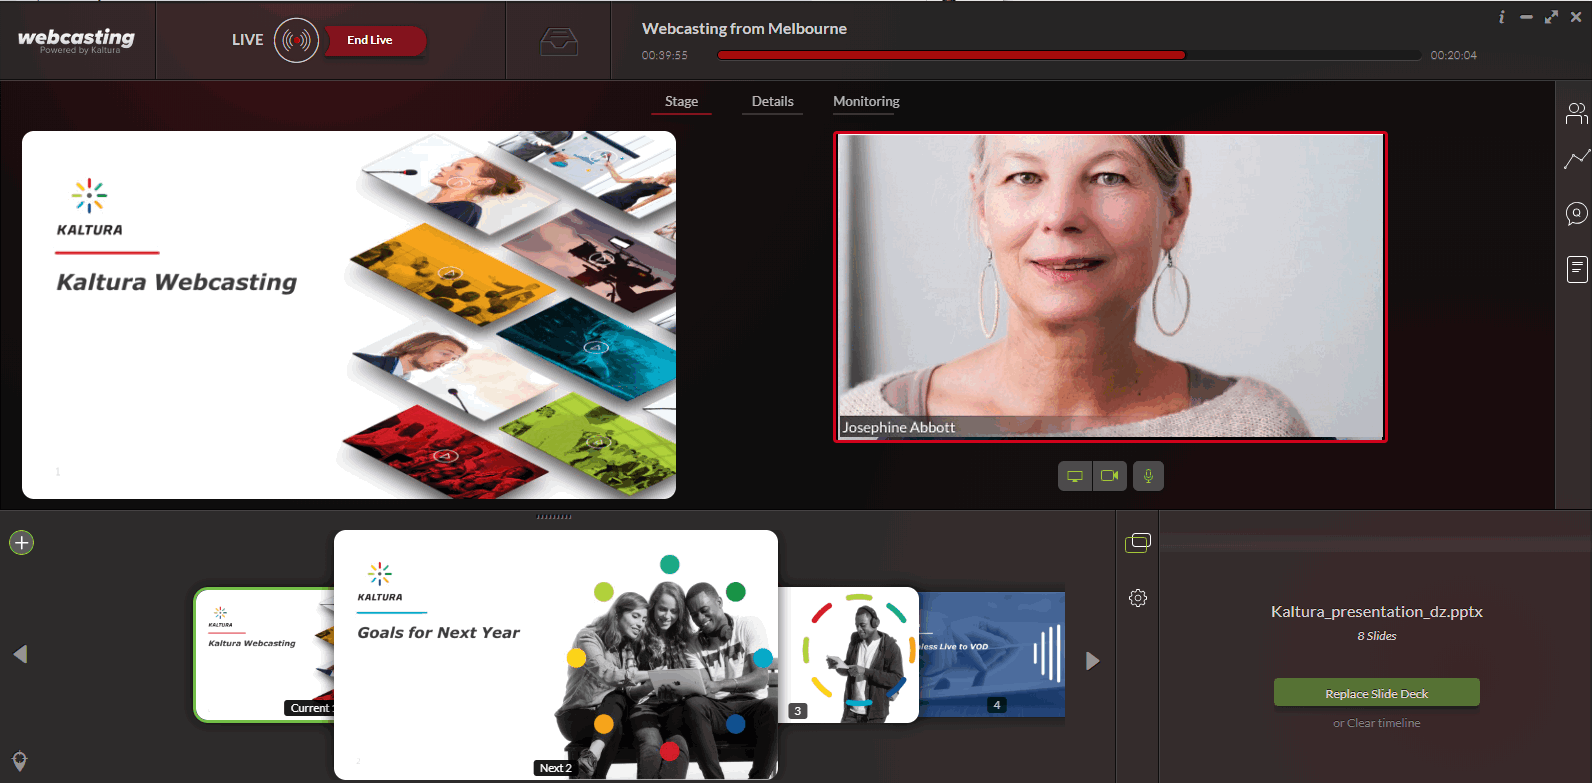
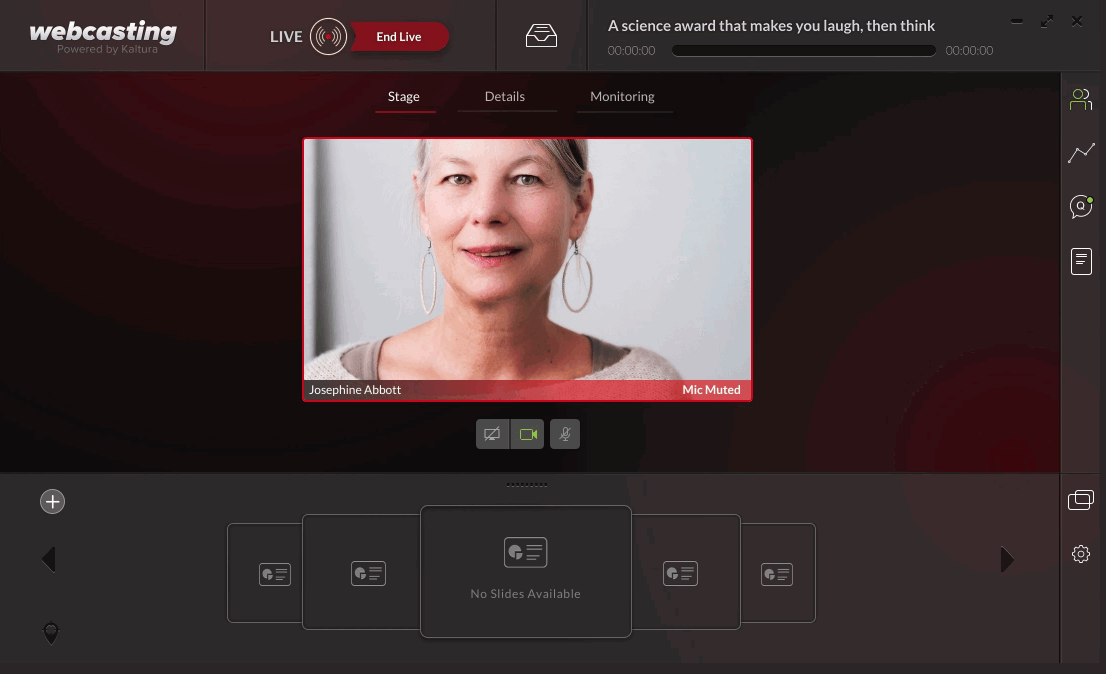
The following screen shows the application configured with the camera and audio configured with slides and broadcasting live.
You can change your settings any time during the broadcast. For example, change your screen to a different one or shut your camera, or change from screen to camera.
To mute the audio
- Click on the microphone icon.
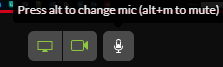
- The microphone mute indication is indicated.


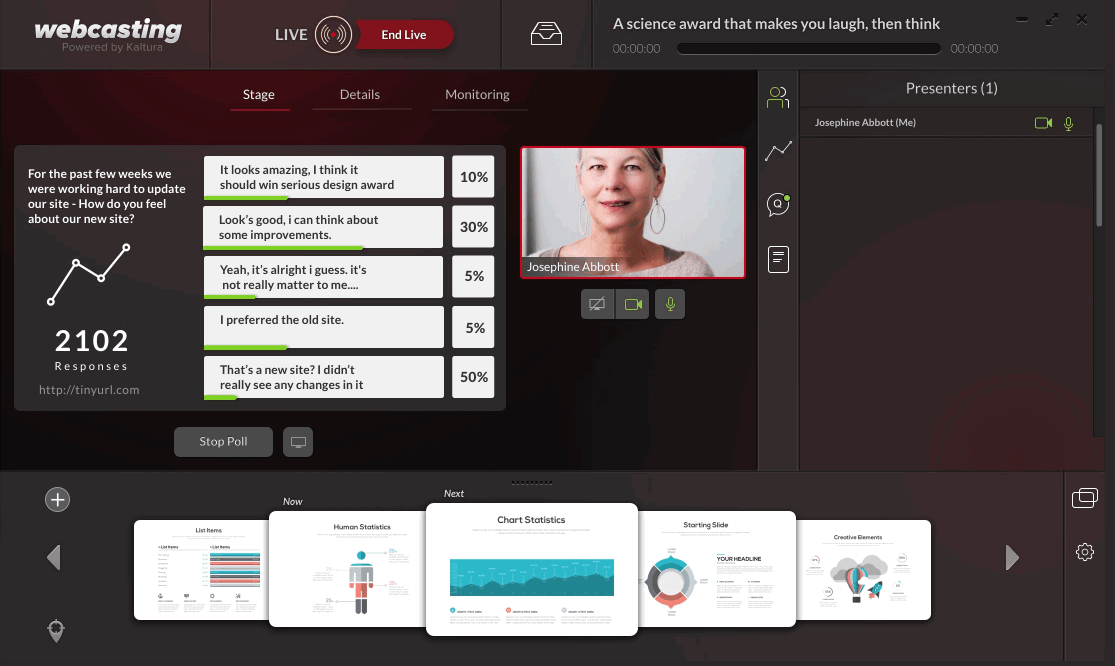
Multi-Presenters/Producers Preview Feature
Multiple producers may be working simultaneously on the same Webcasting event. For example, one producer may be responsible for the self-serve broadcasting while the other producer/presenter may be responsible for the slides.
The Preview feature in the Staging tab of the Producer's application allows the producer/presenter that is not broadcasting the event to see a real time preview of the producer that is broadcasting.
Previously, you could not see the person doing self serve in real-time and there would be latency on the broadcast. The new Preview Player on the Stage tab allows you to see the person broadcasting in self-serve in real time.
If you do a self-serve broadcast - there is no external encoder and the broadcast does not go live until you press G Live.
If another person goes to same entry and opens a new producer application on the Stage tab, they will see the preview player (what the first person is broadcasting without latency).
Ending your Broadcast
- Click End Live.
Your webcast is processed and is added to my Media.
Examples of Live Setup Configurations
Live with Audio only.
Live with Camera only
Live with camera,audio and slides configured where the self-serve window is minimized.
Click on the Self-serve icon to enlarge the Self-serve configuration settings screen.![]()
Troubleshooting
Be certain that other encoders are not configured on your device.
The following message may appear.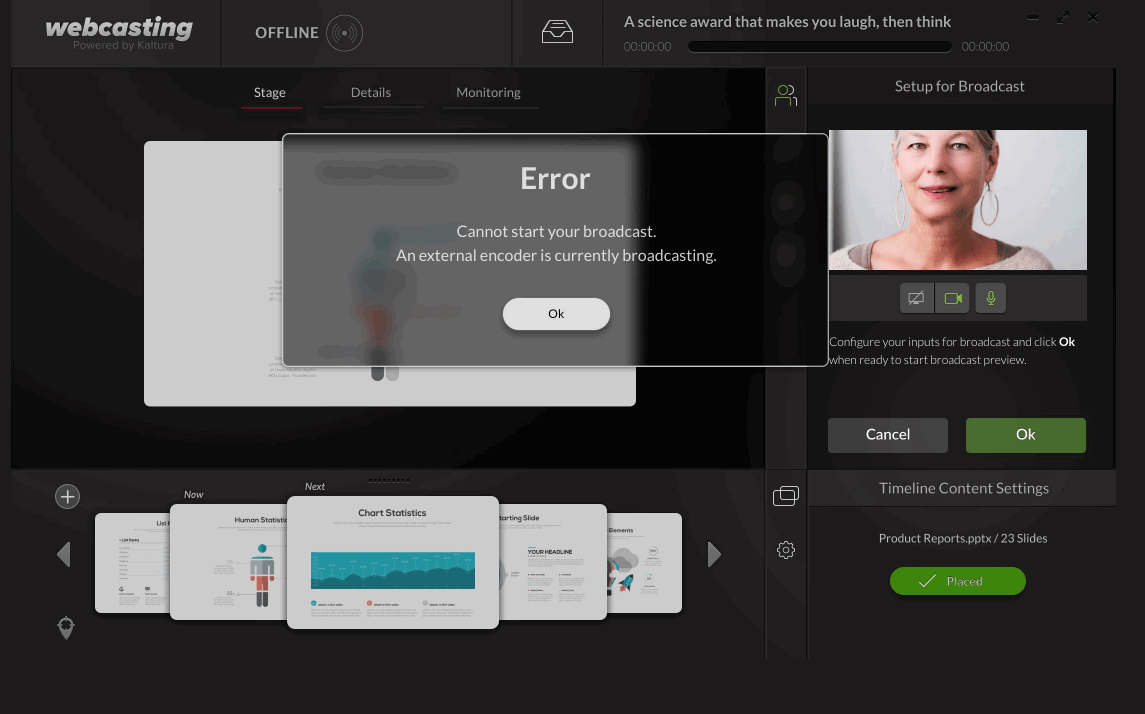
Close any other external encoders that may be working.


