About
Event organizers have the option of removing an attendee from an event via the All users page, but in order to completely delete a user from the system, Event organizers must create a technical support case, providing certain details on the user they would like to delete.
This is because users in the Kaltura system are identified by their email and an external ID. Kaltura applications handle users as "shared" or "non-shared" users. When a "shared" user is deleted, the user and all the user's data is removed from all applications, because "Shared" users have the same user ID across different event accounts.
This article walks you through removing an attendee via the All users page, then creating a technical support case to completely delete user from the system.
The screens shown here represent a multi-session event. The same actions apply when working with single session.
Remove an attendee from an event via the All users page
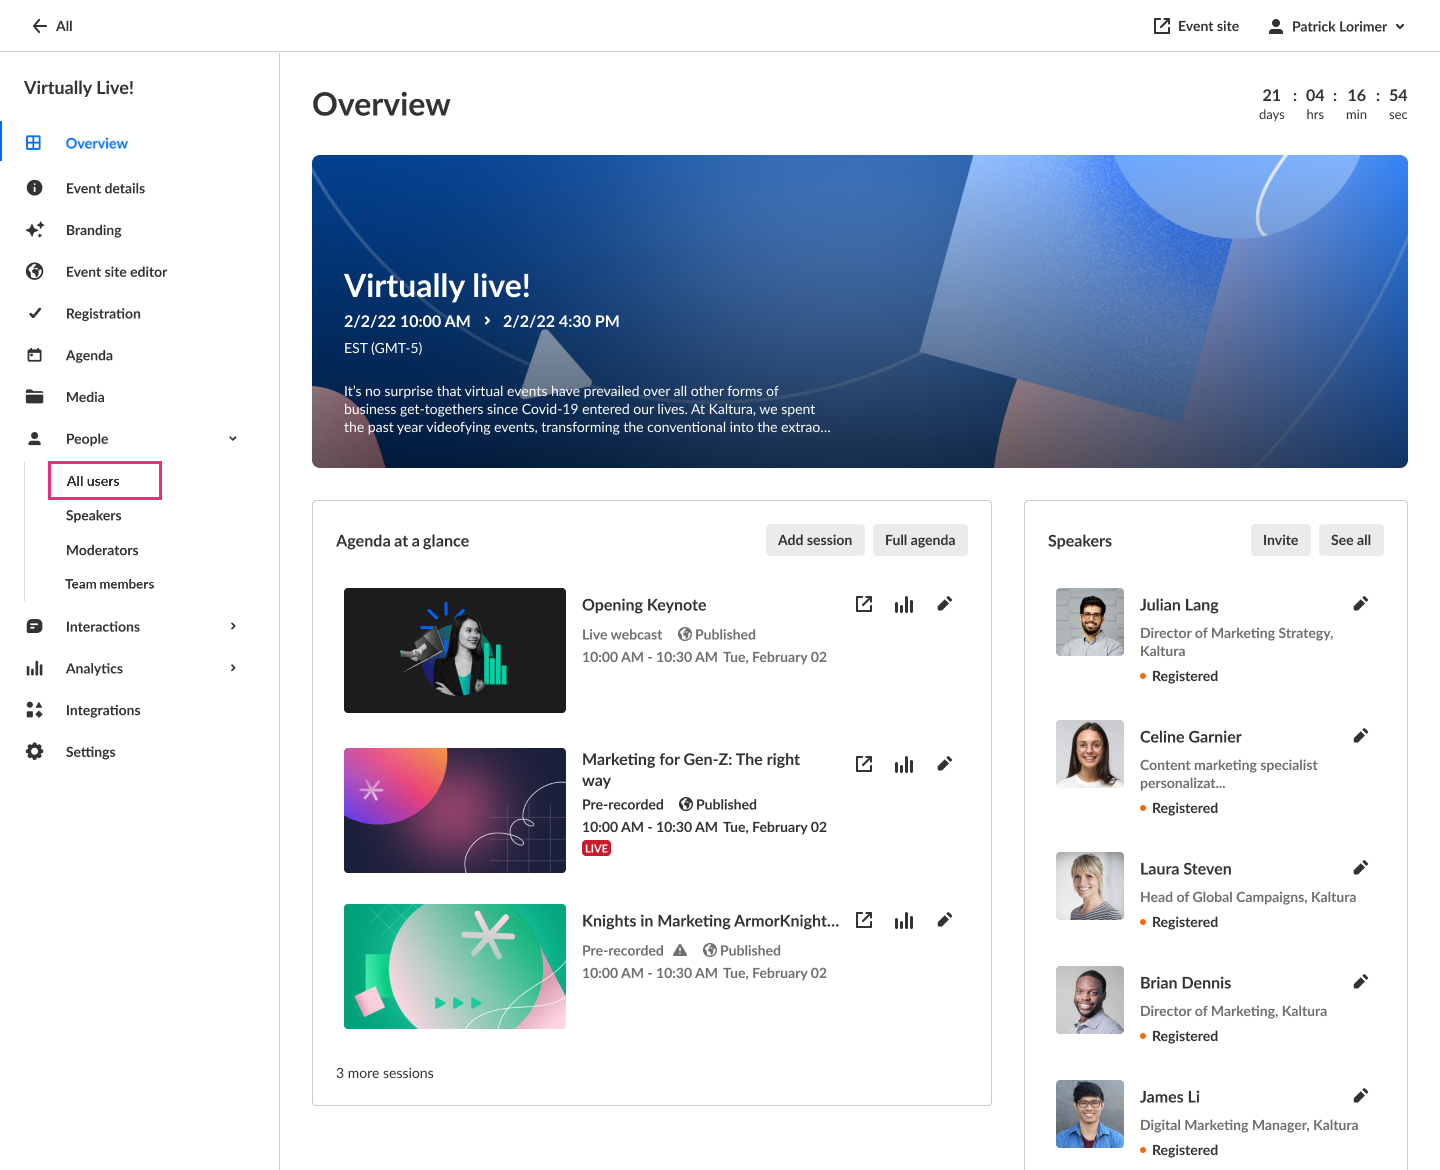
- Navigate to the All users page; from the Event page, click the People tab > All users.
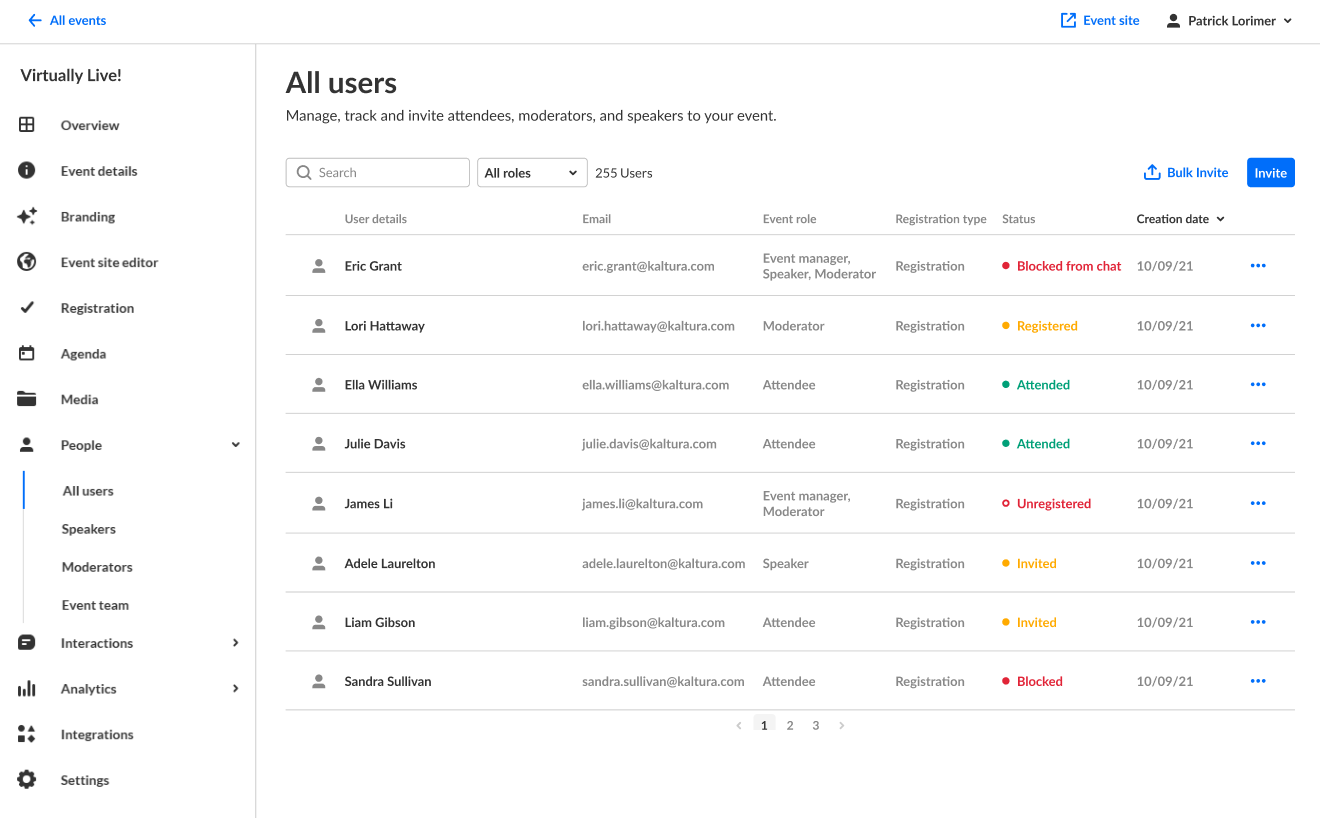
 The All users page displays.
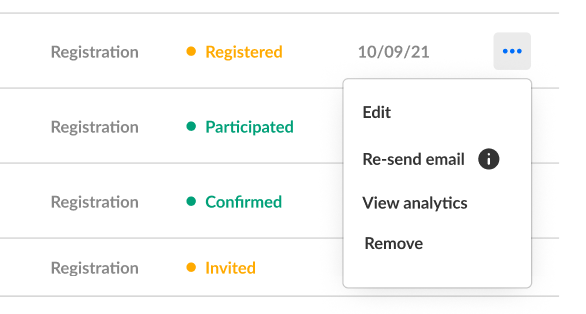
- Click the three blue dots to the right of Creation date, then choose Remove.
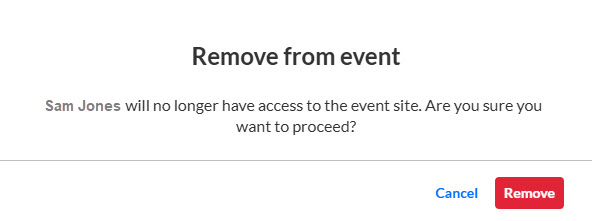
 You are asked to confirm your action.

- Click Remove to confirm or Cancel to exit.
Create a technical support case to completely delete user from the system
See Create a new case via the Kaltura Customer Portal.
You must provide the following information as part of the new case:
- Username with full name
- Notation that the user was created in Events
 The All users page displays.
 You are asked to confirm your action.

