About
This article describes how to:
- Invite participants to your webinar - individually or in bulk.
- Add participants to the webinar without sending them an invitation email.
- View a list of attendees for an upcoming webinar and monitor their progress through the registration process.
- Perform additional actions on attendees per registration status.
A participant can be invited to the webinar as a general attendee, speaker, and/or moderator who will be given advanced capabilities to host.
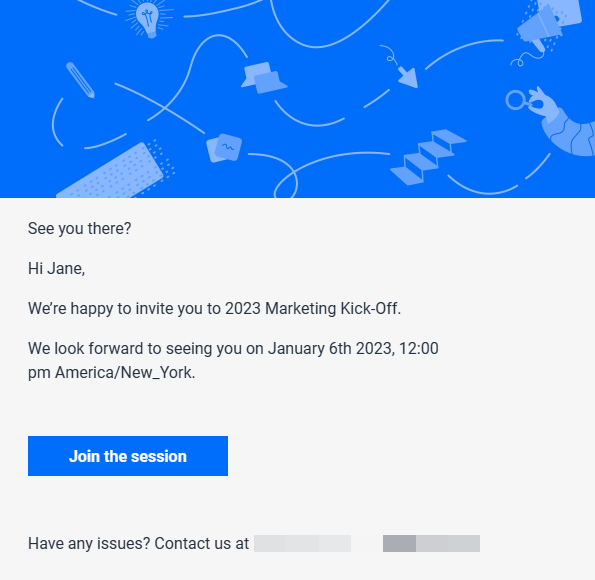
Following is one example of an invitation an attendee may receive.
Invite individual participants to your webinar
- Navigate to the All users page; from the site page, click the People tab > All users.
The All users page displays.
- Click Invite. The Invite screen displays.
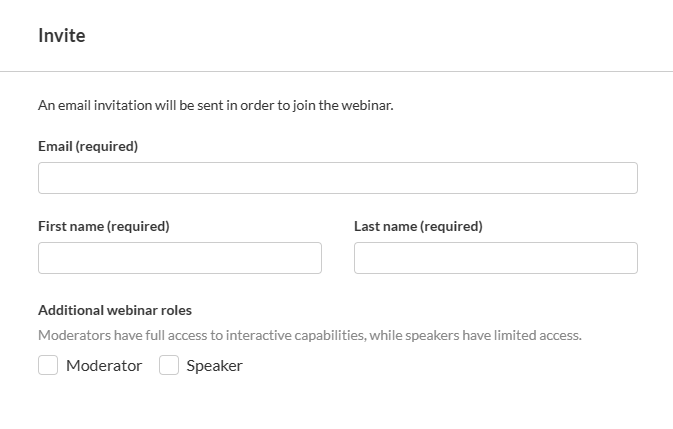
- Type the participant's email address (required), first and last names (required), and choose whether (in addition to having a general attendee role) they will have the additional role(s) of Moderator and/or Speaker.
If you designate them as a Moderator and/or Speaker, additional fields display (highlighted in the box below), allowing you to add an image, title, company, and bio.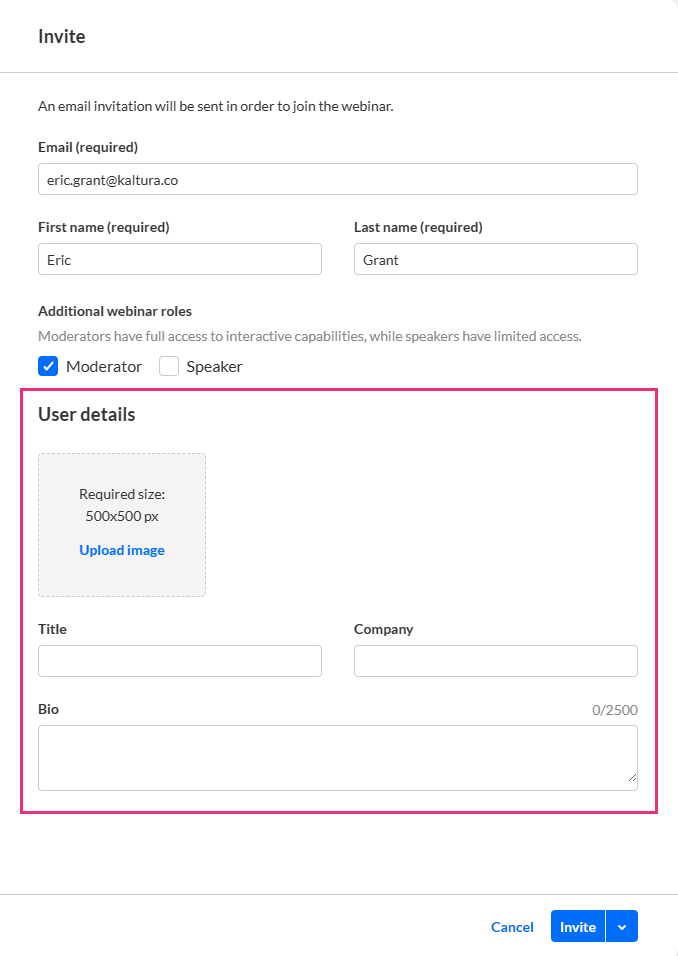
- Add additional user details for the speaker and/or moderator:
- Profile image (optional) - click Upload image (or Replace if one exists) to add/replace an image. Recommended size: 500x500px
- Title (optional field) - Job title of the user
- Company (optional field) - Company of the user
- Bio (optional field) - Short description for the user's profile page on the site. Character limit: 2500
- Once finished, click Invite to send an invitation email, or click the down arrow to the right of the Invite button and choose Invite without an email to add this person to the event without sending them an invitation email.A notification asking you to confirm your action is displayed. Once the role is assigned, you cannot revert this action.
Once you are ready to send them the invite, you can click the three blue dots to the right of Creation date and select the 'resend email' option on the Users page.
- Click Invite to confirm or click Cancel to cancel the action.
If you clicked Invite, a notification that the invite was successfully sent is displayed and the invitation you created will be sent to participants to complete the registration. If you clicked the down arrow to the right of the Invite button and chose Invite without an email, a notification that the invite was successfully sent is displayed and the person is added to the Users list as "Registered".


Invite participants to your webinar in bulk
- Navigate to the All users page; from the site page, click the People tab > All users.
The All users page displays.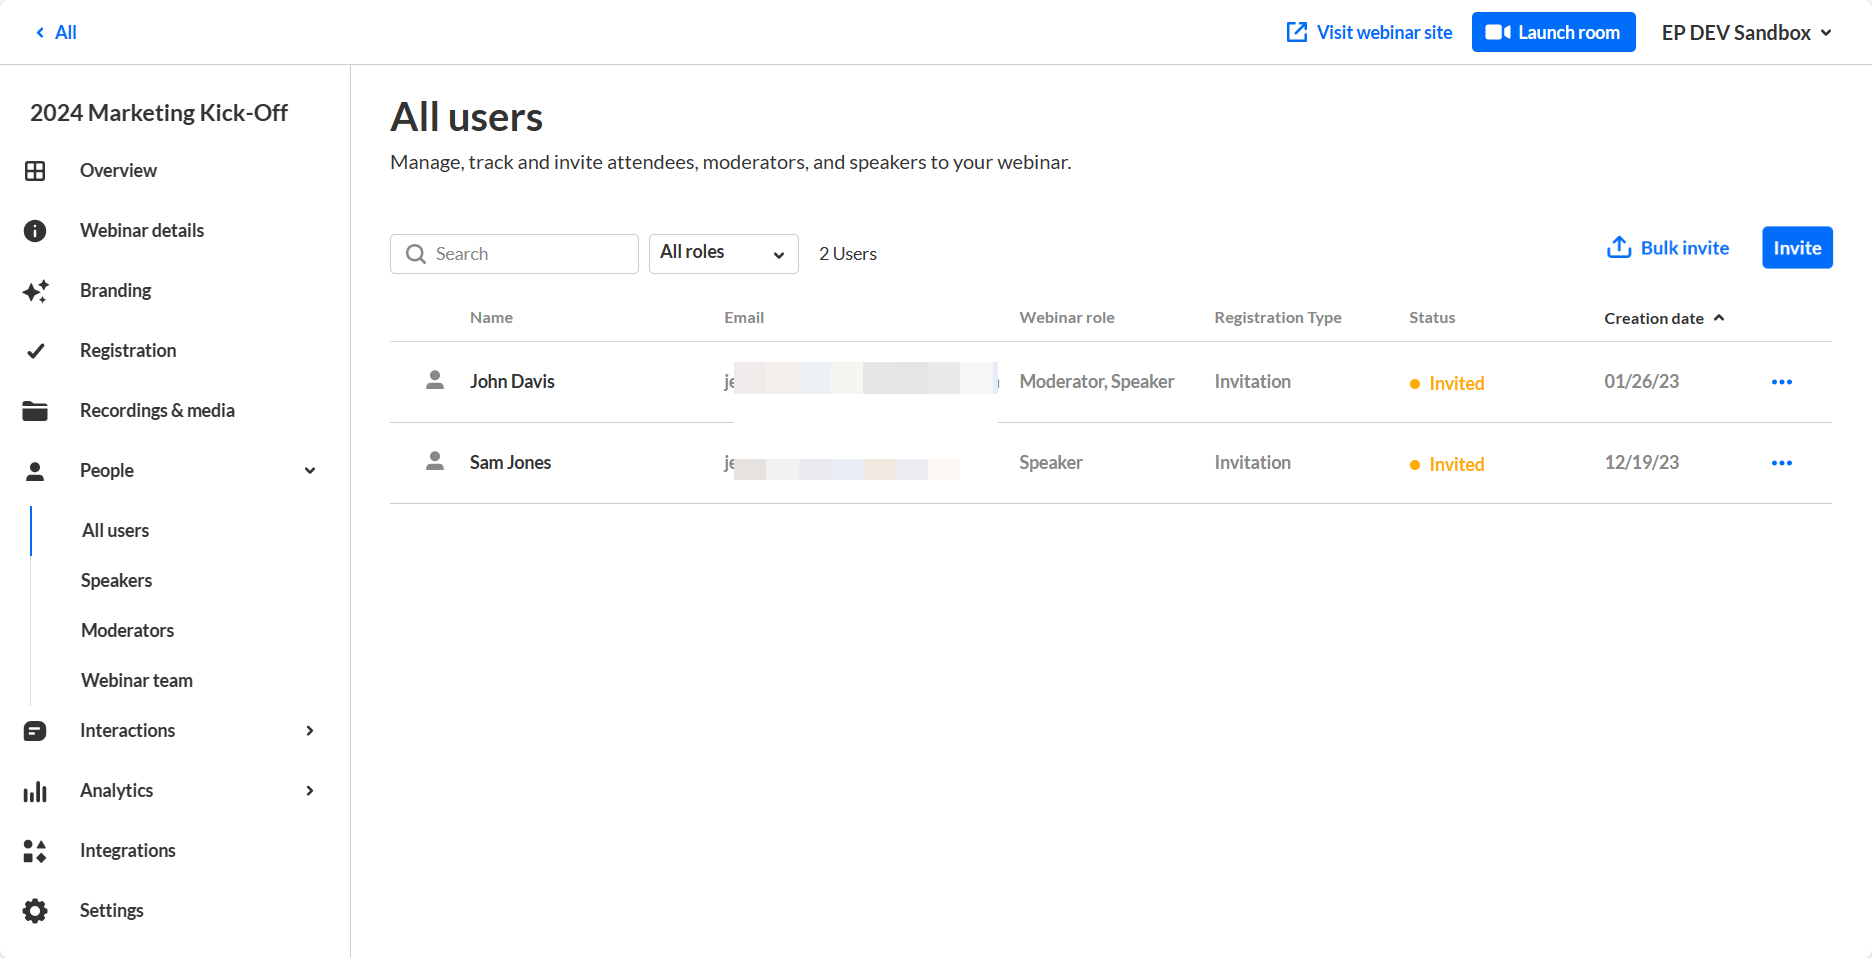
- Click Bulk invite. The Bulk invite screen displays.
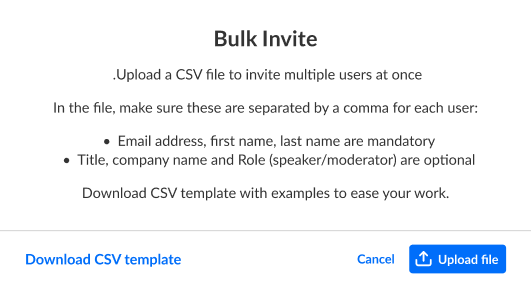
- Here you have three choices:
- Click Download CSV template to download a file that is already formatted and includes examples. Type the appropriate information for your users (email, first name, and last name are mandatory; role (speaker/moderator), title, and company are optional), save, then click Upload file to upload.
OR
- Click Upload file to upload your own CSV file (without using the pre-made template).
OR
- Click Cancel to cancel the action.
- Click Download CSV template to download a file that is already formatted and includes examples. Type the appropriate information for your users (email, first name, and last name are mandatory; role (speaker/moderator), title, and company are optional), save, then click Upload file to upload.
- If you chose to upload a file (either your own or using a pre-made template), you are asked to check your file.
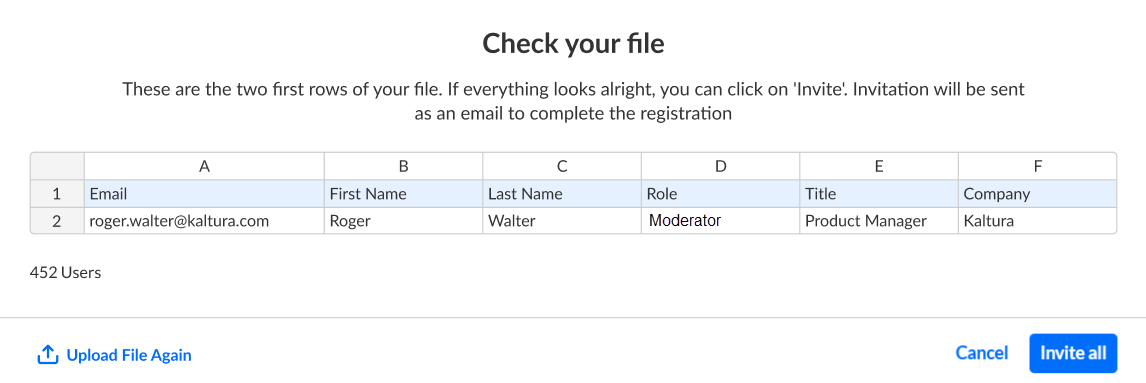
- If everything looks correct, click Invite all. You receive confirmation that the users are being invited. When the process is finished, you receive confirmation that the bulk invite has ended successfully.
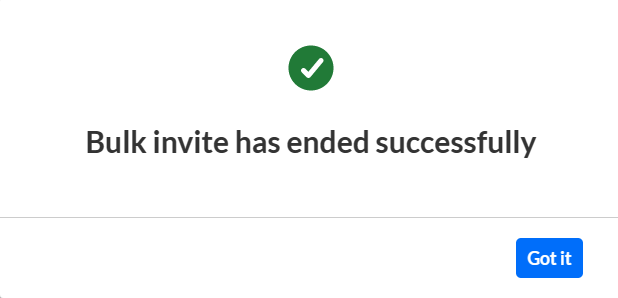
- Click Got it to close the confirmation message.


Troubleshooting - things to consider when using bulk invite
Special characters:
- Email addresses cannot contain special characters (e.g., 片仮名@kaltura.com/Noël@kaltura.com).
- If your CSV contains special characters in any other field (name, title, etc.), it should be uploaded as CSV with UTF-8 encoding format.
Duplications:
Make sure your list does not include duplicate email addresses.
Valid email addresses:
Make sure email addresses are valid (typos like ".con" will result in an error).
View a full list of attendees and monitor their progress through the registration process
Once you have sent your invitations, you can use the Users page to view the full list of attendees for your upcoming webinar (including name, email, role, status, and creation date) and monitor their progress through the registration process.

You can use the search and filter options to locate specific attendees easily.
Perform additional actions on attendees per registration status
You can click the three blue dots to the right of Creation date to access additional options per registration status.

| Registration Status | Options |
| Attended | Edit, View analytics, and Remove |
| SSO login | Edit, View analytics, and Remove |
| Invited | Edit, Re-send the email (invitation), and Remove |
| Registered | Edit, Re-send email (registration confirmation), View analytics, and Remove |
| Unregistered | N/A |
| Blocked
|
Edit and View Analytics
|
If a user has already accessed the Event site, opened the Chat and Collaborate widget, and agreed to the widget's terms of use, one additional option displays for Attended users in addition to those listed above - Block from chat. Using this option, you can block the user from sending messages in the Chat and Collaborate widget.
If you chose for your attendees to log into your event via email (AKA Magic Link), one additional option displays for Invited and Registered users in addition to those listed above - Generate login link. Using this option, you can copy and send attendees the login link.
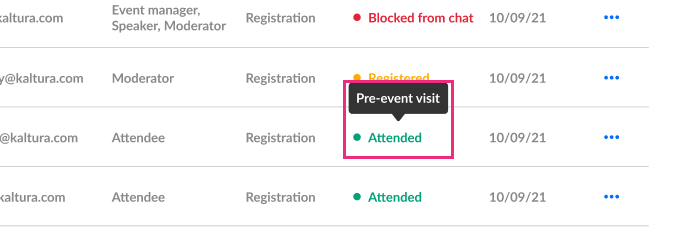
Hovering over the registration status in the All users page reveals a higher granularity of status which may include the following:
| Registration Status | Detailed Status |
| Registered | Registered |
| Invited | Invited by team member |
| Invited | Invited by team member to register |
| Registered | Confirmed email |
| Registered | Registered no confirmation required |
| Attended | Pre-event visit |
| Attended | During-event visit |
| SSO login | SSO login |
| Unregistered | Unregistered |
| Blocked | Blocked |
In our example below, the registration status is Attended, but when hovering over the registration status, we can see this participant visited the site before the event started (i.e., Pre-event visit).
Speakers page
The Speakers page allows you to view a full list of speakers for your upcoming webinar (including name, bio, and status) and monitor their progress through the registration process. You may also invite new speakers directly from the Speakers page. See Kaltura Webinars - Invite Speakers to Your Event.
Moderators page
The Moderators page allows you to view a full list of moderators for your upcoming webinar (including name, bio, and status) and monitor their progress through the registration process. You may also invite new moderators directly from the Moderators page. See Kaltura Webinars - Invite Moderators to Your Event.
