About
This article describes how to design the registration form attendees will be required to complete in order to officially register for your event. It also describes how to publish the registration and preview the registration form.
The screens shown here represent a multi-session event. The same actions apply when working with single session.
The registration form
The registration form offers versatile options catering to virtual, hybrid, and in-person events. It simplifies the process for organizers, adapting to various event formats seamlessly. It also offers the flexibility to include custom questions tailored to hybrid or in-person events, such as dietary requirements, special accommodations, or preferred session topics. Organizers can gather essential details to enhance the attendee experience and address specific needs effectively. With this feature, managing logistics for hybrid and in-person events becomes more streamlined, ensuring a smooth and personalized event experience for all participants.
Additionally, our registration form provides the option to include questions about attendee interests, enabling personalized content and experiences tailored to individual preferences. These insights can be seamlessly integrated into marketing automation tools like Marketo, HubSpot, or others, empowering organizers to craft targeted communication strategies and enhance attendee engagement.
Design the registration form
- Navigate to the Registration page; from the Event page, click the Registration tab.
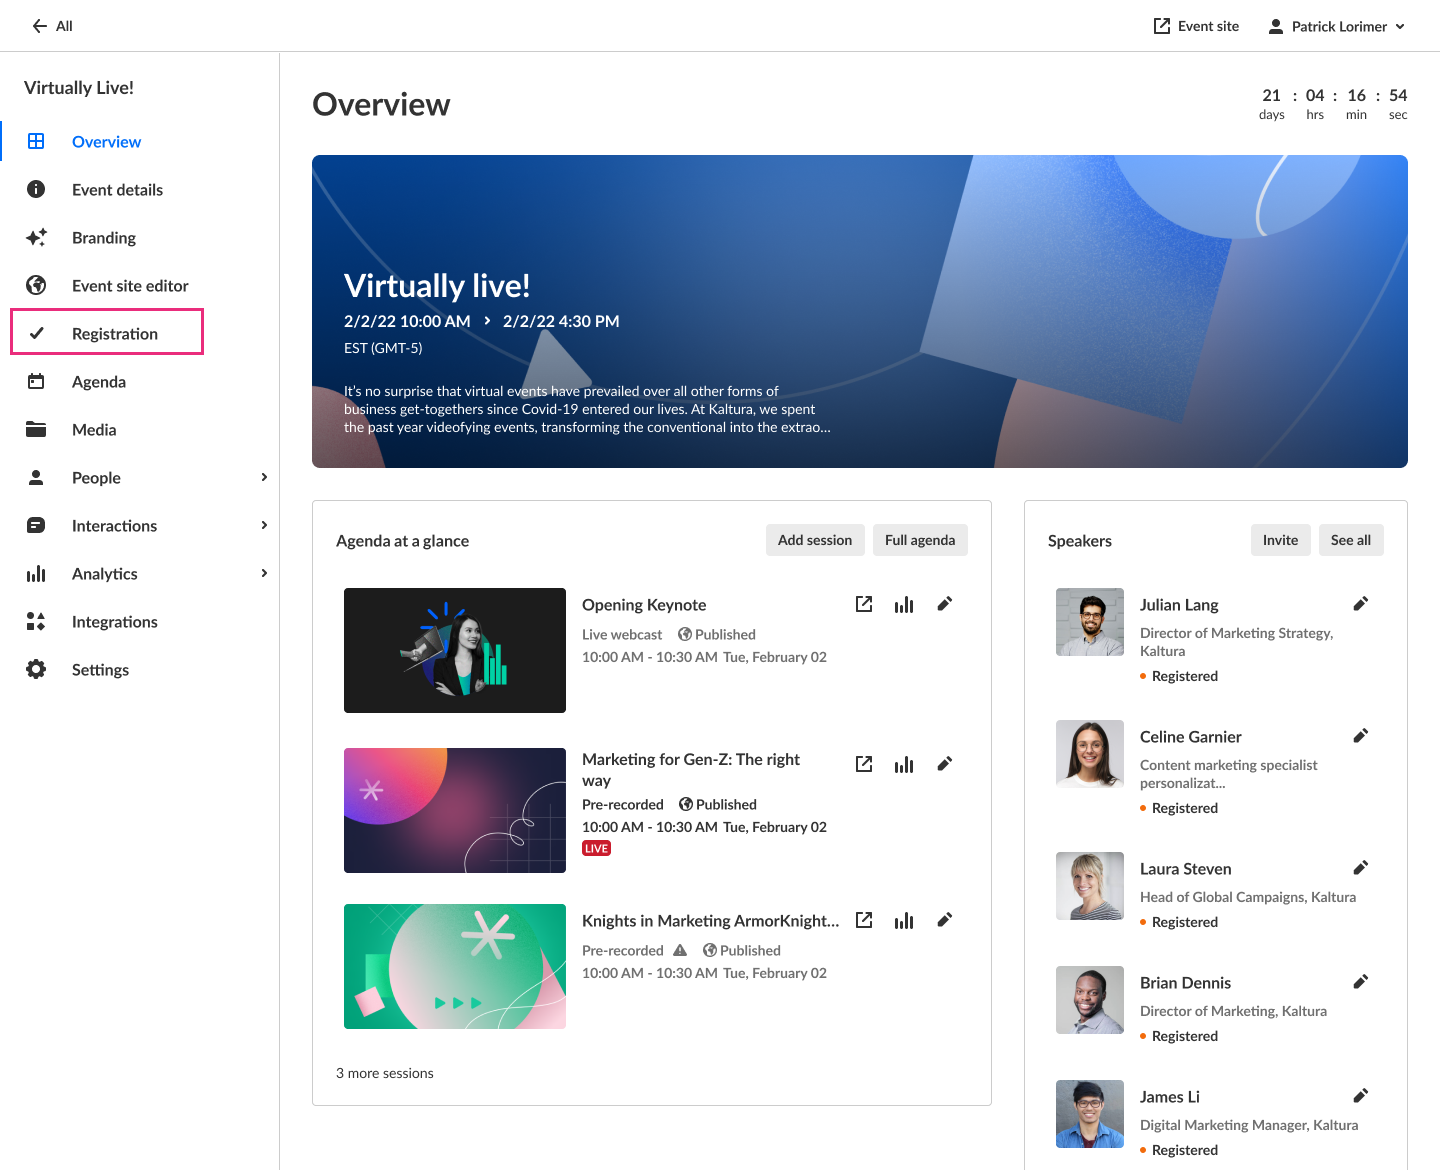 The Registration page displays.
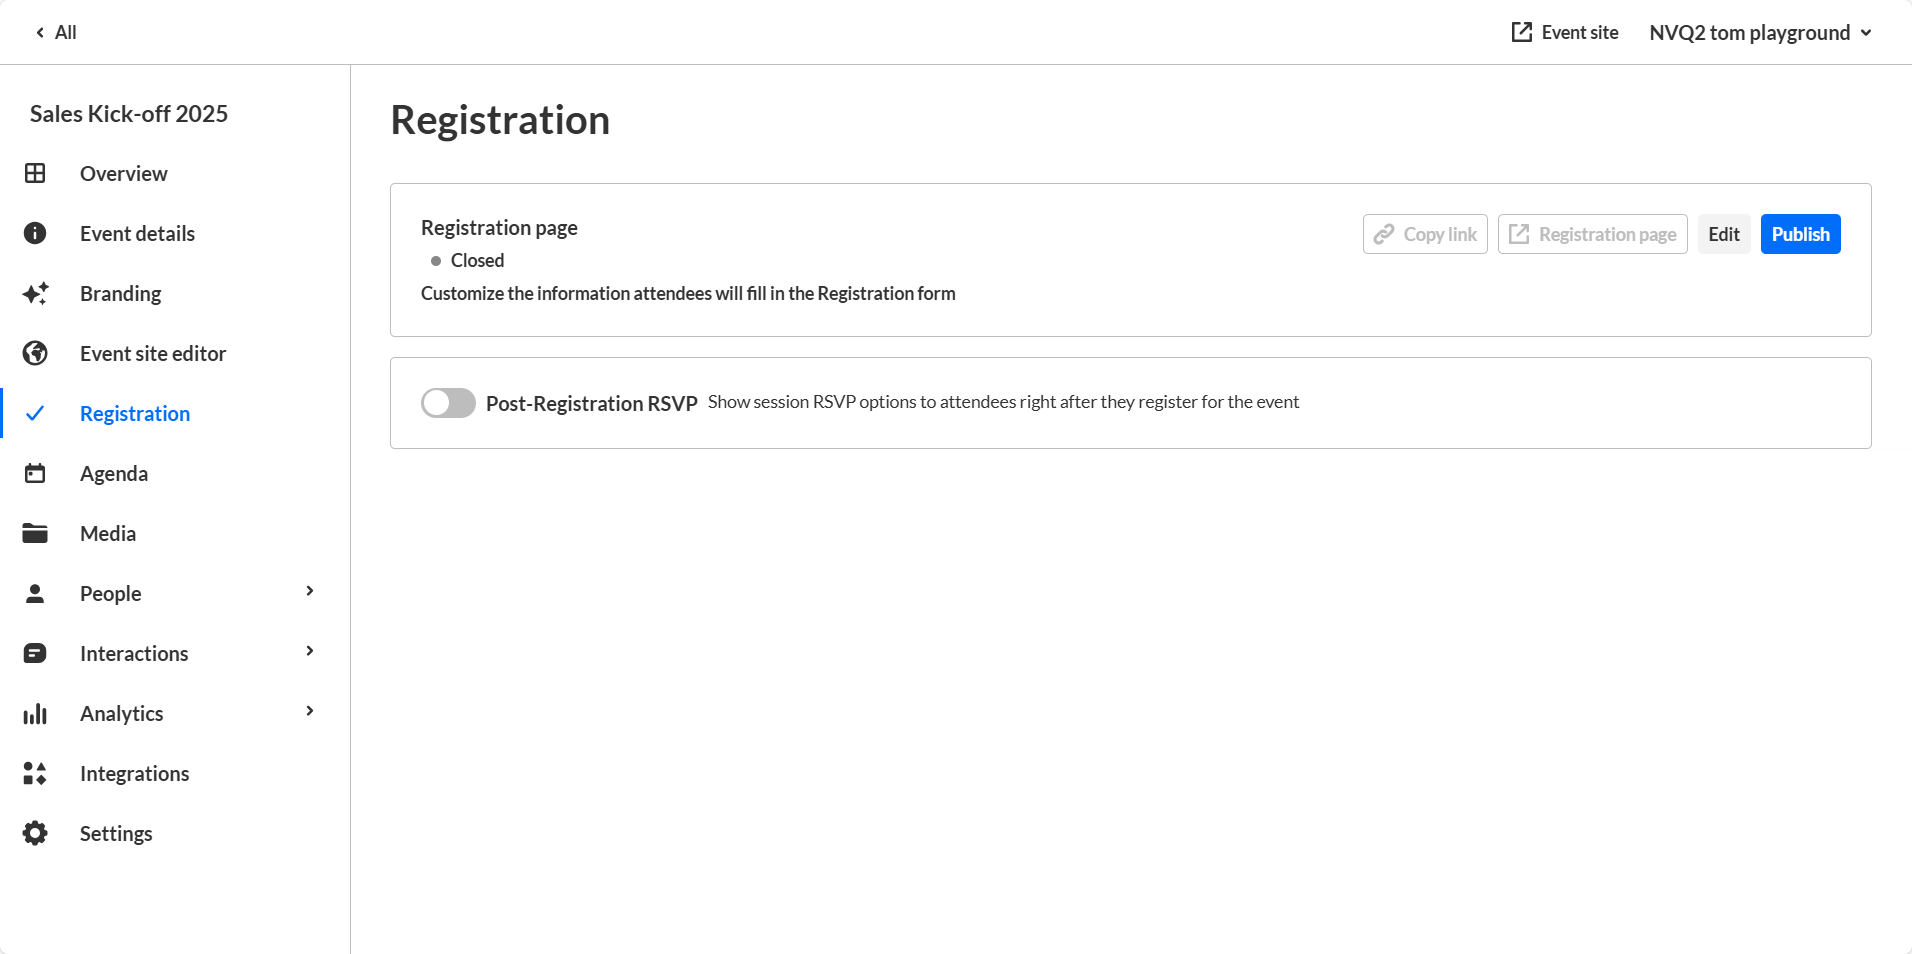
- In the Registration page box, click Edit.
The Registration form displays. This is where you customize the registration form attendees will be required to complete in order to officially register for your event.In our example below, registration is not using Login link via email (AKA "Magic Link"), and is using a traditional username and password, therefore password is an available field. If registration is using Login link via email, password will not display as an available field. Please see Login link via email (AKA "Magic Link") for more information on this feature.

 The Registration page displays.


Following are the edit actions available on the Registration form:
Certain fields (i.e., First name, Last name, Email, and Password if using Login link via email (AKA "Magic Link")) are required; therefore, they are not editable. Please see Login link via email (AKA "Magic Link") for more information on this feature.
- Edit banner - Click Replace image and choose the desired file. We recommend 3840x340 px.
- Edit title - Click the blue edit (pencil) icon next to the title, make your edits, then click Done.
- Edit description - Click the blue edit (pencil) icon next to the description, make your edits, then click Done.
- Edit a section title - Click the blue edit (pencil) icon next to a section title, make your edits, then click Done.
- Edit a field's display name and whether or not it is a required field - Click the blue edit (pencil) icon next to a field, make your edits, then click Done.
- Remove fields - Click the "X" next to a field. The field is returned to the + Add field list.
Sections that have no fields added will not display to the attendees.
- Add fields - Click + Add field and choose from a list of available fields.
If all available fields are added to a section, the + Add field button is disabled. If you are missing a field you need, contact Kaltura to customize your preset fields.
- Manually reorder sections - Grab anywhere on a section title and a hand icon displays. Drag the section to the desired spot on the Registration form.
- Manually reorder fields - Grab anywhere on a field and a hand icon displays. Drag the field to the desired spot in the same section or to the desired spot in a different section of the Registration form.
Once you have finalized the Registration form in its entirety, click Save in the upper right corner of the page. A notification that the Registration form was updated successfully is displayed.
The Save button for the Registration form is disabled, and only becomes 'clickable' after at least one edit is made.
If you have integrations enabled on your account, and integrations exists for this event, please note that removing or editing fields on the Registration form will impact these integrations. All possible Registration form fields should be mapped to the 3rd party integration. Event organizers should be cognizant of fields that are required on the 3rd party integration when removing or editing fields on the Registration form.
Post-Registration RSVP
You may click to enable Post-Registration RSVP. When enabled, a popup of all the event sessions, each with an RSVP button, displays to attendees right after they register for an event. At that time, they can click to RSVP to the desired sessions.

If you choose to leave the option disabled, attendees will not be given this option after registration.
Publish the registration
Now that you have designed the Registration form, it is time to publish the registration.
- Navigate to the Registration page; from the Registration form, click Registration or click the Registration tab.
 The Registration page displays.

- Click the blue Publish button. A notification asking you to confirm your action is displayed. Once published, and you get your first registrant, any changes to the registration form may compromise your data collection.
- Click the blue Publish Registration button to confirm or click Cancel to cancel the action.
If you clicked Publish Registration, a notification that the registration was successfully published is displayed.
You may unpublish registration by clicking the red Unpublish Registration button that is now displayed on the Registration page.
 The Registration page displays.

Once registration is published, you may still go back and edit the Registration form, however, please be aware that the edits you make to the Registration form after registration is published will only display to new registrants going forward. Information for those who registered before you made the edits to the Registration form, will not be changed.
Preview the registration form
Once registration is published, a link to preview the registration form displays. Click the link to preview the Registration form.

Tracking the source of your registrants
As an event organizer, is it critical to discern which marketing campaigns are driving (or drove) the most traffic to your event. This knowledge is key to better-allocating budgets for current and future campaigns.
Kaltura tracks the source of your registrants through the use of UTM (Urchin Tracking Module) parameters that are embedded as hidden fields in the registration form. UTM parameters consist of the following:
Traffic source (utm_source) - Are your registrants coming from Facebook, LinkedIn, Google, etc.?
Medium (utm_medium) - Are your registrants coming as a result of an email, social media, a referral, etc.?
Campaign name (utm_campaign) - What campaign drove your registrants here? You can base this on your own campaign naming conventions.
This resulting data is displayed as part of the Registration Report.
