About
The Media page allows you to:
- Upload media to the event site
- View media on the event site
- Create with AI
- Publish media to your Content Hubs
- Download, delete, or edit media
- Copy the media link to share with others
The screens shown here represent a multi-session event. The same actions apply when working with single session.
Navigate to the Media page
From the Event page, click the Media tab.

The Media page displays. If no media exists, the screen is empty. If media has been uploaded, that media displays in the list (as shown below). You can search for media, as well as filter for specific media types and publish statuses.

Upload media to the event site
- On the Media page, click on the Upload Media button to upload media to your event site. If no media exists, you may also click the + Upload Media button in the main body of the page.

- Locate and choose a media to upload.

Supported file types:
Audio - mp3, wav, ogg, m4a, wma
Image - png, jpg, jpeg, bmp, gif, svg, webp, tiff, ico
Document - docx, xlsx, pptx, pdf
Video - mp4, m4v, mkv, mov, avi, wmv, webm, 3gp
All media is uploaded as "Private", meaning it is not discoverable/accessible by attendees and available only for team members. See the following section titled 'Set site visibility' for instructions on changing a media's visibility.
View media on the event site
You may click the redirect icon to the right of a media to navigate directly to your event site to view the media.

Create with AI
Enrich and repurpose your content into engaging, snackable experiences with Kaltura's AI-powered post-production assistant.
There are two ways to access Content Lab functionality - on the Media page, click the three dots and select Create with AI, or on the Edit Media page, click the Create with AI button.
Media page example:

Edit Media page example:

Content Lab functionality will be active and enabled only on applicable media. See Create highlight clips with AI and Create a summary and chapters with AI for more information.
Media Publishing Capabilities
You may publish videos to your Content Hubs per channel and unpublish videos from your Content Hub(s) per channel.
Prerequisites and notes:
- Content Hubs must be preconfigured by Kaltura.
- Content Hubs publishing entitlements apply.
- It may take up to 10 minutes for videos to appear in a channel on the Content Hubs after publishing.
There are two ways to reach media publishing capabilities - on the Media page, click the three dots and select the appropriate action, or on the Edit Media page, click the three dots and select the appropriate action.
Menu items that display depend on the published state of the video. If the video is not published, the menu item is "Publish on Video portal". If the video is published, the menu item is "Change Video portal settings".
Media page example:

Edit Media page example:

Regardless of if you chose Publish on Video portal or Change Video portal settings, the Publish on your Kaltura Video Portal screen displays. This screen lists all the Content Hubs to which you have access.
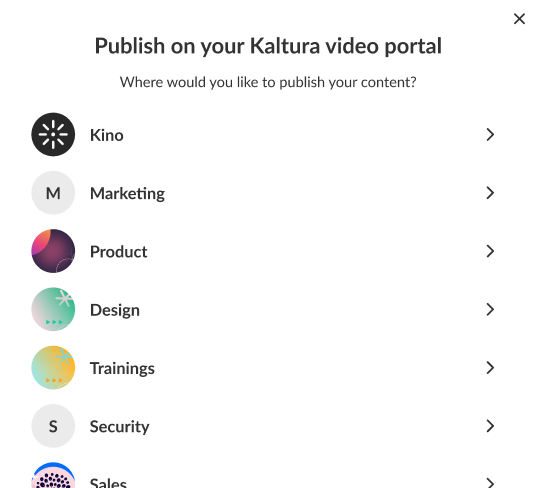
In our example above, the user has access to multiple Content Hubs.
Click on the appropriate Content Hub. The Publish on [Content Hub name] screen displays. This screen lists all the channels to which you have access in this Content Hub.
If you have access to only one Content Hub, you are taken directly to the Publish on [Content Hub name] screen.
If you do not have access to any Content Hubs, you are taken to a screen which allows you to check out Content Hub and explore its main features and functions.
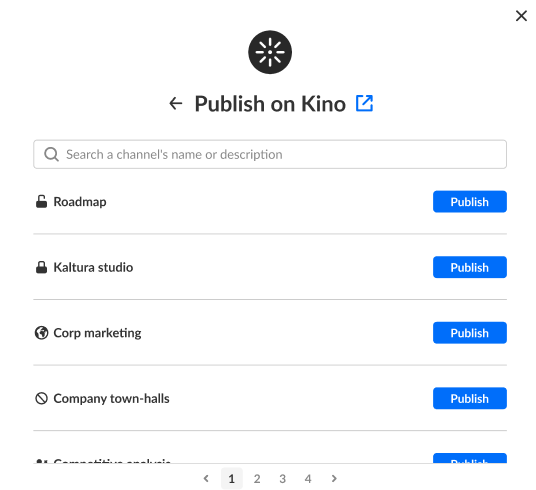
In our example above, the user has access to multiple channels in this Content Hub.
To publish a video, click the Publish button next to the appropriate channels. You may search for a channel's name or description on this screen as well.
If no channels exist in this Content Hub, you receive a message instructing you to create a channel in this Content Hub before proceeding.
A note on publishing entitlements:
- Restricted - all logged in users can view content and only channel members can contribute content.
- Public, restricted - anyone can view content (including anonymous, not logged-in users), only channel members can contribute content according to their publishing entitlements.
- Shared Repository - only channel members can view and contribute content; content may be published to other channels, according to publishing entitlements.
- Private - only channel members can view and contribute content.
- Open - all logged in users can view and contribute content (contribution is not allowed for viewer-role users.
- Public, open - anyone can view content (including anonymous, not logged-in users) and all logged in users can contribute content.
As you click Publish, the channel(s) in which this video is published display in a list directly below the name of the Content Hub.
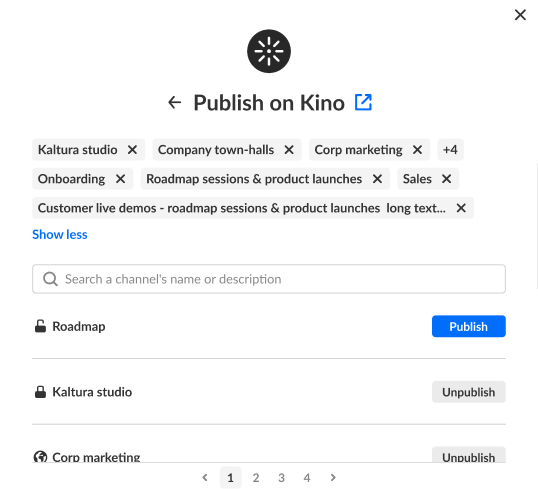
To unpublish a video from a channel, click the "X" next to the channel name in the list directly below the name of the Content Hub, or click the Unpublish button to the right of the channel name.
Download or delete media
You may download media to your computer or delete media that has been uploaded to the site. Click the three blue dots and select the appropriate action.

When deleting media, you will be asked to confirm your action.
A media that is associated with a pre-recorded session cannot be deleted (i.e., the delete menu option is disabled); you must replace the source before deleting the media.
 Media Tab Three Button Menu with Delete Disabled
 Edit Panel Three Button Menu with Delete Disabled
Edit media
There are two ways to reach media editing capabilities:
- On the Media page, click on the media you would like to edit
- On the Media page click the three blue dots to the right of the media you would like to edit and choose Edit.
 The Edit panel displays with the Basics tab open by default.

 The Edit panel displays with the Basics tab open by default.

Basics tab
Create with AI button - Enrich and repurpose your content into engaging, snackable experiences with Kaltura's AI-powered post-production assistant. Click to access Content Lab functionality. This button will be active and enabled only on applicable media. See Create highlight clips with AI and Create a summary and chapters with AI for more information.
Visit media page - View media on the event site.
Copy media link - Copy the media link to share with others.
The editable fields in the Basics tab are as follows:
Thumbnail - If you wish to insert a different thumbnail, click Replace Thumbnail and choose the desired file. We recommend 1920x1080 px.
Title - A title for your media (char limit is 120).
Description - A description of your media.
Visibility - Choose visibility of the media.
Private - This video will be available only for team members, not for attendees.
Unlisted - This video will be reachable via direct link only.
Published - This video will be available on the event site as part of the VOD gallery.
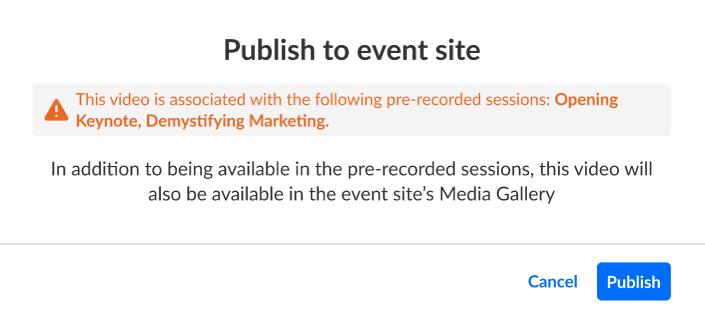
If you attempt to publish a media that is associated with a pre-recorded session, a pop-up message similar to the following displays.
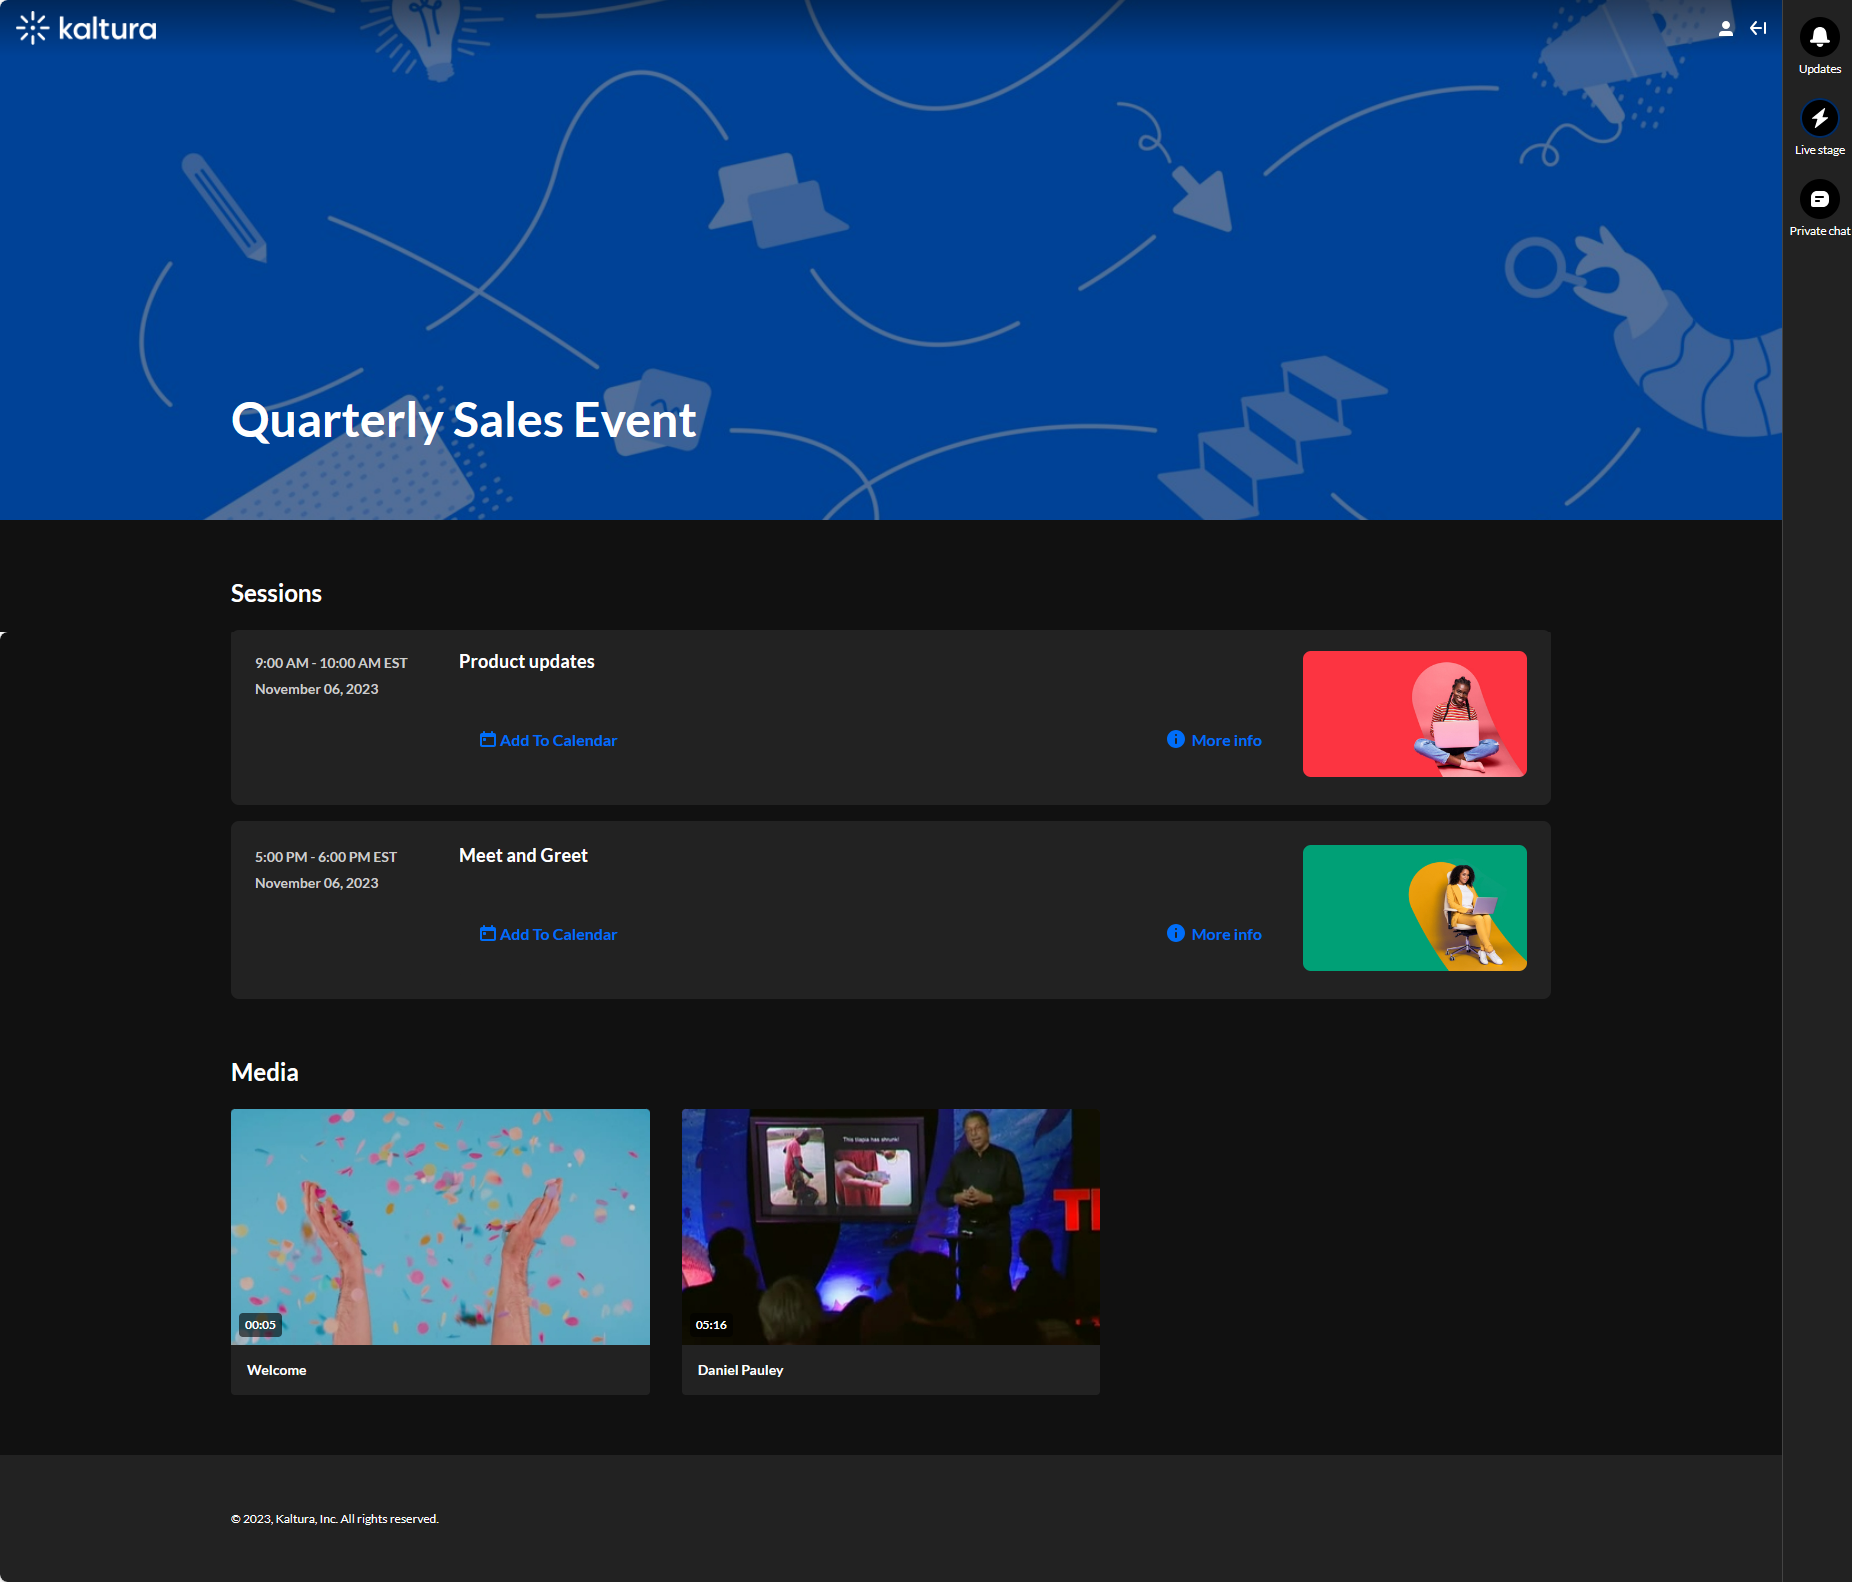
Video sources should remain "Private", otherwise, your attendees will see the video on the event site VOD gallery. Following is an example of an event site. In the example below, two media have been set to "Published" and display on the VOD gallery at the bottom of the page.
Captions tab
The Captions tab does not display for document entries.
To order captions
- Click on the Captions tab.
- Under Order captions, click Order. The Order captions screen displays.
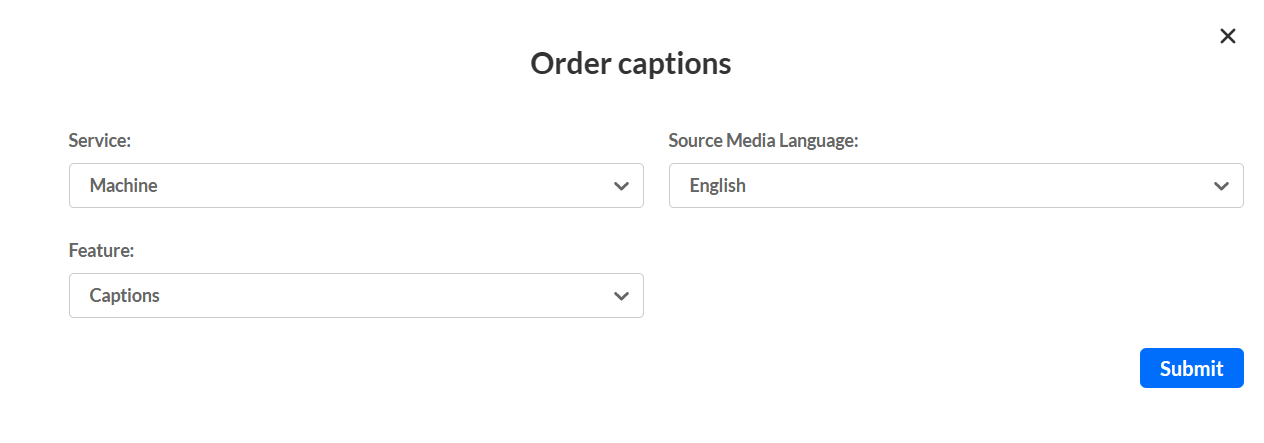
- Complete the fields in the Order captions screen.
- Service - Select the type of Captioning service.
- Machine - Automated captioning process. (Machine captions must be ordered at least 15 minutes ahead of your session.)
- Professional - Human / professional captioning. When selecting Professional, you must select the turnaround time as well. Please note - Kaltura recommends captions be ordered in advance.
- Source Media Language - Select the spoken language of the live stream. Currently only English is supported.
- Feature - Select Captions.
- Service - Select the type of Captioning service.
- Click Submit.

To upload captions
- Click on the Captions tab.
- Under Upload captions, click Upload. The Upload captions screen displays.
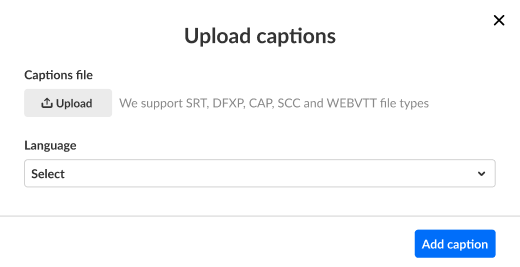
- Click Upload to choose the desired captions file from your computer, select the language, then click Add captions. As you add captions, they display on the Captions tab under Upload captions.

Please note - You may upload only one file per language.
To set as default, edit, download, and delete captions
- Click on the Captions tab.
- Click the three blue dots to the right of each caption file for additional functionality.
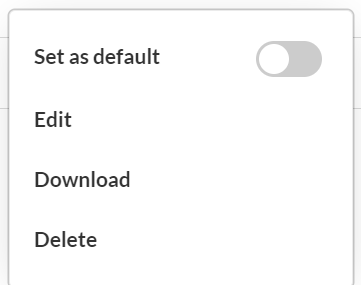
- Choose Set as default to set the caption file as the default.
- Choose Edit to edit the caption file.
The Edit Captions page displays. See Editing Captions for more information.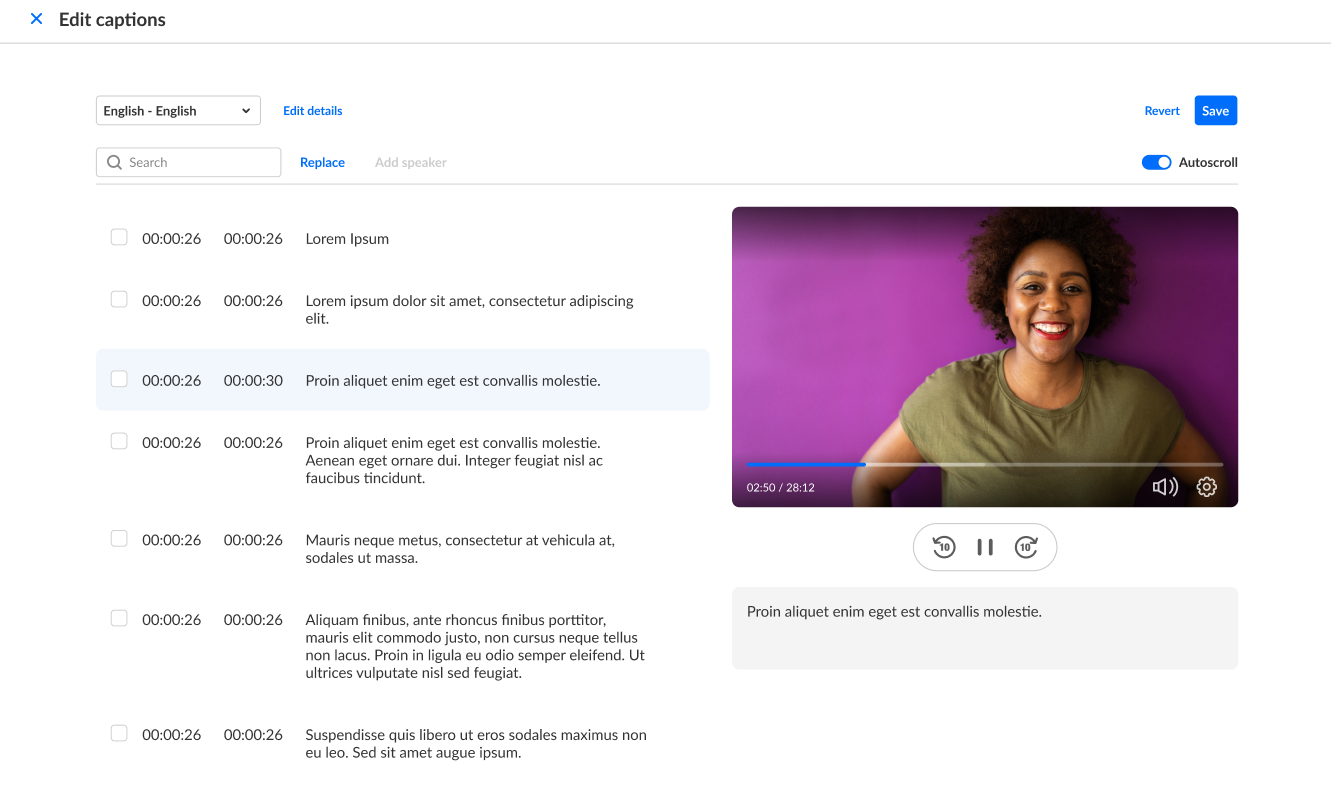
- Choose Download to download the captions file to your machine.
- Choose Delete to delete the caption file.


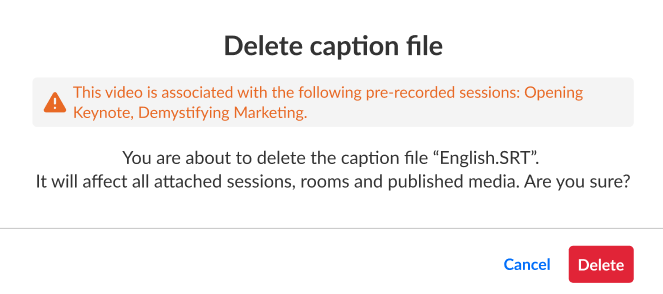
Adding/removing captions from a video source will affect all sessions with which it is associated. Following is an example of a pop-up message that displays when attempting to delete a caption file from a video source.
Attachments tab
Provide your audience a greater immersive experience and more value by enriching your media with downloadable content, like videos, images, and documents.
Supported file types consist of the following:
Media files - *.mts;*.MTS;*.qt;*.QT;*.mov;*.MOV;*.mpeg;*.MPEG; *.avi;*.AVI;*.mp4; *.MP4; *.vob;*.VOB;*.flv; *.FLV; *.f4v; *.F4V; *.asf;*.ASF; *.wmv;*.WMV;*.m4v;*.M4V;*.3gp;*.3GP; *.mkv;*.MKV;*.arf;*.ARF; *.webm;*.WEBM; *.mxf;*.MXF
Document files - 'doc', 'docx', 'docm', 'dotx', 'dotm', 'xls', 'xlsx', 'xlsm', 'xltx', 'xltm', 'xlsb', 'xlam', 'ppt', 'pptx', 'pptm', 'potx', 'potm', 'ppam', 'ppsm', 'odb', 'odc', 'odf', 'odg', 'odi', 'odm', 'odp', 'ods', 'odt', 'otc', 'otf', 'otg', 'oth', 'oti', 'otp', 'ots', 'ott', 'oxt','swf','pdf'
Image files - 'jpg', 'jpeg', 'bmp', 'png', 'gif', 'tif', 'tiff'
Upload attachments to your media
- Click on the Attachments tab.

- Click on the Upload button and choose desired file(s).
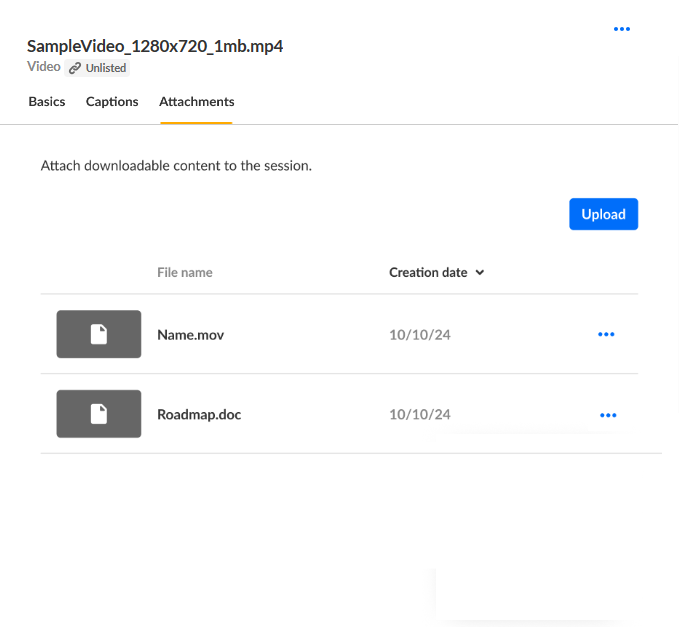
The progress of your upload is displayed.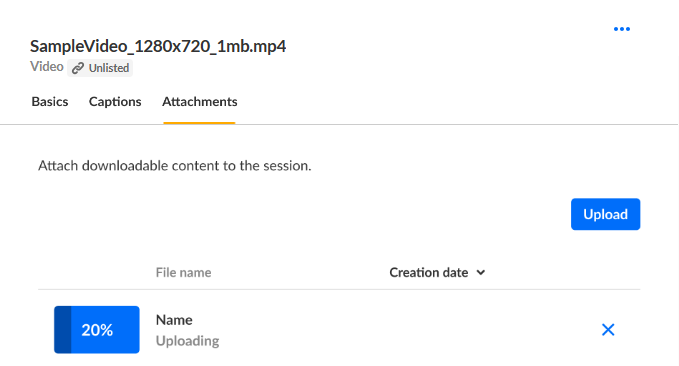 When complete, you receive notification of successful upload.

 When complete, you receive notification of successful upload.
Edit attachments on your media
- Click on the Attachments tab.

- Click the three blue dots to the right of the attachment and choose Edit.
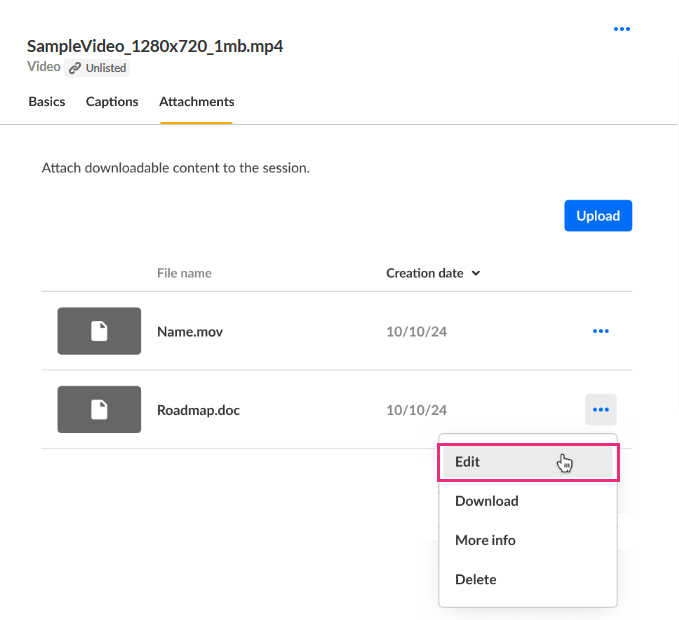 The Edit details screen displays.
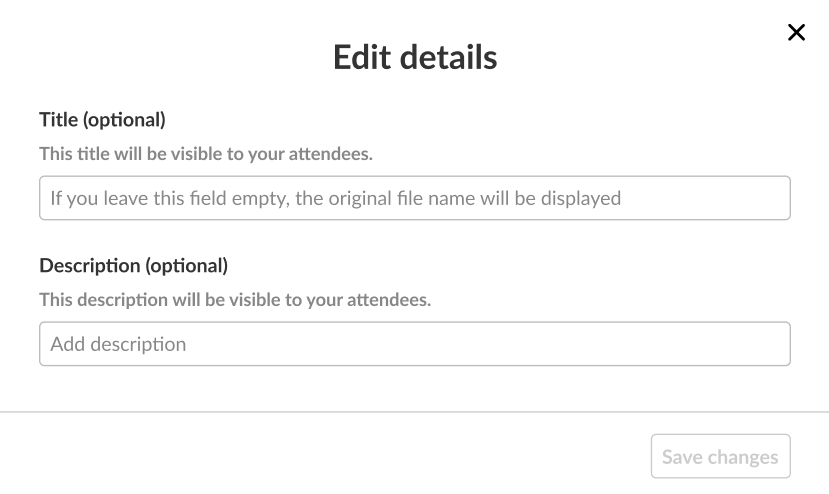
- Type the title and description (optional). The title should be a more descriptive name for this file. The description should provide context on the file's content. Both will be visible to your attendees.
- Click Save changes.

 The Edit details screen displays.

Download attachments from your media
- Click on the Attachments tab.

- Click the three blue dots to the right of the attachment and choose Download.
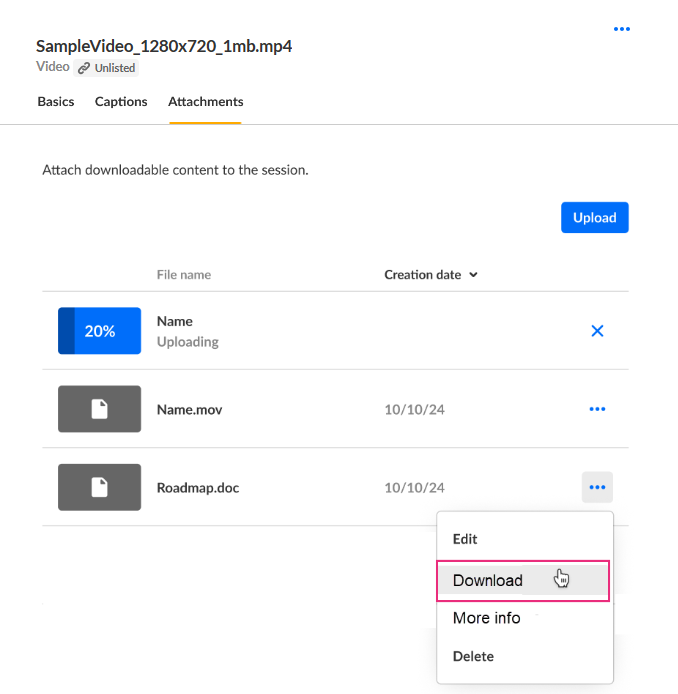 The attachment is downloaded to your machine.

 The attachment is downloaded to your machine.
Get information on attachments in your media
- Click on the Attachments tab.
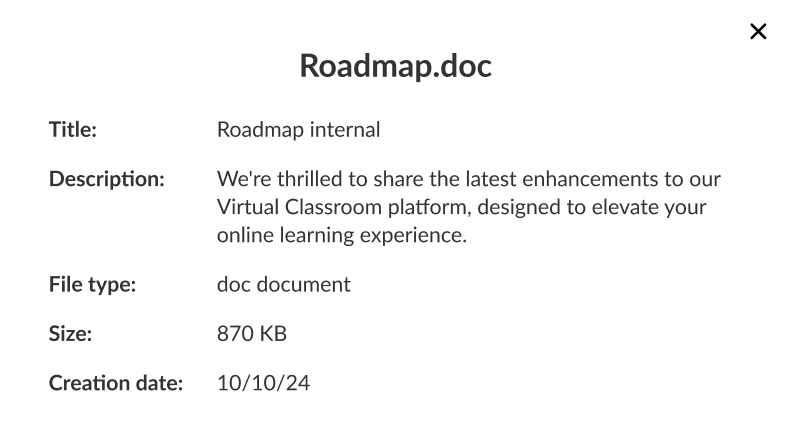
- Click the three blue dots to the right of the attachment and choose More Info.
 Addition information displays about the attachment.
- Click "X" to exit the screen.

 Addition information displays about the attachment.

Delete attachments from your media
- Click on the Attachments tab.

- Click the three blue dots to the right of the attachment and choose Delete.
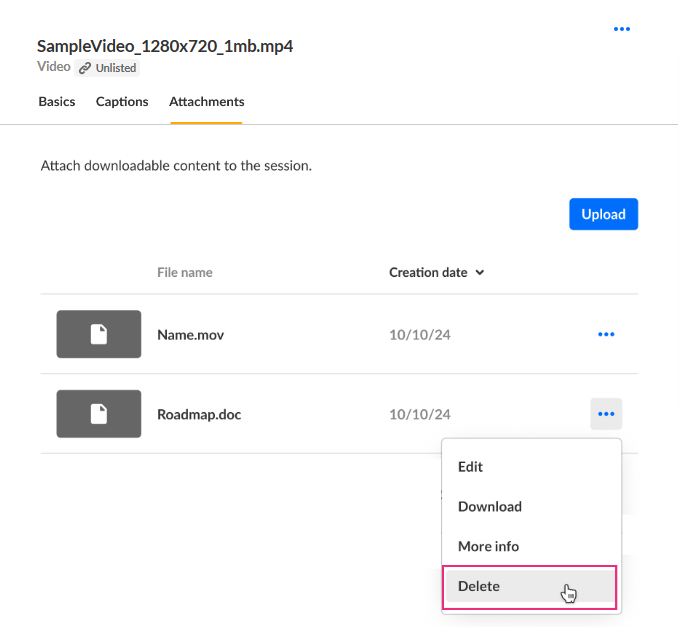 You are asked to confirm your action.
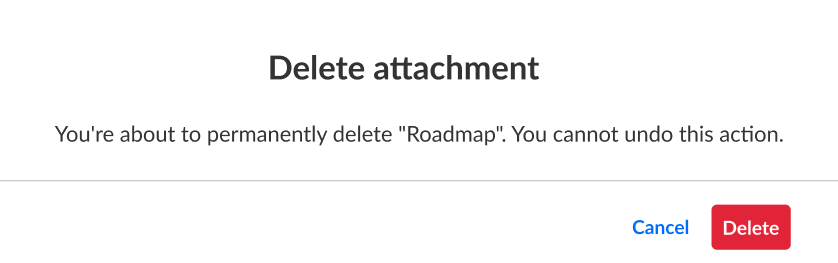
- Click Delete.
When complete, you receive notification of successful deletion.

 You are asked to confirm your action.

