This guide is intended for KMC and KMS administrators.
Read this article to learn how to configure a registration form that safeguards the video content to be shown only to users who have registered.
Use the Registration Module to:
- Set a registration form for your media (see types below).
- Download a report of all the users that registered via the registration form
- Short links to the event with an expiration of 1 year will be set to Outlook calendar invites
A registration form may be added for the following types of entries:
✔ Webcast
✔ Live
✔ VOD
✔ Quiz
✔ Meeting Rooms
The registration module is unsupported by the Video Portal Theming Feature Set. We recommend you register to the Release Notes for updated information on new feature releases of Kaltura products!
Configure the Registration Form(s)
The Registration Form is set up in the Kaltura Management Console (aka KMC) as a Custom Data Schema. The schema contains the fields for the registrant to complete.
- Login to the KMC.
- Go to Settings and select the Custom Data tab.

- Click Add Custom Schema to add a schema.
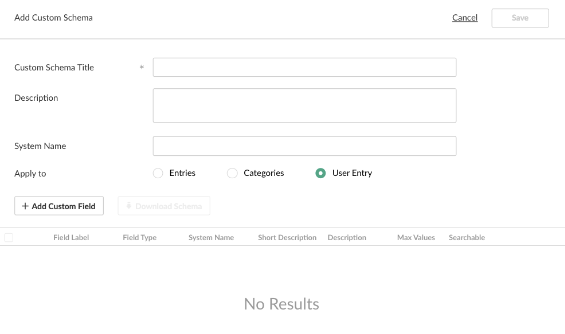
- Enter the Custom Schema Title and a Description.
- Select User Entry to ensure that that the custom data schema that is created will be available in the Registration module. You may create as many registration forms as you need.
The schemas found in the Custom Data tab are essentially registration forms as long as they are configured on the user-entry option. Multiple registration forms can be made available per KMS instance. - Add the custom fields. The supported field types are: Input Field, Drop List. Each field that is added has two additional configurations:
- Required - require the user to fill in that field and will not allow them to submit the form otherwise
- Hidden - hide the field from rendering in the registration form. You might want to use this option for a field you aren't sure that you want to use thus allowing you to show/hide the field on demand without the need of replacing the form
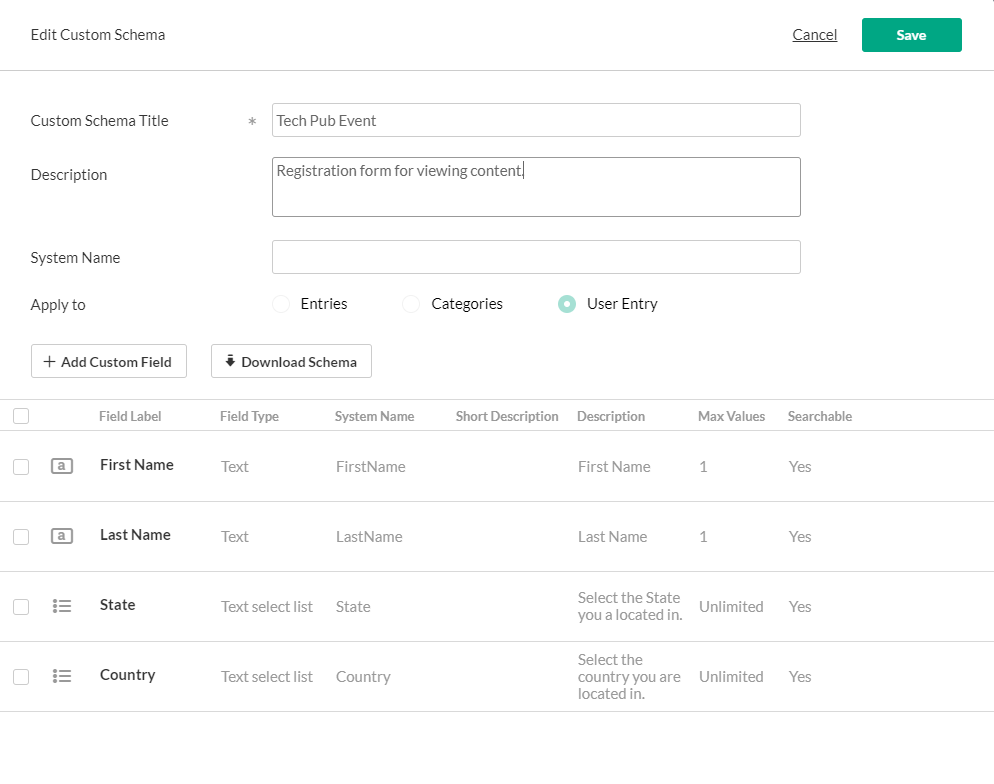
- The default fields for the registration form that is included in the Registration module are:
- First Name
- Last Name
- State
- Country
For more information on how to add or edit custom data see Custom Data.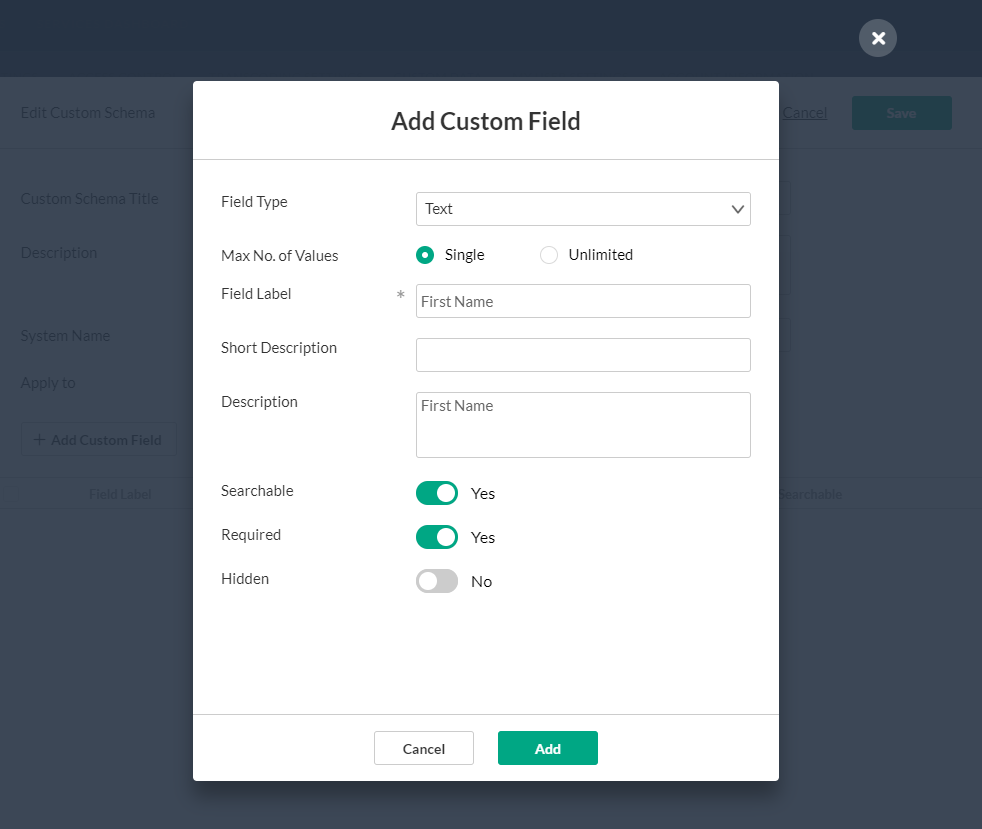 The following is an example of a Custom Data Registration Form Schema:
- Click Save.


 The following is an example of a Custom Data Registration Form Schema:

Configure the Registration Module
Kaltura Registration is managed by KMS and KAF system administrators in the Admin area accessed from <Base_URL>/admin (e.g. https://videos.mediaspace.kaltura.com/admin)
- Login to the application Configuration Management window.
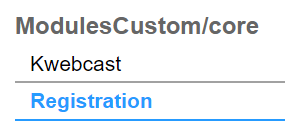
- Scroll down and select the Registration module in the Modules/Custom/core section.
 The Registration Administration page is displayed.
 - In the Enabled field, select Yes to enable the Registration module.
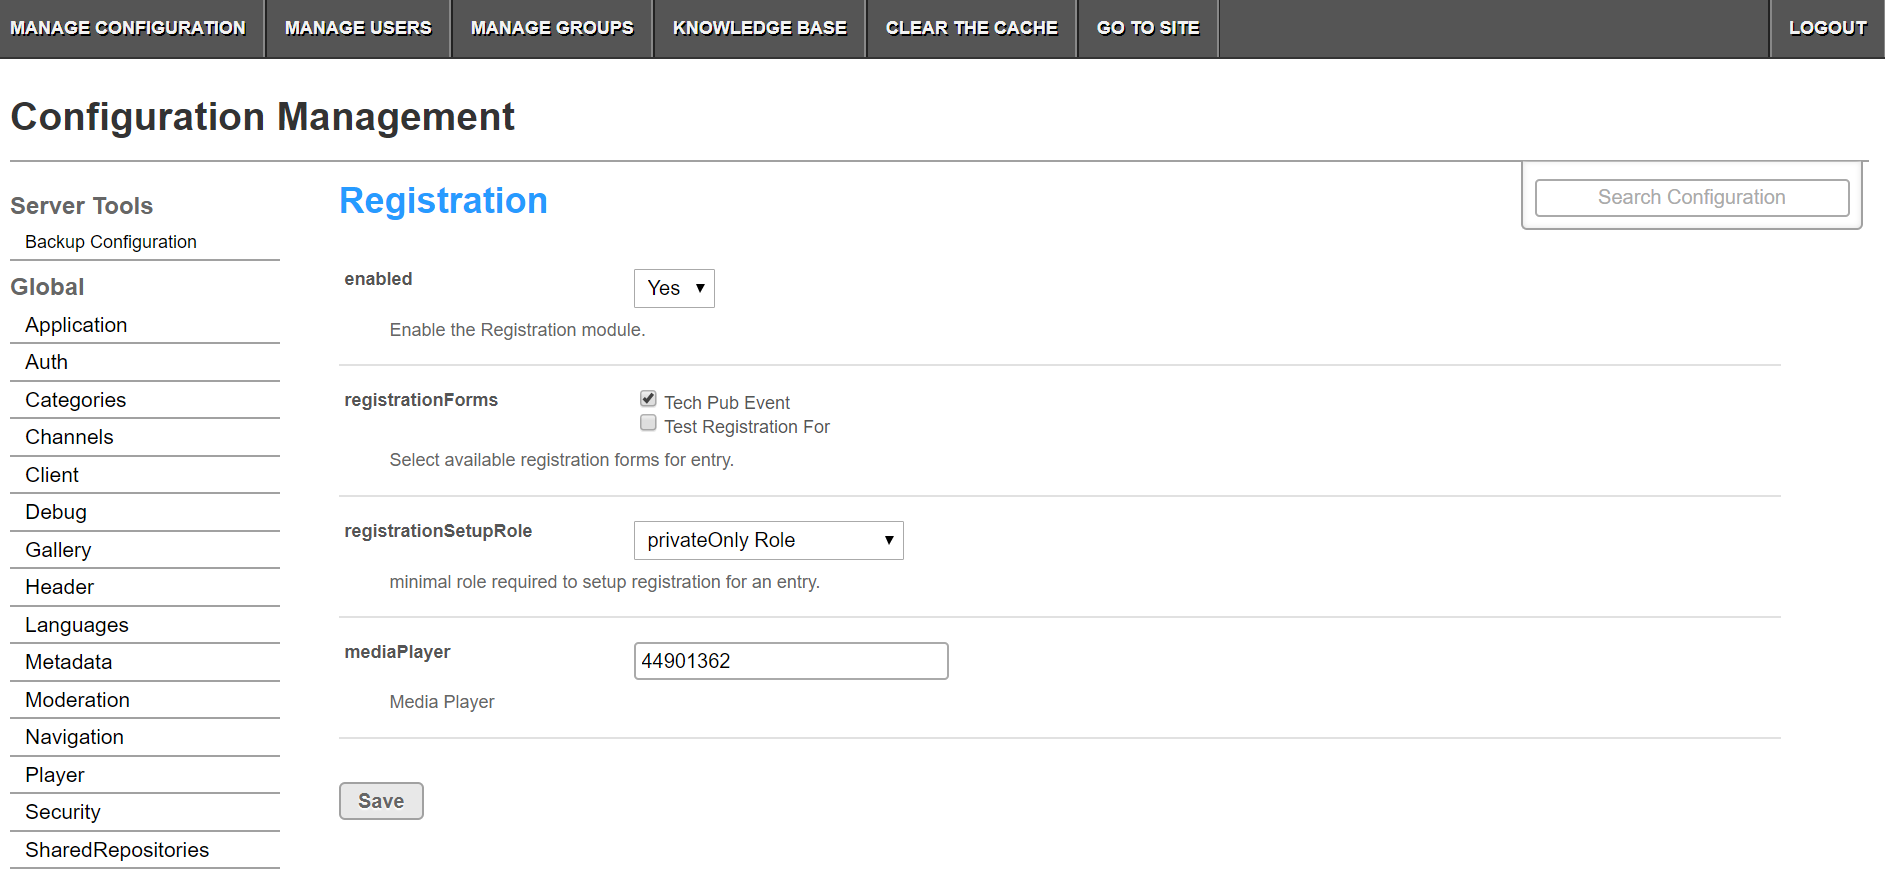
- Select all the forms that you would like to make available within that KMS instance from the list of Registration Forms .
- Select the Role(s) that are able to setup the Registration Form for an entry.
- Enter the mediaPlayer ID, this is the player that will play media on the registration page
- Click Save.
 The Registration Administration page is displayed.
Activate the Registration Form for an Entry
- Login to KMS/KAF applications.
- Select a media you own/can edit and navigate to it's editing page.
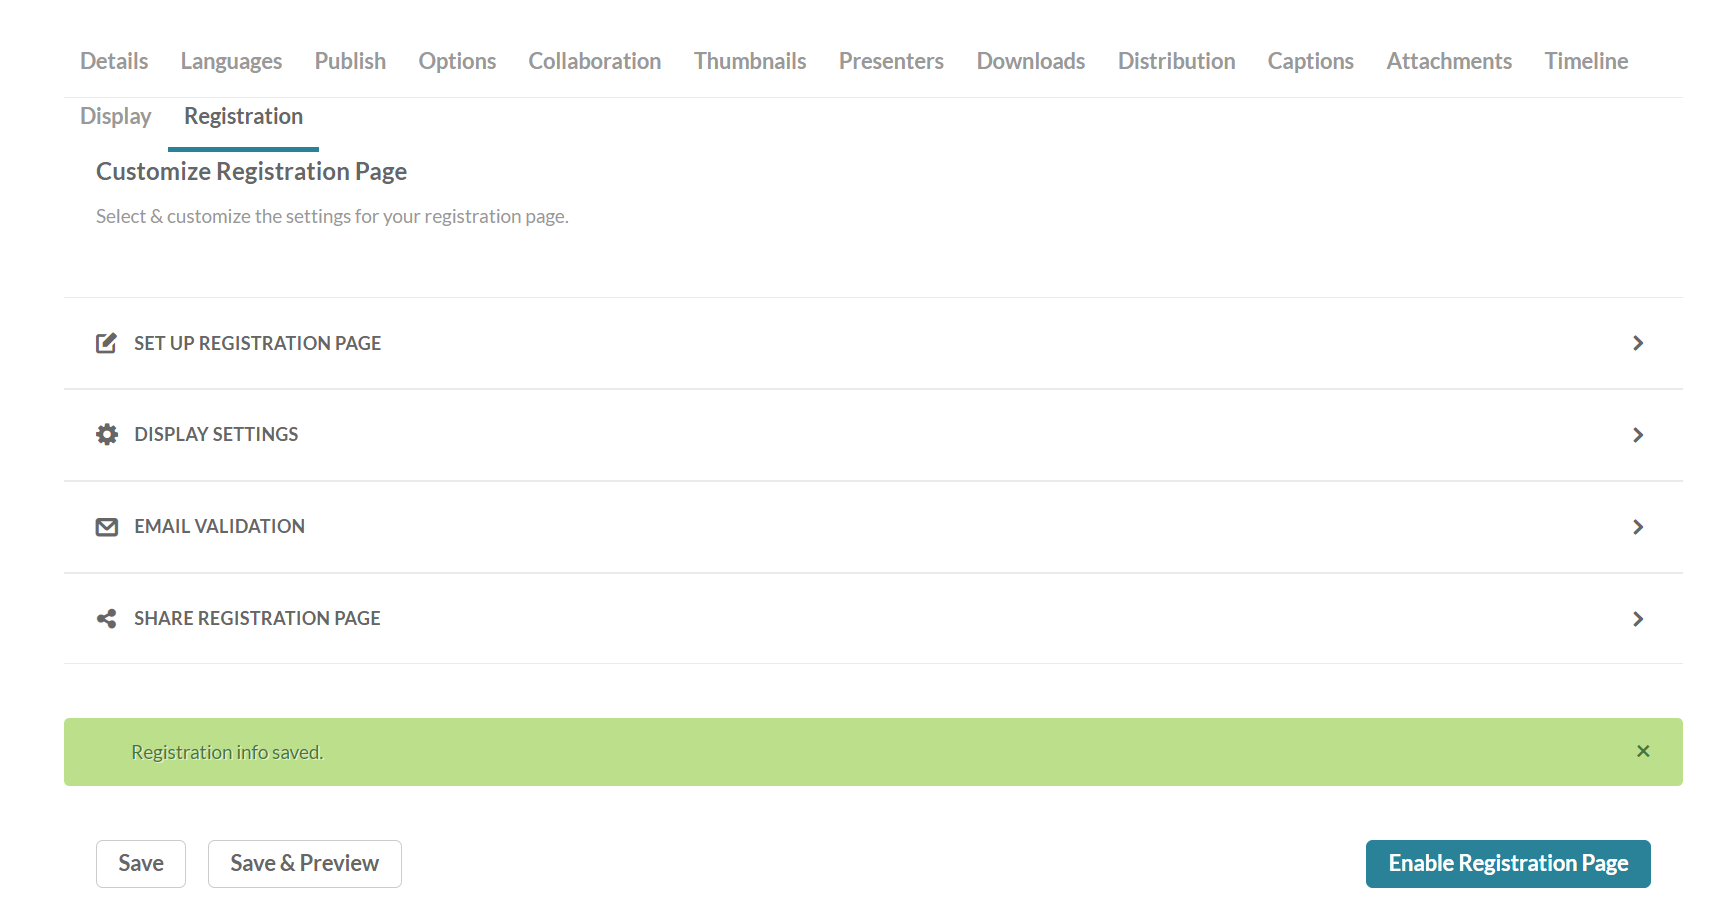
- Select the Registration tab.
-
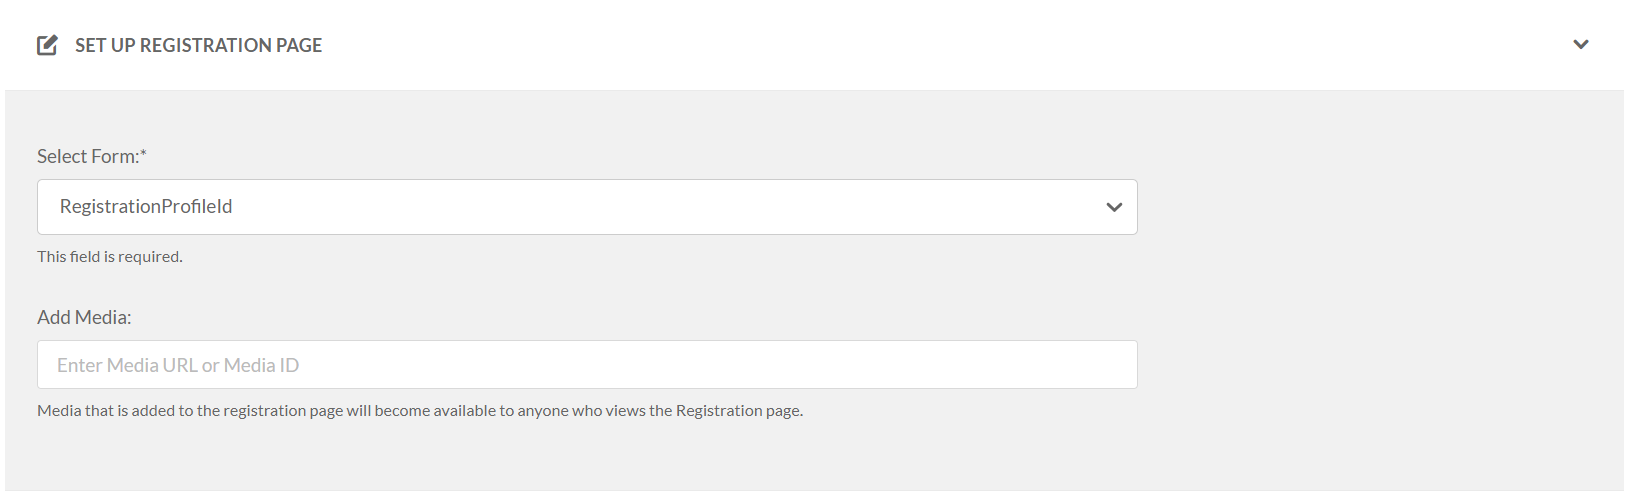
Set up registration page - select the desired custom data profile ID. Add media to the registration page (optional)
- Display settings - Set the boxes of the desired registration page elements such as Header banner, Title, and Description.

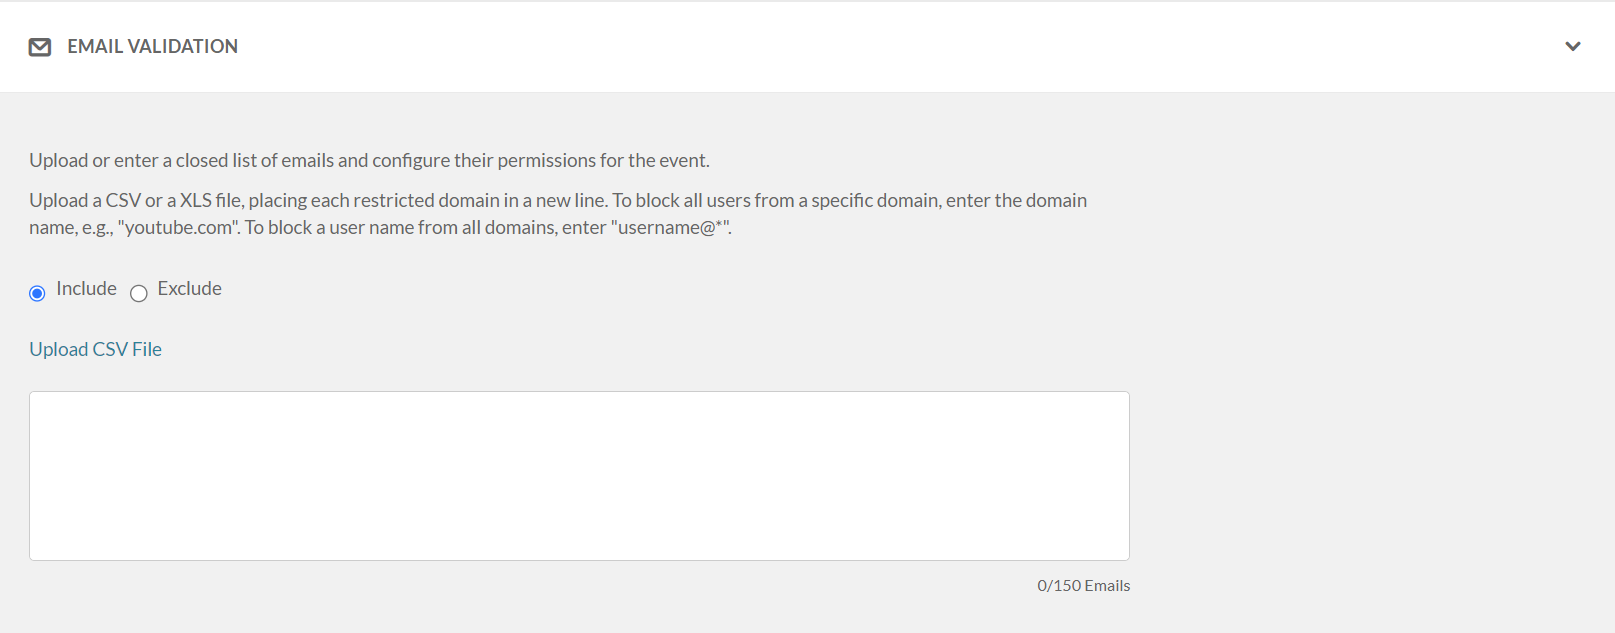
- Email validation - Upload or enter a closed list of emails and configure their permissions for the event.
- Share registration page - link to share the registration page.
-
Set up registration page - select the desired custom data profile ID. Add media to the registration page (optional)
- Select Save or Save & Preview
- Select Enable Registration page.


