About
This article provides the information necessary for Tier 1 Event Support Team members to assist and ensure all users can complete the registration process and gain access to the event.
Herein, we will cover registration flows, including form, invite, and webhook registration; common issues and general information; how to information; errors; and the proper escalation method.
Your screens may differ slightly from those shown herein depending on the following:
1. Configurations made by the Admin/Event Organizer
2. The platform that you are using
Registration Flows
Form Registration
In this registration flow, the Admin/Event Organizer designed the registration form users are required to complete in order to officially register for the event. The Admin/Event Organizer published the registration for the event and a unique registration URL ("[event site URL]/register") was created containing the registration form. In this scenario, users are navigating to the unique registration URL to complete their registration.
Admin/Event Organizers who are creating a new event using a preset event template can choose how users will enter the event - with email and password or with a login link via email (AKA "Magic Link"). The event registration form differs slightly according to the method of login chosen.
Form Registration with email and password
- The user accesses the unique registration URL.
The Registration form displays.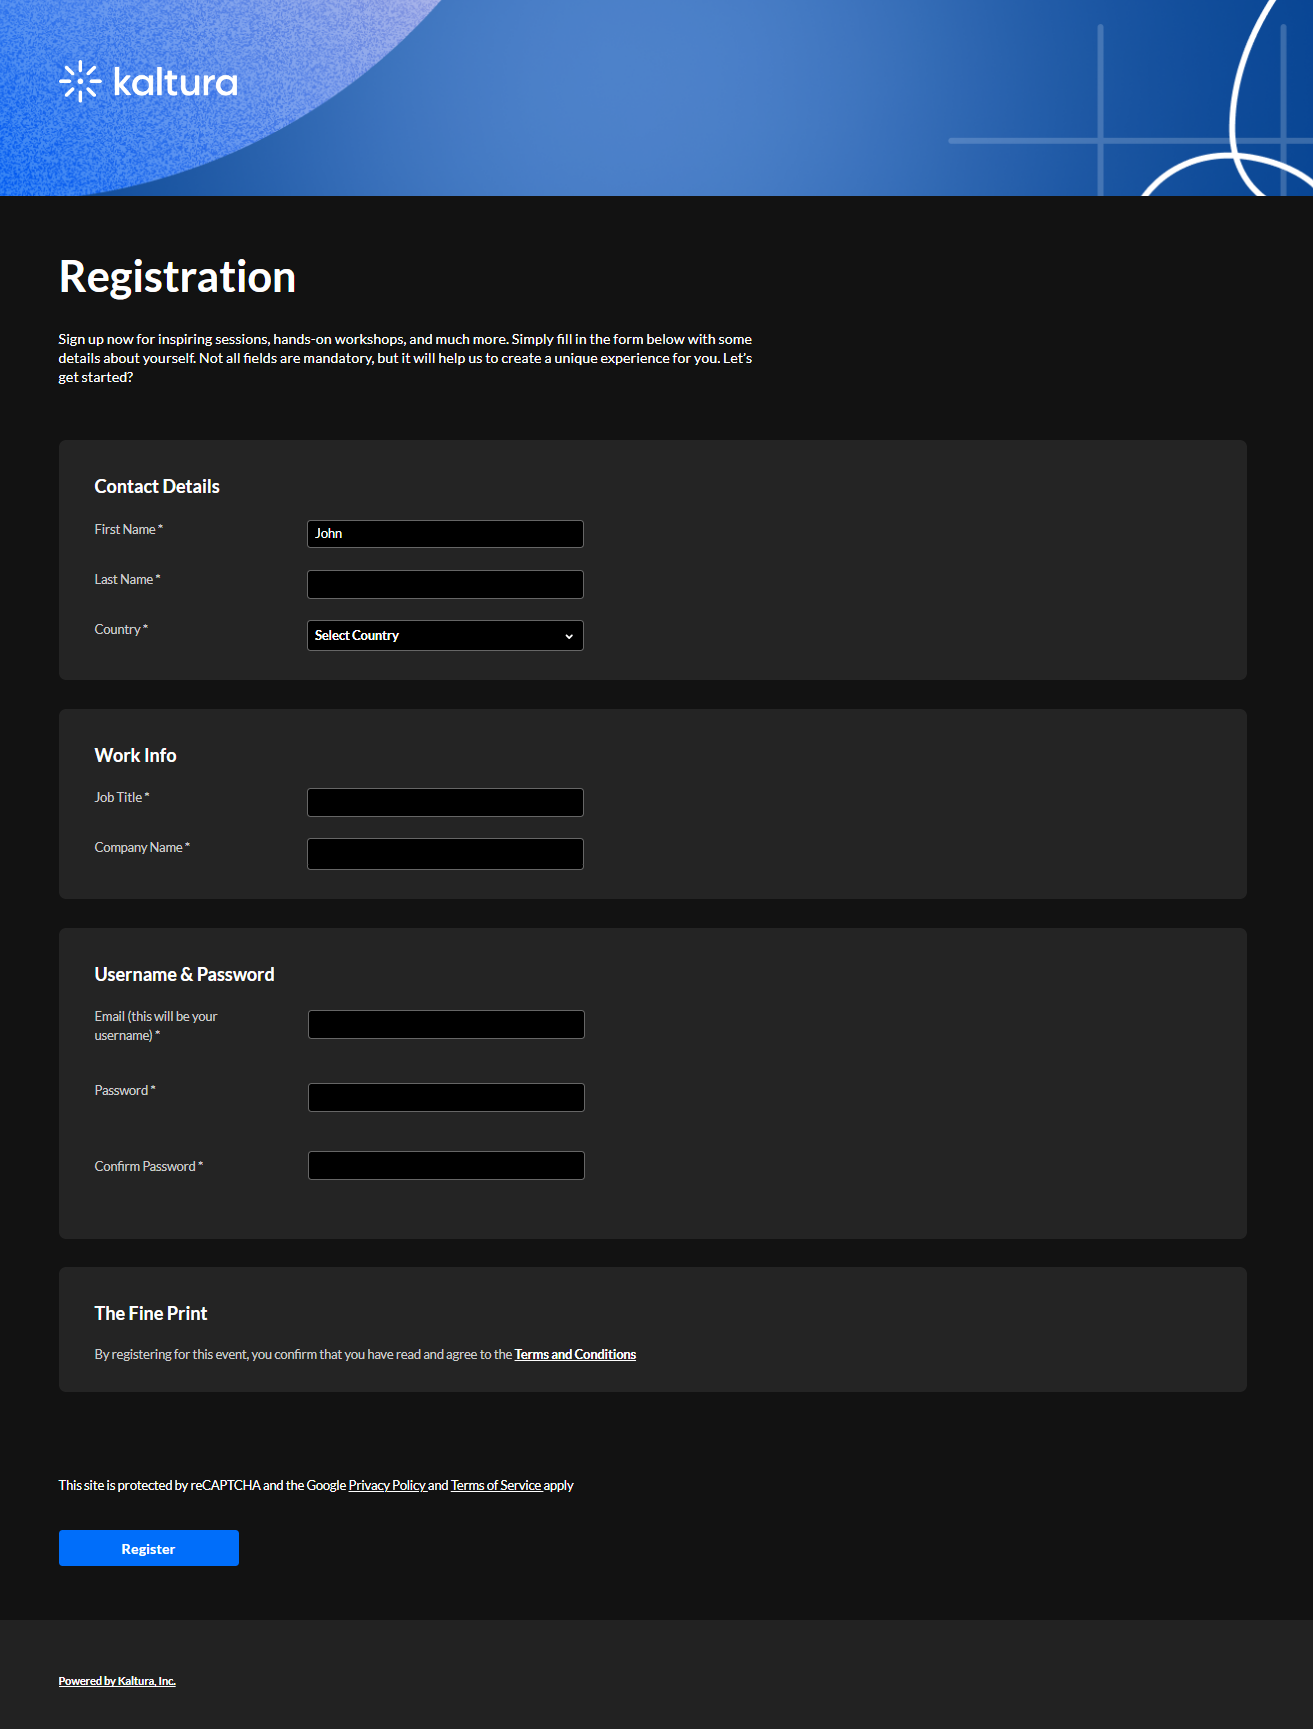
- The user types the required information (indicated with an asterisk). The user is required to set a password in this scenario.
- When finished filling out the registration form, they click Register*. A registration confirmation message displays.
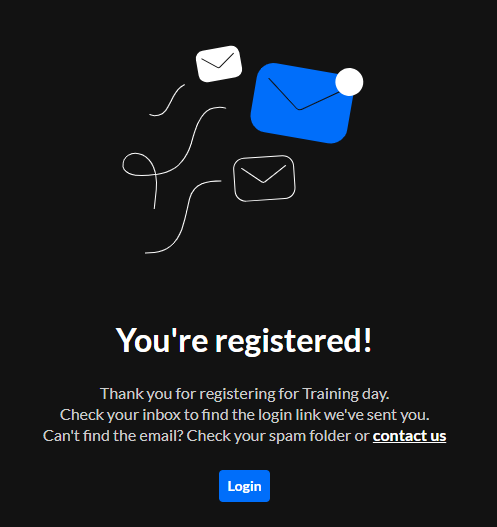
- The user can click Login to enter the event, and they are also sent a login link via email.
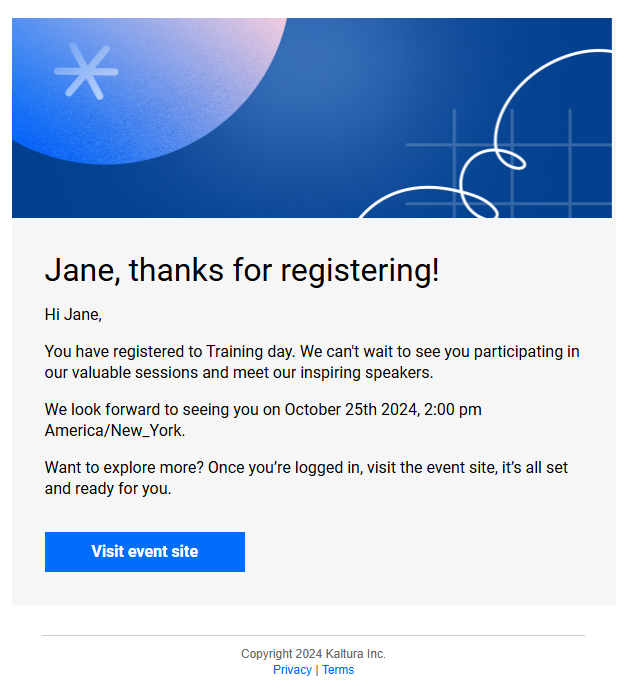
*NOTE:
Depending on their event configuration, when the user clicks Register, they may be asked to check their inbox for a verification email so that they can complete the registration process. If you need to resend the verification email, see here.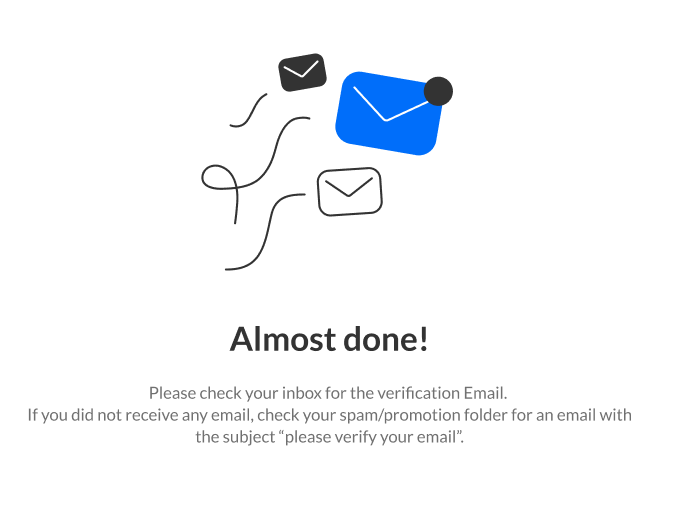 The email they receive has a link to verify their account.
 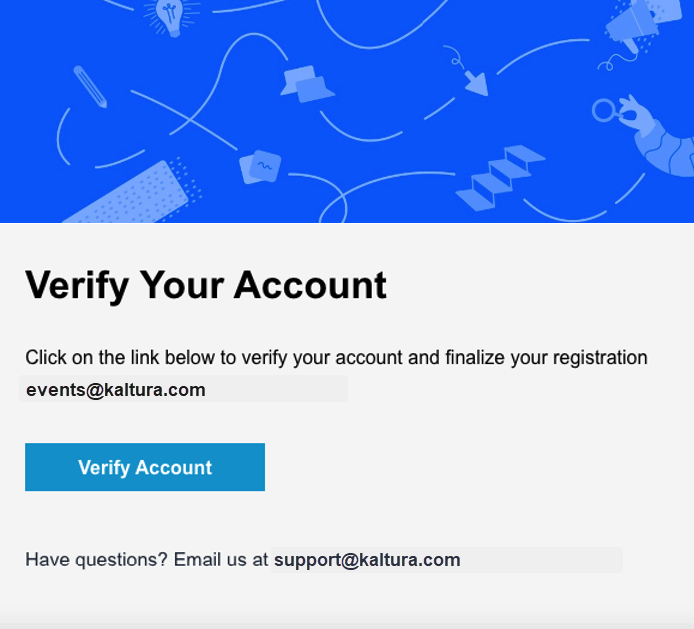 The user clicks Verify Account.
A registration confirmation message displays.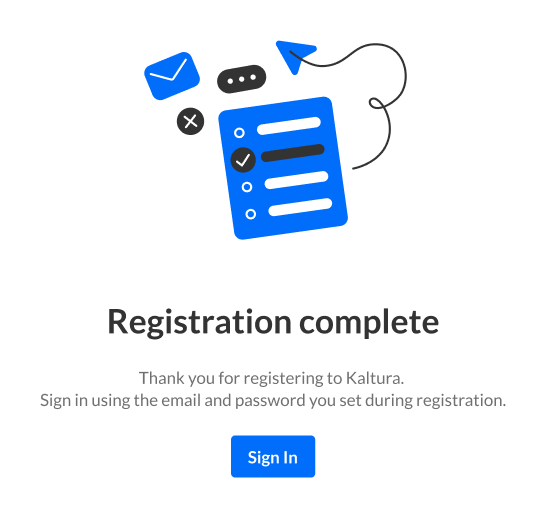 The user can click Sign In to enter the event, and they are also emailed a link to visit the event site.
 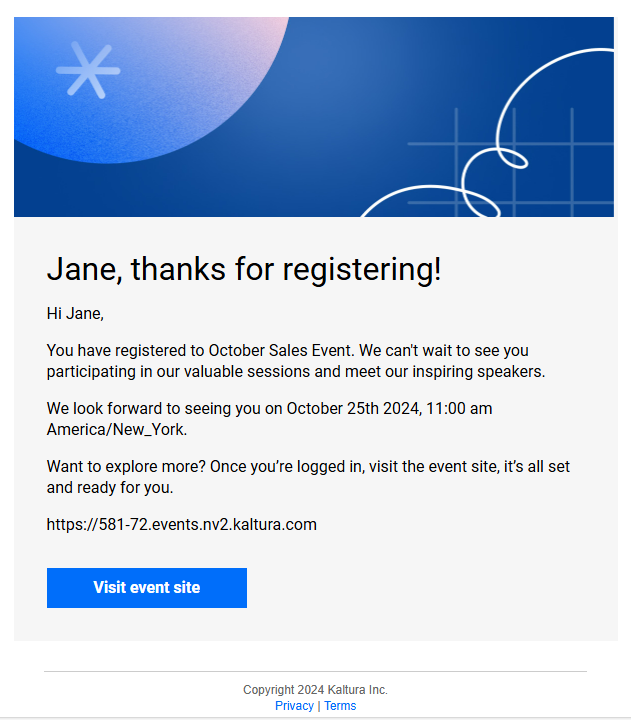 They can click Visit event site to access the event site.
Form Registration with login link via email (AKA "Magic Link")
- The user accesses the unique registration URL.
The Registration form displays.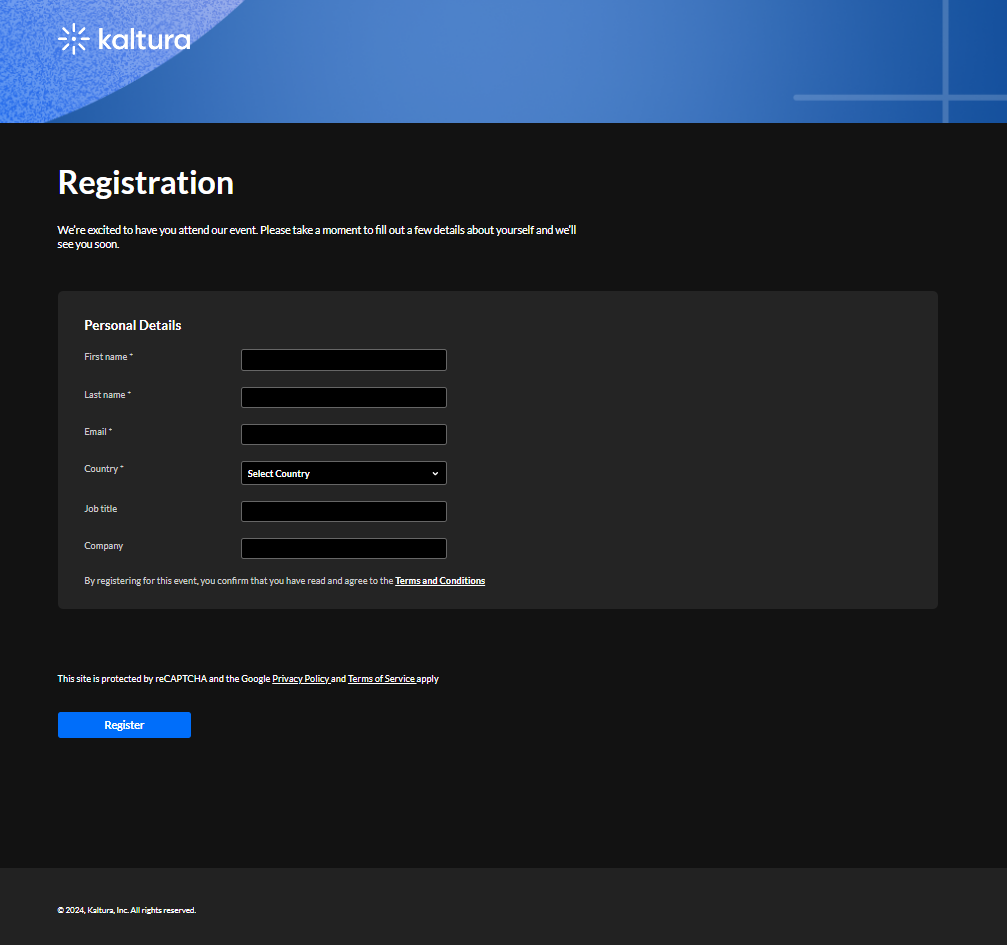
- The user types the required information (indicated with an asterisk). With login link, the user is not required to set a password.
- When finished filling out the registration form, they click Register. A registration confirmation message displays.
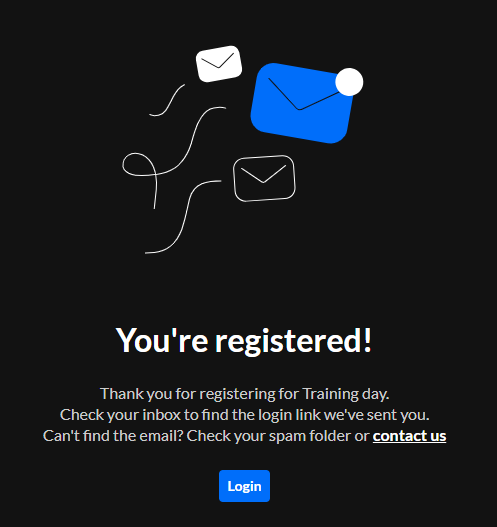
- The user can click Login to enter the event, and they are also sent a login link via email.

- They can click Visit event site to access the event site.
Invite Registration
In this registration flow, as with the Form Registration, the Admin/Event Organizer designed the registration form users are required to complete in order to officially register for the event. The Admin/Event Organizer published the registration for the event and a unique registration URL ("[event site URL]/register") was created containing the registration form. In this scenario, the Admin/Event Organizer invites a user via email to complete the registration for the event.
Just like with Form Registration, Admin/Event Organizers who are creating a new event using a preset event template can choose how users will enter the event - with email and password or a login link via email (AKA "Magic Link"). The event registration form differs slightly according to the method of login chosen.
Invite Registration with email and password
- When a user is invited to an event with email and password, they receive an email prompting them to create a password.
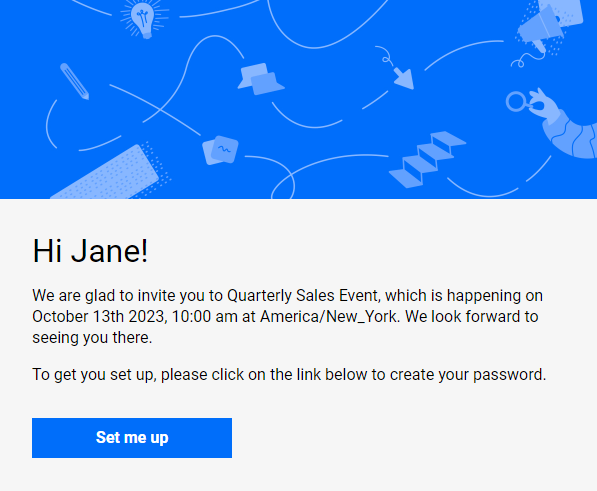
- The user clicks Set met up.
The Set Password window displays.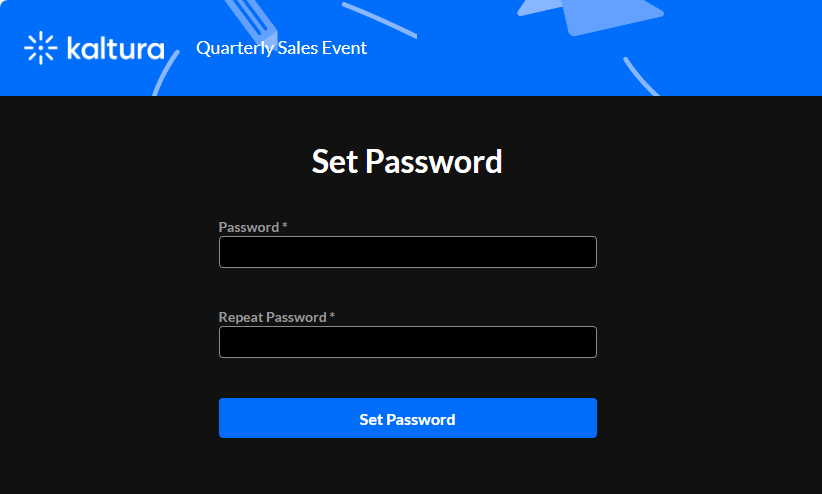
- The user types a password in the Password field to meet password requirements.
- The user types the password again in the Repeat Password field.
- The user clicks Set Password. They receive notification that the password has been set and they are prompted to sign into the site using their email and password.
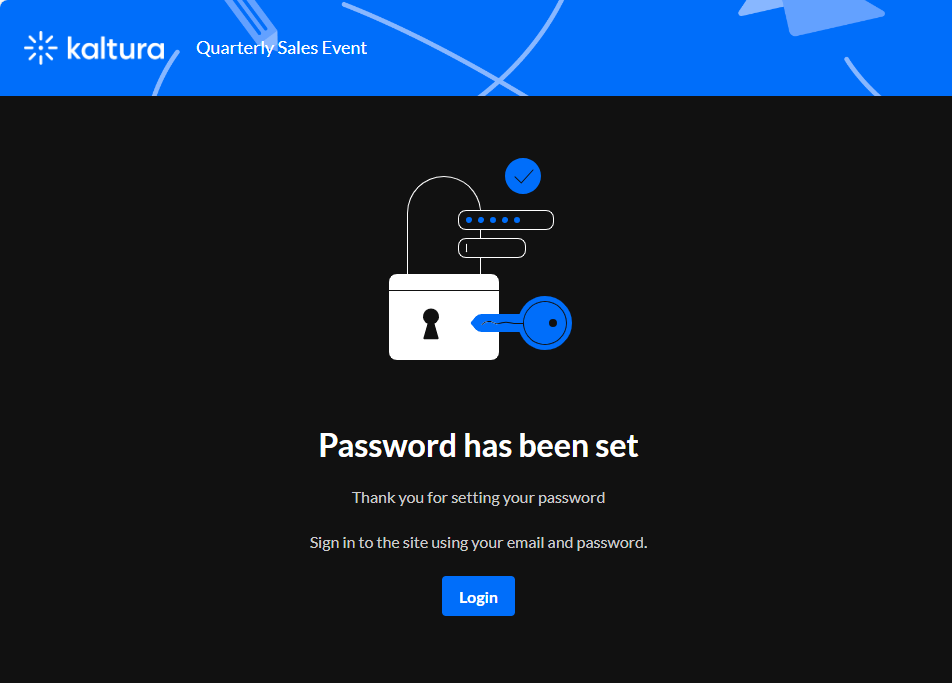
- When the user clicks Login, the Login screen displays.
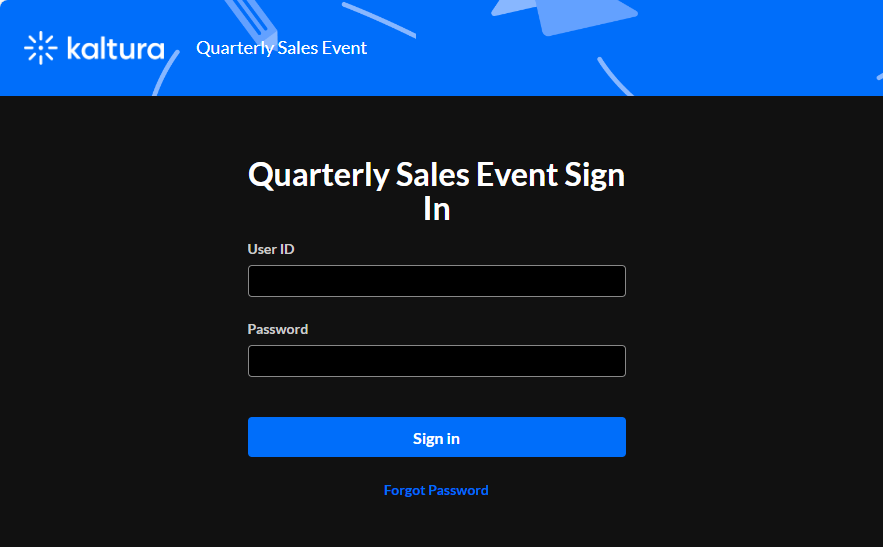
- The user types their User ID (email address) in the User ID field.
- The user types their password in the Password field.
- When the user clicks Sign In, they are redirected to the event site.

Invite Registration with login link via email (AKA "Magic Link")
- When a user is invited to an event with login link via email, they receive an email allowing them to access the site and register.
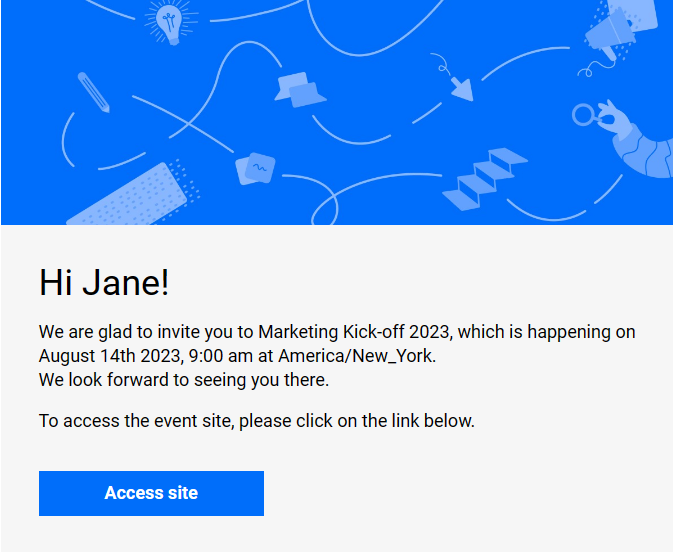
- When the user clicks Access site, they arrive at the event site.

- If registration has been published, the Register button displays on the event site. When the user clicks Register, they arrive at the Registration form.
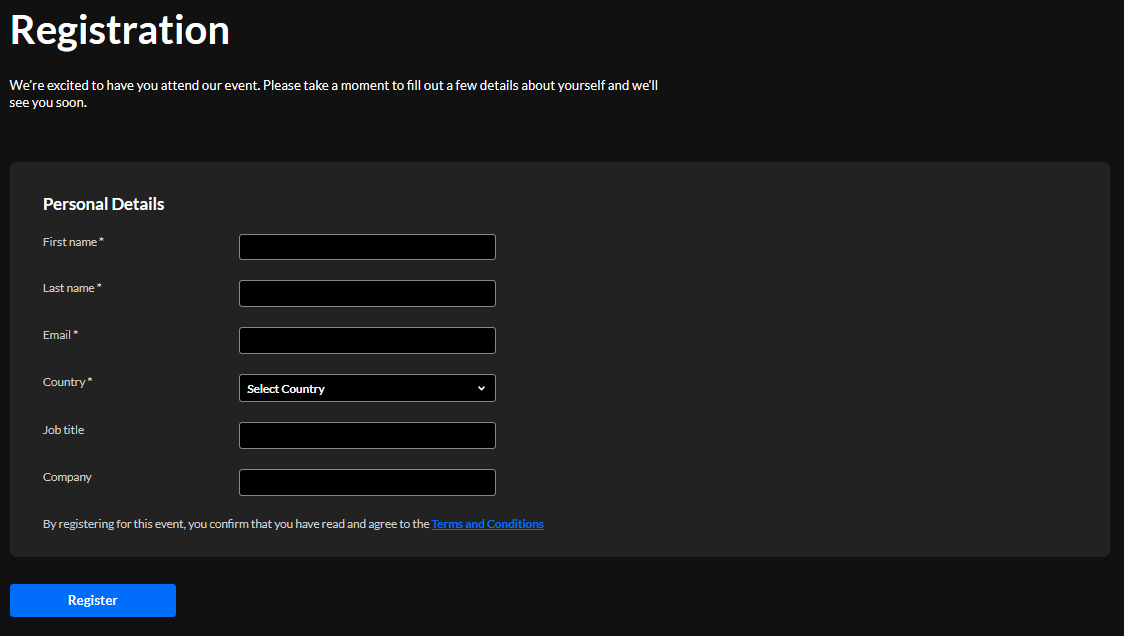 The user types the required information (indicated with an asterisk). With login link, the user is not required to set a password.
 - When finished filling out the registration form, they click Register. A registration confirmation message displays.
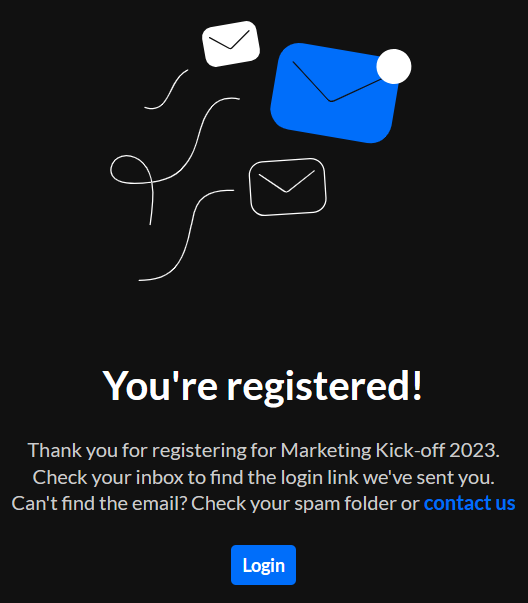
- The user can click Login to enter the event, and they are also sent a login link via email.
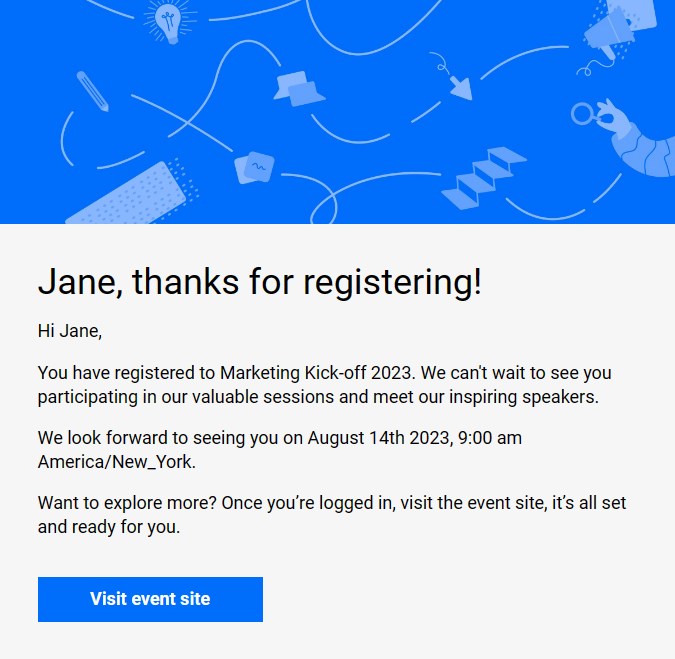
- They can click Visit event site to access the event site.
Webhook Registration
In this registration flow, Kaltura's registration form is embedded in social networks (LinkedIn, Facebook, etc.). In this scenario, a user fills out the required registration details on the social media site, an integration webhook pushes that user data to Kaltura, and Kaltura sends them an email with a unique link to set their password.
- The user accesses the registration form embedded in the social media site, types the required information (indicated with an asterisk) into the form, and clicks Submit. An integration webhook pushes that user data to Kaltura.
- The user receives an email with a unique link to set their password.
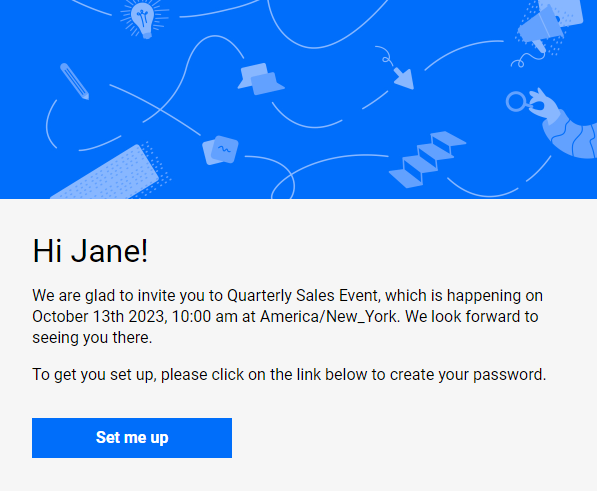
- Once the user clicks Set me up, the Set password window displays.
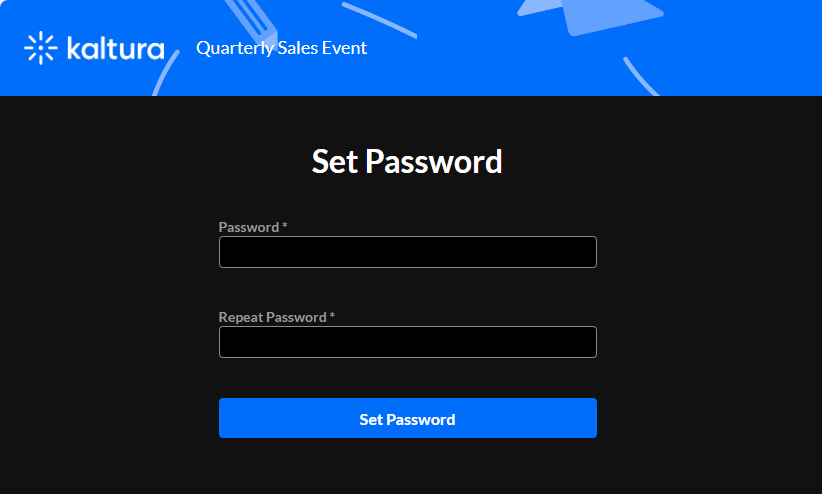
- The user types a password in the Password field to meet password requirements.
- The user types the password again in the Confirm Password field.
- Once the user clicks Set password, they receive notification that the password has been set and they are prompted to sign into the site using their email and password.
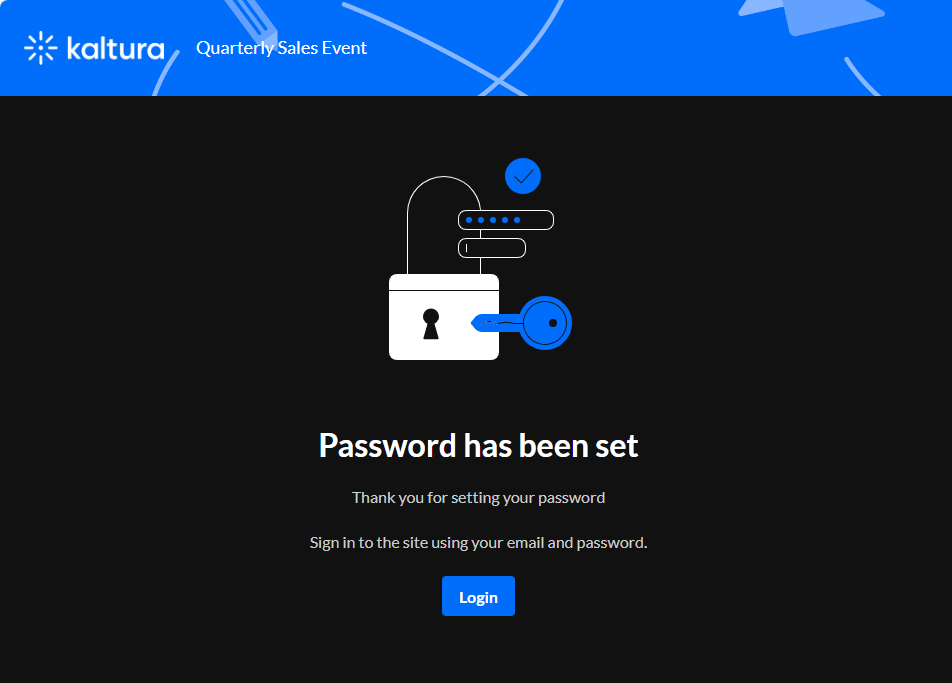
- The user can click Login to enter the event, and they are also sent a login link via email.

- They can click Visit event site to access the event site.
Common issues and general information
The registrant doesn't understand how to fill in the form, or the meaning of a specific field
Guide them through the registration process.
User is unable to set a password
Explain the password requirements that are applicable to your event (for instance, related to length, character case, symbols, etc.).
User is only seeing Coming Soon page (before the event starts)
Explain that it's okay and exactly what they should see before the event starts.
User doesn't have access to the email they signed up with
Ask them to re-register with another email to which they do know the password.
The registrant is not able to fill in the form because the form does not open
- Check which browser and device they are using.
- If not in the list of supported browsers, tell them to open a supported one and try again.
- If the browser is in the list, ask to close and re-open and try again.
- Suggest to clear cache.
- If still an issue, involve the admin - check if it's a personal issue for a specific user or a wider issue for a group with a common parameter (i.e. geographic location and such).
- If still an issue and it is reproducible, an escalation to Kaltura may be required.
Specific fields in the form are not reachable
- Check which browser and device they are using.
- If not in the list of supported browsers, tell them to open a supported one and try again.
- If the browser is in the list, ask to close and re-open and try again.
- Suggest to clear cache.
- If still an issue, involve admin - probably means it's an R&D issue and involve the Kaltura team in high priority.
Accessibility is not functioning
- Check which browser and device they are using.
- If not in the list of supported browsers, tell them to open a supported one and try again.
- If the browser is in the list, ask to close and re-open and try again.
- Suggest to clear cache.
- If still an issue, involve admin.
Registrant reports receiving an additional "Registration Complete" email
When a user is trying to register with an already registered email address, they should receive a “Registration Complete” email.
User registered via Webhook but didn't receive an email from Kaltura
Investigate integration on your (the customer) side.
Registration using a public email domain
We do not allow registrants to use public email domains, such as Mailinator.
Supported browsers
| Browser | Version |
| Chrome | Last 2 versions |
| Edge | Last version |
| Firefox | Latest version, current extended support version |
| Safari | Last version |
| Mobile: iOS Safari, Chrome | Last version |
| Tablet: iOS Safari, Chrome | Last version |
User didn't receive registration-related email
Verify they didn’t receive the registration-related email (for instance, no-reply@events.xyz.com).
- Ask the user to check in their junk mail/spam/promotions folders.
- Ask the user to check if the email domain is whitelisted in their contact list.
- Ask the user to look for an email from “quarantine@messaging” and check for a registration-related email.
If found, follow the instructions to release from quarantine (only relevant for organizational mailbox).
How to information
How to look up and verify users' registration status
In the Kaltura Admin Configuration Management page
Note: Kaltura Admin Configuration Management page is not supported on mobile devices.
- Open the Kaltura Admin Configuration Management page ("[event site URL]/admin/user-list").
For more information on logging in - via application or SSO, see here. - Type your credentials and click the Sign in button.
- Go to the "Manage Users" tab.
-
Insert the user's email address and click Enter or the Search icon.
If the Name/ID/Email Address exists, the user is registered in Kaltura.
The user's registration status is displayed under the Registration status and Status columns.
Note that the status value changes automatically according to the user's current step in the registration flow.
In Kaltura Event Platform Management page
Note: Kaltura Event Platform Management page is not supported on mobile devices.
- Open the Kaltura Event Platform Management page ("[eventplatform.kaltura.com/login").
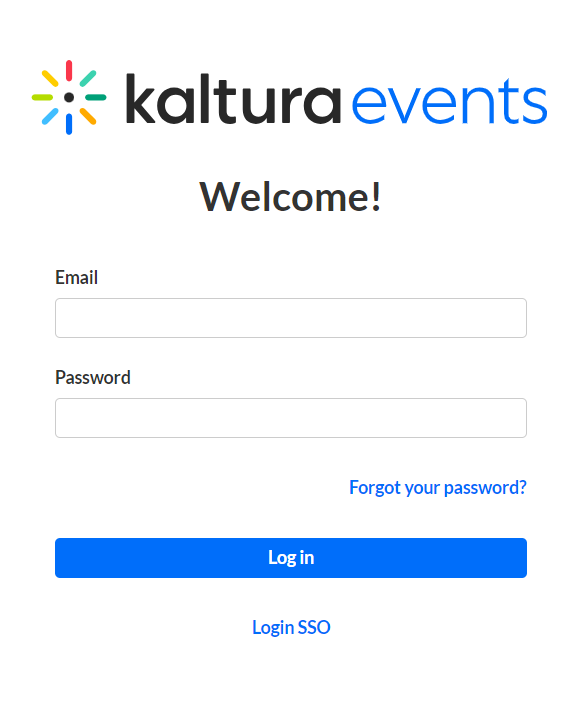
- Type your credentials and click the Log In button. For more information on logging in - via application or SSO, see here.
The Kaltura Events Home page displays.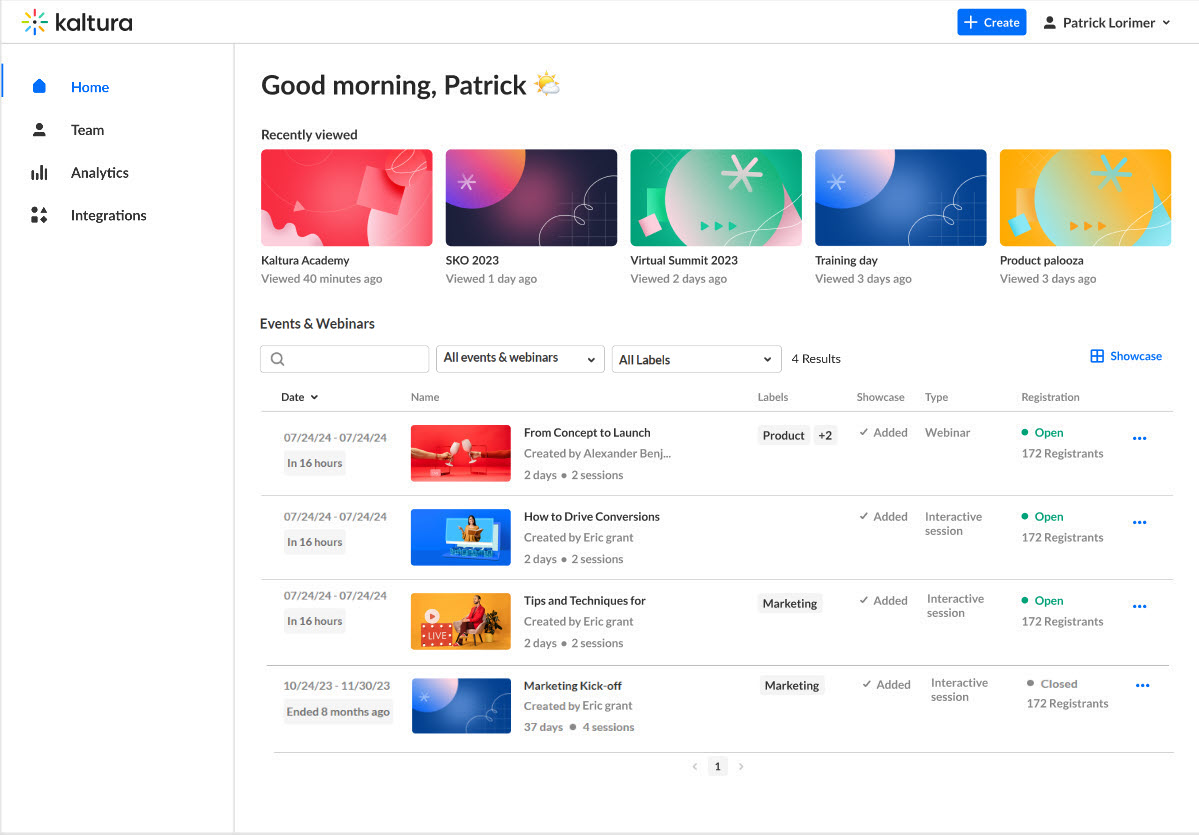
- Click on the desired event. The Event page displays with the Overview tab open by default.
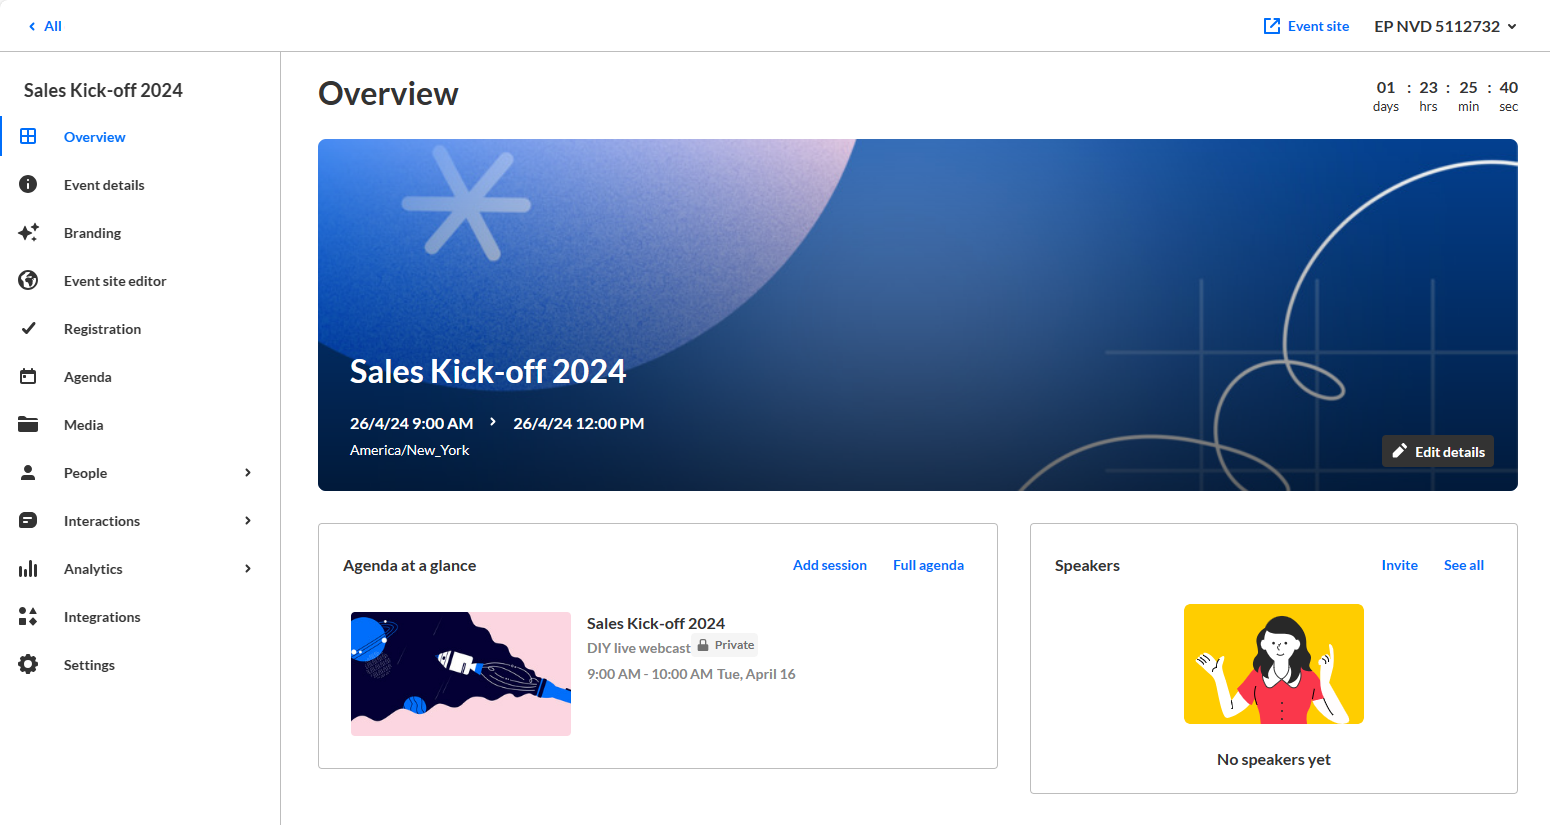
- Navigate to the People tab > All users.
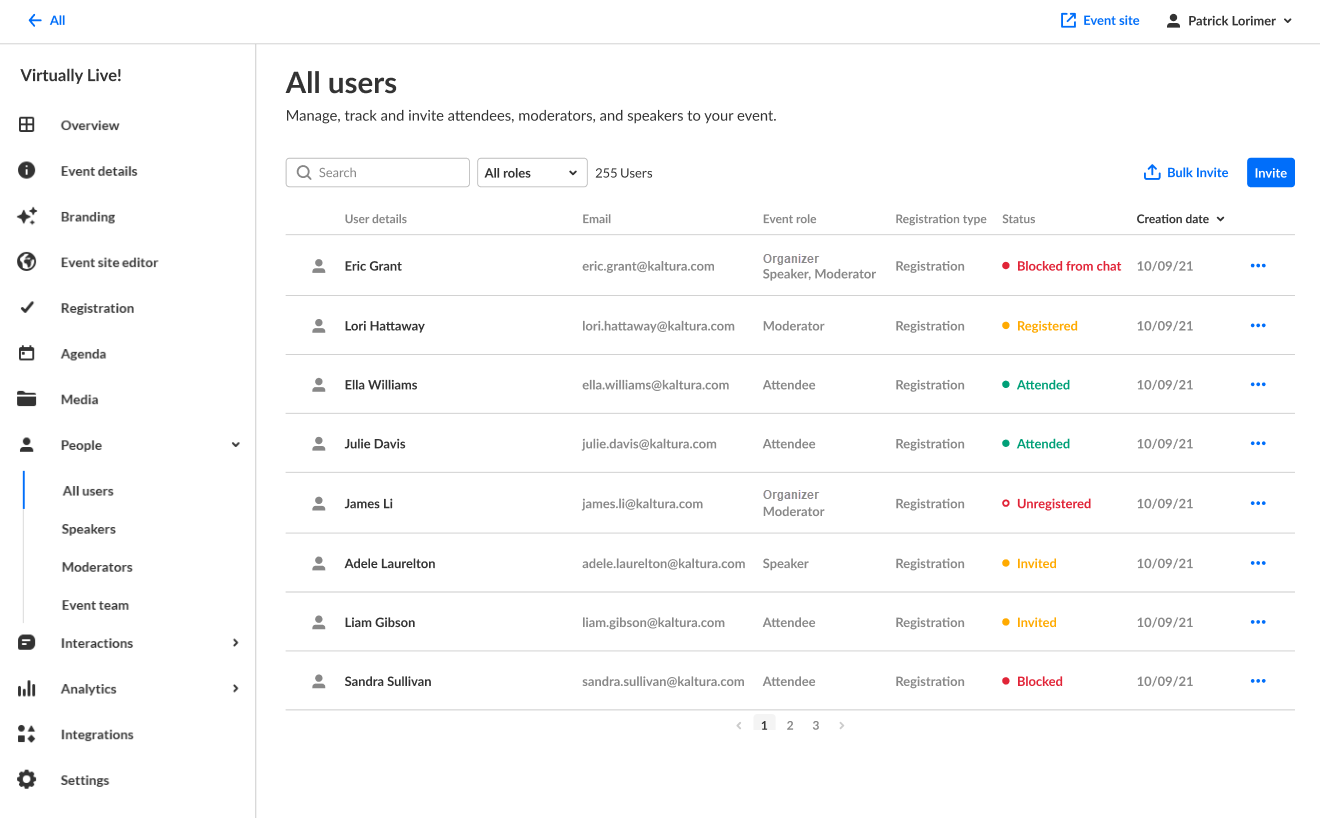
- Type the desired name/email address in the Search field and click Enter.
 If the name/email address is returned on the search, the user is registered in Kaltura.
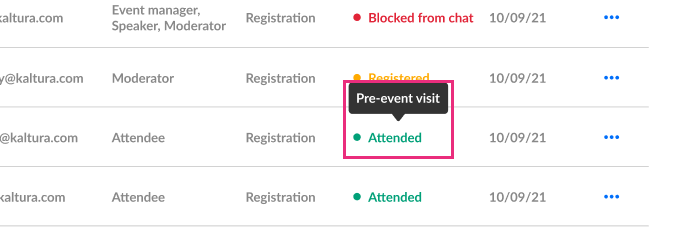
The user's registration status is displayed under the Status column.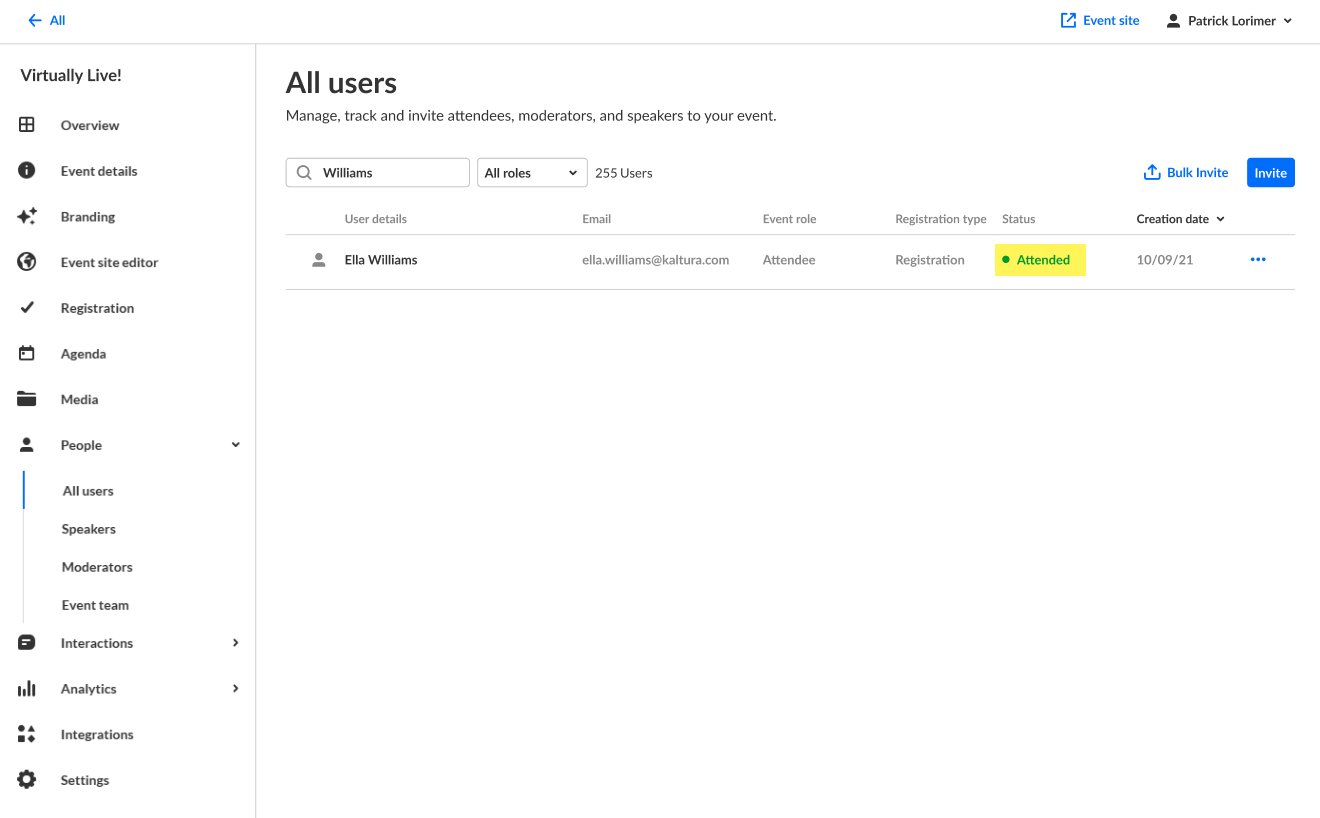 Hovering over the registration status reveals a higher granularity of status. See Registration Status. Note that the status value changes automatically according to the user's current step in the registration flow.
How to resend the verification email
There are a few options in order to resend a user the verification (activation) email.
By the user
Instruct the user to follow these steps in order to resend the verification email from their end.
- Go to the Send Activation Email page at "[event site URL]/registration/activate".
- The Send activation email screen is displayed.
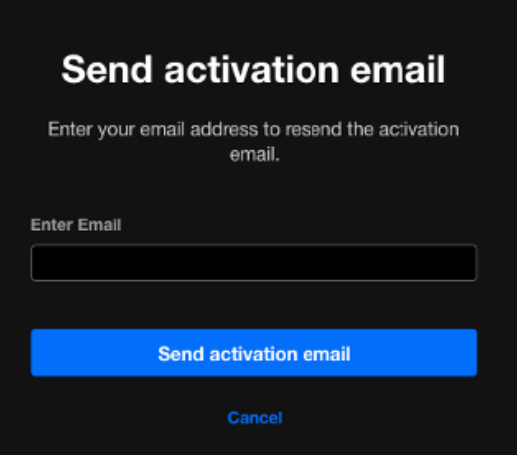
- Enter the email address and click the Send activation email button.
The following "Activation email was sent" message is displayed on the screen, informing the user to check their inbox and verify their registration.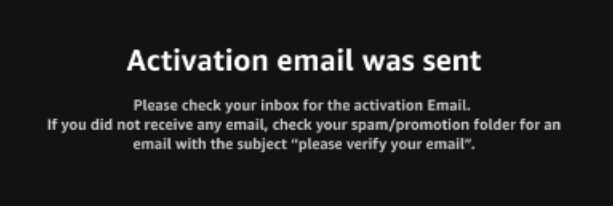
- The user gets an email according to their registration status.
- In case the user didn't verify their account, they should receive a verification email (email's subject: 'Verify your account') that contains a link that the user needs to click in order to proceed. (Link expiration depends on event configuration.)
- In case the user previously verified their account, they should receive a confirmation email (email's subject: 'Registration Complete') that contains a Login button. (It is a link to the login page.)
- Once the user clicks on the Verify account button in the verification email, the Verify your account screen is displayed.
- Once the user clicks on the Verify button, the Registration Complete screen is displayed.
- The user should receive a confirmation email (email's subject: 'Registration Complete') that contains a Login button. (It is a link to the login page.)
Note: The described flow above (from step 1 to step 3) can be done by Tier 1 support team on behalf of the user. Then, Tier 1 support team should ask the user to check their inbox and proceed with verifying their registration.
How to resend the registration (Magic link) email
Please keep in mind that the magic link can only be used once, and the magic link's expiration time is configurable.
There are several options to resend a user the registration (Magic link) email.
By the user
Instruct the user to follow these steps to resend the registration email from their end.
- Open the "Registration Confirmed" email and click on the Log in button.
- If the link has expired, the following screen will be displayed to users:
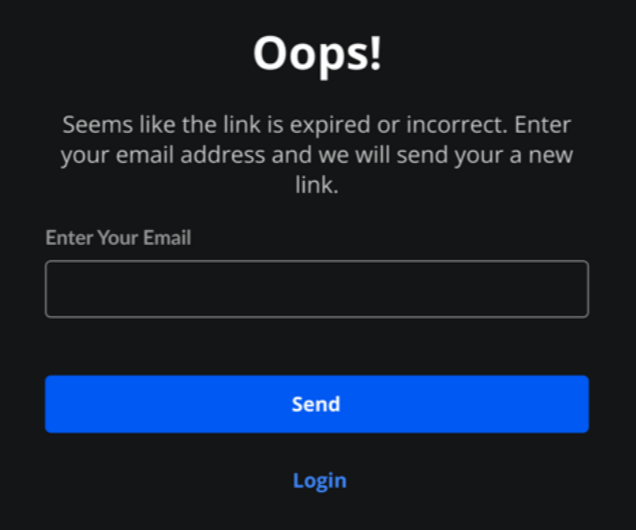
- As the user to enter the email address and then click on the Send button.
The following message is displayed on screen, informing the user to check their inbox.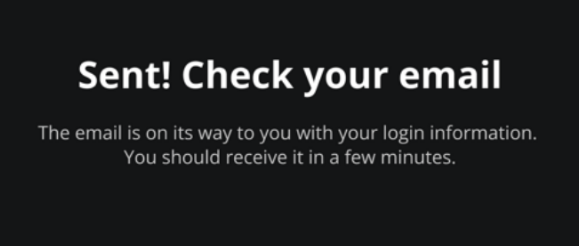 The user gets a new login email.
 - Once the user clicks the Log in button in the new email, they are redirected and logged into the site.
By the customer (Tier 1 Team)
- Open the Kaltura Event Platform Management page ("[eventplatform.kaltura.com/login").

- Type your credentials and click the Log In button. For more information on logging in - via application or SSO, see here.
The Kaltura Events Home page displays.
- Click on the desired event. The Event page displays with the Overview tab open by default.

- Navigate to the People tab > All users.

- Type the desired name/email address in the Search field and click Enter.
- Click the three blue dots to the right of Creation date and select Generate login link. A window displays with a login link (Magic link).
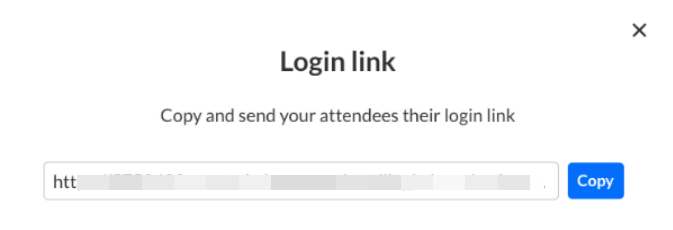
- Click the Copy button to copy the link, then send it to the user.
Errors
The registrant is not able to complete the form submission; getting an error "Mandatory field not filled out <field display name> is required"
Instruct the registrant to fill all required fields in the registration form.

Registrant reports a repeating error of "General Submission"
If a registrant reports a repeating “General Submission” error do the following:
- Verify they are using a supported browser and device.
- If not in the list of supported browsers, ask the user to open a supported browser and try again.
- If the browser is in the list of supported browsers, ask the user to close and re-open it and try again.
- Suggest clearing cache.
- In case the issue persists, an escalation to Kaltura support team may be required.
Registrant reports an error of "The credentials provided are incorrect" on the login page
This may occur when the registrant is trying to login to the event using incorrect credentials (email address or password).

"Something went wrong" error
This may occur when the registrant’s verification link has expired.

- Ask the registrant to click on the Resend Confirmation Email button and request a new email.
- In case the issue persists, an escalation to Kaltura may be required.
"Please check this box if you want to proceed" error
This may occur when the registrant didn't select the privacy policy checkbox.

"Oops!" error
Instruct the user to fill their email address and click Send.

"Something went wrong" error - registration
This may occur when the registrant is trying to register with an email address that is not in approved domains.

Your Link has Expired - Webhook flow (Set Password link expired)
Guide the user to do the following:
- Click on the Send Email button.
- An Email Sent screen is displayed and a new "Set Password" email will be generated and sent to their inbox.
- Click on the Set Password button.
- The “Set Password” form is displayed on screen.
- The user sets up a password and clicks the Set Password button.
- A confirmation email (email subject: ‘Registration Complete’) will be sent to their inbox.
"Couldn't set password" Webhook
This may occur when the set password link has expired. (Link expiration depends on event configuration.)
- Check if the email address is already registered – See instructions in How to look up and verify users’ registration status.
Next steps:
- Ask the user to click on the Send Email button in order to receive a new email and follow the steps.
- If the issue persists, an escalation to Kaltura support team may be required.
Escalation
Kaltura's support portal
Ticketing system (business hours before the event and 24/7 during the event). When opening a support ticket, please provide as much information as possible (URLs + screenshots).


 The email they receive has a link to verify their account.
  The user clicks Verify Account.
  The user can click Sign In to enter the event, and they are also emailed a link to visit the event site.
  They can click Visit event site to access the event site.


 The user types the required information (indicated with an asterisk). With login link, the user is not required to set a password.


 If the name/email address is returned on the search, the user is registered in Kaltura.
  Hovering over the registration status reveals a higher granularity of status. See


 The user gets a new login email.
