About
Chapters let viewers navigate through your video by jumping to specific points. They act as bookmarks and can include custom names, descriptions, tags, and thumbnails. You can create chapters manually or edit ones generated automatically—for example, from PowerPoint presentations recorded with Kaltura Capture.
The Chapters module must be enabled before using this feature.
Create and edit chapters
- Access the edit media page and click on the Timeline tab.
- To create a new chapter, click the Create New Chapter icon.

The chapter settings display.

- Move the cue point to the desired position of the first chapter, then fill in the chapter information.

The media's timeline displays.

Edit chapter information
Enter name, description, and tags (optional). The exact time of the cue point is shown, and you can modify it if necessary.
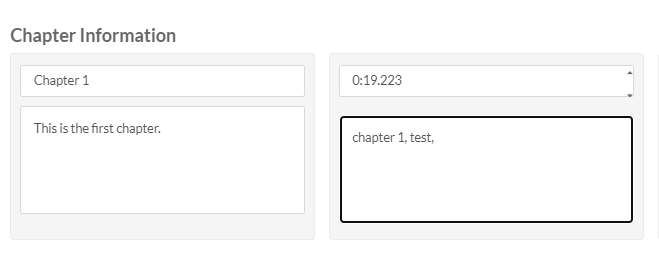
If you recorded a PowerPoint presentation using Kaltura Capture, slide-based chapters are added automatically. You can edit them here just like manually created chapters - update the name, description, tags, and thumbnail.

For more details, see Record PowerPoint slides with Capture.
Thumbnail
A default thumbnail is set for the chapter, but you can change it using Auto or Upload.
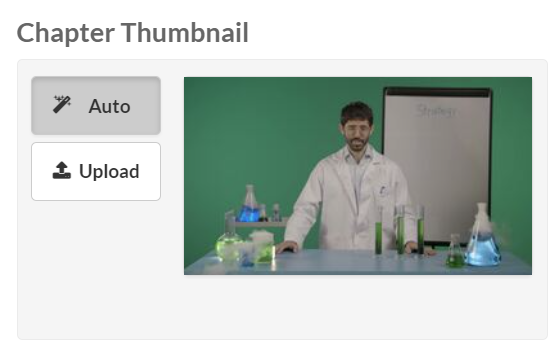
Auto
Pick a moment in the video for the thumbnail image and click Auto to create it automatically.
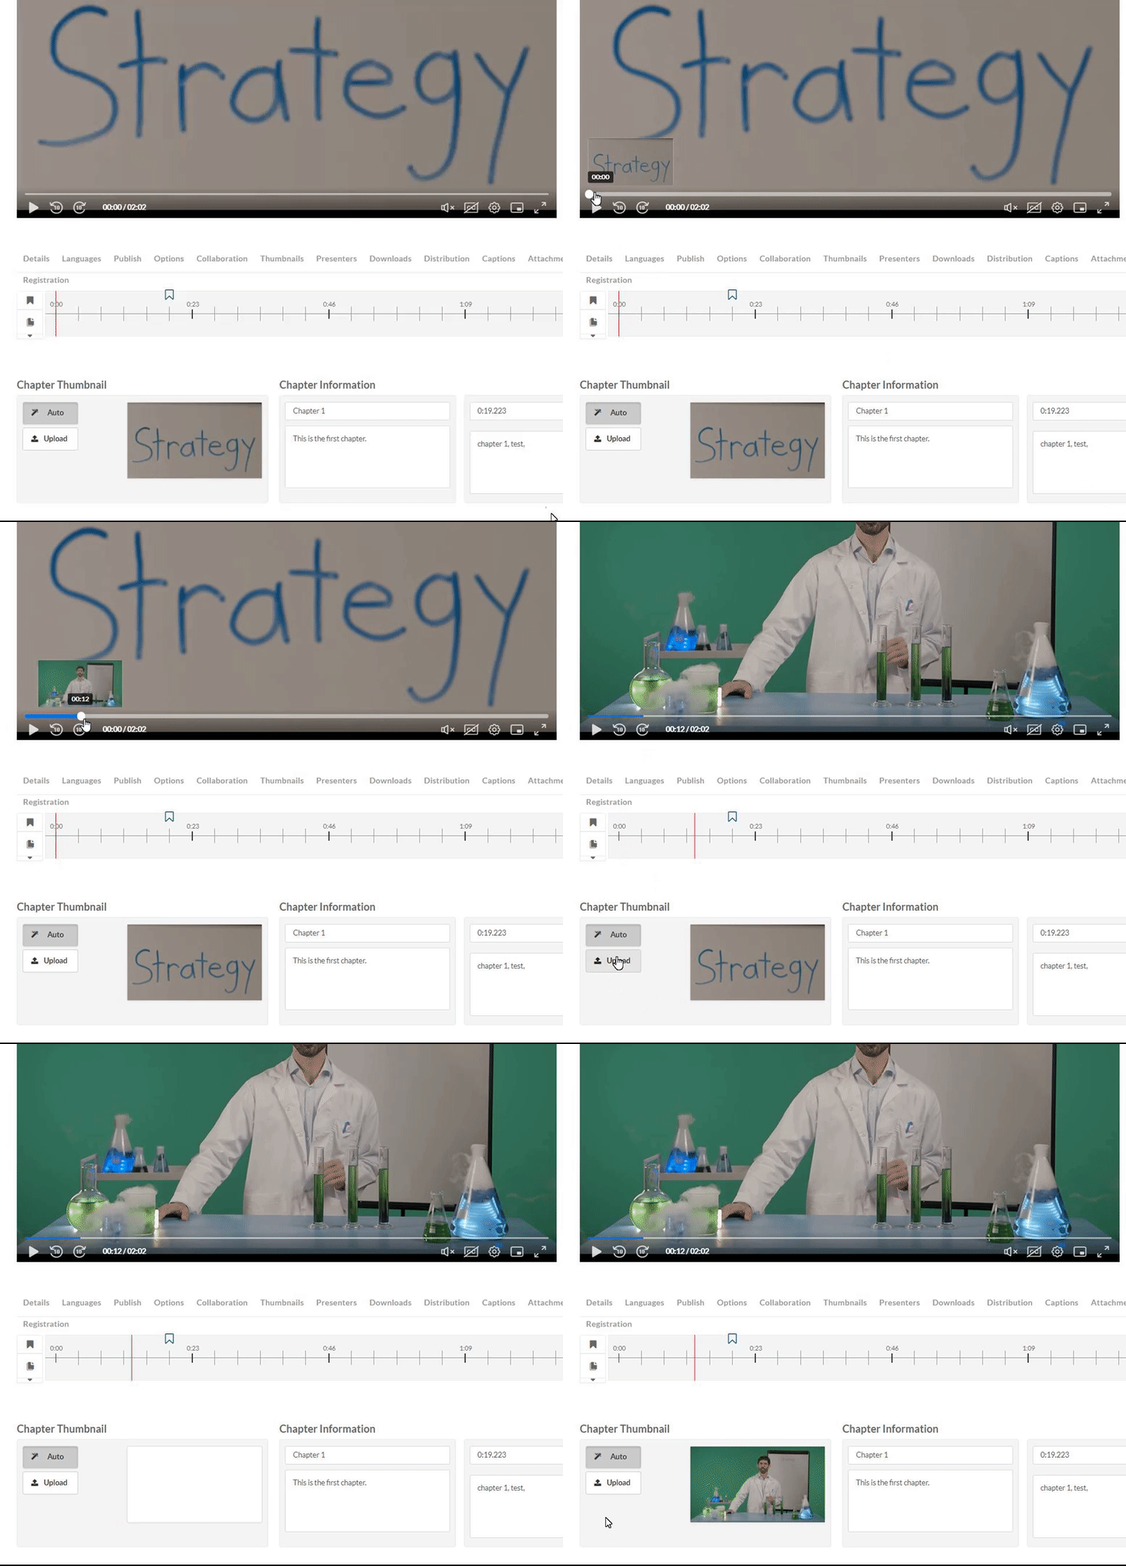
The thumbnail updates.
Upload
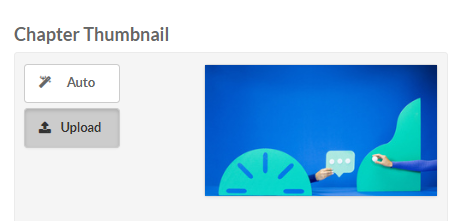
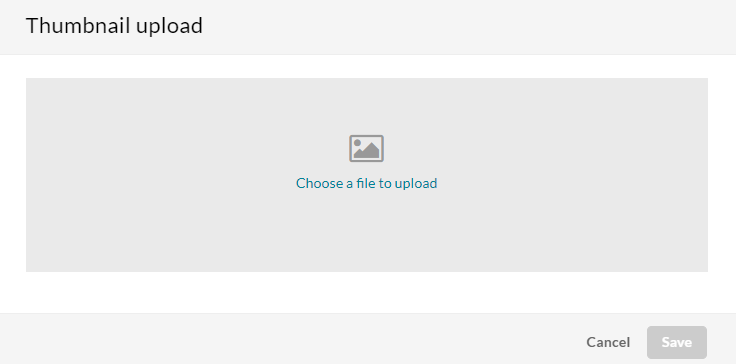
- Click Upload (or click on the thumbnail). The Thumbnail upload window displays.
- Choose a file to upload.
- Click Save.
The image displays as your new thumbnail for that chapter.
At any time, you can preview the chapters in the player by clicking View in Player.
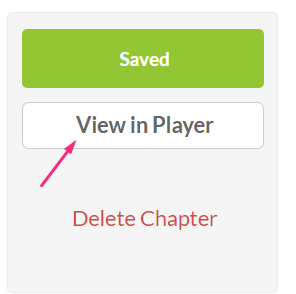
- When you have finished configuring your first chapter, click Save.

To create another chapter, click the Create New Chapter icon and repeat the steps above.
Delete chapters
- Click on the cue point of the chapter you want to delete.
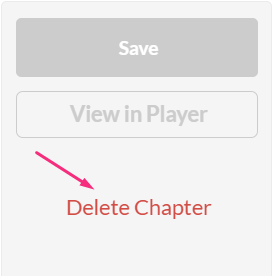
- Click Delete Chapter.
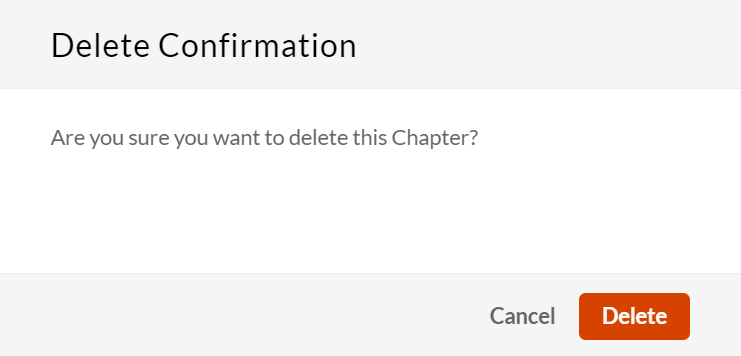
- Click Delete to confirm.

A confirmation message displays: 'Are you sure you want to delete this chapter?'
Click View in Player any time to see your changes.


