This guide is intended for KMS and KAF administrators.
The v2UI Module must be enabled in the KMS or KAF Management Console for the Monitoring Dashboard to display correctly in KMS and KAF.
Enabling the Monitoring Dashboard in Kaltura MediaSpace (KMS) and Kaltura Application Framework (KAF)
Kaltura Lecture Capture is managed by KMS and KAF system administrators in the Admin area accessed from <Base_URL>/admin (e.g. https://videos.mediaspace.kaltura.com/admin).
- Login to KMS or KAF and go to the Kaltura Configuration Management window.
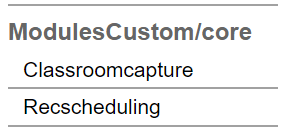
- Scroll down and select the Classroomcapture module in the Modules/Custom/core section.
The Classroomcapture Administration page is displayed. - In the Enabled field, select Yes to enable the Classroomcapture module.
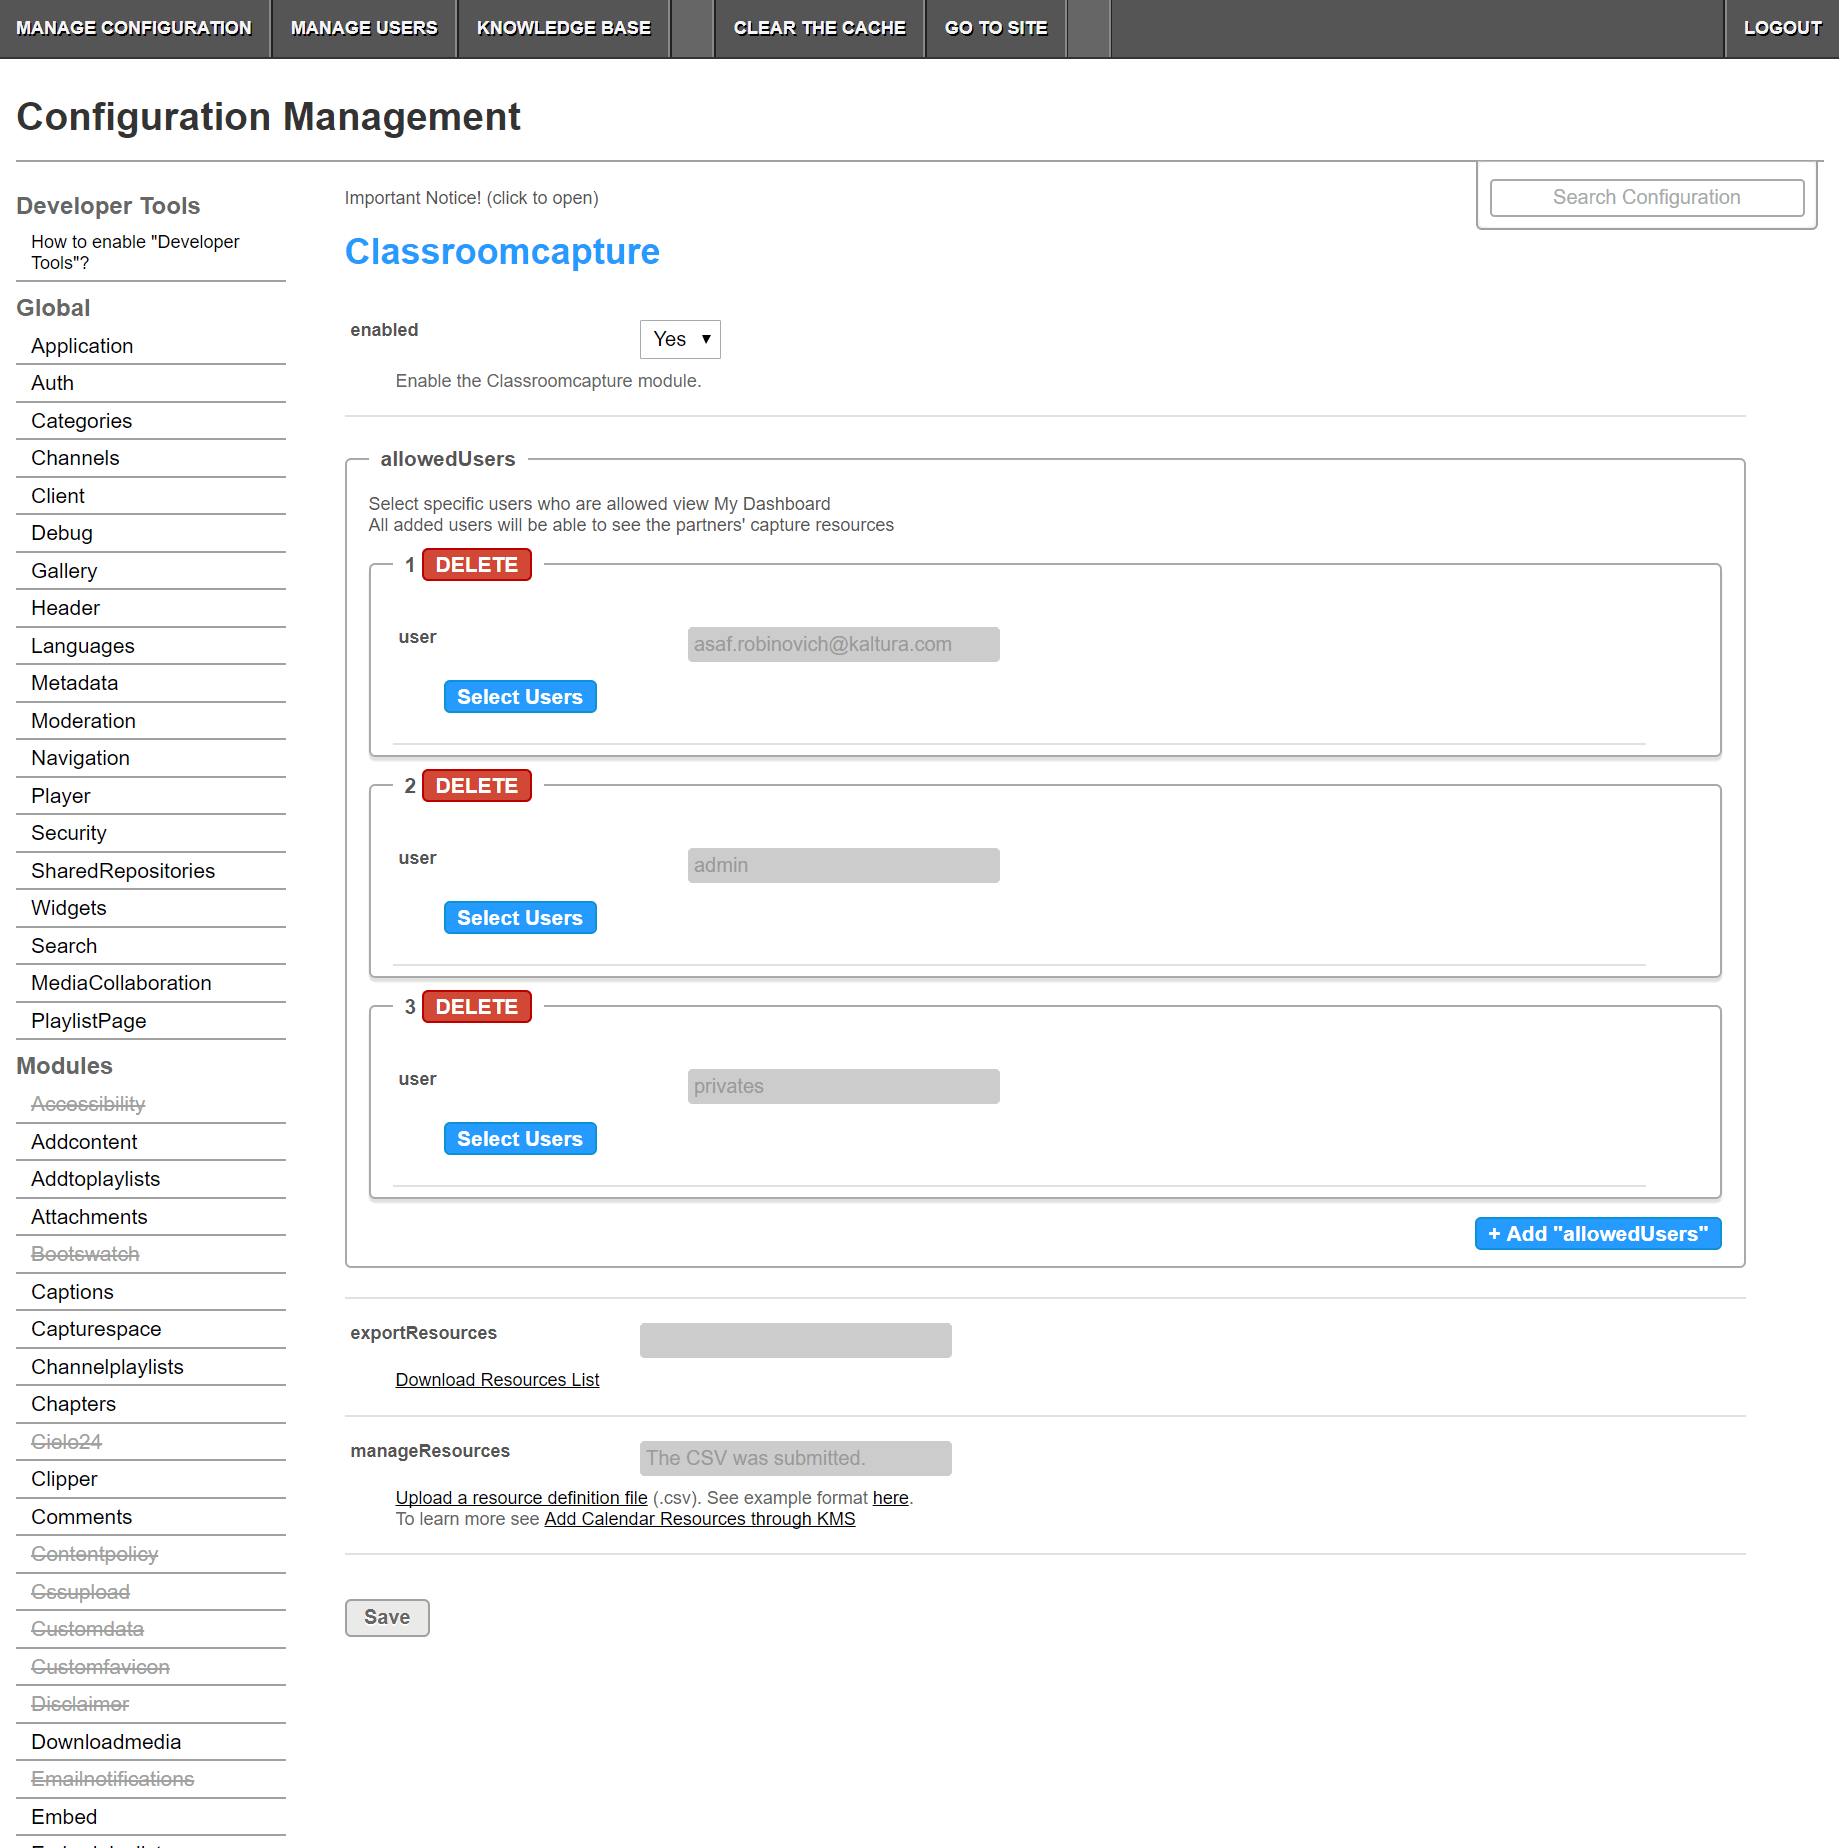
- Select or enter values for the relevant fields and click Save.


Field | Description |
Enabled | Enable the Classroomcapture module. |
Select specific users who are allowed to monitor Lecture Capture resources. | |
Download a list of resources already defined in your system. | |
Upload a resource definition file. |
Allowed Users
An "allowed user" can monitor all Lecture Capture resources in the organization.
To set permissions (allowed users)
- In the KMS or KAF Management Console select the Classroomcapture Module.
- Enable the Classroomcapture Module.
- In the allowedusers section, select specific users that will have permissions to monitor resources.
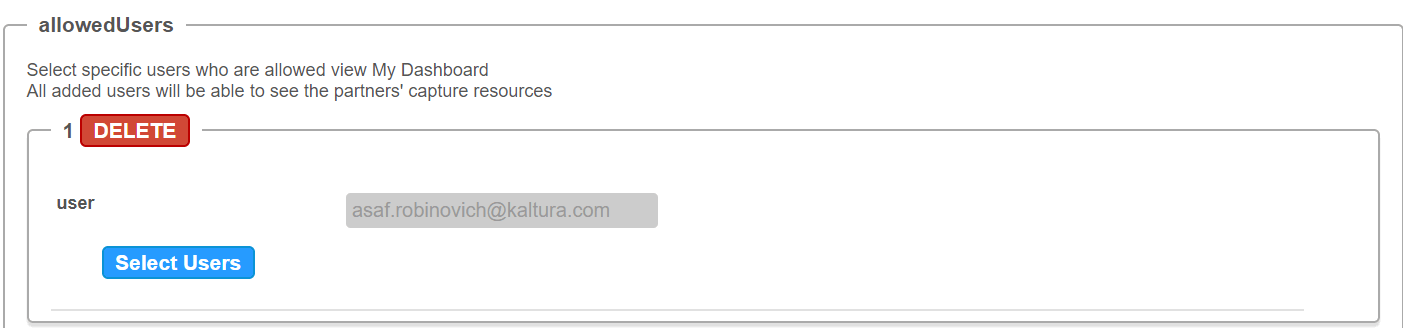
Only users that are available on your KMS/KAF instance may be added. You can use the auto-complete function (from 3rd letter and on). The permissions are identical to the role mapping for the LMS. Click +Add allowedUsers to add additional users.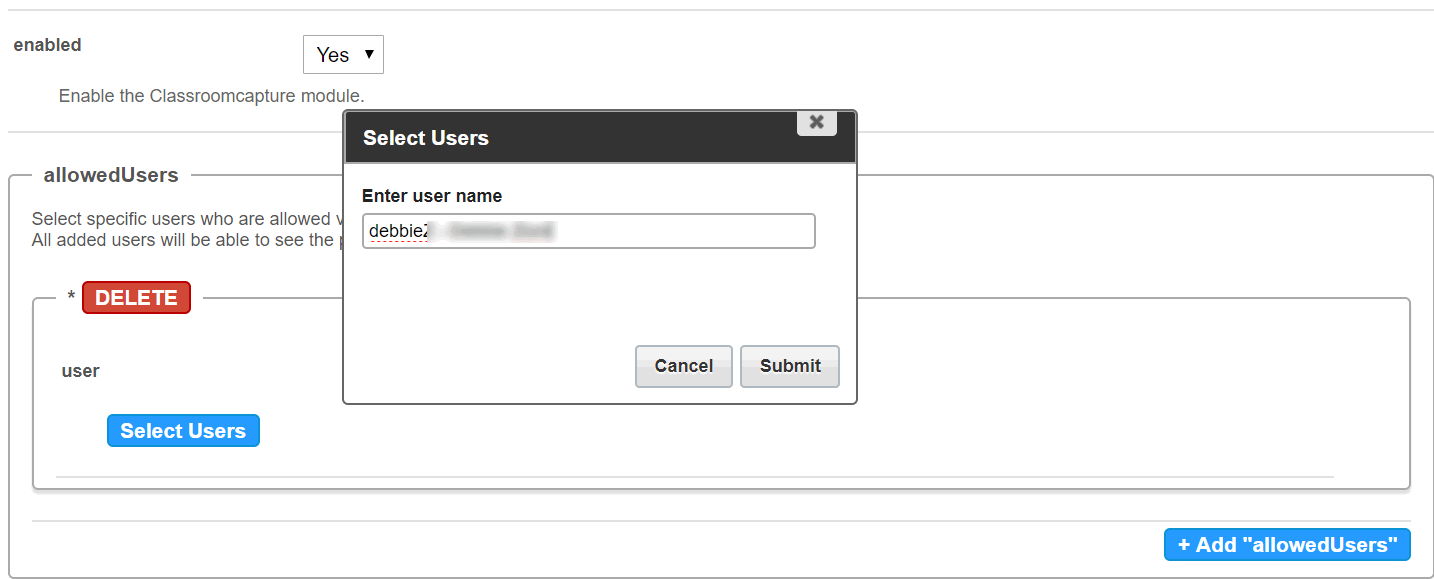


Monitoring Admins Group
Classroomcapture Admins Group Permissions
Users in the Classroomcapture Admins Group (users that are defined in the Classroomcapture module) have the following permissions:
- Access to the My Dashboard button
- Ability to view all resources in the system
- Editing or deleting any resource in the system. See here for more information.
- Adding resources to the system. See here for more information.
Adding a User to the Classroomcapture Admins Group
When a user is added and granted Classroomcapture Module permissions, they are automatically added to the Classroomcapture Admins Group. Users are added either through the KMS admin or through the KAF admin.
Removing a User from the Classroomcapture Admins Group
When a user is removed from the Classroomcapture Module permissions, they are automatically removed from the Classroomcapture Admins Group and the user will no longer have permission to view and edit all resources.
Removing a User from the System
If a user (Rich Media CMS or KMS user) is deleted from the system, they will no longer have access to the Classroomcapture Module or be able to see the Monitoring Dashboard.
A user may be removed either through the KMS or KAF admin console.
Enabling the Module both in KAF and KMS
The Classroomcapture Admins Group is a single group for the Kaltura Partner ID. If the Classroomcapture module is enabled in both applications, all users will be able to see the Monitoring Dashboard via either application.
User Management Integrations
Active Directory - The Classroomcapture Admins Group is not related to Active Directory Groups. The behavior described in this article should also apply when KMS relies on AD for user management.
LTI - User entitlements based on LTI are also relevant for Classroomcapture Admins.
Resources
Resources in Kaltura Classroomcapture are mapped to Kaltura Classroom installations. Each installation has a unique resource ID. Resources are created automatically for each installation of Kaltura Classroom. You can read more about resource under Setting the Resource Name for a Specific Install. Resources can also be edited via the Classroomcapture module.
- In the KMS or KAF Management Console select the Classroomcapture Module.
- Enable the Classroomcapture Module.
- In the manageResources field, click Upload a resource definition file (.csv). Use the example to understand formatting of the .csv file.
To view the resources that are currently defined in the system
- In the KMS or KAF Management Console select the Classroomcapture Module.
- Enable the Classroomcapture Module.
- In the exportResources field click Download the Resources list.
Verify that you have Activated the Kaltura Monitoring Dashboard
To verify that selected users can monitor events
KMS
- Login to KMS.
My Dashboard should display in the User Login drop down menu.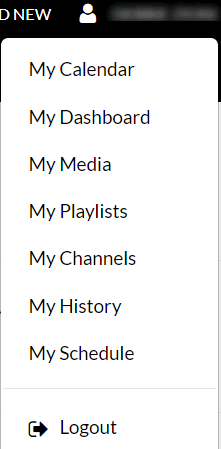

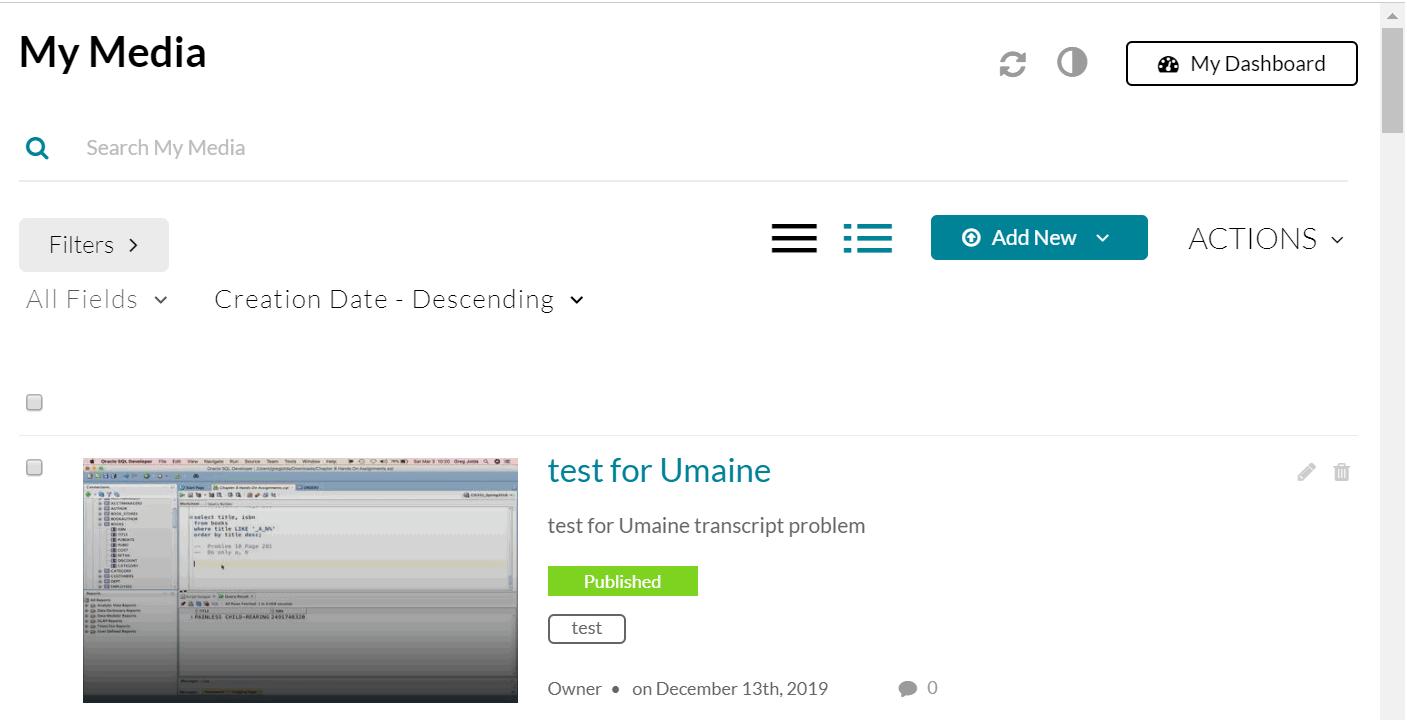
KAF
- Login to your KAF application.
My Dashboard should display on the My Media Page.