You can configure settings for a specific application installation.
The following application settings may be configured:
Setting the Resource Name for a Specific Installation
Resources in Kaltura are mapped to one installation of the Kaltura Classroom Application. Each Kaltura Classroom Application installation can be remotely monitored and scheduled. See Scheduling Management - Adding Events for more information on how to add events to your schedule. See Lecture Capture - Monitoring Recordings to learn more about how to monitor each deployed application. The default name for each resource will be the computer name. You can edit the resource name using the application settings.
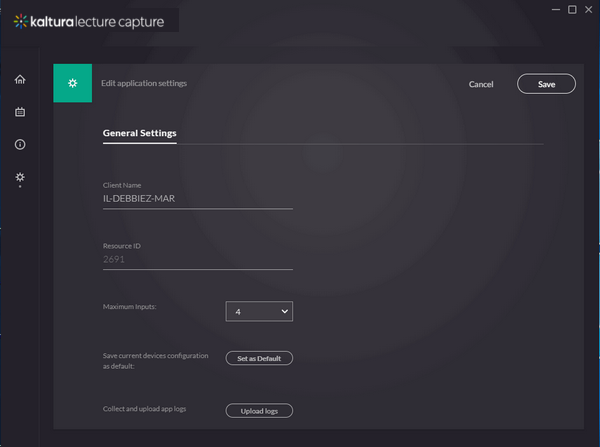
- Click on the Settings tab.
The Client Name selected for this recording is displayed. The default client name is the name of your PC. - To change the name, modify the current name and click Save.

Saving the Default Configuration
The application should be run as administrator.
These options are displayed only for admins.
- Set the number of maximum inputs from the drop down menu.
- Click “Save defaults”. All configurations are saved and there is no need to click Save again.
Uploading Logs
- Click “Upload logs”.
After the upload is completed, you may copy the token and add it to your support ticket as a reference.
