About
This guide explains how to install the Kaltura LMS Video integration version 4.2.6, which is compatible with Moodle versions 3.x, 4.x, and 5.0+.
Before you start
- A Kaltura account:
- Partner ID (PID)
- Admin secret
- An LMS Video instance URL, e.g., https://12345.kaf.kaltura.com
- Minimum Moodle version 3.x
Installation background
- The Kaltura LMS Video Package includes:
- Local plugin for configuration and the Kaltura PHP client library (local/kaltura)
- My Media plugin to display users' personal media repository (local/mymedia)
- Video assignment module
- Video resource module
- Filter plugin to embed Kaltura videos in rich-text fields
The Atto text editor and its related Kaltura plugin were removed in Moodle 5.0 and are not supported in newer versions.
Installation process
- Download the latest Kaltura LMS Video package to your Moodle root directory from here.
- Unzip the package.
- Browse to the Moodle home screen and click Continue to begin installation.
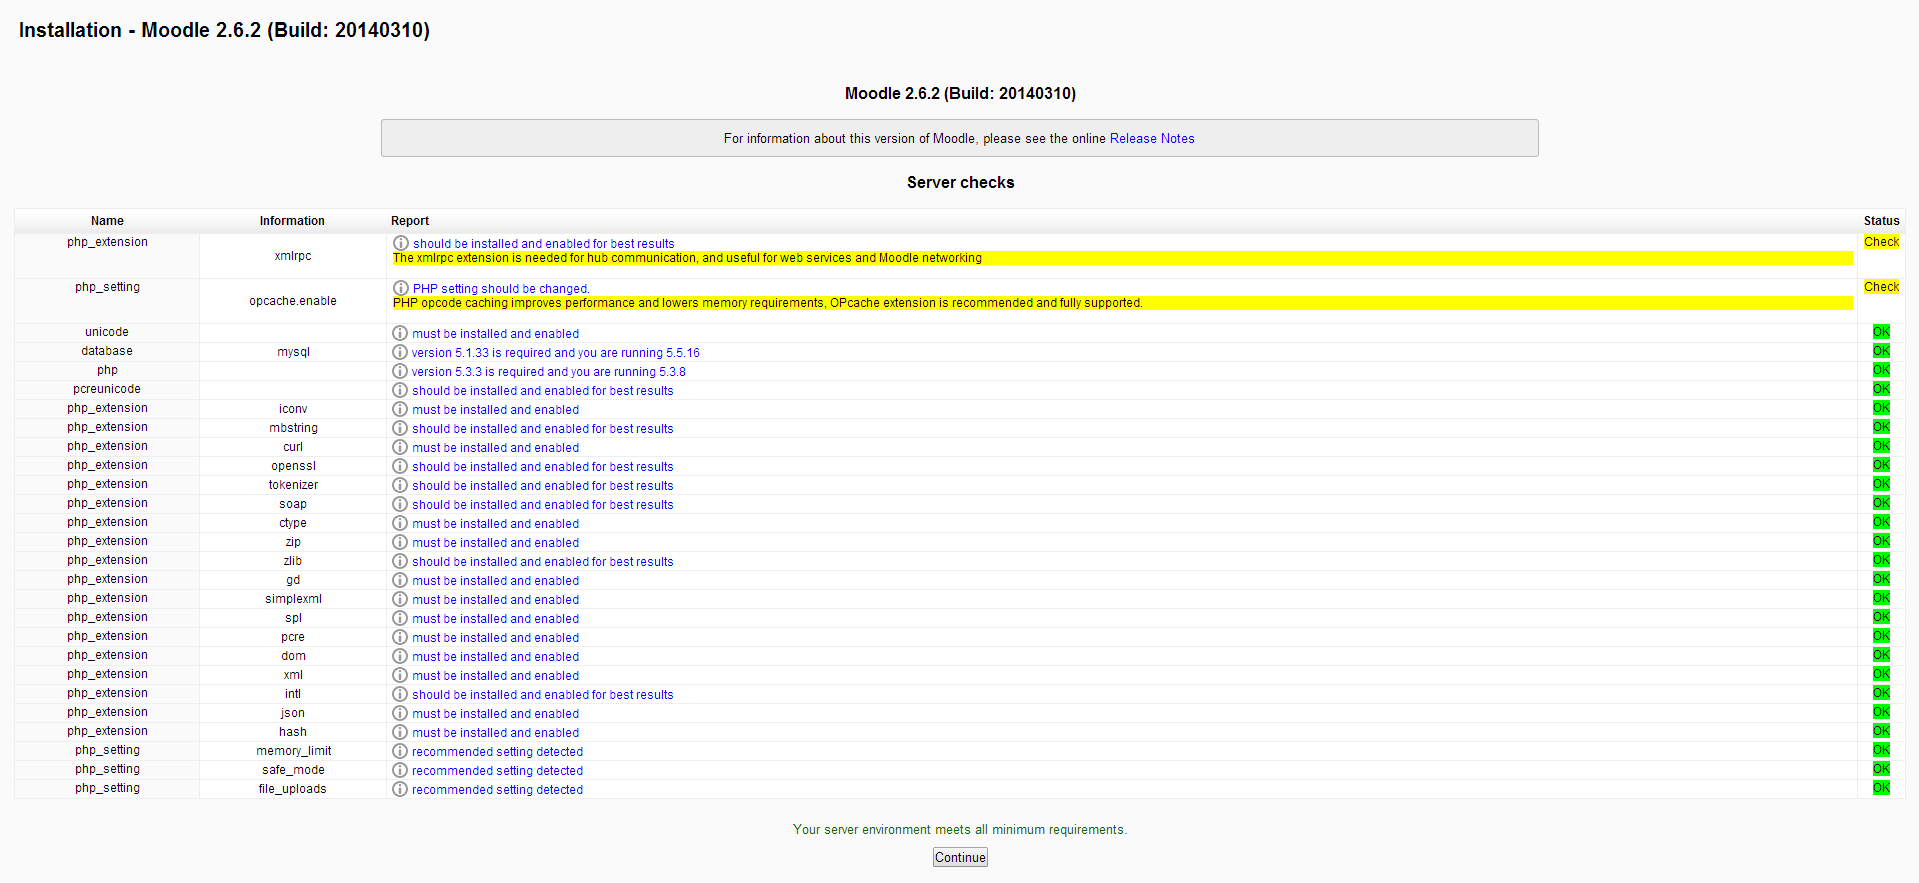
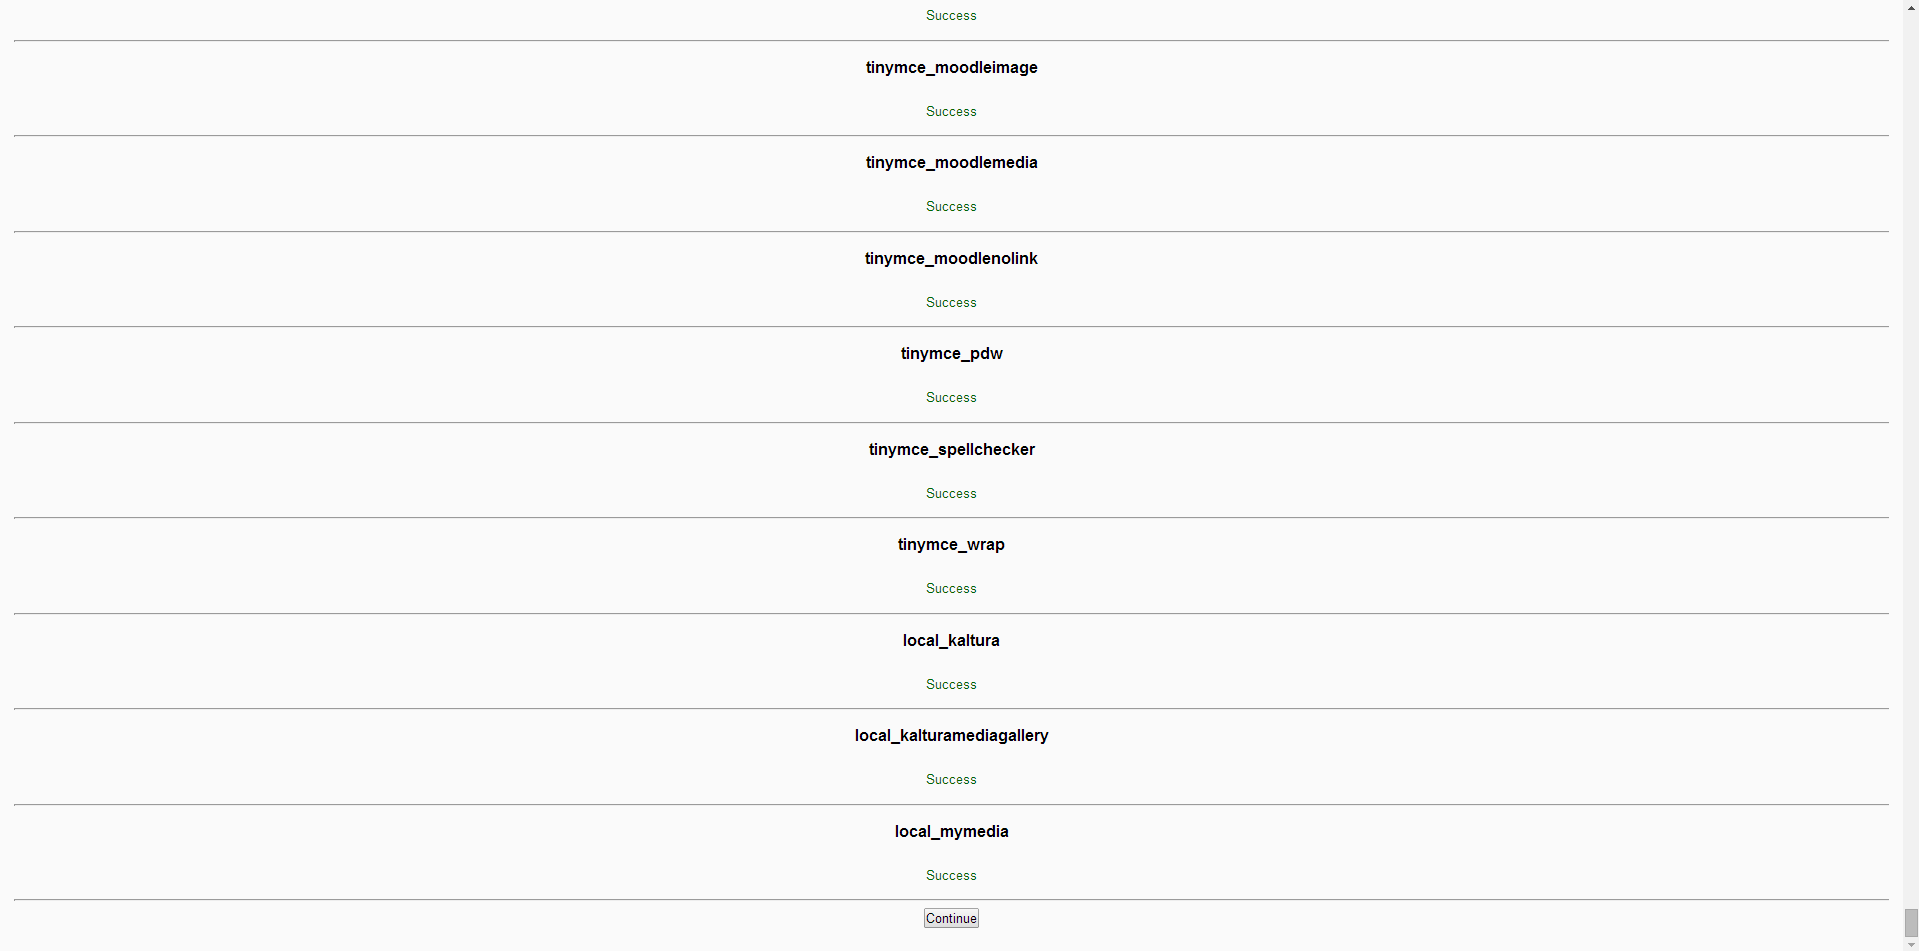
Installation is processed. When finished, the Continue button is displayed.
- Complete setup fields as prompted and click Continue.
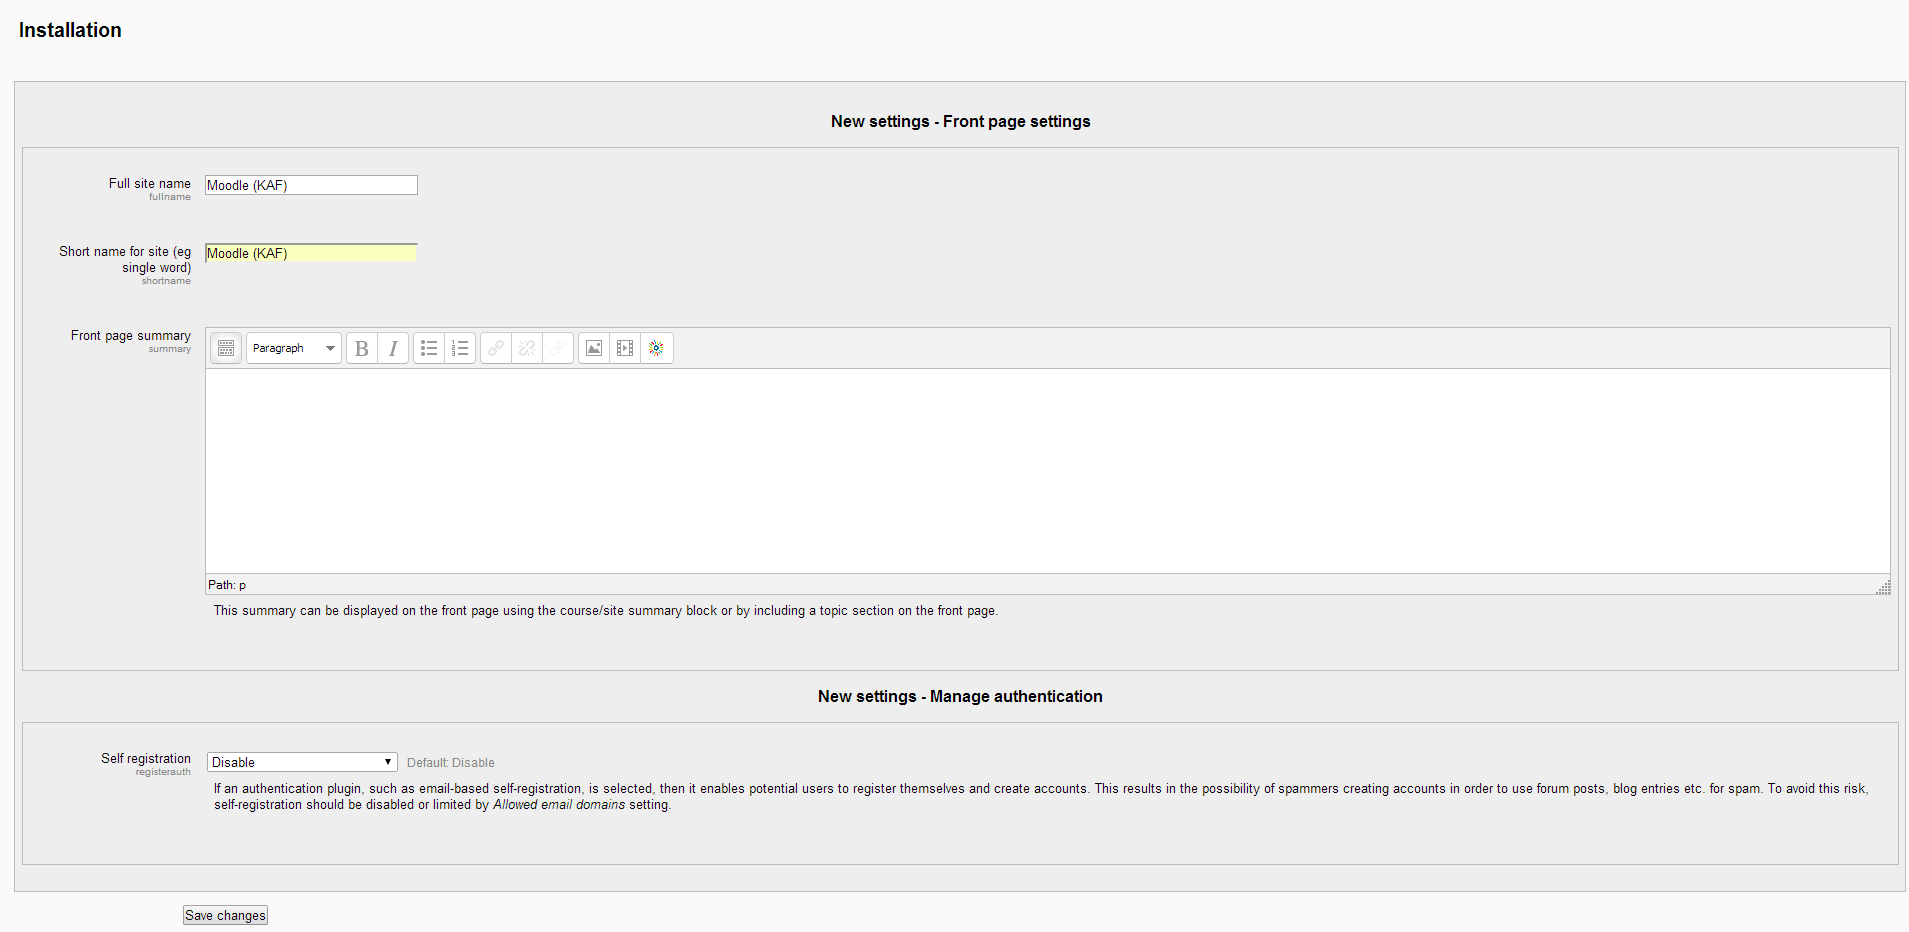
- Click Save changes.
Configure Kaltura package libraries
- Navigate to: Site administration > Plugins > Local plugins > Kaltura package libraries
- Enter the following:
- KAF URI: Format is [Instance ID]-<your KAF URL> (e.g., 12345-https://kaf.domain.com)
- Server URI: Typically www.kaltura.com (for most use cases, this should not need to change)
- Partner ID: The PID can be found on Integration settings page in the KMC.
- Admin secret: This is an alphanumeric string used for integrations and can be found on the Integration settings page in the KMC.
- Enable trace logging: Checked
When finished, the Kaltura Package Libraries page should look similar to the following:

Set up the filter plugin
- Navigate to Site administration > Plugins > Filters > Manage filters.
- Enable the Kaltura Media filter and click the settings link.
- Ensure that Embed Kaltura Video Links is checked.
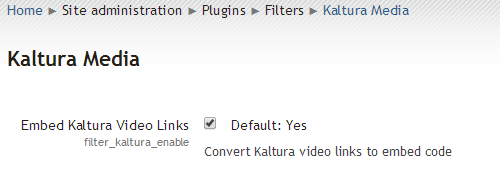
- Click Save.
Set up the Atto text editor (Moodle 3.x-4.x only)
This section applies only to Moodle 3.x and 4.x. The Atto text editor was removed in Moodle 5.0.
To add the Kaltura embed button to the Atto text editor
- Go to Site administration > Plugins > Text editors > Atto HTML editor > Atto toolbar settings.
- Under Toolbar config, add “kalturamedia” to any of the button groups. :
 The “Embed Kaltura Video” is added to the Atto editor.

My Media setup
No setup is required for My Media. Users can find My Media under the My Home menu.
To move the My Media button
- Go to: Site administration > Appearance > Navigation
- Select Site under "Default home page for users".
- Click Save changes.
To configure navigation:

Boost theme support
The Boost theme may not have the ‘Navigation’ tab. The Kaltura Media Gallery will be available in other locations.
You can determine where to place the Kaltura Media Gallery link. The link may be in one of the following locations:
- Navigation block
- Course settings menu
To add the link to Kaltura Media Gallery:
- Go to Site administration > Plugins > Local Plugins > Kaltura Media Gallery.
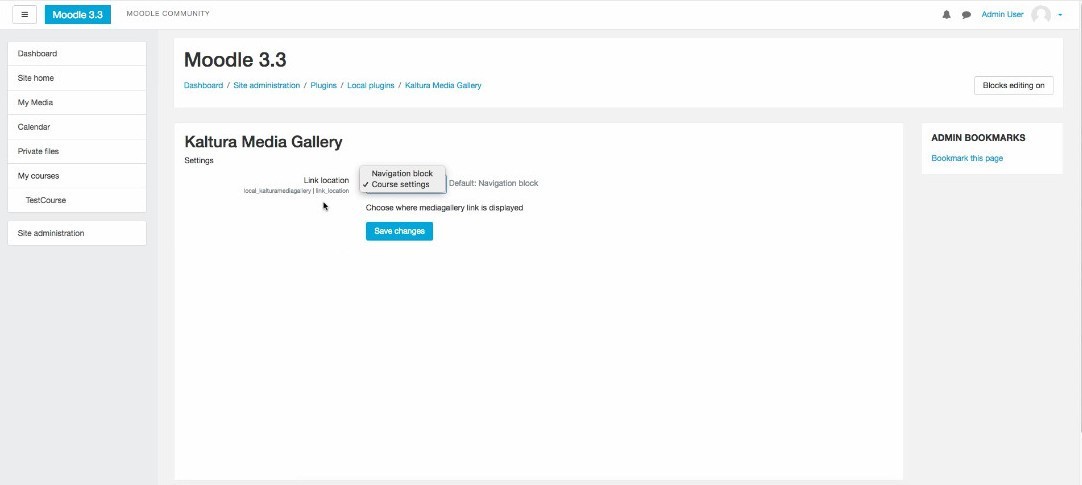
- Select where you want the Kaltura Media Gallery link to appear.
Navigation block
Select Navigation block for the link to appear on the left Navigation block.

Course setting menu
Select Course settings for the link to appear on the course Admin settings menu:

The default display is in the Navigation block.
Adding a block
If you have permissions to add blocks to a course, you can add the Kaltura Media Gallery Block. The link to the Kaltura Media Gallery will be added to the course side pane.
- Navigate to the site administration.
- Turn editing on.
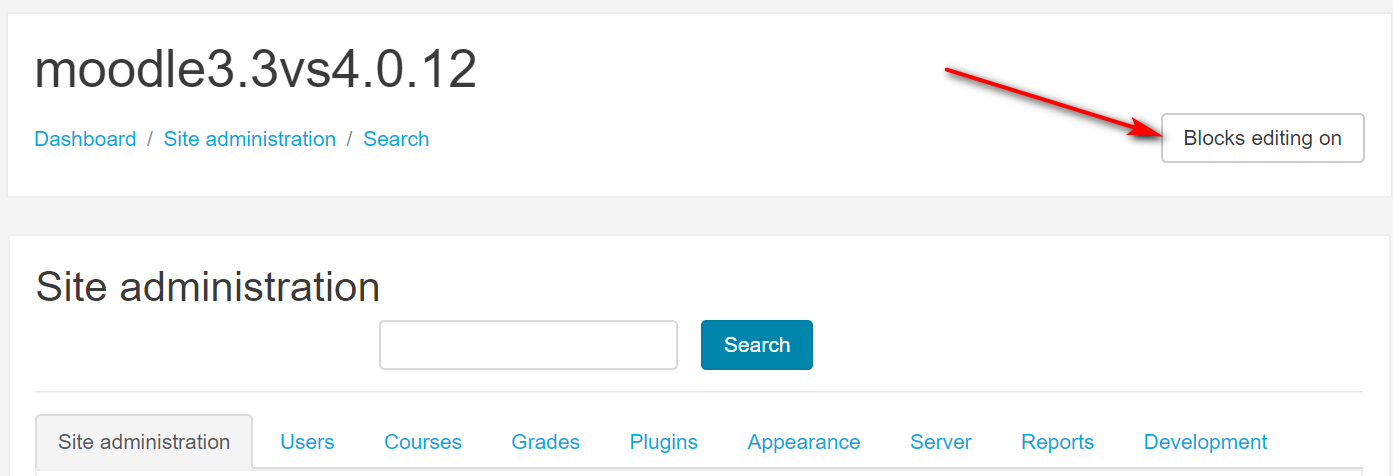
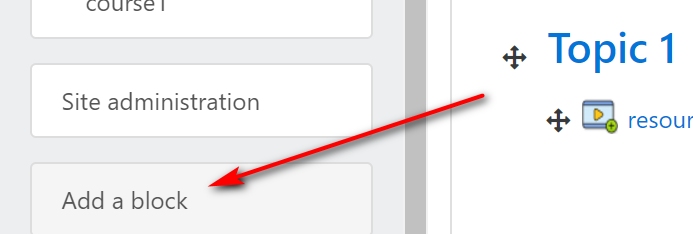
- Navigate to a course, and locate the Add a block button.
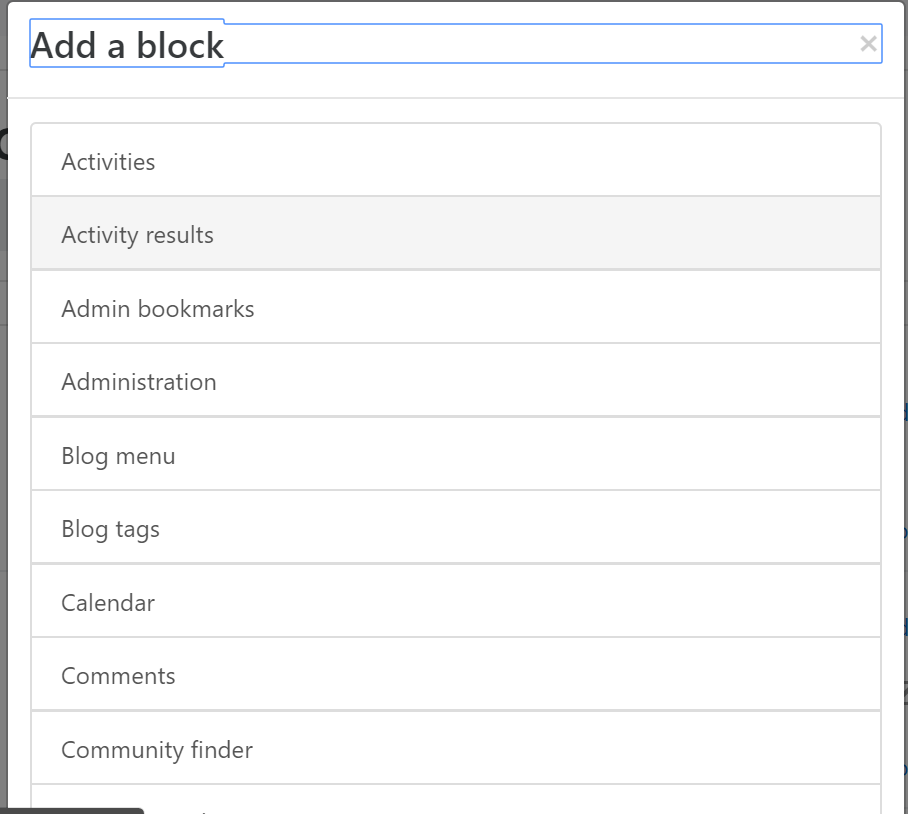
- Under the list of blocks, choose the Kaltura Media Gallery.
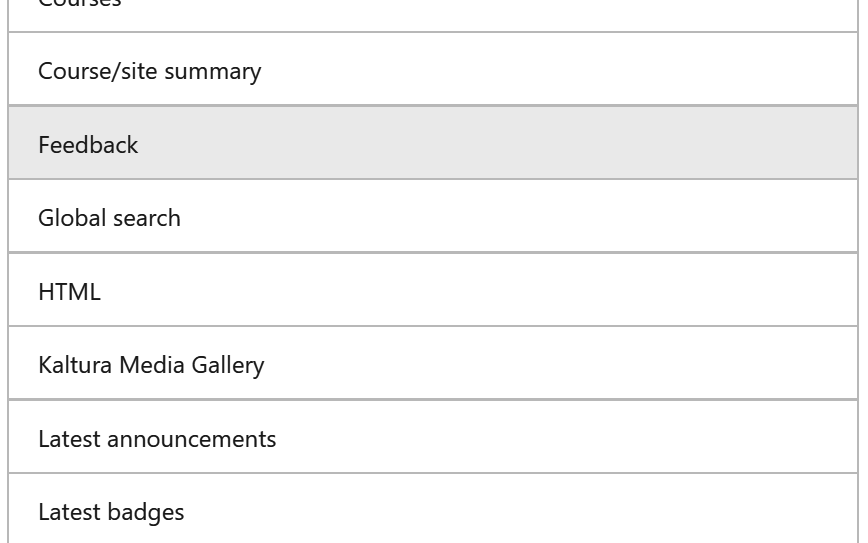
The results after adding the Kaltura Media Gallery block are as follows:

Roles and permissions
This section provides information on how to set roles and permissions for users to use the Kaltura features.
- Go to Site Administration > Users > Permissions > Define Roles.
- A list of all standard and custom roles is displayed.
- Select the role to edit and click the gear icon.
- Use CTRL+F to search for "Kaltura" (there are a several permissions related to the Kaltura extension)
- Set each permission to Allow.


Available permissions
The following lists the available features/permissions:
- Block: Kaltura Media Gallery
- Add a new Kaltura Media Gallery block to Dashboard
- Kaltura package libraries (recommended for admins only)
- Download Kaltura trace logs
- Migrate Kaltura Data
- Kaltura Media Gallery
- View Kaltura Media Gallery
- Activity: Kaltura Media Assignment
- Add a Kaltura Media Assignment
- Activity: Kaltura Video Resource
- Add a Kaltura Video Resource
- Activity: Kaltura Media Assignment
- Grade video submissions
- Submit videos
- Block: Kaltura Media Gallery
- Add a new Kaltura Media Gallery block
- My Media
- View My Media page

Next steps
To complete your Kaltura deployment, please see Kaltura Video Quiz Moodle Gradebook Integration with LTI 1.3 Deployment Guide.


 The “Embed Kaltura Video” is added to the Atto editor.


