Import from OneDrive to Kaltura


About

The OneDrive module provides the ability for users to ingest content from their personal OneDrive folder by adding an 'Add from OneDrive' button in the Add New menu. This article is intended for KMS site administrators and describes how to enable and configure the 'OneDrive" module and set the required Microsoft settings.

The accounts shown herein have the theming module enabled.

Set up the OneDrive module

Before enabling the OneDrive module, you must register an application in Microsoft Azure. 

Register an application in Microsoft Azure

  1. Go to https://portal.azure.com/#blade/Microsoft_AAD_RegisteredApps/ApplicationsListBlade.
  2. Click the +New registration button.
  3. In the Register an application page, enter the following:
    1. Name - Enter a meaningful name for the app. (e.g. Kaltura OneDrive integration)
    2. Check the option: Accounts in any organizational directory (Any Azure AD directory - Multitenant).
    3. In the Redirect URI, fill in the following:
      • Select a Platform: Choose Web.
      • Redirect URI: https://{kaltura_site_base_URL}/onedrive/index/blank-page
      • Replace "{kaltura_site_base_URL}" with your application base URL.

  4. Click Register.
    A new application is created, and the Overview tab is displayed. Grab the Application (client) ID, and save it for later.

  5. Go to the Certificates & secrets tab and click the +New client secret button.  
  6. Create a client secret and click Add.

  7. Go to the Authentication tab and check the options: 
    • Access tokens (used for implicit flows)
    • ID tokens (used for implicit and hybrid flows)

  8. Save your settings. 

API Permissions

To get the integration working, you need the following permissions:

  • files.read.all: Allows reading all files on the Microsoft 365 platform you have access to.
  • openid: Enables multi-factor authentication on the M365 platform.
  • profile: Required along with user.read to create a OneDrive URL.
  • user.read: Grants read access to user profile information.

Make sure that your KMS site name does not have underscores. If it does, delete the underscores when you type it in.

Enabling the OneDrive module

In your application's Configuration Management console, navigate to the OneDrive module and configure the following:

  1. Set enabled to 'Yes'.
  2. Optional - Set which users/groups/roles are allowed to use this tool.
  3. Enter the Application (client) ID you created in the application page in Microsoft Azure in in the 'applicationId' field.  
  4. Click Save.

Import content from OneDrive

After registering the new application, users may import data from OneDrive from the "Add New" menu.

The application administrator should enable the OneDrive module and set up a registered app in Microsoft Azure. 

  1. Select OneDrive from the + Create drop-down menu.

    The OneDrive import page is displayed.

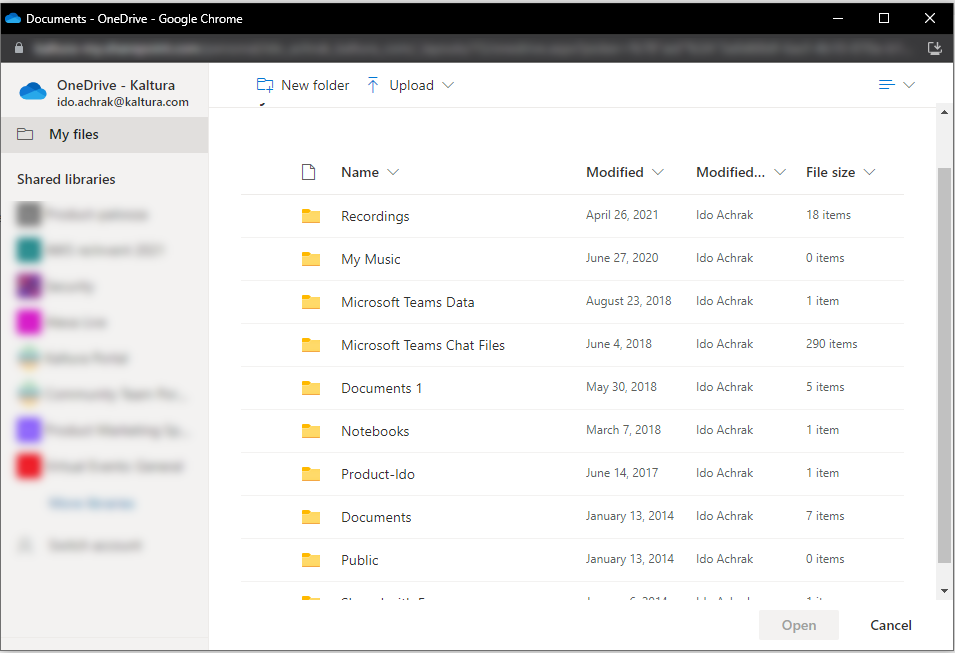
  2. Click Select a file from your OneDrive.
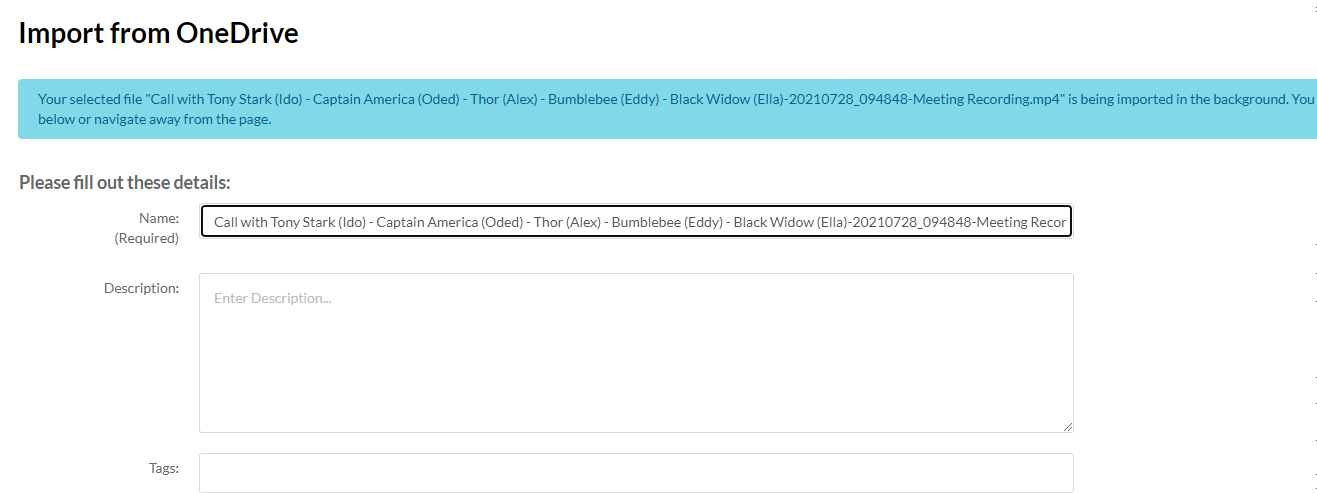
    A file picker window displays. 
  3. After selected the desired media, the import preparation begins.

  4. When the media preparation is completed, the import begins. During the import process, you may edit the metadata of the media entry, or navigate away from the page, and the import process will continue in the background.

  5. After the ingestion is completed, you can view the media in its dedicated page or in your My-Media.

Importing a Teams meeting recording

For Microsoft Teams non-Channel meetings, the recording is stored in a folder named Recordings that's at the top level of the OneDrive for Business that belongs to the person who started the meeting recording.

  1. Navigate to the Recording folder on OneDrive.
  2. Choose a file and import your Teams recording.


Was this article helpful?
Thank you for your feedback!
In This Article
Related Articles
Back to top

Never miss a thing!

Subscribe to our customer newsletter and our release notes updates, so you always get the best out of Kaltura.
Newsletter