About
HubSpot is a platform that connects marketing, sales, and services tools to a unified CRM database. Kaltura HubSpot integration creates HubSpot contacts for event registrants and updates their attendance status.
The Kaltura HubSpot integration consists of two independent parts:
- Kaltura Virtual Events app on HubSpot App Marketplace
- HubSpot integration for Kaltura Virtual Events
Kaltura Virtual Events app on HubSpot App Marketplace enables easy data sharing from HubSpot to Kaltura, such as creating a registration form on HubSpot and registering the contact on Kaltura automatically.
Note - HubSpot supports three statuses - Register, Attend, and Cancel. All Kaltura statuses are mapped to these three statuses.
| Kaltura Status | HubSpot Status |
| Created | Register |
| Registered | Register |
| Invited | Register |
| Confirmed | Register |
| Auto confirmed | Register |
| Attended | Attend |
| Participated | Attend |
| Blocked | Cancel |
| Un-registered | Cancel |
HubSpot integration for Kaltura Virtual Events enables easy data sharing from Kaltura to HubSpot, by automatically creating a marketing event on HubSpot for every event created on Kaltura Virtual Events and sending registrants' information and attendance status to HubSpot to be able to track and create HubSpot workflows and automation around registration/attendance information.
To get the experience between HubSpot and Kaltura, it is recommended to set it up on both platforms.
The screens shown here represent a multi-session event. The same actions apply when working with single session.
Prerequisite
HubSpot integration requires a custom event template with webhook configured.
Connect Kaltura app to HubSpot
- Search for "Kaltura" on the HubSpot App Marketplace.
- Click Choose Account.
A page displays alerting you that Kaltura is requesting access to your HubSpot account. The page outlines details of the integration, including how Kaltura will manage and view your CRM data, create timeline events, and handle other basic OAuth functionality. - If you agree to these details and would like to continue connecting to the Kaltura app, click Connect app.
- A page displays prompting you to log in to Kaltura (use your username and password for Kaltura Virtual Events). If you are using other types of authentication (such as two factor authentication or SSO), contact support to help you connect the app.
Integration settings
There are two levels of integration settings on the Kaltura Virtual Events management interface.
- Account Level
- Event Level
Account level
The account level should be set up so that you can connect different events to use for the HubSpot integration.
Set up the HubSpot integration on the account level
Each integration needs to map the registration form fields to the lead records on HubSpot. Each Kaltura Virtual Events registration form is set up by the template per event.
To set up an integration
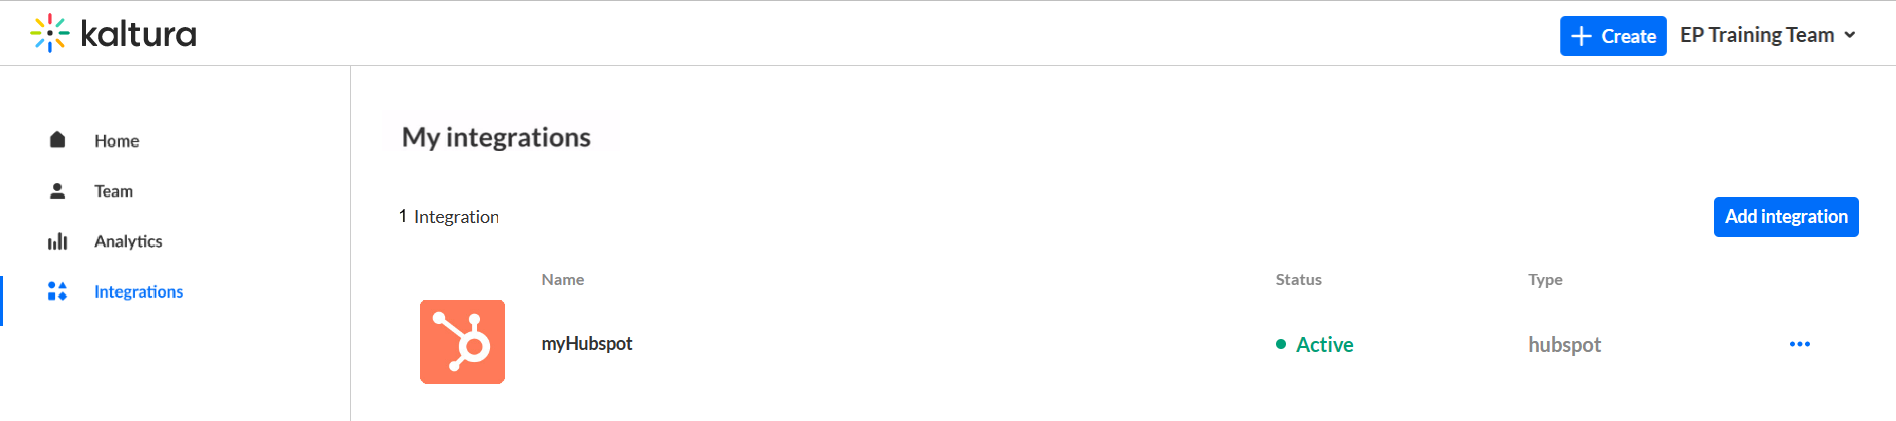
- On the Kaltura Virtual Events screen navigate to the Integrations tab.
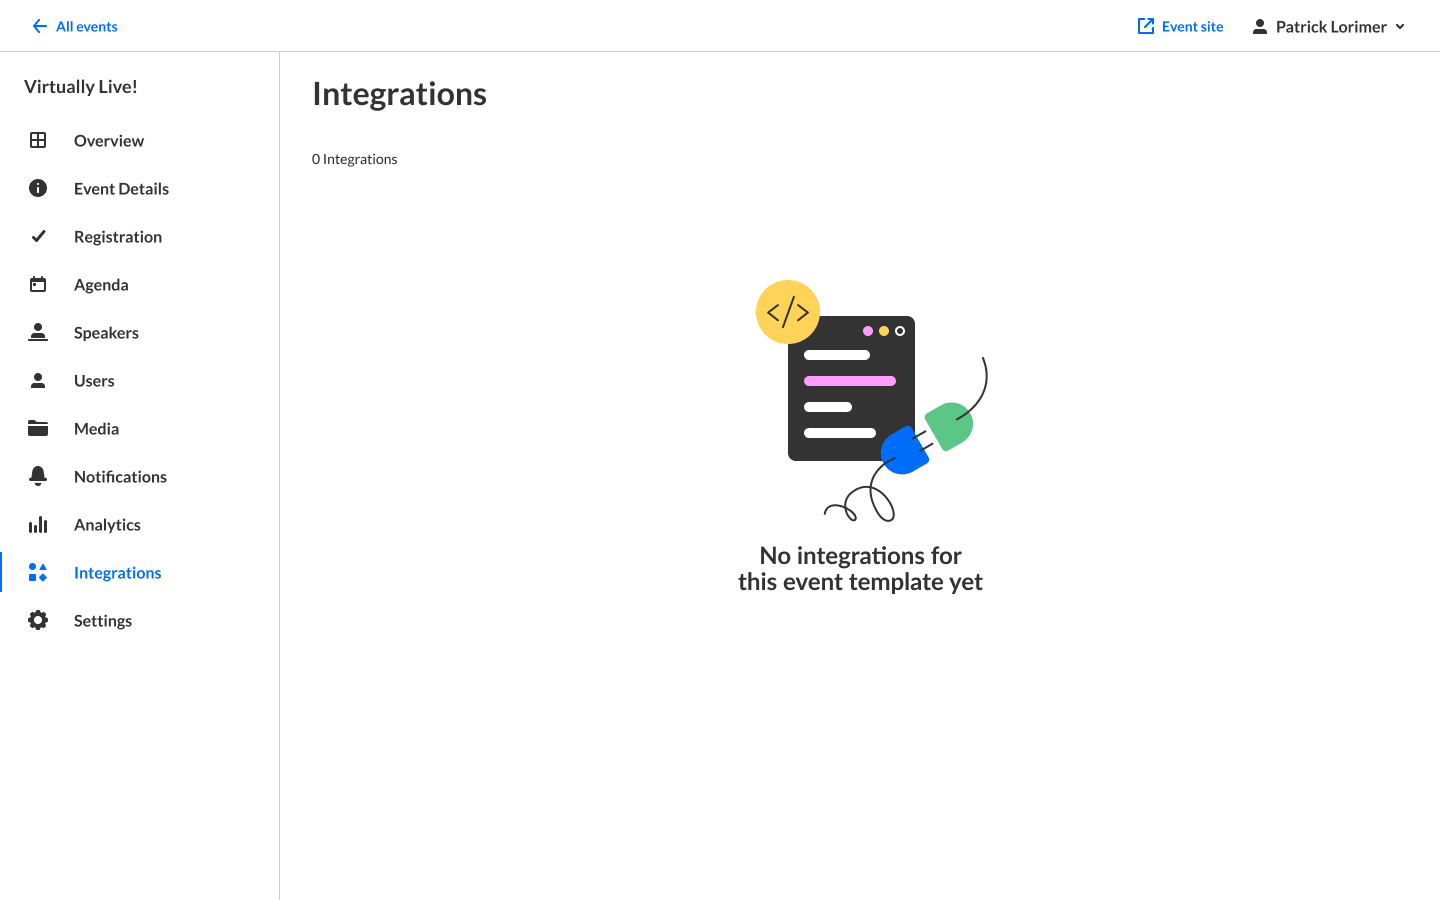 The first time you view this tab, the list is empty. A list of other existing integrations that were created for this account/partner are displayed after subsequent use.
 - Click Add integration. The New integration window displays.
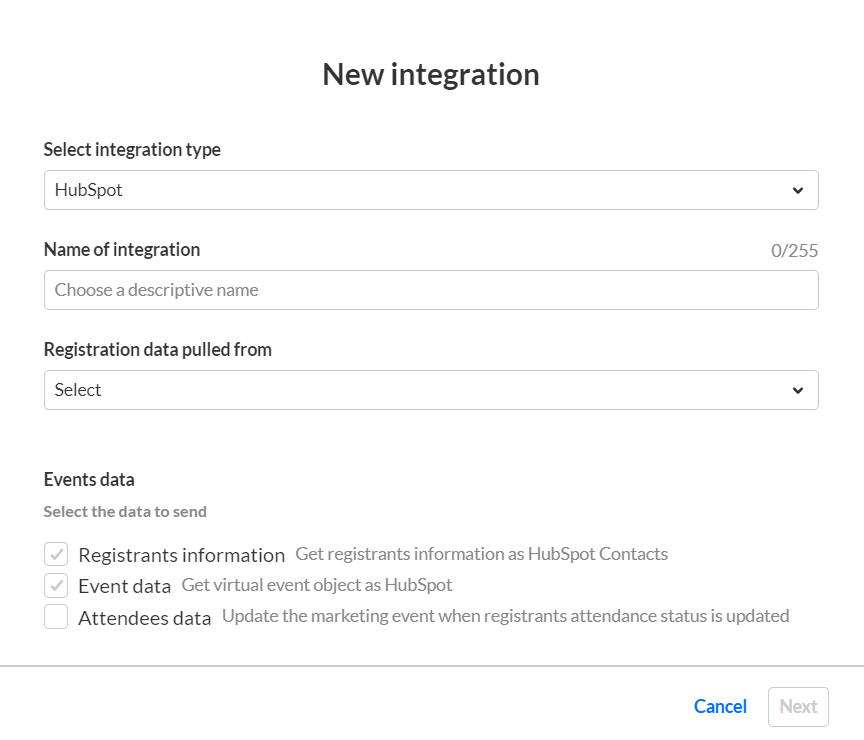
- In the Select integration type pull-down list, select HubSpot.
- In the Name of integration field, type a name for the integration. We recommend using a descriptive name, for example "Event HubSpot Integration".
- In the Registration data pulled from pull-down list, select where the data will be pulled from.
- In the Events data area, select the Kaltura Virtual Events data you would like to send to HubSpot.
- Registrants information - (Lead or registrant information) This item is checked by default and cannot be unchecked. This obtains registrant information as HubSpot leads. The registrant information is mandatory. That is the part that creates the lead in HubSpot.
- Event data - Create HubSpot marketing event for event created on Kaltura.
- Attendees data - Check to update the lead record that was created when registrants log into the event. The lead record is updated with the attendant's information.
- Click Next. The HubSpot authentication screen displays.
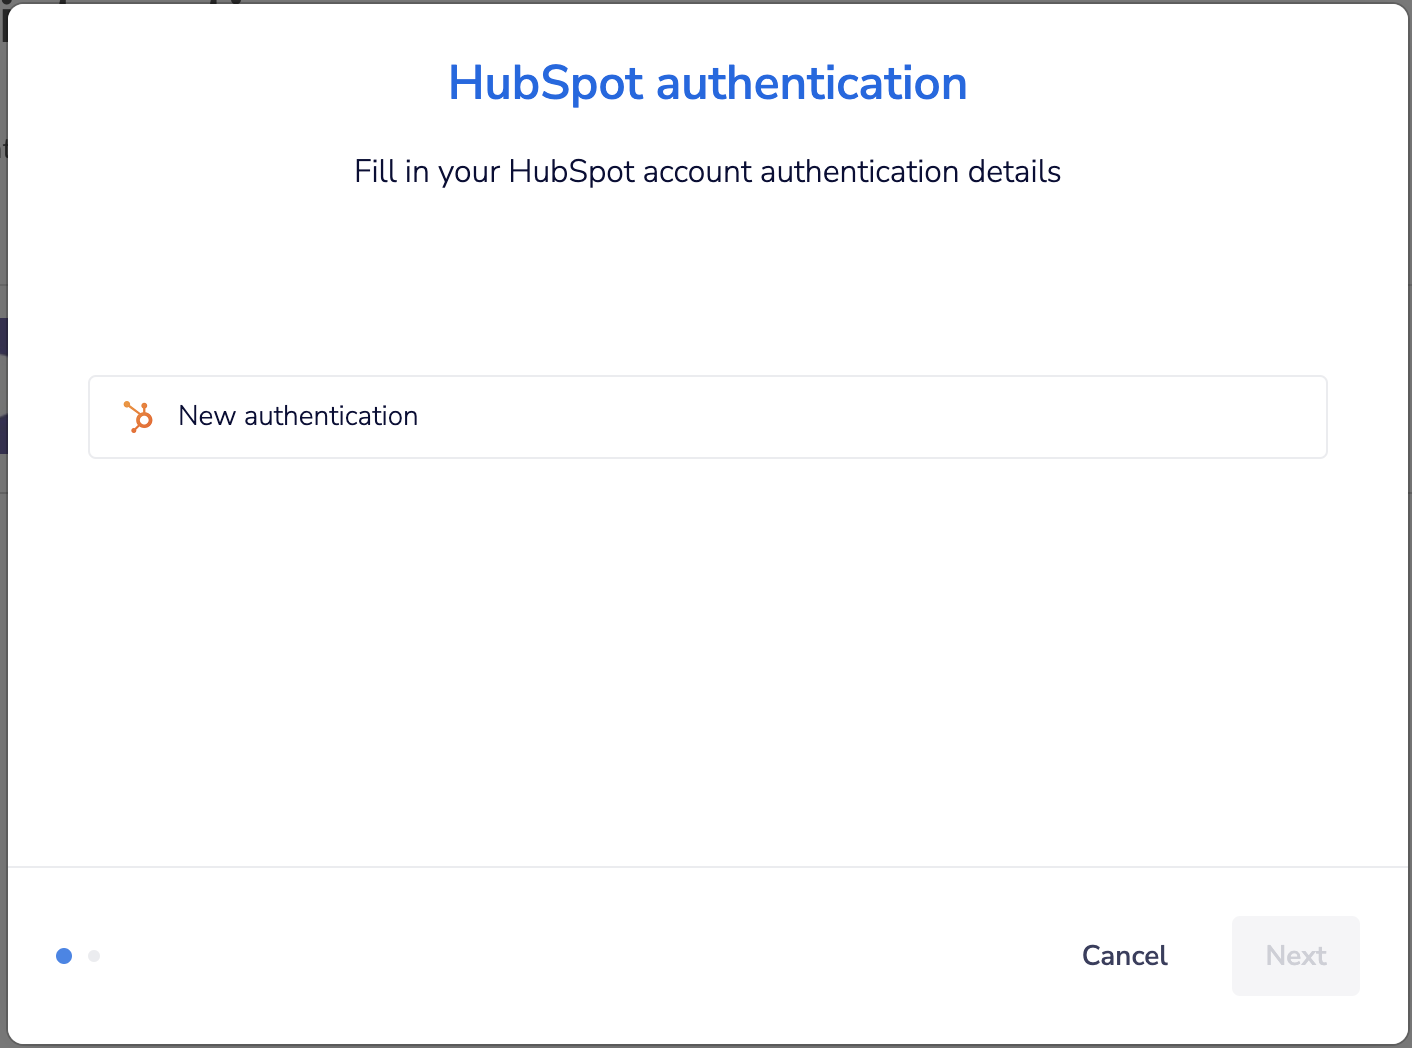
 If accounts already exist, they are listed here. You can use one of the existing accounts or create a new one by expanding the pull-down list and clicking on Add a new account. If accounts do not already exist, simply click New authentication.
- The Create a new authentication screen displays. Name the authentication with a meaningful name to identify the authentication you used.
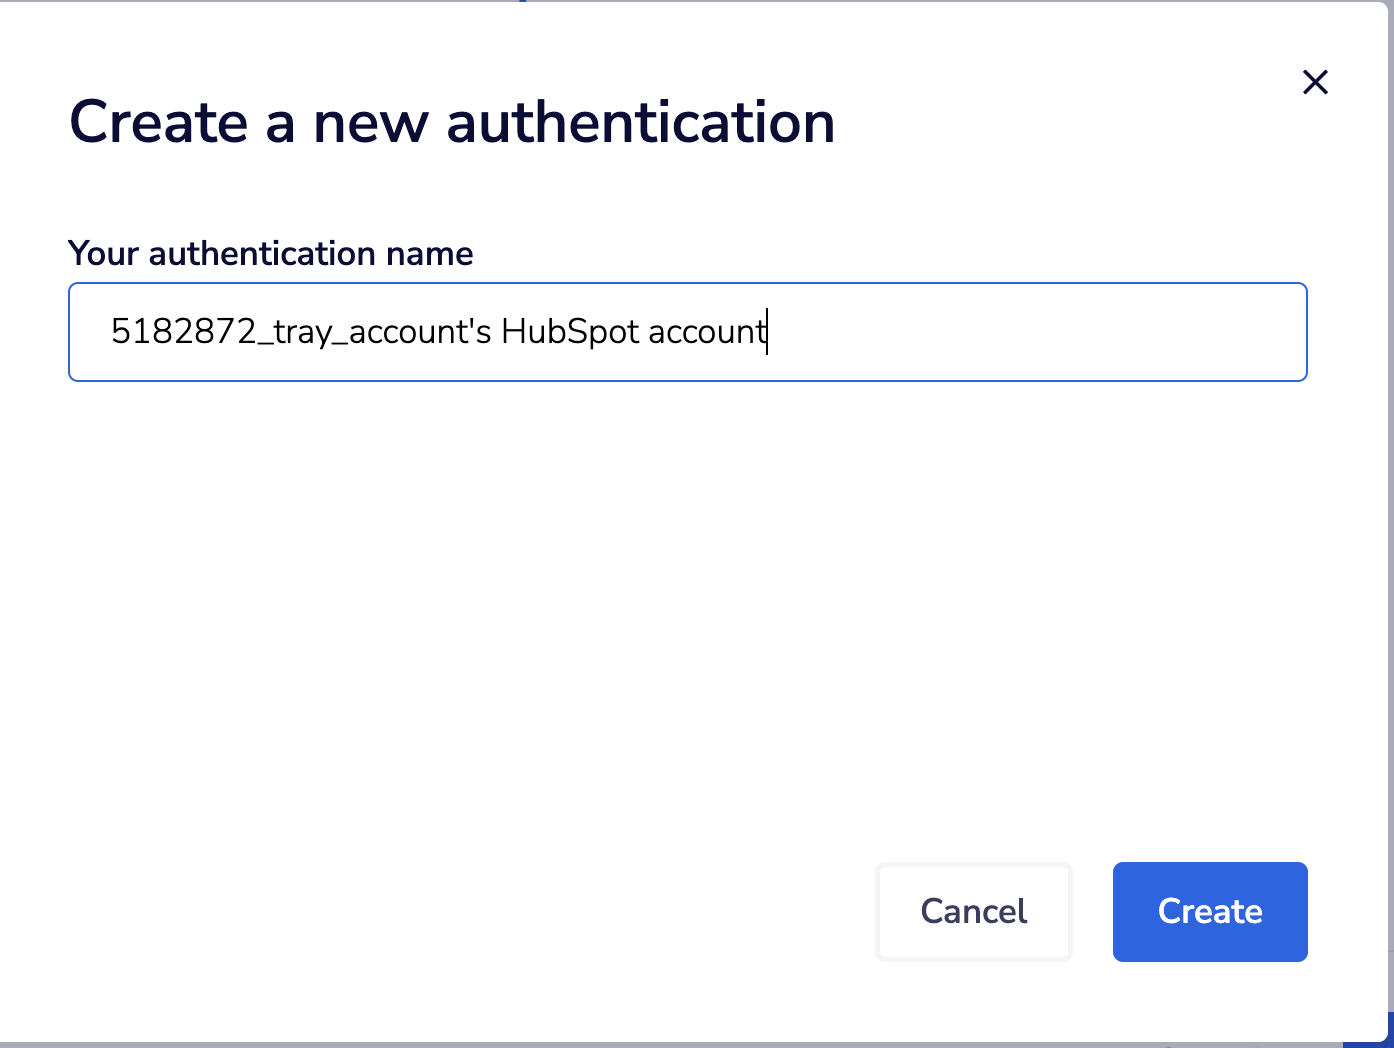
- Click Create.
- Authenticate to HubSpot and select the account. A page displays prompting you to choose the desired account.
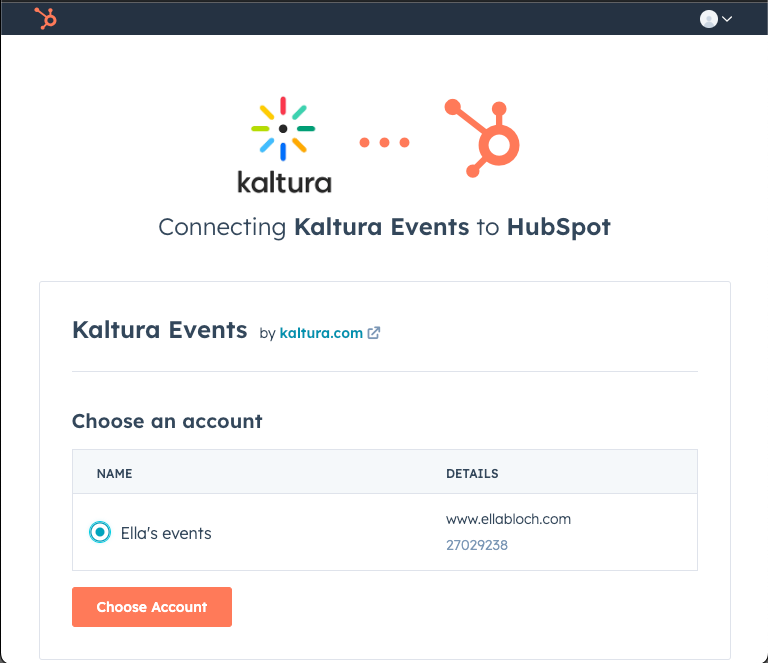
- Click Choose Account.
- A page displays prompting you with relevant app permissions required. Approve app permissions by clicking Connect app.
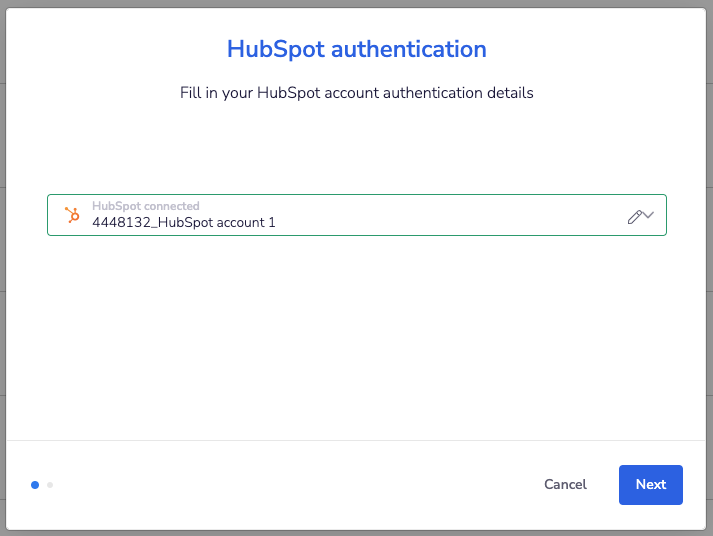
 A message displays letting you know that the authentication for the app was successfully created.
 - Click Next. The field mapping screen displays.
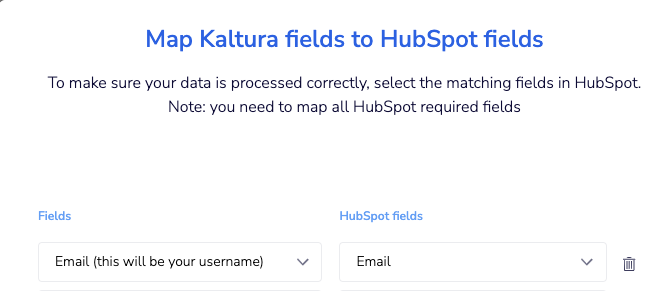
Our recommended mapping is as follows however review the specific properties you use in HubSpot before configuring: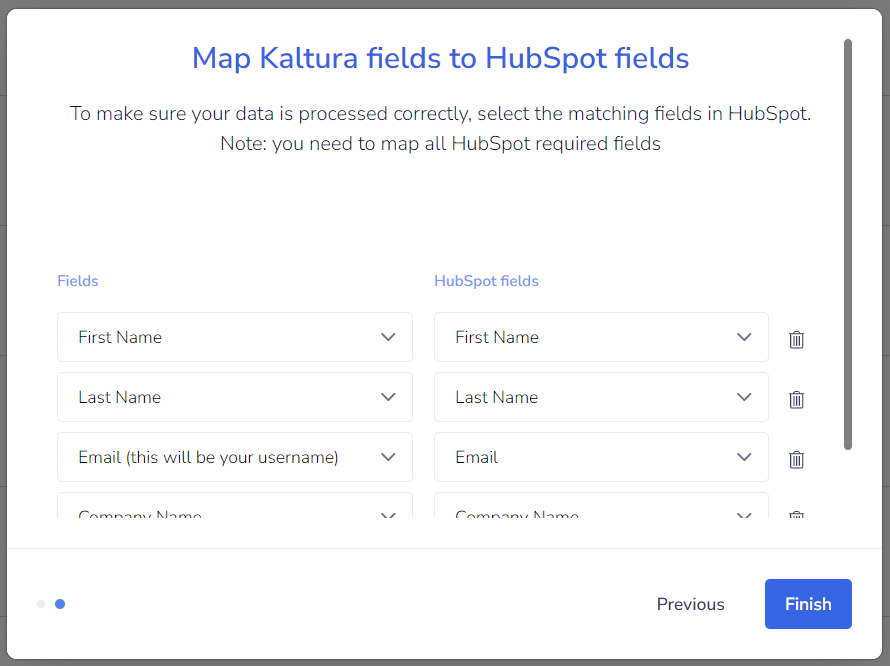
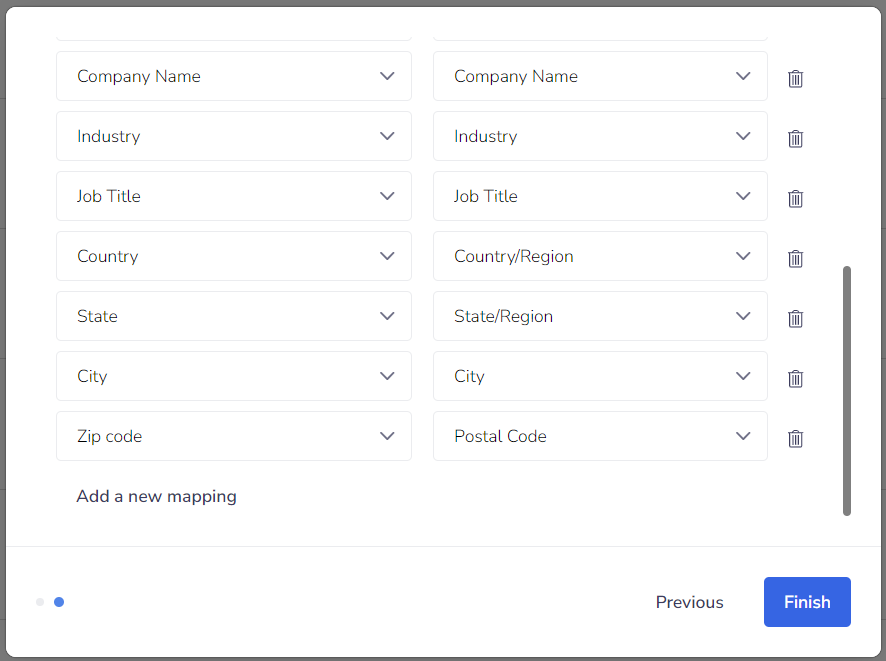
- Map the different fields on Kaltura registration form to HubSpot contact fields. Make sure you map ALL your HubSpot contact required fields (if there are any).
When mapping email, be sure to choose "Email" HubSpot field as shown below (not a variant email field).
- Click Finish. The HubSpot integration displays.


 If accounts already exist, they are listed here. You can use one of the existing accounts or create a new one by expanding the pull-down list and clicking on Add a new account. If accounts do not already exist, simply click New authentication.

 A message displays letting you know that the authentication for the app was successfully created.


Manage and/or delete the HubSpot integration on the account level
You can manage and/or delete the integration by clicking on the three blue dots to the right of the desired integration and selecting the appropriate option.
Deleting an integration is only available if the integration is not yet enabled on an event.

Other integrations will eventually be added, and the screen will display multiple integrations.
Each integration is different per the event information entered. Only active integrations may be enabled on events. If an integration is disabled, you may have missing information on the integration, such as incomplete field mapping.
Integrations are not enabled until you enable the integration per event. This process sets the groundwork for the event organizer(s) to turn it on.
Event level
Set up the Kaltura HubSpot integration for a specific event
- From the Event list, select Edit from the actions menu to edit the event you to which you would like to add the integration.
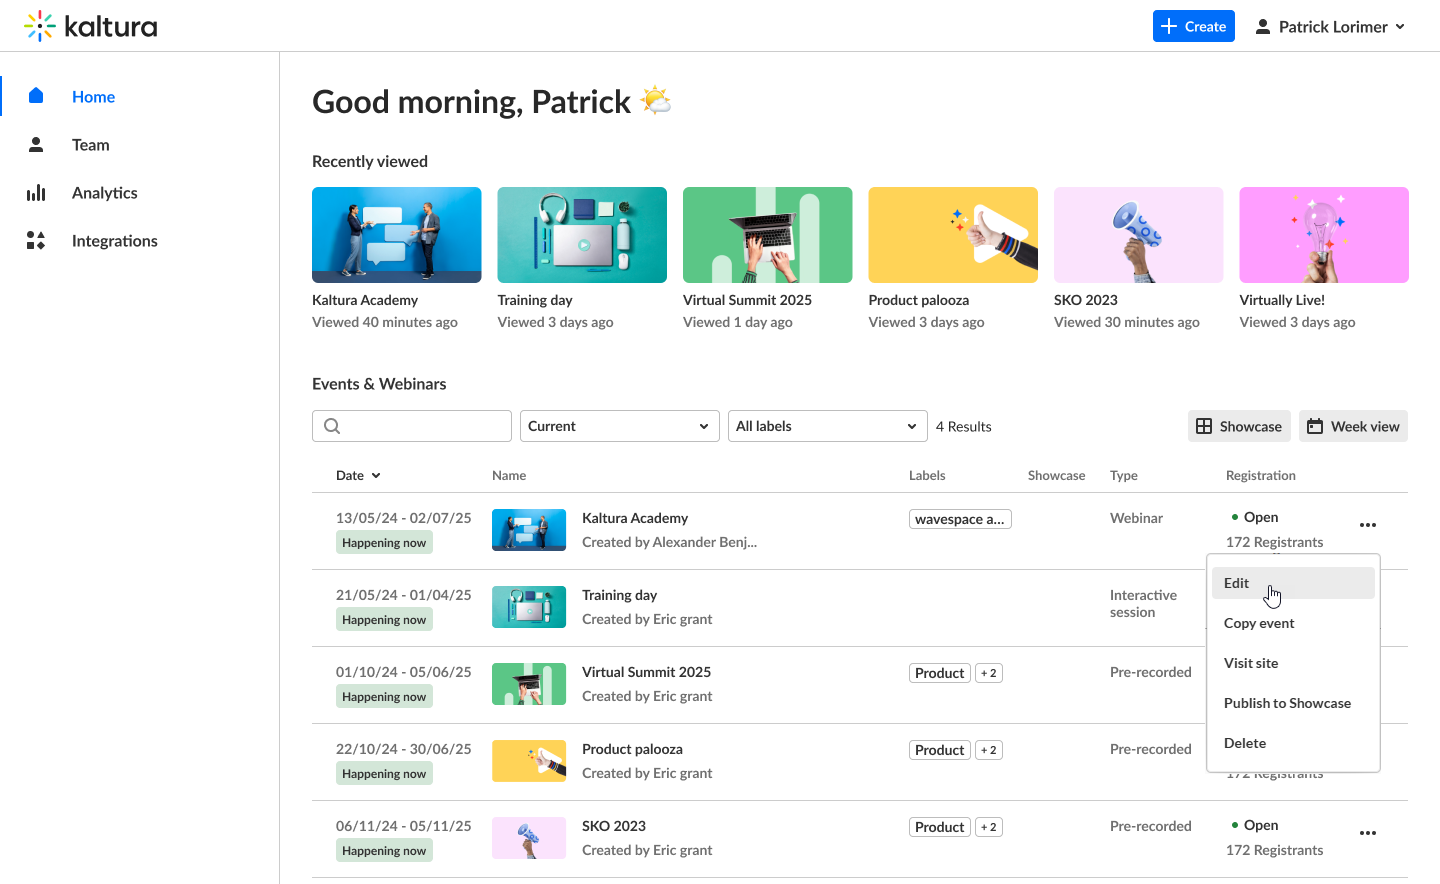
-
The Event window displays.
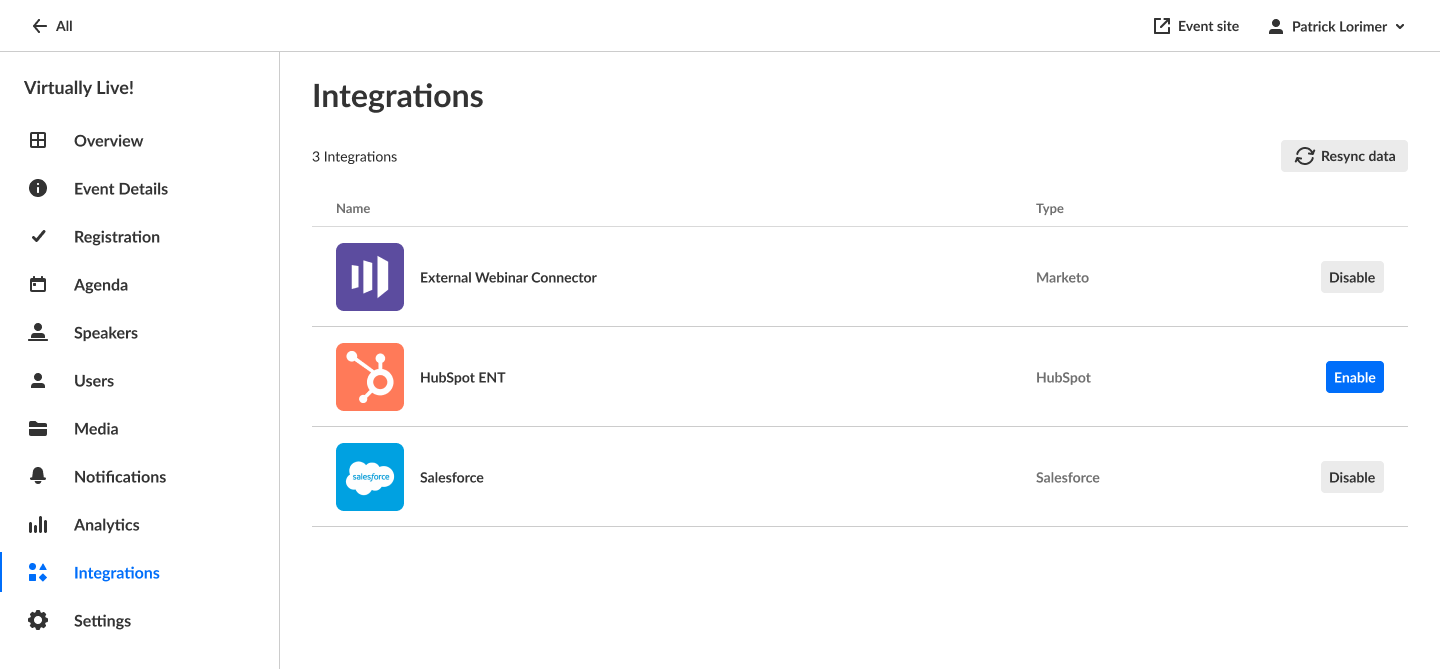
- In the Event window, navigate to the Integrations tab. Now that you are you on a specific event, you will see only the integrations that apply for that event.
- Click Enable.
- Enter your event name and event URL.
- Click to enable Automatic sync if you would like to automatically sync data one hour after the event ends.
- Click Enable. You receive confirmation that the integration was successfully enabled for this event.


Manually sync all enabled integrations
- Click the Resync data button to manually sync all active/enabled integrations.
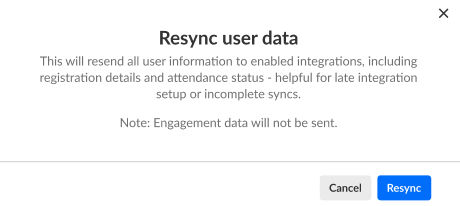
- Click Resync to confirm your action.
 You receive confirmation that the integration data was successfully synced.
The Resync data button only refreshes registration and attendance information. Engagement data is not included in manual resyncs.

 You receive confirmation that the integration data was successfully synced.
 Manage or sync engagement data per integration
After the integration is enabled, you can disable, manage or sync engagement data.
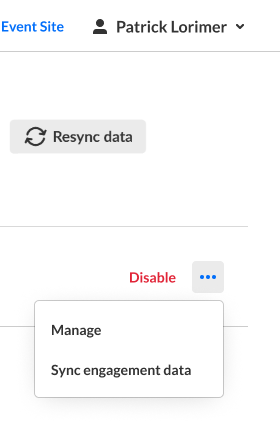
On the Integrations tab, locate the HubSpot integration and choose one of the following:
- Click Disable to disable the integration - Disabling the integration stops the data synchronization to HubSpot for this event.
- Click Manage to edit the event name, event URL, or automatic sync settings.
- Click Sync engagement data to manually sync attendees engagement data.
For more information, see Kaltura data sharing integration for Hubspot - How to set up Hubspot.
