You can define and then set a default live transcoding profile. Live transcoding profiles are available for Kaltura live streaming broadcasts.
The options for live streaming transcoding profiles include Pass-Through and Cloud Transcode.
Pass-Through - Live
The Pass-through transcoding profile option, also known as Live, takes your content’s original source input flavor and passes it through the Kaltura system without any changes. This option uploads the source file, but does not transcode it; the source is the original file uploaded as is. Other flavors are not created. Pass – through is done on the client side. If you want multiple transcode values, you will need to encode the multiple flavors on the client with your local encoder.
Pass-through Transcoding Profile Features:
- Ideal for multiple (Standard Definition) SD concurrent sessions
- All transcoding is done on site (additional H/W may be required)
- Limited renditions
- Sufficient uplink bandwidth required
- Single or Multiple/Adaptive playback
Audio is adjusted to AAC format.
Cloud Transcode – Live +
The Cloud transcoding option, also known as Live+, takes the content’s original source input flavor and generates additional transcoding flavors that support different resolutions and formats. There are 3 pre-defined cloud transcode packages: SD, HD and HD+, each package offers different # of flavors, resolutions and bitrates.
The example below refers to the SD (default) package. For further information regarding the HD and HD+ packages, see Kaltura Live+/CloudTranscoding.

Cloud Transcoding Profile Features
- Ideal for HD sessions with large audiences
- Requires only a single HD feed
- Transcoding is done in the cloud
- Includes 4-6 renditions (including source) - based on selected package
- Standard uplink required
- Adaptive playback
- Support packages available
To edit a Transcoding Profile for live streaming
- Select the Settings tab and then select Transcoding Settings.
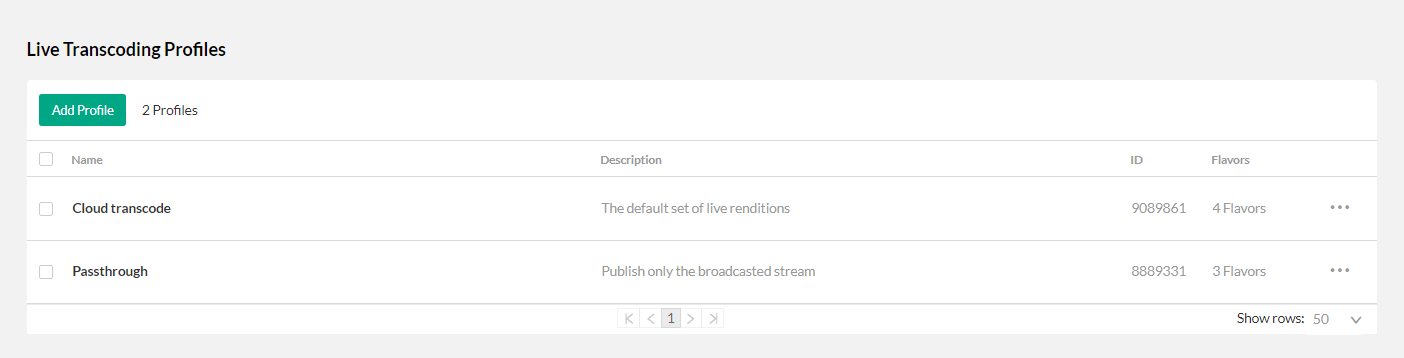
Cloud transcoding is the default profile for live streaming. The cloud has several flavors that support different resolutions and formats. See Kaltura Live+/Cloud Transcoding.
. - Click on Cloud Transcode and then select the Flavors tab to open the flavors for the selected Cloud Transcoding Profile.
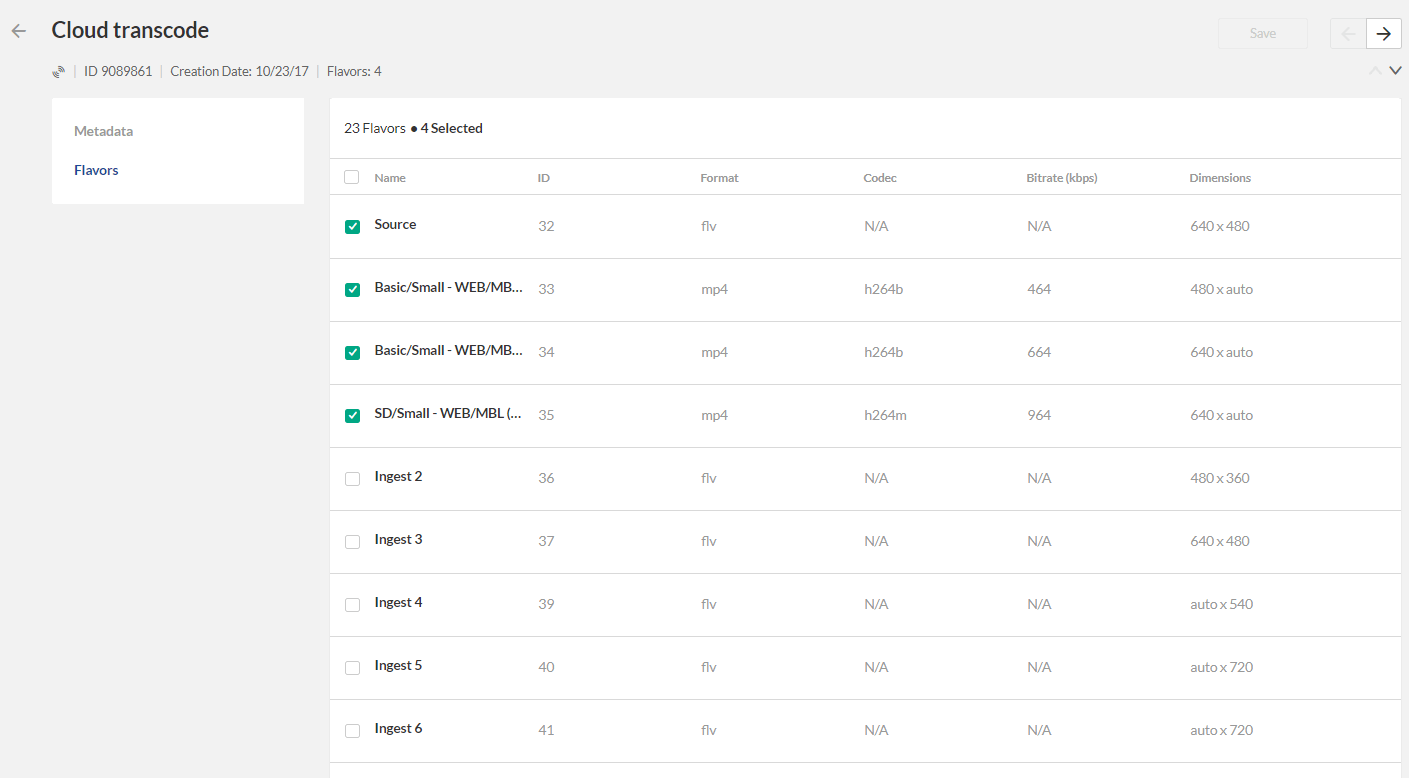
- Click on the Flavor name to edit or use the pencil to edit the flavors.

The Edit Flavor is displayed.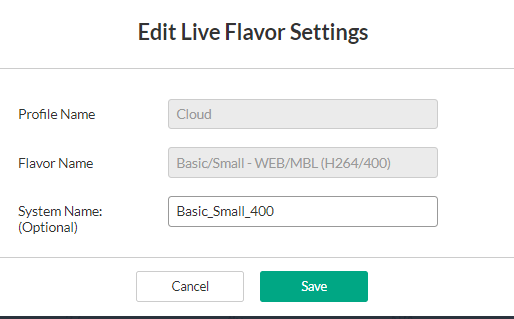
Only the System Name may be edited. - Click Save.


