About
The Kaltura Room's media manager streamlines adding and managing media for a seamless session experience. It consolidates all file types in one place, allowing you to browse, upload media, and import YouTube videos with ease.
The media manager is configured according to the Kaltura Management Console (KMC) protocols, which means each room is represented as a category in the KMC, and each media item is treated as a Kaltura entry. See our articles Managing categories and The KMC entries tab for more information.
By aligning with Kaltura's entitlement protocols and treating all media as entries or categories, the media manager prioritizes security and privacy to prevent any potential issues.
Access the media manager
- Click the three-dot menu to display the menu options.
- Click Media and Files.
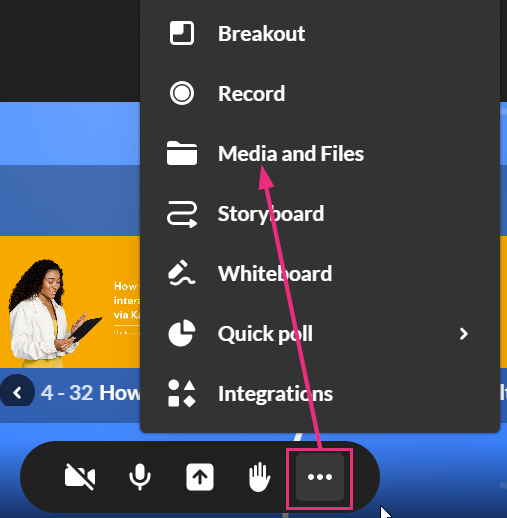

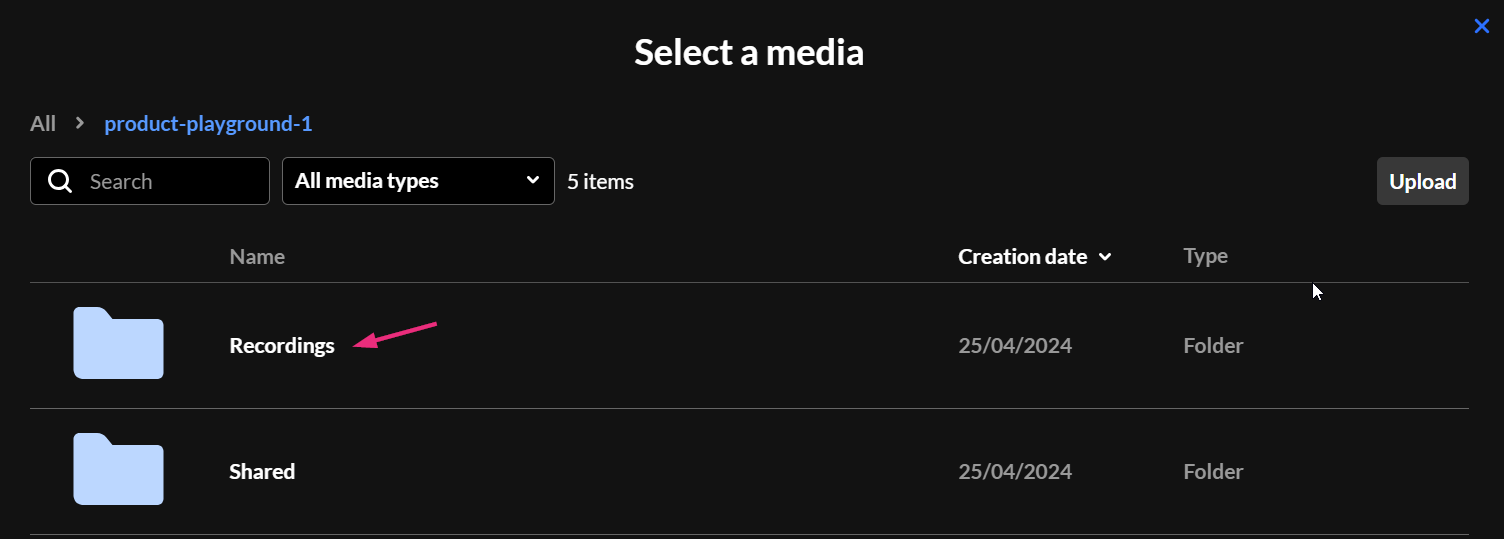
The Select a media window opens.
Explore the media manager
The media manager supports the following media types: image, video, audio, PPT, PDF

- You can use the search field (1) to search for media.
- Use the media filter (2) to search for media by type from the drop-down options:
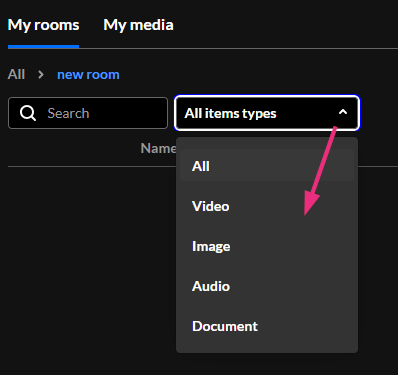
- You can also sort media according to name or date they were created by clicking on Name or Creation date (3).
- To import a YouTube video, click Import from YouTube (4)
- To upload a video from your computer, click Upload (5).
- Once you have located the desired media, simply click Add to Storyboard (6) and it will be added to the storyboard (it will not start playing automatically). To learn how to manage files on the storyboard, see our article Storyboard.
- To delete a media item, click the three dots and select Delete (7).
When deleting uploaded files from the Media Manager, files are only permanently removed if they are not associated with any other category or content. Files with no associations can be deleted completely. If a file is still associated with a category or other content, it will not be deleted.

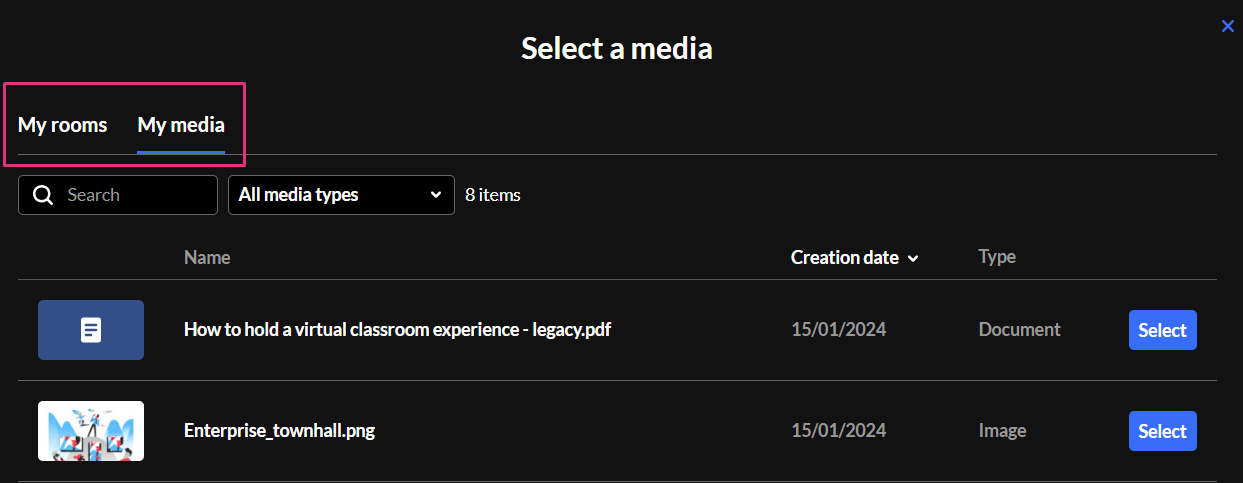
If you access the media manager from your Video Portal or Events platform, the Select a media window displays two extra tabs:
- My rooms - This displays the media for the rooms you have access to.
- My media - This displays all the media that you are the 'owner' of (same as My Media in Video Portal).
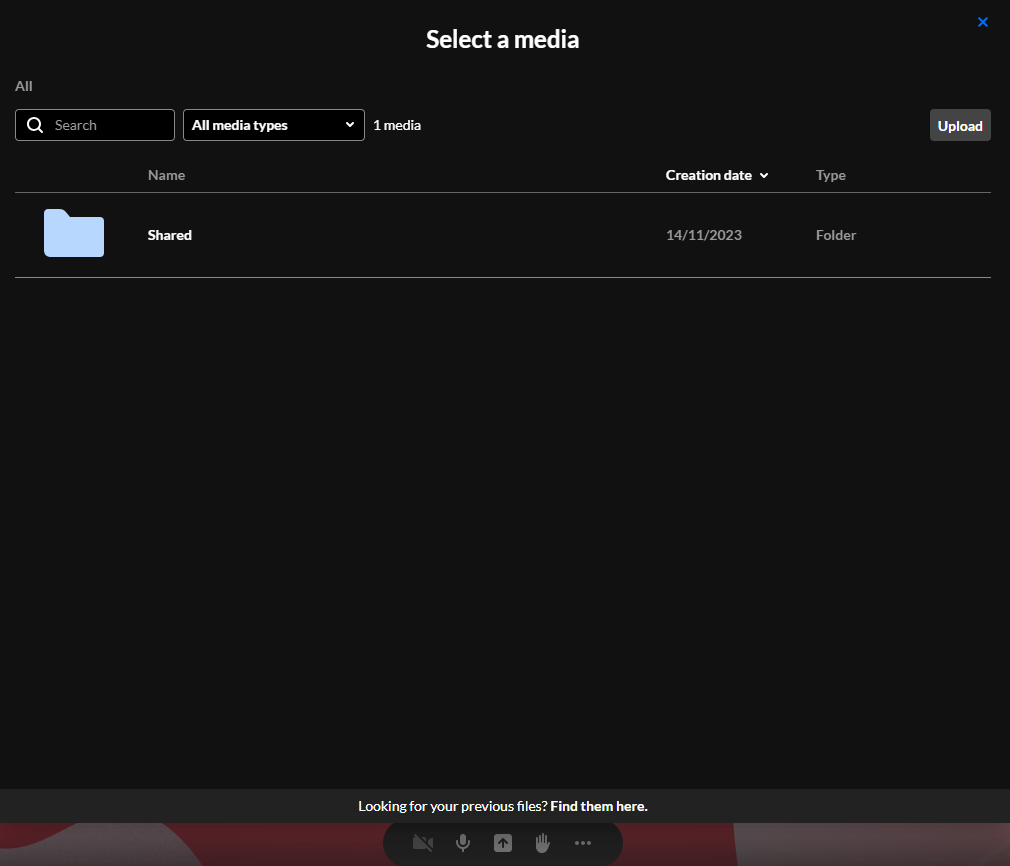
Breakout rooms shared folder
You can upload to and access the breakout rooms shared folder from any room you're in. Uploading files can be done ahead of time when preparing breakout sessions, or during the live breakout session. The content in the shared folder will be available for all users who have access to the media manager.
Check out our article Create and launch breakout rooms for more information.
Recordings folder
Completed recordings are automatically added to the Recordings folder in your room's Media manager. See our article Record your live session for more information.
Please note there is no option to rename, download media from the media manager at this time. These options will be available in the near future.
