About
Hotspots are the main way to add interactivity to your video. They let users click areas in the video to jump to another video, open a web link, or trigger other actions.
Hotspots are not supported on iOS with Safari browsers. For more details, please see Kaltura Video Editing Tools - Supported Browsers / Devices.
Create hotspots
There are two ways to create hotspots.
Automatically generated hotspots
When you connect nodes, the system automatically creates hotspots on the Start node.
- Double-click the Start node to open the editor. You'll see all connected hotspots stacked in the upper left corner.
- Grab and drag them anywhere on the video to position them.


You can edit these app-generated hotspots. See Edit hotspots below.
Manually drawn hotspots
- Double click on a node on the node map to open the editor.
- Click the Draw Hotspot icon to activate it.
- Draw the hotspot on your video.

There's a protected zone, a rectangle at the bottom of the player, which is reserved for captions. You can't create hotspots in this area.

Edit hotspots
Double click the hotspot to open the Properties panel on the right.

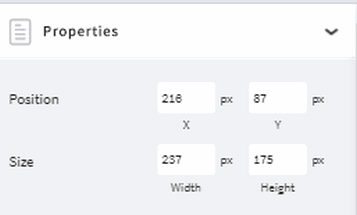
Size and positioning
- Drag the hotspot to reposition it.
- Drag the handles to resize.
- For pixel-precise control, use the properties panel on the right.
You can also add guides:
- Click the Rulers & Guides toggle at the top left.
- Click the ruler to add vertical/horizontal guides.

Click the “X” next to a guide to remove it.

Hotspot behavior
Options under the Behavior section of the properties pane answer the question “What happens when the hotspot is clicked?”

Under the Behavior section, choose what happens when the hotspot is clicked:
- Instant Jump: Instantly jump to another node.
- Pause Video: Pause the video (useful for Custom URL linkouts - see below).
- No Action: No click action; display text only.
Custom URL Linkouts
You can set a hotspot to open a web page in a new tab:
- Enter the URL in the URL field.
- The video will pause when the hotspot is clicked, and the viewer can explore related information without missing any video content.
- Please follow this format: http://www.example.com
Styles
Custom skins
A skin is a saved set of style settings you can apply across multiple hotspots. After you create a custom skin, you can quickly apply it to any hotspot. If you update the skin later, all hotspots using it will update automatically.
- Click on a hotspot and click on the Styles section.
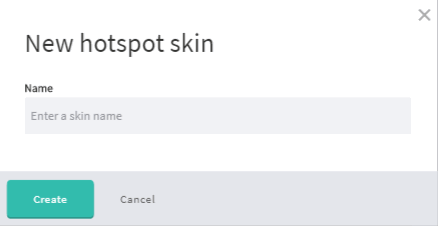
- Click the dropdown next to Skin and select Create new skin.

- Enter a name for the new skin.
- Modify the skin style (select the attributes for the custom skin) and click Save.


You can now apply the custom skin to any hotspot in your project.
Text
Double-click inside the hotspot and type your text.

Style the text (font, size, color) in the Text section of the Properties panel.

Background color
- Click the color square to open the color picker.
- Choose from the palette or enter Hex/RGB values. To make the hotspot transparent, move the opacity slider or set the Alpha (A) to 0.


The color you pick instantly updates on the hotspot.

Hover color
Choose a hover color (often a lighter version of your hotspot color).
The color picker displays these options for you automatically.

Hotspot timing
Each hotspot has its own timeline below the video:
- Play and pause the video at the point you want the hotspot to appear.
- Drag the left and right anchors to set the start and end times.

Use Timeline Snapping to align timings precisely across multiple hotspots.

With the Timeline Snapping toggle on, dragging a timeline anchor anywhere close to another timeline anchor causes it to snap to the exact location. This is useful if you want hotspots to appear at the exact same time.

When you have finished editing your hotspots, exit by clicking the arrow at the top left.

Copy, paste or delete hotspots
Copy / Paste
- Select the hotspot.
- Press CTRL+C / CTRL+V (PC) or Command+C / Command+V (Mac).
- Or use the Duplicate icon.

The hotspot is duplicated and you can grab it and move to the position you want.

Delete a hotspot
- Click on the hotspot you want to delete.
- Click the trashcan icon at the top left.
- Click OK to continue.

A confirmation message displays.

Click the arrow at the top left to exit.

