If you're setting up a new event, we recommend using Live Studio, our modernized live event experience. See Introduction to Live Studio for more information. If your organization is still using the legacy webcasting product, this article still applies.
About
When you create a Town Hall event, you’ll set the date and time and design a dedicated entry page for your audience.
This page acts as the event’s hub - providing key details beforehand and, when the time comes, serving as the live stream and archive. You can edit it as needed and adjust privacy settings to keep it private until you're ready to share it.
The instructions below are for non-Theming users. If you have Theming enabled, please refer to our article Create a Town hall event - Theming.
Create a new event
- In your Video Portal, select Webcasting Event from Add New menu.
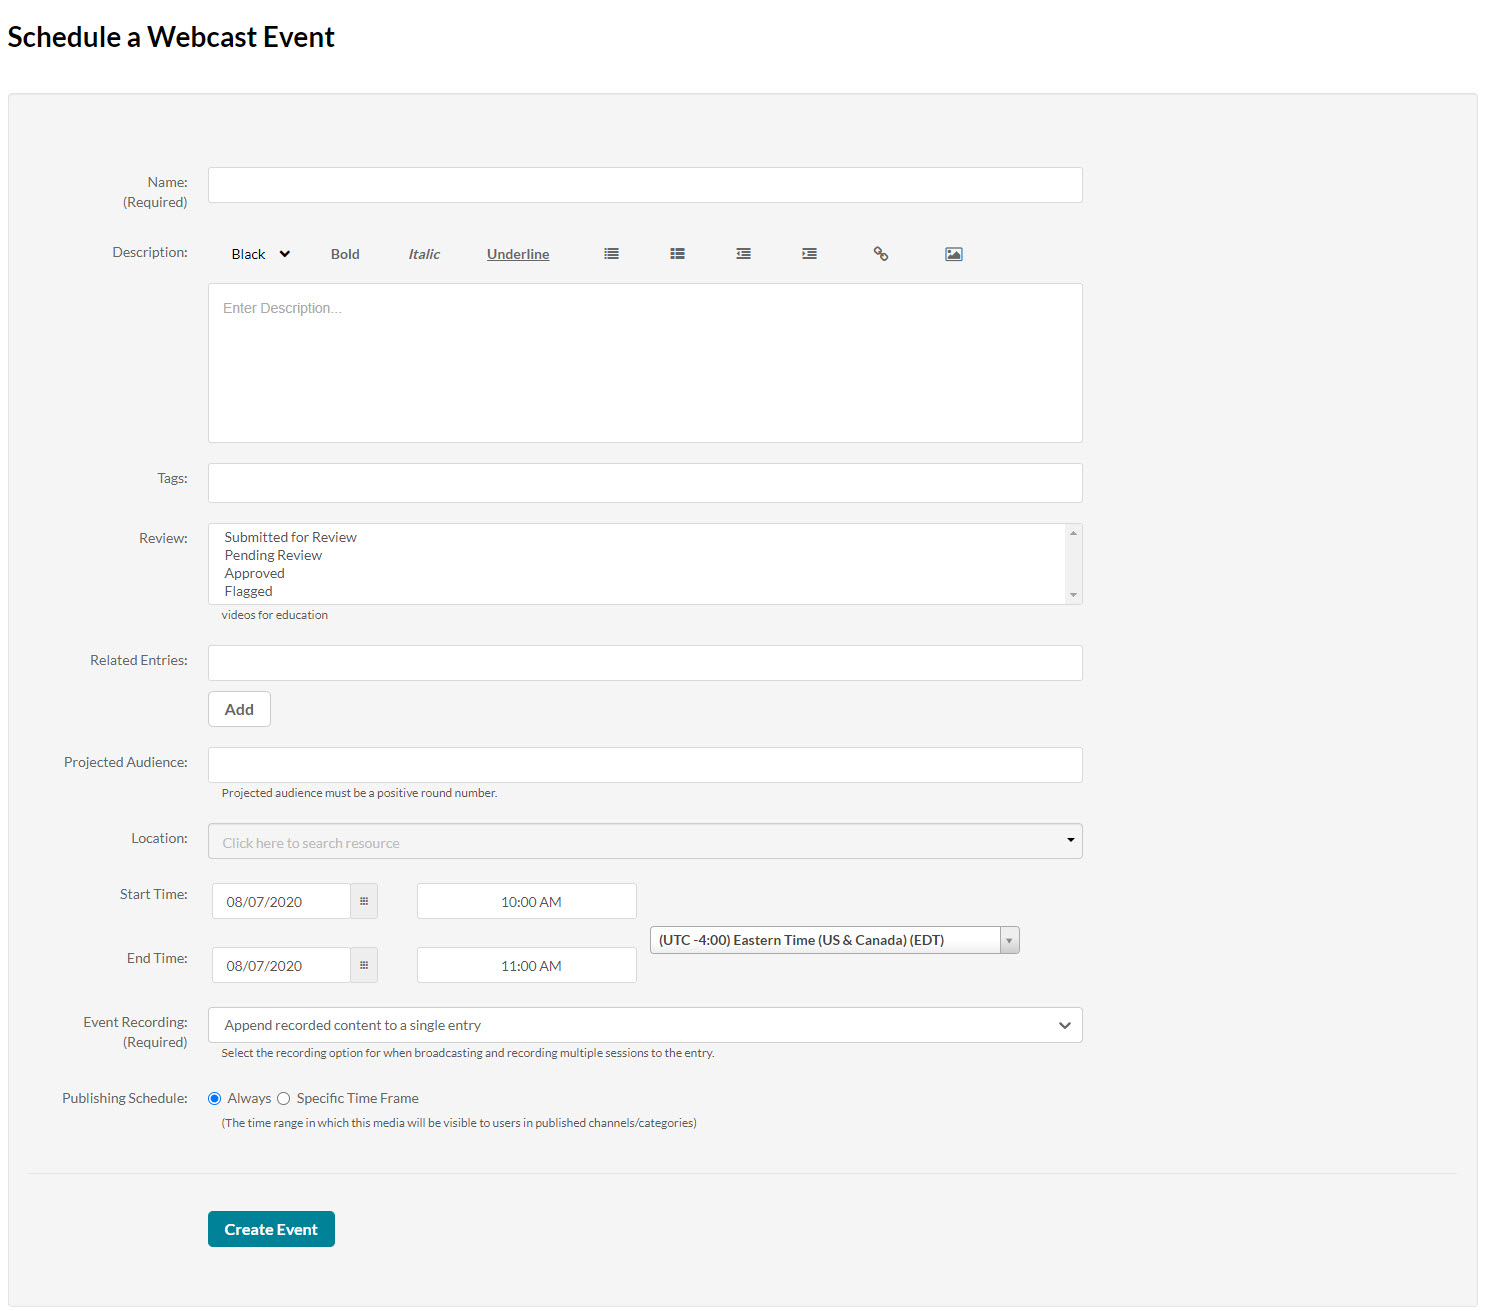
- Enter values for the following fields to describe the event.
- Name (Required) - used and displayed in the event page Webcasting created for each event
- Description - used and displayed in the event page Webcasting created for each event.
You can use the editing tools in the description area to apply basic formatting to the text and include hyperlinks and images. - Tags - use to apply metadata to the event to make it easier to catalog and search.
- Select a review option -
- Submitted for Review
- Pending Review
- Approved
- Flagged
- Related Entries - use to display related entries for the webcast
- Projected Audience - estimated number of audience members
- Select a location for the webcast
- Select the Start Time and End Time - make sure to include enough buffer in case the event continues beyond the allotted time.
Event duration must be less than 24 hours. If the allocated time exceeds 24 hours, an error message will display notifying that. - Select the Time Zone from the drop down menu.
- Select an Event Recording option from two options:
- Append recorded content to a single entry - each time a broadcast session finishes the content the recording of the session will be added to the entry content thus making one long recording.
- Export on each broadcast to VOD entry
- once a broadcast finishes the recording will automatically be archived and a new VOD will be created. If slides were used during the broadcast they will also be migrated as part of the archiving process, see here for more information.
Event Recording option cannot be updated once the webcast has been created.
- If the Registration Module has been enabled in the KMS Admin, then you can configure in the Add Registration dropdown which registration form will be used for the webcast
- Select a Publishing Schedule
- Always
- Select the time range in which the media will be visible to users in the published channels/categories
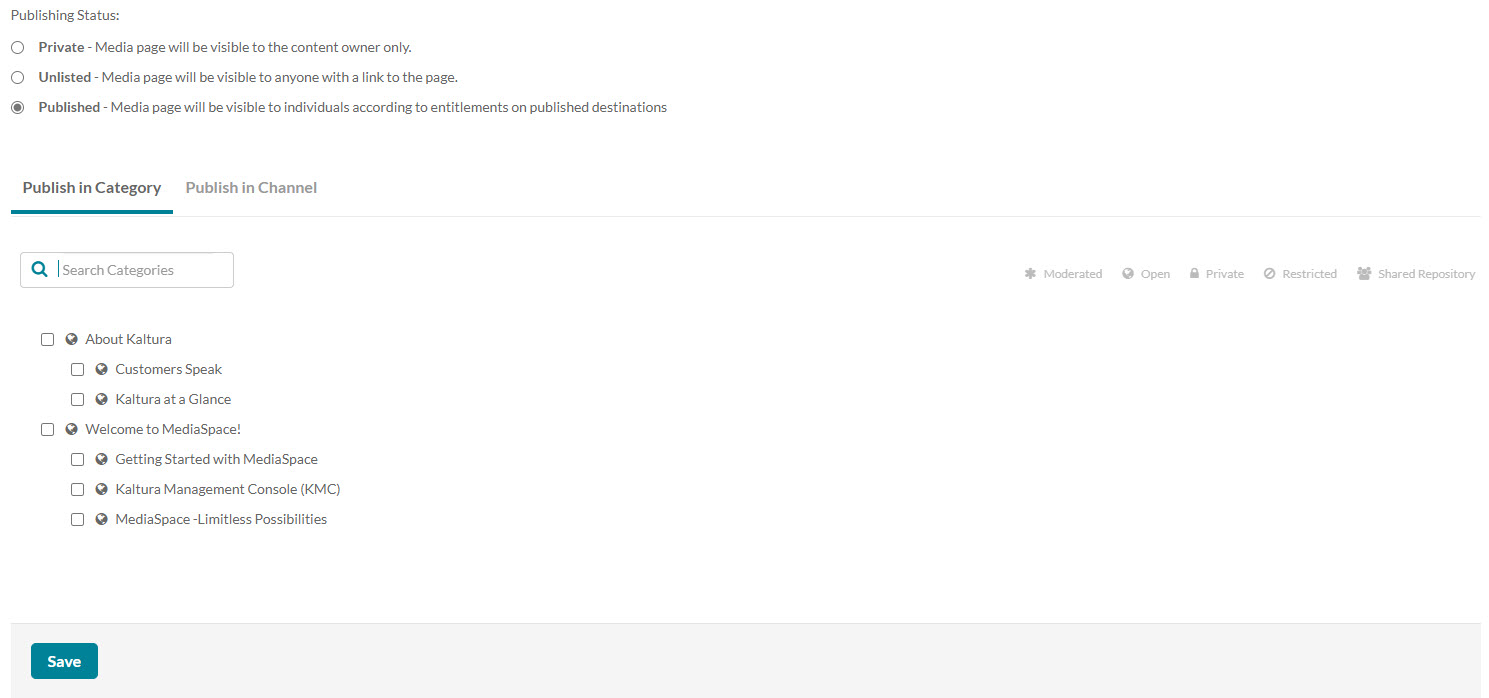
- Choose Publishing Status (Note that if Publishing Status unlisted is not enabled on your instance, the Publishing Status section does not display at all and your entry is set to Private. The privacy level of the event can be changed at a later time.)
- Private - Media page is visible to content owner only.
- Unlisted - Media page is visible to anyone with a link to the page.
- Click Create Event. You are redirected to the Edit Webcast Page where you can edit the event's settings.
- If you would like to publish at this time, click the Publish tab, then under Publishing Status, click the Published button. The media page will be visible to individuals according to entitlements on published destinations. It will also display in the Video Portal Events page. Make your selections in the Publish in Category and Publish in Channel tabs, then click Save.

The Schedule a Webcast Event screen displays.
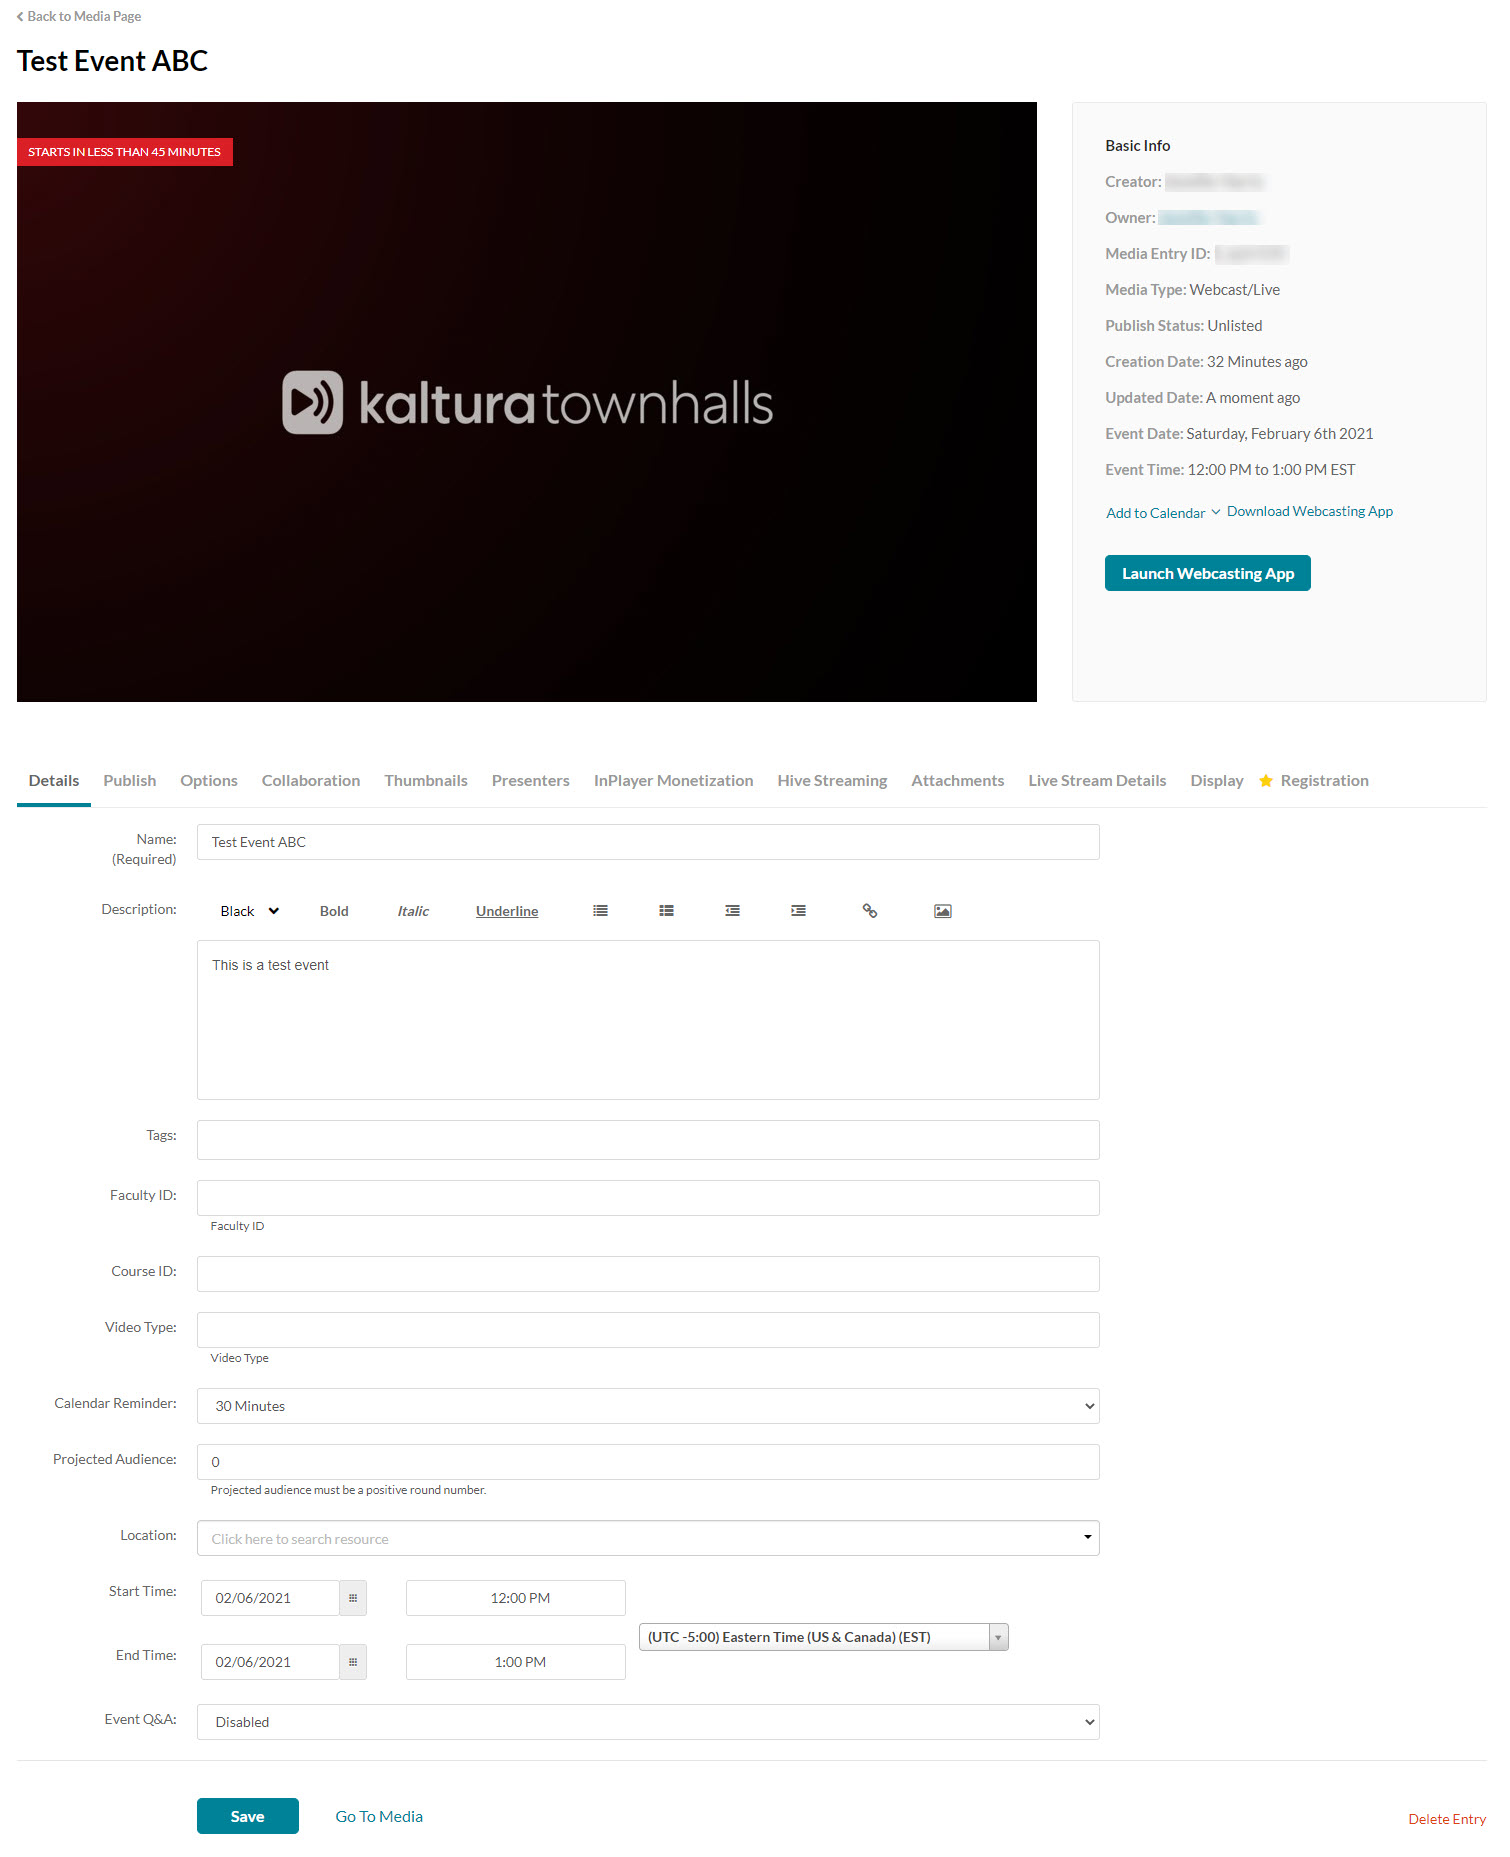
For more information on editing the event, see Editing a Webcasting Event.
