Legacy notice
This article documents the legacy KME room. For our next-generation virtual classroom and collaborative meeting solution, please visit the Kaltura Room documentation.
Each course you create includes both a virtual classroom and an on-demand course.
Overview of On-Demand Courses
On-Demand courses can be used in a myriad of ways.
You can build your on-demand course to prepare participants for their live session or you can add content you shared in your live sessions (as well as session recordings) to the course for participants to review after the live session.
You can build your on-demand course to prepare participants for their live session or you can add content you shared in your live sessions (as well as session recordings) to the course for participants to review after the live session.
Access Your On-Demand Course
Select a course you want to join in the course directory.
Add Chapters To Your On-Demand Course
Organize the course content you share into easy to navigate chapters.
- Click + Add New Chapters.
- Enter in a chapter name.
- Hit the Enter or Return key on your keyboard.
Add Files To A Chapter
You will first need to add a chapter before adding content to your on-demand course.
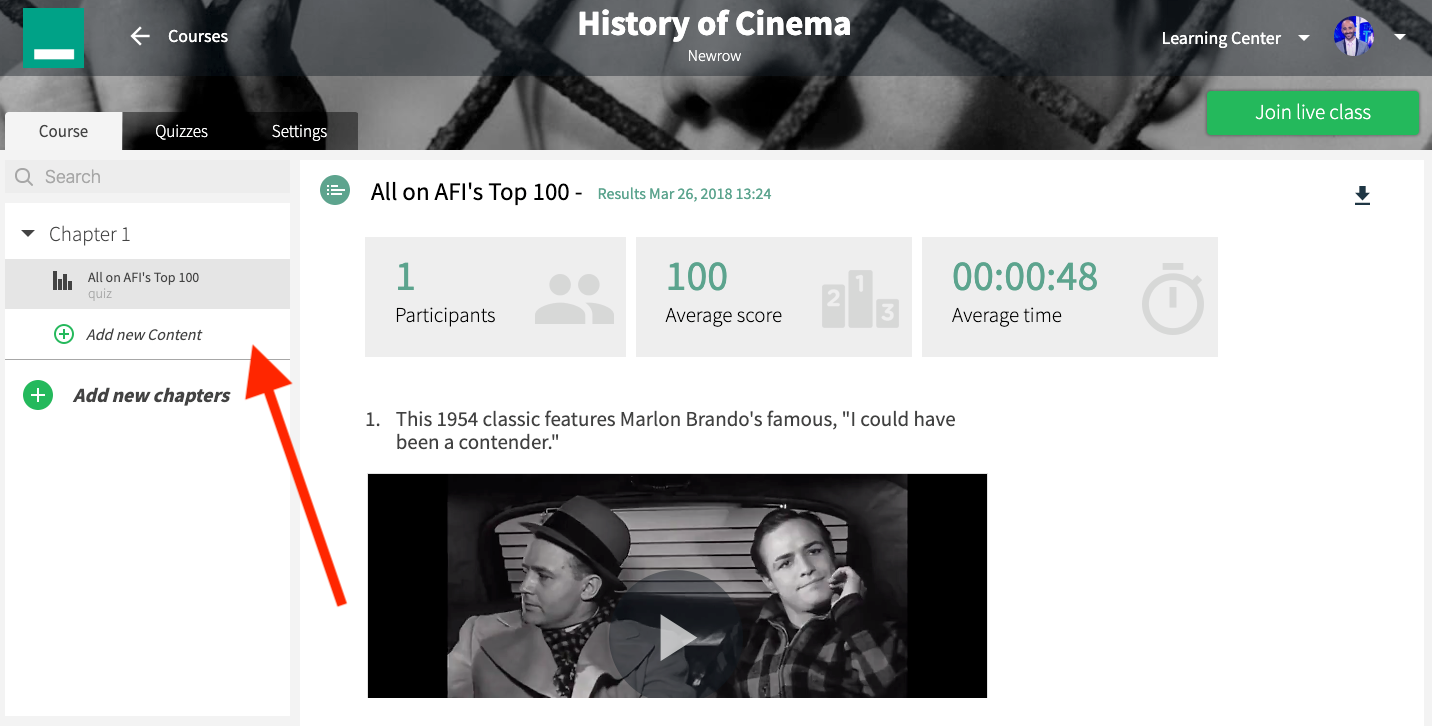
- Click + Add New Content under the chapter you want to add files to.
- Use the course file browser to find the file you want to add.
If you want to upload a file to course files, you can do so by clicking the + File button. - Select the file/s you want to add.
- Click the Add & Close button.
Add Quizzes To A Chapter
You will first need to add a chapter before adding quizzes to your on-demand course.
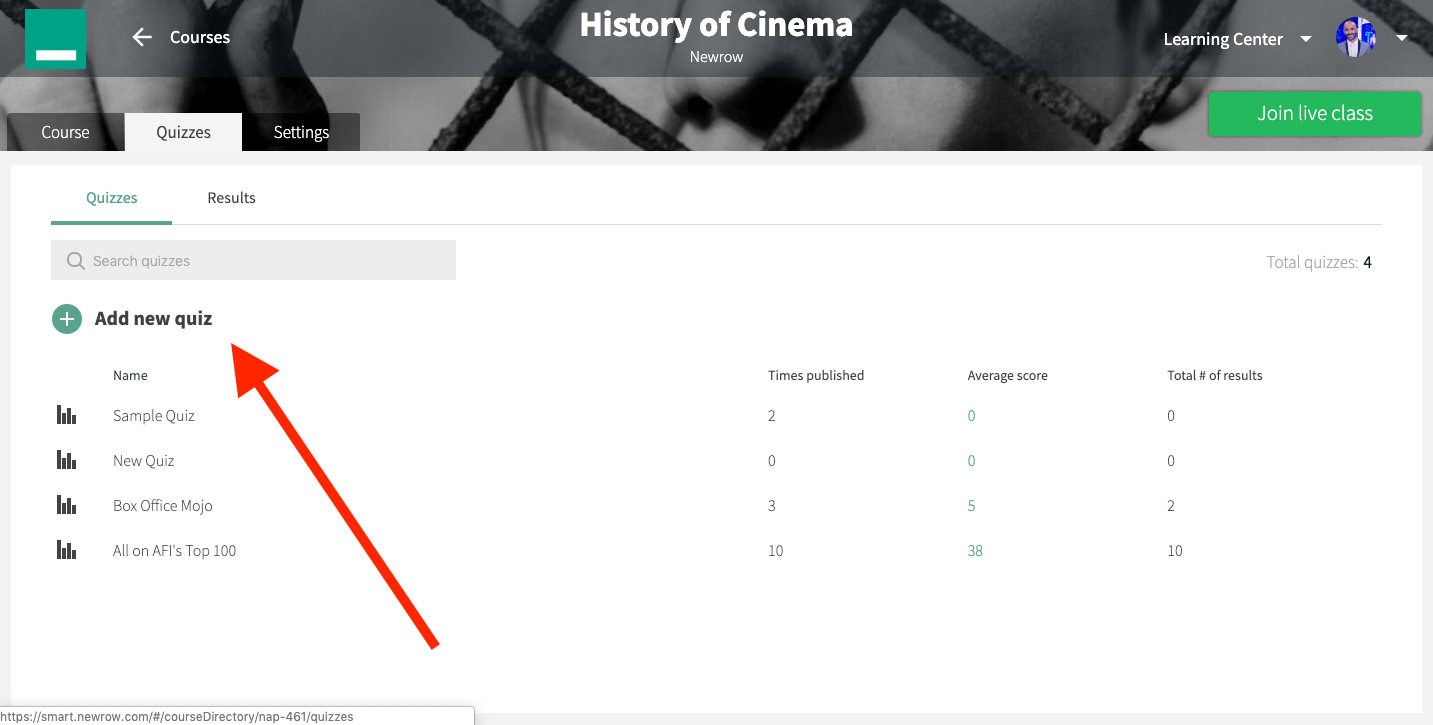
- Click + Add New Content under the chapter you want to add a quiz to.
- Select Quizzes.
- Select the quiz want to add.
- Click the Add & Close button.
Reorder Course Content
You can organize your course content by clicking and dragging course content to their desired position.
Enable Course Users To Download Course Content
By default, the files you add to the on-demand course are not downloadable.
You can enable course users to download shared files.
You can enable course users to download shared files.
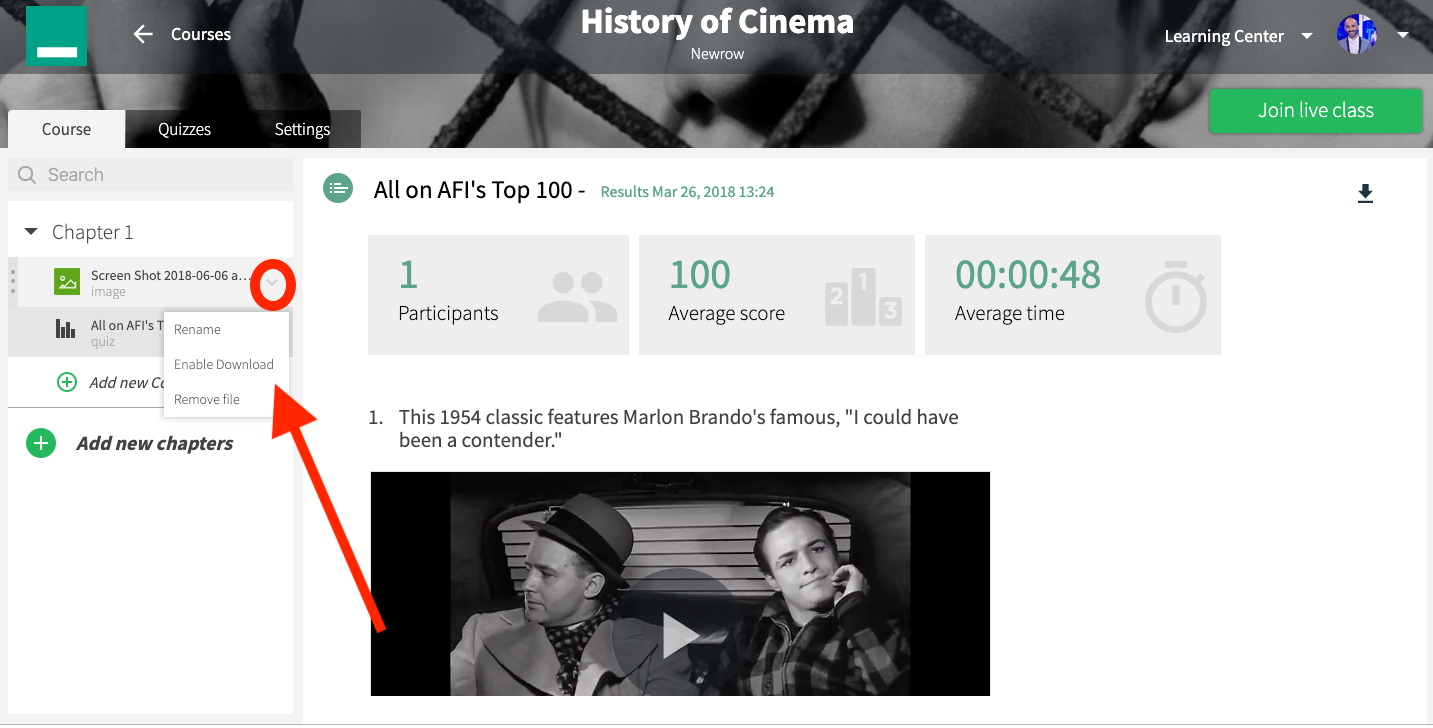
- Hover your cursor over the the file you want to enable users to download
- Click the v that displays inline to display the file menu
- Click Enable Download to enable course users to download the file. If you see Disable Download, then the file can already be downloaded.

Rename Chapters and Files
- Hover your cursor over the chapter or file.
- Click the v that displays inline on the right.
- Select Rename.
- Update the name in the rename pop-up.
- Click Save to commit changes.
Remove Chapters
- Hover your cursor over the chapter.
- Click the v that displays inline on the right.
- Select Remove chapter.
- Click Delete in the confirmation pop-up.
Remove Files
- Hover your cursor over the file.
- Click the v that displays inline on the right.
- Select Remove file.
- Click Remove.
