About
You can manage stage layouts in your Kaltura Room using the scene management tools. These tools allow you to create and save scenes - predefined stage layouts that control how speakers and content appear during a session.
By preparing scenes in advance, moderators can quickly switch between layouts during a live session, helping sessions run smoothly.
To learn more about how to adjust layouts during an active scene, visit our Manage stage access in Kaltura Rooms article.
Key features

Access the scene management tools
Scene management tools are accessed via the storyboard.
- Click the storyboard icon on the bottom toolbar.
You can also access the storyboard from the three-dot menu on the bottom toolbar.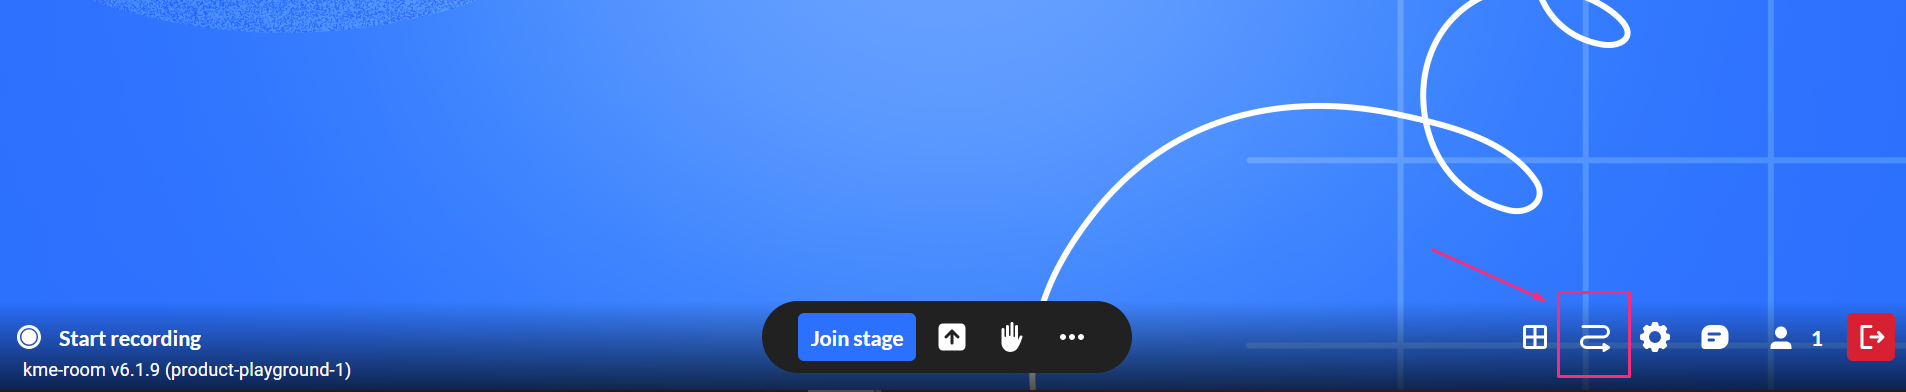
The storyboard opens as a horizontal panel at the bottom of the screen.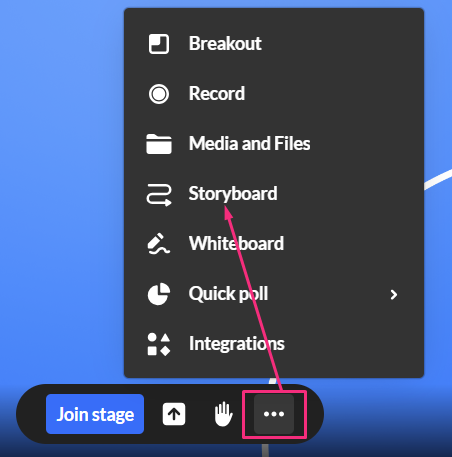
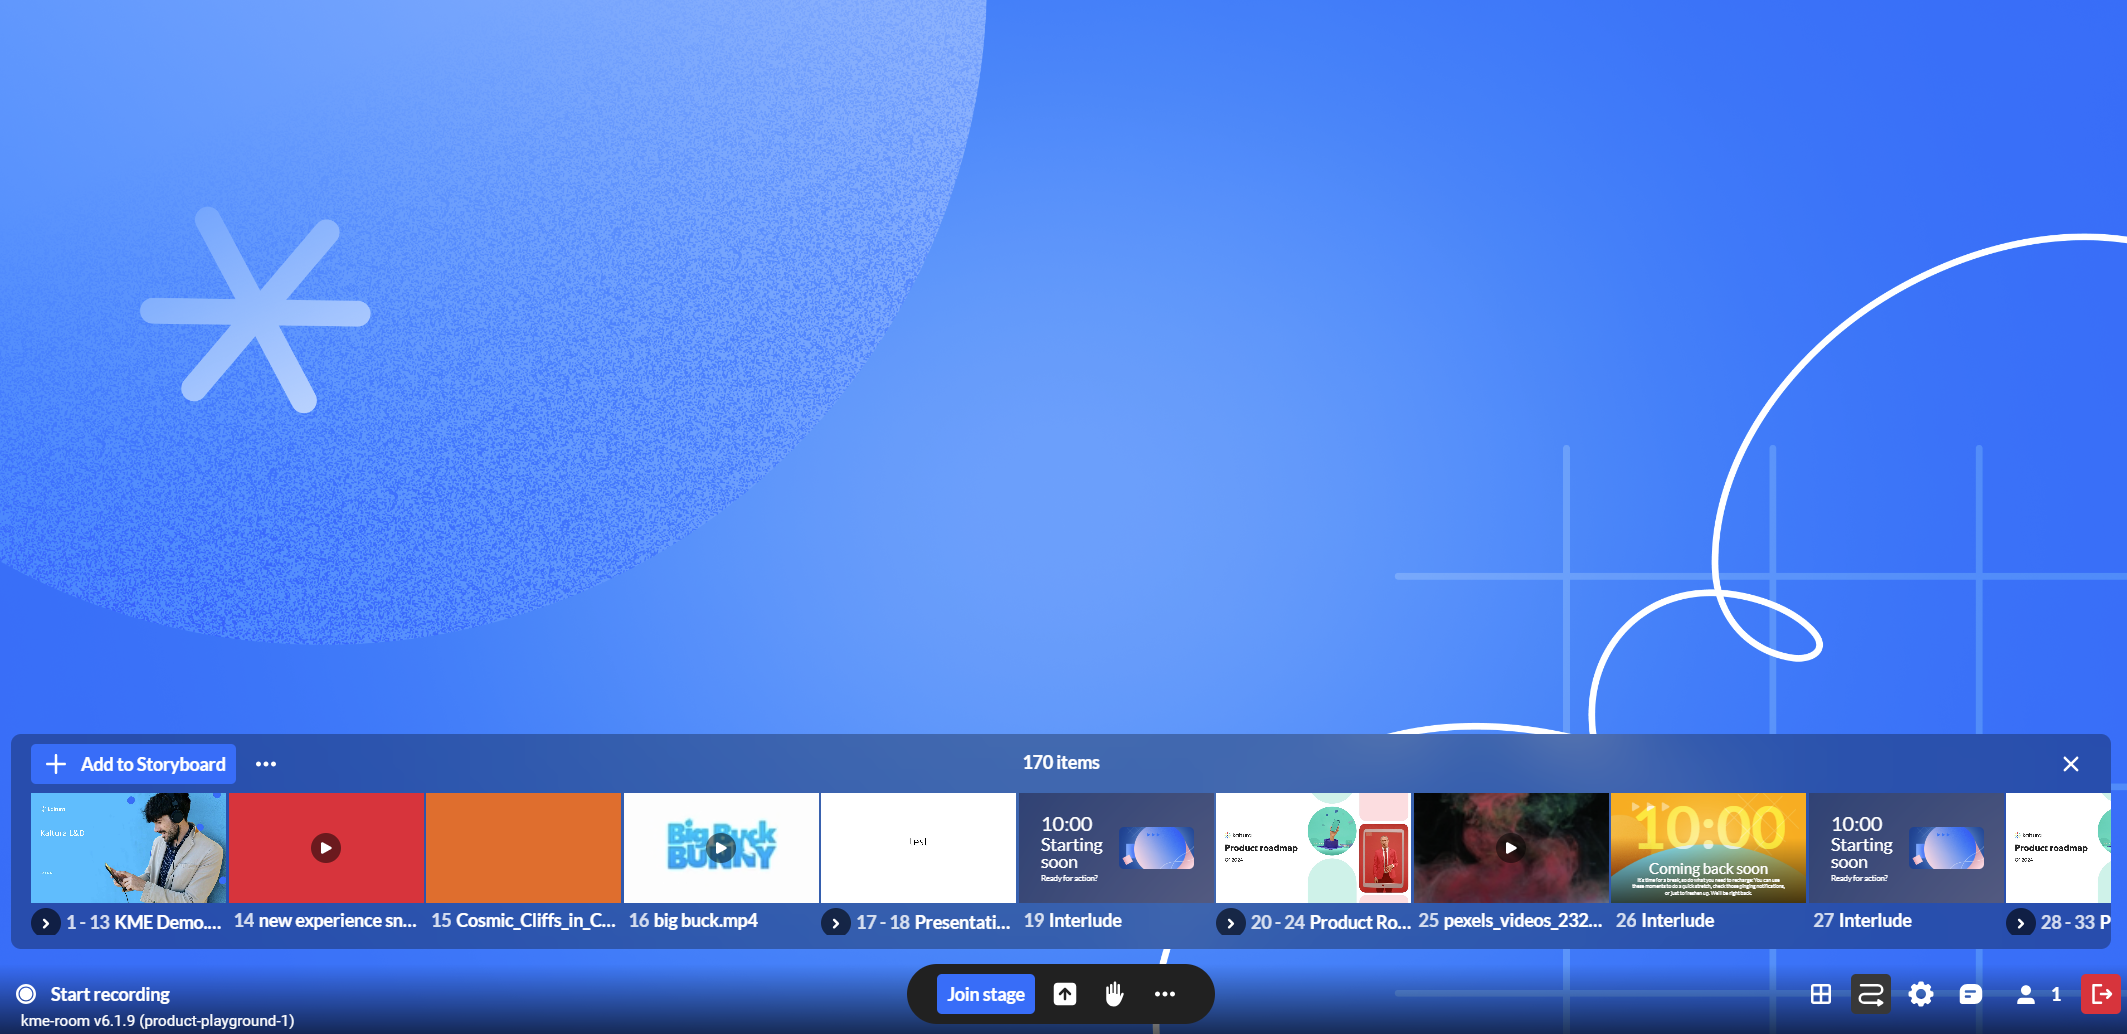
- Click +Add to storyboard and select Speakers panel or Speakers with content.
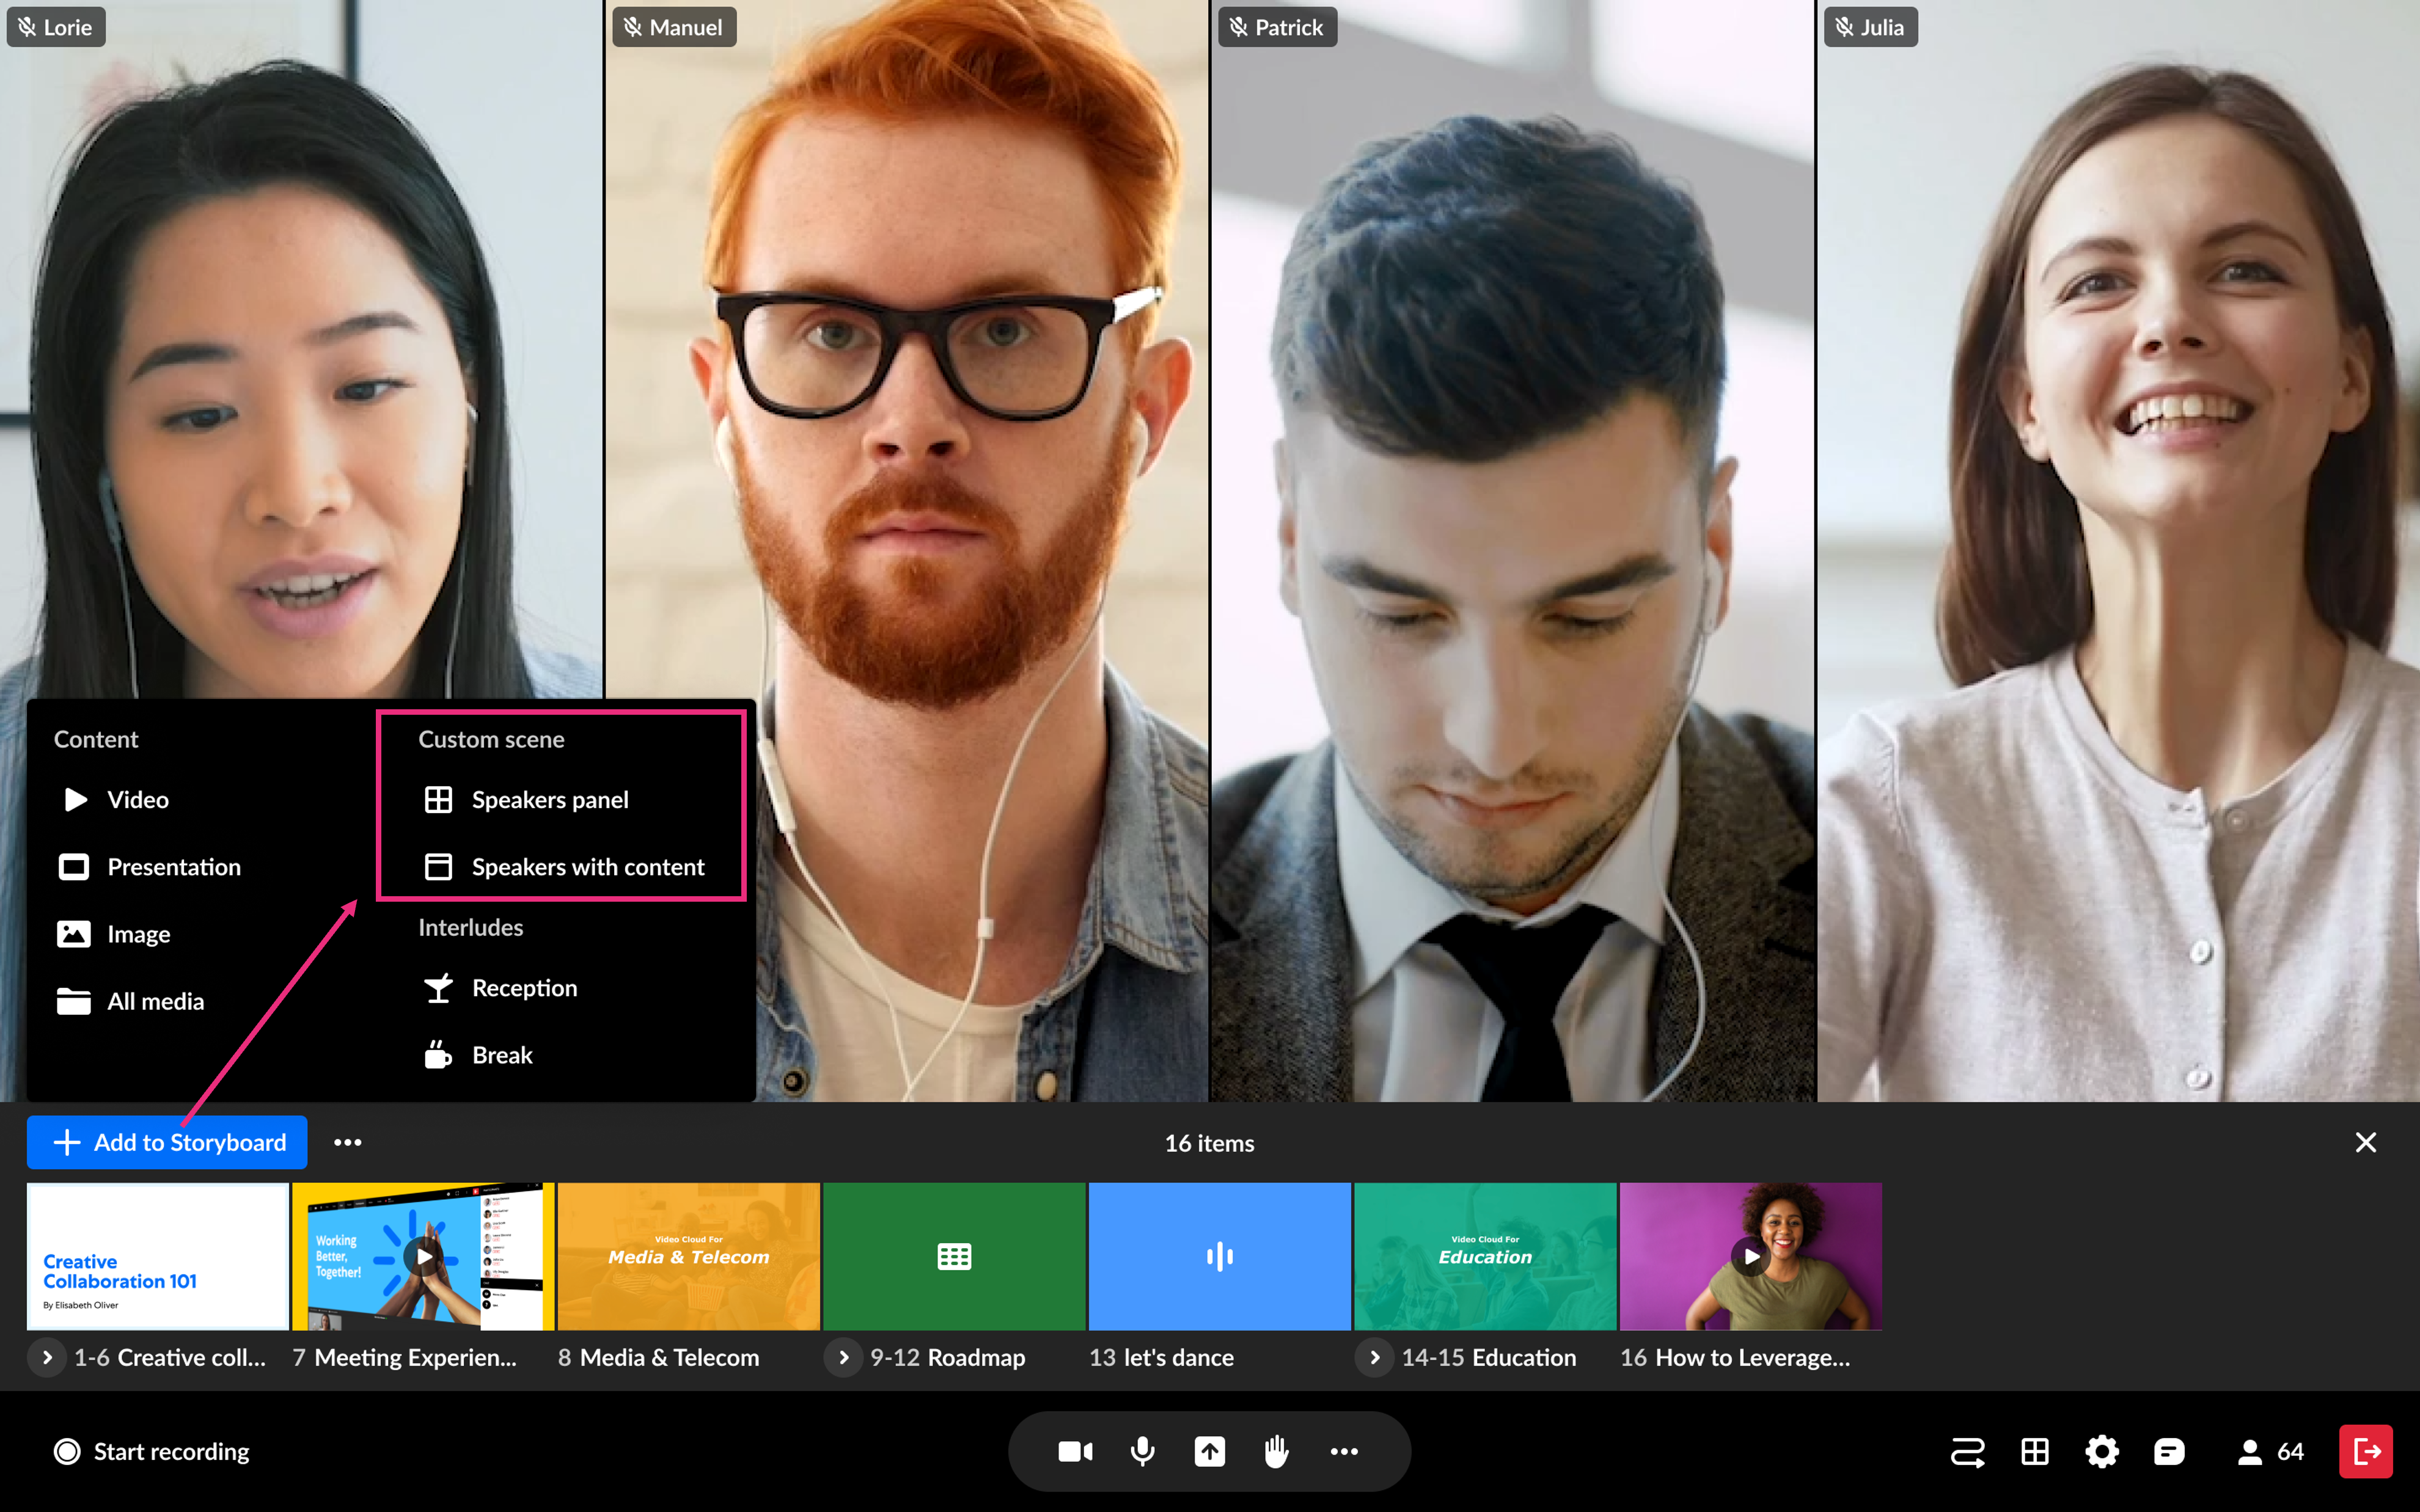


The scene management tools display.
Choose a scene template
Choose your desired template from the top left panel.
Speakers only
Use this layout when you want to display speakers only, without shared content, for example during discussions or panel conversations.
- Choose the Speakers only template.
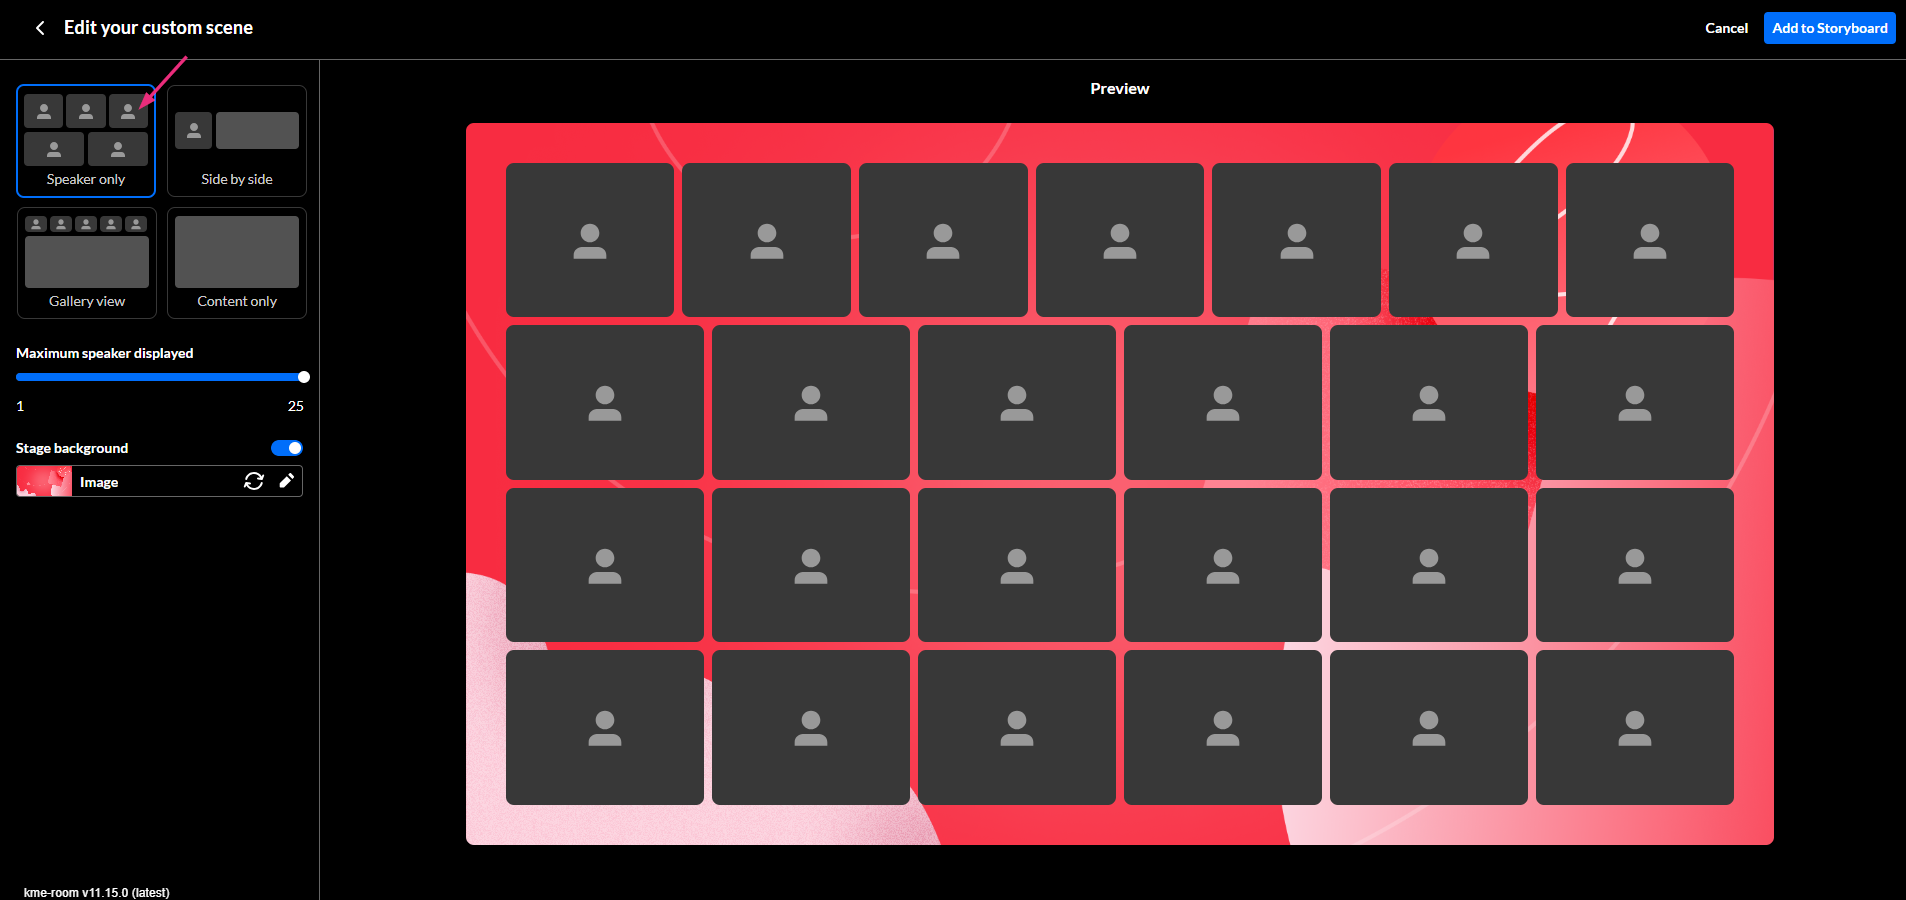
- Set the number of speakers using the slider bar (up to a maximum of 15).


The maximum number of participants in the scene is the same as the number allowed on stage.
Side by side
This layout displays speakers on one side of the stage and shared content on the other, making it ideal for presentations or demos.
- Choose the Side by side template.
The preview window updates to reflect your selection.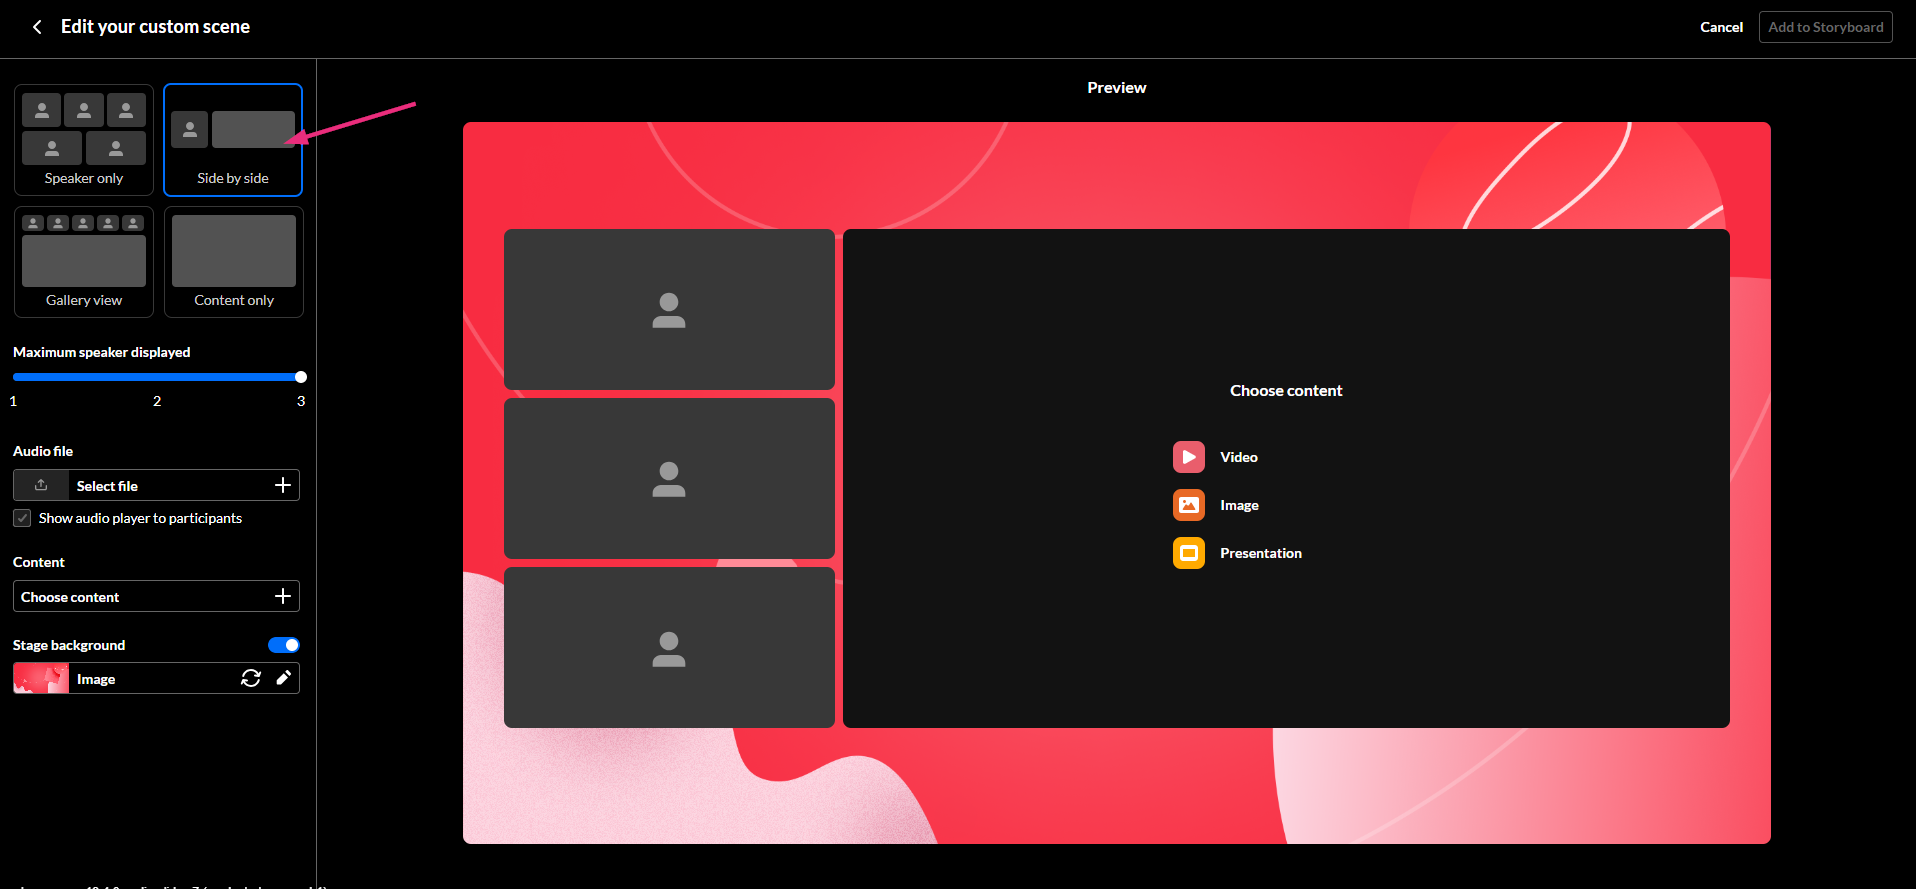
- The default number of speakers is three. Use the slider to adjust the number of speakers.
If you change to two speakers, the view will look like the example below: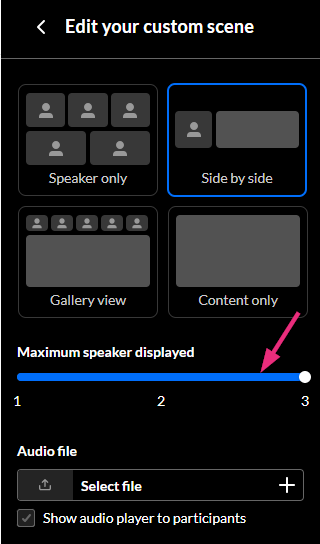
If you change to one speaker, the view will look like the example below:

- To add content to your scene, see Add content below.


Gallery view
This layout places speakers around shared content, creating a balanced view that keeps both speakers and content visible.
- Choose the Gallery view template. The preview window updates with the selected layout.
- Choose the camera location:
- Dynamic camera location (default) - Automatically selects the optimal position based on screen size and grid utilization.
- Fix camera location - Click one of the options to change the default.
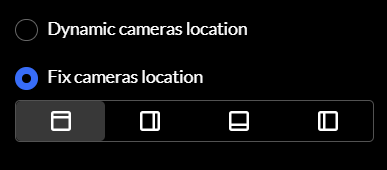
- Choose the desired camera location.
- Your choice displays instantly in the preview window.
- To add content to your scene, see Add content below.


To learn about how to adjust layouts during an active scene, visit our Stage Management article.
Content only
This layout highlights shared content without displaying speakers, making it ideal for presentations or materials with smaller text or detailed visuals.
- Choose the Content only template. The preview window updates automatically.
- To add content to your scene, see Add content below.

How scenes interact with the layout menu

- When a scene is active, the layout menu on the bottom toolbar automatically reflects the layout used in that scene and displays the number of users on stage.
- If the layout is changed while a scene is active, the scene updates immediately.
- When a scene ends, the room remains in the layout used in the last scene. This layout is also reflected in the layout menu.
- Any changes to stage settings, such as layout, maximum number of cameras, or stage background, are applied immediately to the active scene.
For more detailed instructions on how to adjust layouts during an active scene, including layout options and settings, visit our Stage management article.
Set the stage background
The stage background appears behind speakers and shared content.
If branding has already been configured for the room, the stage background automatically follows the branding design. For more information, visit our article Customize your room with branding.
To set or change the stage background:
- Enable the Stage background toggle.
- Click the pencil icon and choose one of the design options (custom images are not supported).

The selected background appears immediately in the preview window.

If you select a background design that is different to the branding, a reset (X) icon appears. Click it at any time to restore the branding background.

The selected background remains consistent when switching between templates.
Add content
Content can be added from two locations:
- the Content input box in the left panel
- the Choose content menu in the preview screen
Add content from the content input box
- In the left panel, navigate to Content and click the add (+) icon.
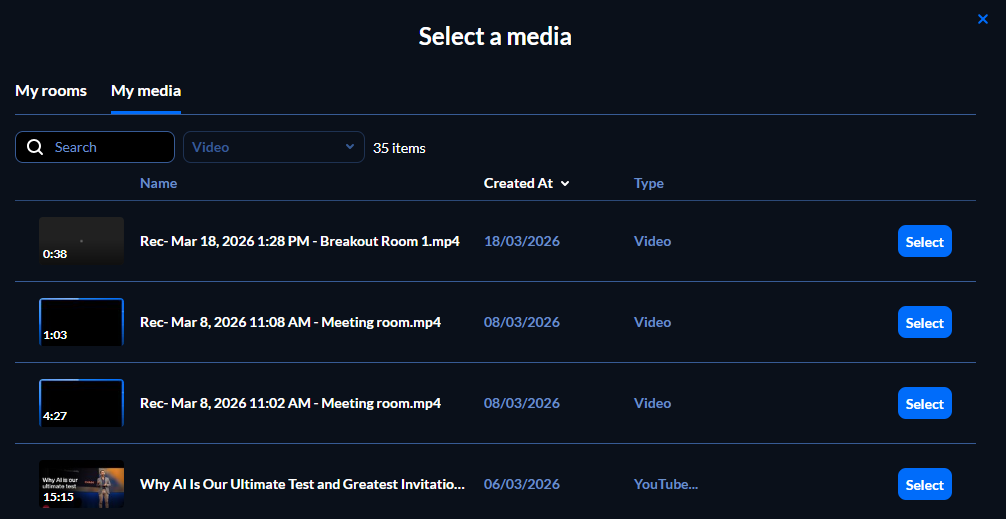
The media selector opens.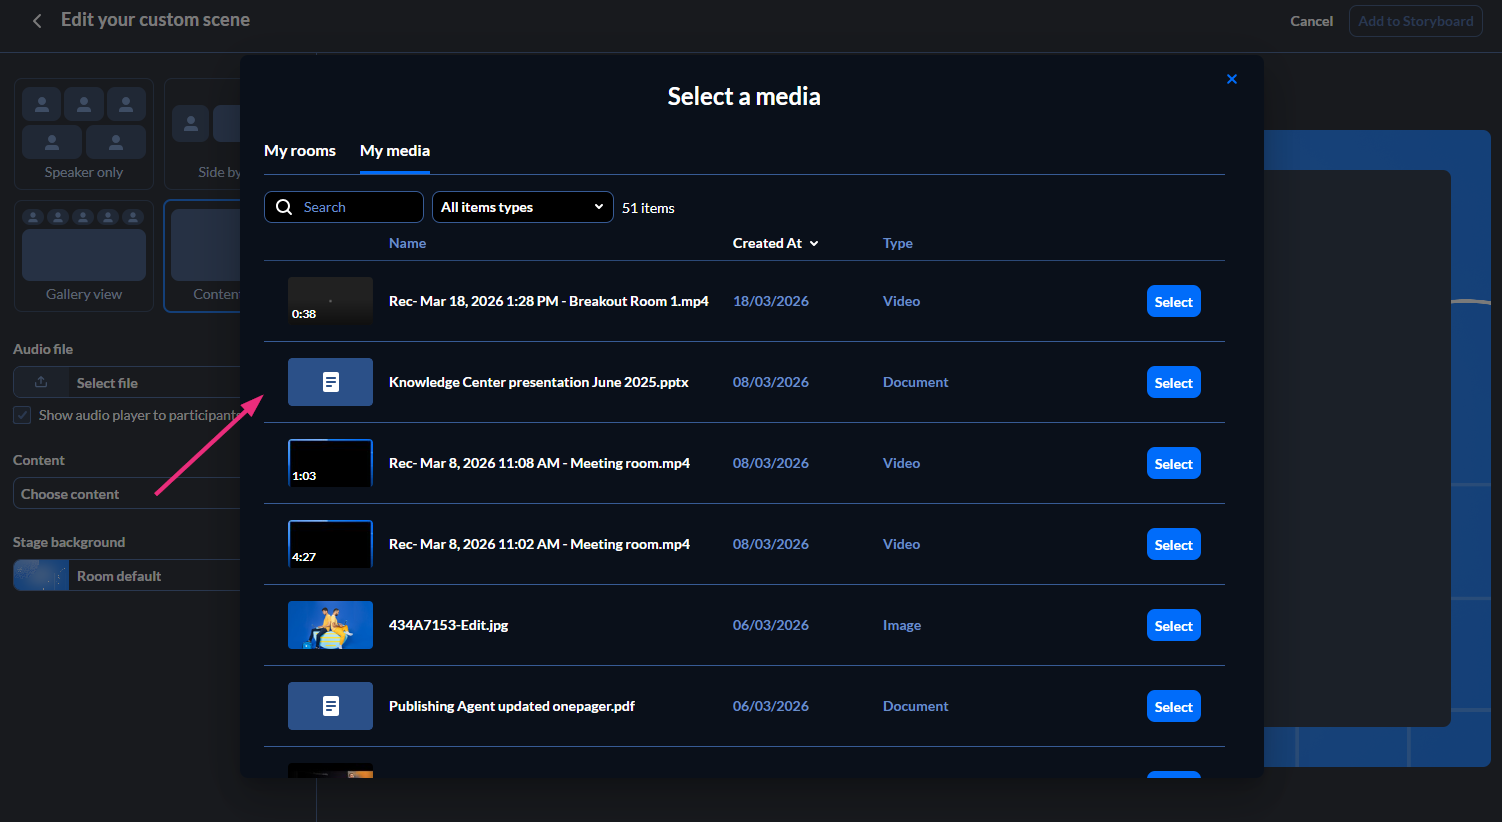
- Locate the item and click Select to add it to the scene.

You can close the scene manager while content is loading; the update will continue.
Add content from the preview window
- Under Choose content in the preview window, select the media type (Video, Image or Presentation).
The media selector opens.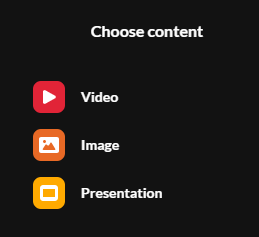
- Locate the item and click Select.


If you select a slide presentation, a preview window opens where you can review and approve the slides. See our Storyboard article for more information.
Add audio to a scene
You can add an audio file to a scene when the content is an image or a single slide.
- In the left panel, go to the Audio file section and click the add (+) button. The media selector opens (only audio files are shown).
- Locate the desired MP3 file and click Select.
Once assigned, the audio plays when the scene is presented.
You can also:
- Replace or remove the audio file
- Choose whether the audio player is visible to participants
See our article Add and manage audio on storyboard for full instructions.
Save a scene
After configuring your scene, click Add to storyboard at the top right corner.

A thumbnail of the new scene appears on the storyboard.

Edit a scene
- In the storyboard, locate the scene you want to edit and click the pencil icon.

- You can adjust any values, just as you did when creating it.
- Once you have finished editing, click Update scene in the top right corner.

Changing templates does not remove previously added content, even when switching to a Speakers only template.
