About
Draft entries are like empty containers waiting to be filled with content. You can set metadata and publishing details upfront or alongside media processing. This flexibility is great for larger media teams, where metadata and media prep happen separately, boosting internal efficiency.
When you're ready to add media files, just upload the source for Kaltura to transcode or bring in locally generated media assets using your transcoding tool. Note that the local transcoding option isn't enabled by default; get in touch with your Kaltura account manager to learn more and activate it for your account.
Create a draft entry
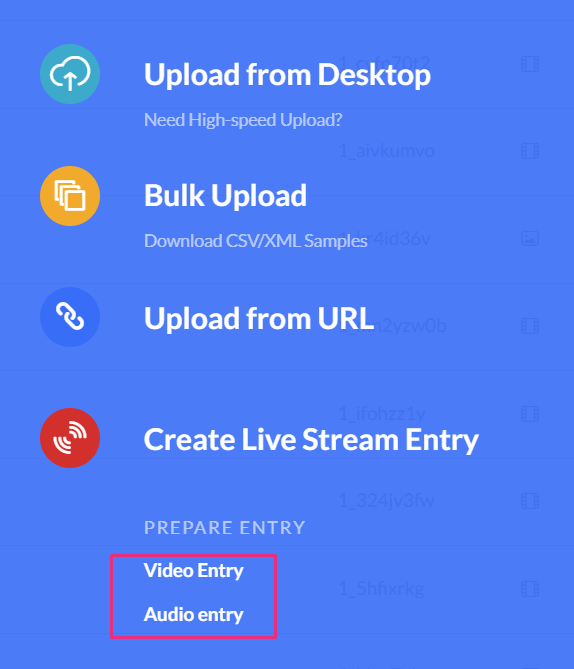
1. Log into the Rich Media CMS and click +Create in the navigation bar.

The upload page displays.
2. Select Video Entry or Audio Entry.
3. If you have permissions, select the Transcoding Profile.
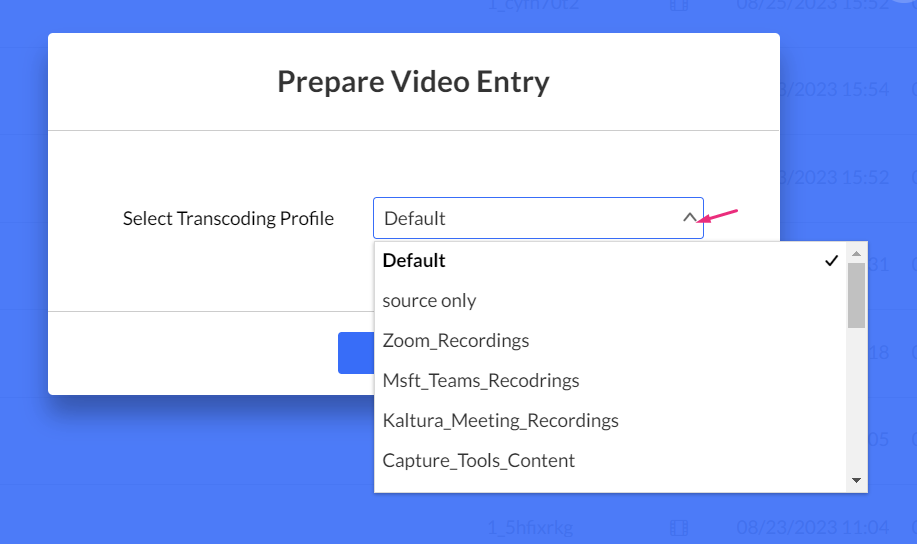
4. Click Apply.
The draft entry window displays.

5. In the Draft Entry window, complete the fields as relevant:
- Name (required).
- Description
- Tags
- Categories – Click Browse Categories to select a category from the existing category list.
If you have custom data for entries, you can edit the Custom Data fields for the entry. For multiple schemas, use the drop-down Jump to menu to select the schema for the entry. See our article Custom data for more information.

6. Click Save.
The ingestion status for a draft entry is 'No Media'. The status remains No Media until one or more media files are added to the entry. Uploading media is done via the entry’s Flavors tab. See Upload Content to a Draft Entry for more information.
The following is an example of a draft entry in the Rich Media CMS: 
