About
You can connect your Legacy Video Portal to your organization’s login system using Single Sign-On (SSO). This lets users sign in to the Legacy Video Portal with their regular organizational credentials instead of a separate Kaltura username and password.
If your organization assigns specific user roles or permissions through SSO, you can also configure authorization so that roles in the Legacy Video Portal are updated automatically at login.
For general information about authentication and authorization methods, see:
Set up SSO login
- Go to your Configuration Management console, and navigate to the Auth module. You can also navigate directly: https://{your_KMS_URL}/admin/config/tab/auth.
- Scroll down to the authNAdapter field and select SSO Gateway AuthN from the drop-down menu.
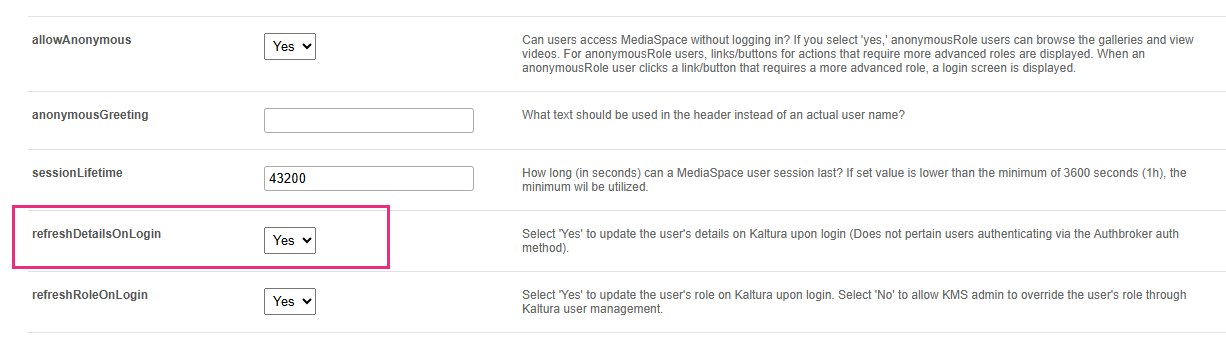
- Scroll down to the refreshDetailsOnLogin field and choose whether to update user details (first name, last name, and email) from your organization’s authentication system each time a user logs in.
- Scroll down to the SSO section and configure the following fields:
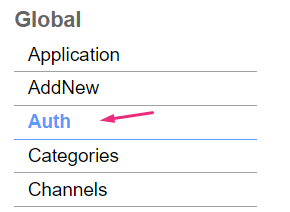
The 'Auth' page displays.


- secret – Enter a shared secret used for secure communication between the Legacy Video Portal and your login page. You can enter your own value or enter 'default' to use the Kaltura Admin Secret.
- loginUrl – Enter the full URL of your organization’s login page (including https://).
- logoutUrl – Enter the full URL where users are redirected after they log out of the Legacy Video Portal. When a user clicks 'Logout', the Legacy Video Portal ends their session and redirects them to this page.
- hashAlgorithm – Select the algorithm used to generate the session key for secure logout operations.
The Legacy Video Portal automatically adds a ref parameter to this URL so that, after users log in, they’re redirected back to the correct Legacy Video Portal page. You don’t need to add this parameter yourself.
If your organization uses a central login system such as CAS (Central Authentication Service) or another SSO platform, you can use this logout page to also sign the user out of other connected systems.

6. Click Save.
If your SSO system manages user roles or permissions, continue to the next procedure. Otherwise, you can skip this step.
When SSO Gateway AuthZ is enabled, the Legacy Video Portal receives user role information from your organization’s identity provider (IdP) during login. Your IdP must be configured to pass the appropriate role or group information as part of the authentication flow.
The exact attribute names and role mapping configuration depend on your organization’s SSO implementation.
For more information about available authentication and authorization methods, see see Authentication and authorization options in Legacy Video Portal.
Set up SSO user roles (optional)
- In the Auth module, find the authZAdapter field and select SSO Gateway AuthZ from the drop-down menu.
- Under refreshRoleOnLogin, choose whether to update a user’s Legacy Video Portal role from your authentication system each time they log in.

- Select 'Yes' to synchronize roles automatically at every login.
- Select 'No' if you prefer to manage roles directly in Kaltura.

3. Click Save.
