About
Kaltura's Chat & Collaboration widget is a built-in engagement panel used in live sessions that lets participants, speakers, and moderators interact with each other in real time and manage session activity. It's essentially the central hub for communication and interactive tools during a session.
This article covers how to access the widget, which menu items are available per role, how to configure personal settings, access the Moderator app (moderators only), and initiate reaction emoticons during a session.
Kaltura supports a consistent set of languages across its major platforms, including Events, allowing users to interact with the interface in their preferred language. Please see Supported languages in Kaltura Events for more details.
The Chat & Collaboration widget is supported for desktop and mobile on a web browser.
To access the Chat & Collaboration widget on a desktop
Click the "expand" button in the upper right corner of the screen.

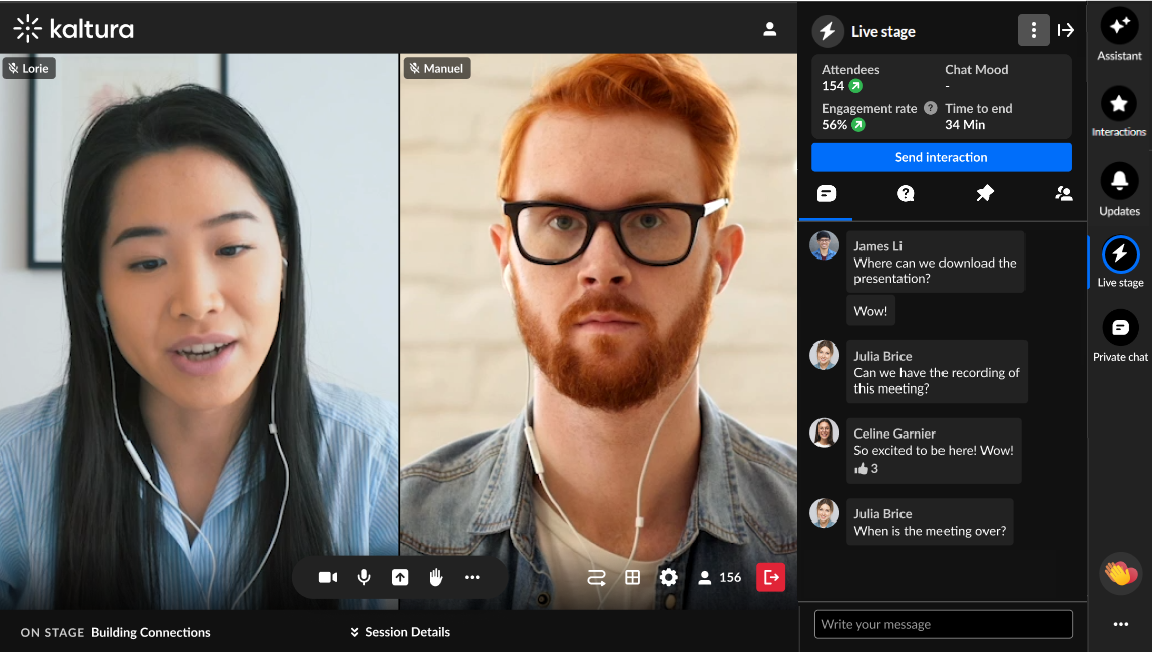
The Chat & Collaboration widget displays.
 Attendee view
To access the Chat & Collaboration widget on a mobile device
The Chat & Collaboration widget is open automatically when you enter the site.

The Chat & Collaboration widget menu
The Chat & Collaboration widget menu is located on the right sidebar in desktop (see below) and on the bottom of the screen in mobile. The menu displays differently for an attendee and moderator. It contains three tabs for the attendee and five tabs for the moderator. Explore functionality specific to each tab by clicking on the links below.
- Assistant (moderator only)
- Interactions (moderator only)
- Updates
- Live Stage
- Private chat
The chat and collaboration features in the Live Stage tab vary depending on whether your account administrator has enabled a Public Q&A experience.
 Moderator View

Settings
A participant may decide to configure their own settings. Click the three dots and a list of options displays.
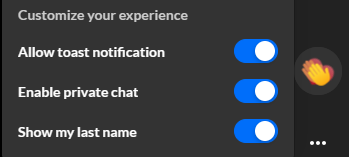
Click the desired option to enable it.
- Allow toast notification - Some examples of toast notifications include new polls, messages sent specifically to you, or updates.
- Enable private chat - Chatting 1:1 with other participants.
- Show my last name - Displaying your full name, not just your first name.
An additional option displays for moderators - "Open app". Moderators may click this button to open the Moderator app.
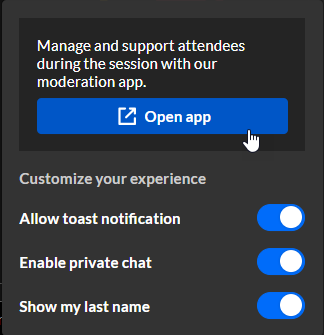
If your account administrator has enabled a Public Q&A experience. access to the Moderator app is not available.
Reactions
Reactions in Kaltura Events allow participants to instantly express how they feel about the content being presented using simple reaction options. This feature provides moderators with real-time visual feedback from the audience, helping them gauge engagement, sentiment, and overall response during a session. Crowd reactions create a more interactive atmosphere by giving participants an easy and quick way to participate without interrupting the flow of the event.
- The possible reaction types display horizontally. Participants can hover over the Reactions icon (clapping hands).
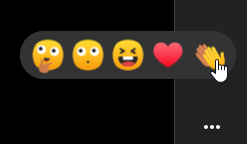
- Participants can click on the desired reaction.
The reactions participants initiate will display to everyone in the session.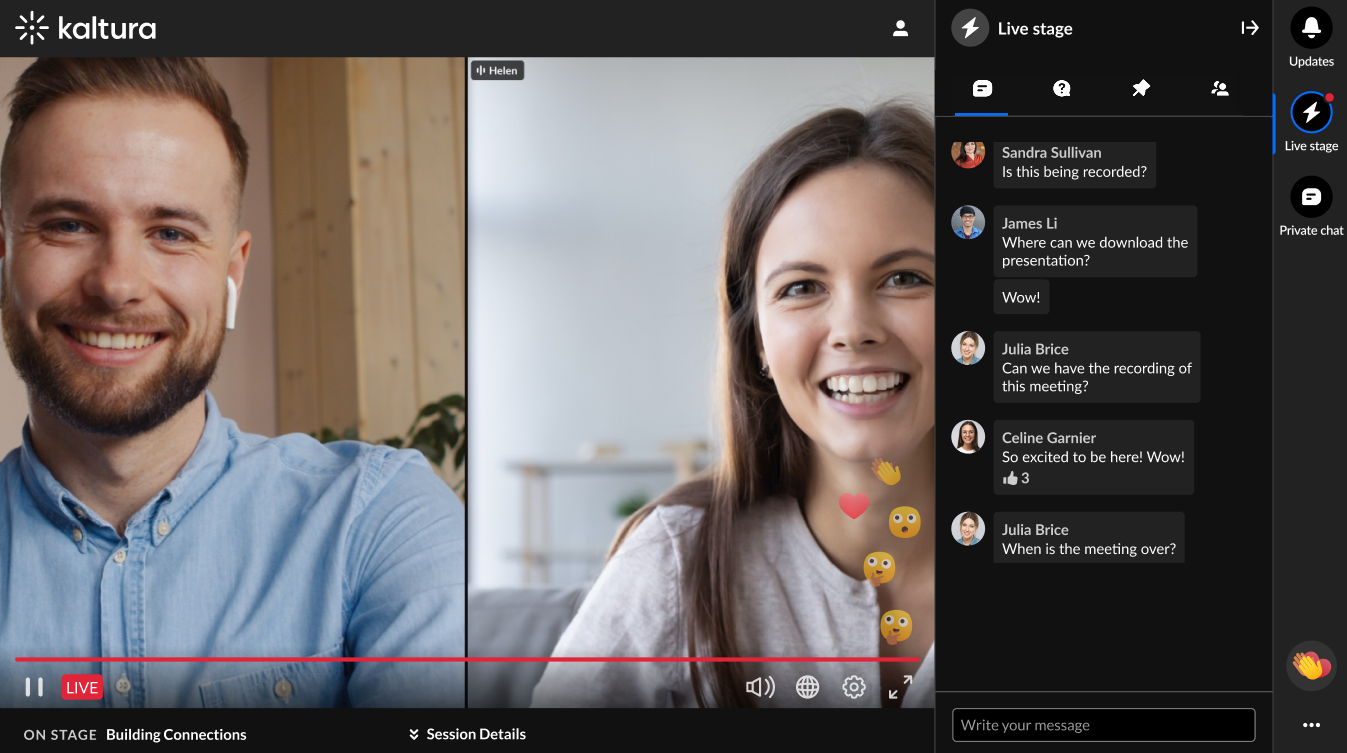 Attendee View


