About
Bulk upload lets administrators upload large numbers of files simultaneously into the Rich Media Content Management System (Rich Media CMS) at once.
You can use a CSV or XML file to upload many items, such as videos, audio files, images, or documents, while automatically applying metadata and bypassing browser upload size limits.
This method helps manage large-scale ingestion efficiently, without needing to upload files one by one.
For bulk actions that will create more than 5,000 entries, please contact your Kaltura representative to coordinate the upload.
In Rich Media CMS, the Bulk Upload option can also be used for other entity types like categories, users, and entitlements. For those workflows, see:
Bulk upload options
Rich Media CMS supports several bulk upload methods:
| Method | Description | Use this when... |
|---|---|---|
| CSV file | Simple, spreadsheet-style upload. | You need a quick way to import many items. For instructions on preparing the CSV file, see Prepare a CSV file for media bulk upload. |
| XML file | Structured format for advanced metadata and relationships. | You need more detailed metadata control. For details, see Advanced bulk upload with XML. |
| Drop folders | Automatically ingest files from a watched server folder. | You want continuous or automated ingestion. For details, see Drop folders service for content ingestion. |
| API upload | Use Kaltura’s Upload API to automate ingestion. | You have developer resources for automation. For details, see Upload media using the API. |
You can also ingest files from an FTP server or any publicly accessible file host. Metadata fields are filled automatically from your CSV or XML file. For details, see Bulk upload methods using CSV and XML.
Prepare your file
Before uploading, download Kaltura’s sample templates and make any needed updates to match your media file information and metadata.
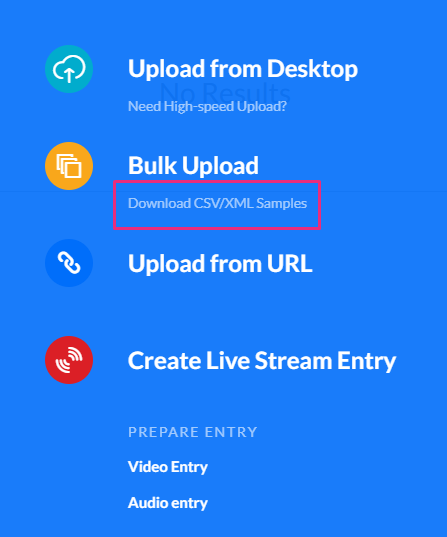
- Log into your Rich Media CMS and click +Create in the top navigation bar.
- Under the Bulk Upload option, click Download CSV/XML Samples.
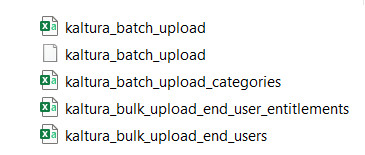
- Open the downloaded folder (kaltura_batch_upload_sample).

The download page opens.
Each file includes a preformatted example with field descriptions and usage guidelines. Use the sample named kaltura_batch_upload to prepare your upload.
For instructions on preparing the CSV file and understanding the template structure, see Prepare a CSV file for media bulk upload.
Upload your file
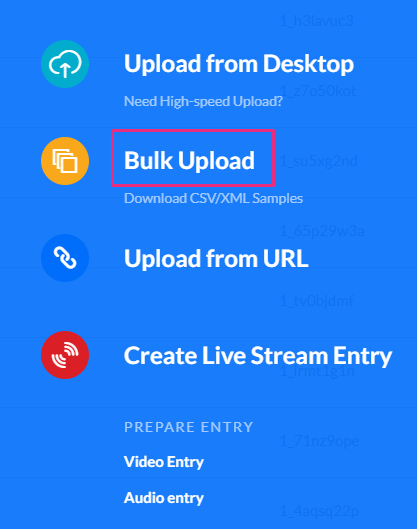
- In the Rich Media CMS, click +Create in the navigation bar, then select Bulk Upload from the menu.
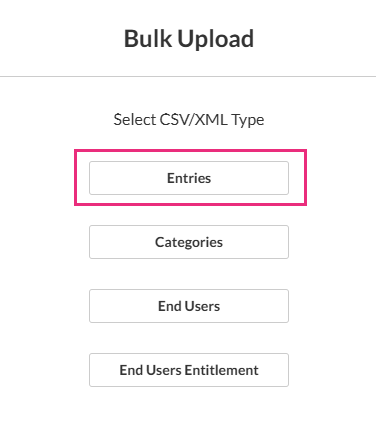
- Choose Entries from the list:
- Browse your computer to locate the prepared CSV or XML file that lists your media entries, then select it to start the upload.
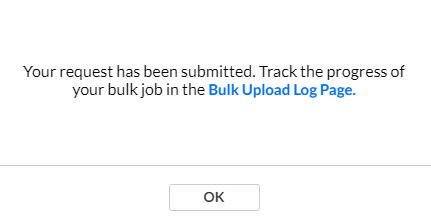
A confirmation message appears once the upload starts.
You can continue working in Rich Media CMS while the upload is in progress.
After starting a bulk upload, you can track its progress and review completed uploads in Rich Media CMS. To view upload status, progress, and logs, see Monitor & manage uploads.
Assign a transcoding profile (optional)
If you want to use a specific transcoding profile instead of the default one:
- In your CSV file, set the conversionProfileId field to match the profile’s ID from the Transcoding Profiles list.
- In your XML file, set the same conversionProfileId value in the file structure.
To learn more about transcoding, visit our article Transcoding.
Automated bulk uploads (optional)
If your organization uses automated ingestion:
- Configure Drop Folders to automatically ingest content placed in a specific server location. See our article Drop folders service for content ingestion for more information.
- Developers can also use the Upload API to automate ingestion workflows. See Upload media using the API.
