About
You can prepare your storyboard for a session in your Kaltura Room by adding presentations and media in advance. Upload files and organize them so they are ready to present during your session.
Supported file types include images, videos, audio, PowerPoint presentations, and PDFs.
Mobile users cannot upload or manage storyboard content. Files must be added and managed from a desktop. However, content presented from the storyboard will still be visible to mobile users during the session.
- After adding files to the storyboard, you can present and manage them during your session. See Use the storyboard during your session in your Kaltura Room for more information.
- Want to share a storyboard with your team? Make it global! To unlock the benefits of a Global Storyboard, reach out to your Kaltura representative.
Below is an image showing a storyboard with different file types added:

Open the media selector
- In your room, click the storyboard icon at the bottom right of the toolbar.
- Click the +Add to Storyboard button on the far left.

The storyboard opens as a horizontal panel at the bottom of the screen.


The storyboard menu opens with four options for adding media:
- Video
- Presentation
- Image
- Media and Files

Selecting one of these options opens the 'Select a media' window. Follow the instructions below for the media type you want to add to the storyboard.
If you access the media selector from within your legacy Video Portal or Events platform, the window displays two tabs:
- My rooms - Media from rooms you have access to
- My media - Media you own

Add a video
- Select Video from the storyboard menu.
- Locate the desired video and click Add to storyboard. The video is added to the storyboard to the right of any existing items. It does not start presenting automatically.

The 'Select a media' window opens automatically, showing available videos.

Upload a video from your computer
- In the 'Select a media' window, click Upload.
- Select the file from your computer.
- Click Add to Storyboard to place the file on the storyboard.

After the upload completes, the newly uploaded file appears at the top of the list in the 'Select a media' window.

The video is added to the storyboard to the right of any existing items. It does not start presenting automatically.
Import a YouTube video
- Click Import from YouTube.
- Paste the YouTube URL or video ID into the field.
- Click Import from YouTube.

The 'Import from YouTube' window opens.


Only public YouTube videos should be used. These are videos that can be viewed by anyone with the link and do not require login or special permissions.
YouTube videos added to your storyboard will not be included in recorded sessions due to copyright limitations. During playback, users will see a slate indicating that the content cannot be recorded.
4. Once you have uploaded the desired video, click Add to Storyboard.
The video is added to the storyboard to the right of any existing items. It does not start presenting automatically.
Add a presentation
- Select Presentation from the storyboard menu.
- Locate the desired document and click Add to Storyboard.

The Select a media window opens automatically, showing available documents.


By default, all slides in the document are selected, and the slide number displays below each one. The total number of selected slides appears at the bottom left.
You can choose how the slides are added:
- Add as individuals (default) – Each slide is added as a separate storyboard item
- Grouped slides – Slides are added as one presentation item
When uploading from the Scene Manager, slides are always grouped and this option is not available.
3. After reviewing the slides, click Add to storyboard at the bottom right.
The slides are added to the storyboard to the right of any existing items. They do not start presenting automatically.
Upload documents from your computer
- In the 'Select a media' window click Upload.
- Select the file from your computer. After the upload completes, the newly uploaded file appears at the top of the list in the 'Select a media' window.
- Click Add to Storyboard.
- Click Add to storyboard at the bottom right to add them to the storyboard. The files is added to the storyboard to the right of any existing items. It does not start presenting automatically.


A preview window opens where you can review the slides.
Add images
- Select Image from the storyboard menu.
- Locate the desired image and click Add to Storyboard.

The Select a media window opens automatically, showing available images.

The image is added to the storyboard to the right of any existing items. It does not start presenting automatically.
Upload an image from your computer
- In the 'Select a media' window click Upload.
- Select the file from your computer. After the upload completes, the newly uploaded file appears at the top of the list in the 'Select a media' window.
- Click Add to Storyboard.


The image is added to the storyboard to the right of any existing items. It does not start presenting automatically.
Browse all media types
- Select Media and Files from the storyboard menu.
- Locate the desired media item and click Add to Storyboard. The media is added to the storyboard to the right of any existing items. It does not start presenting automatically.

The Select a media window displays with all file types available including recordings and shared media.

You can also add new media from this window:
- Upload a file – Click the Upload button at the top right, select the file from your computer, then click Add to Storyboard once the upload completes.
- Import a YouTube video – Click the Import from YouTube button at the top right, paste the video URL or ID, then click Import from YouTube. Once the video appears in the list, click Add to Storyboard.
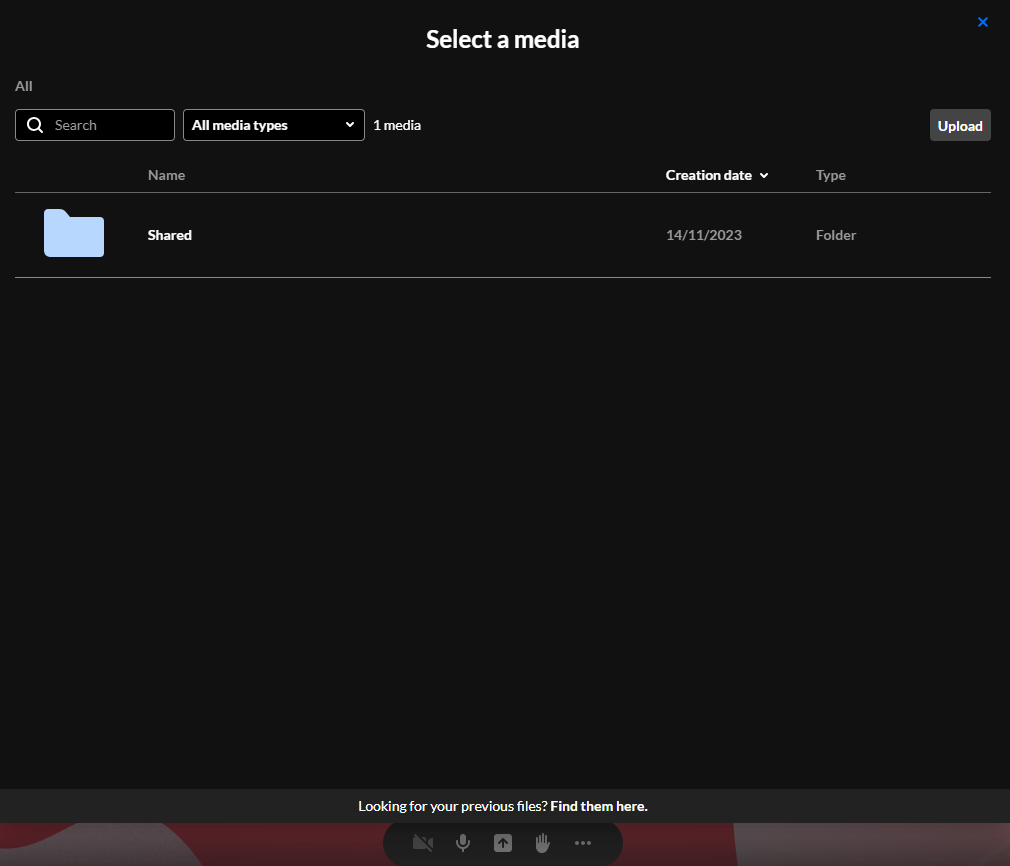
Shared folder
The Shared folder appears in the 'Select a media' window when you choose Media and Files from the storyboard menu.
This folder contains media shared across breakout rooms. Files added to breakout sessions are automatically placed in the Shared folder so they can be accessed from any room.
You can also upload files to the Shared folder directly from any room. Files can be added in advance when preparing breakout sessions or during the live breakout session.
Content in the Shared folder is available to all users who have access to the room’s media.
For instructions on creating and launching breakout rooms, check out our article Create and launch breakout rooms.
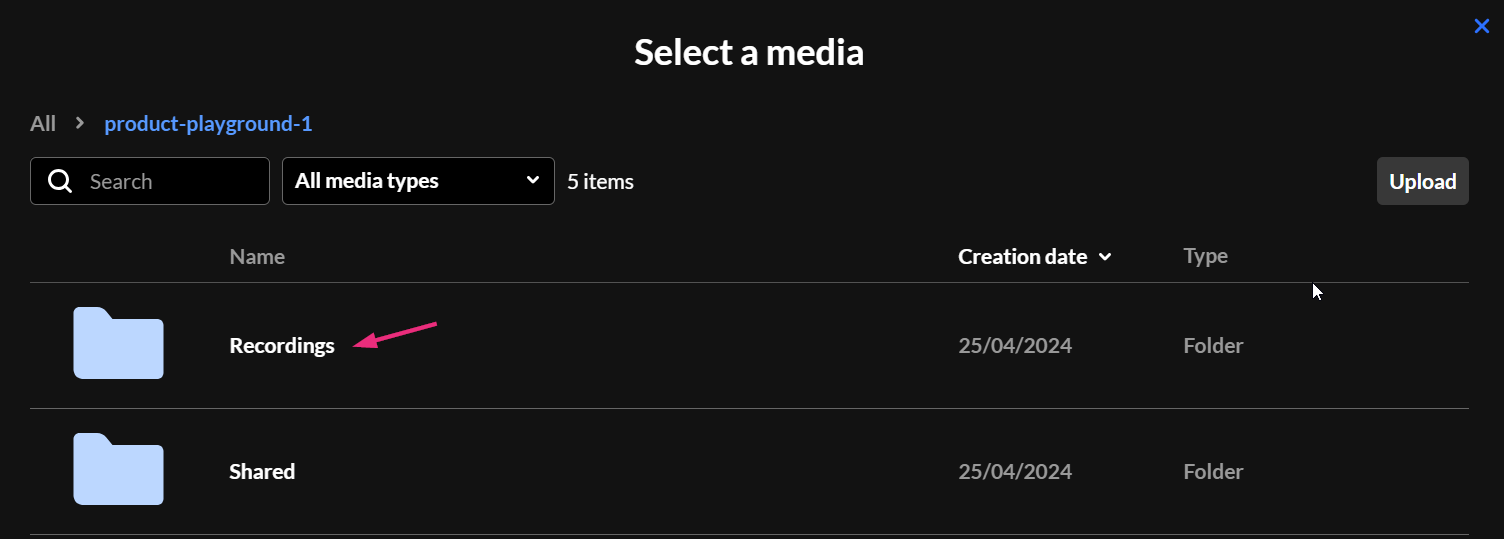
Recordings folder
The Recordings folder also appears in the 'Select a media' window when you select Media and Files from the storyboard menu. Completed session recordings are automatically added to this folder.
See our article Record your live session for more information.
At this time, media files cannot be renamed or downloaded from the 'Select a media' window. These capabilities may be added in a future release.
Delete media
- Open the 'Select a media' window and locate the media item you want to remove.
- Click the three-dot menu next to the item.
- Select Delete.


If the media item is not used elsewhere, it is permanently deleted. If it is associated with another room or category, it may remain available there.
Rearrange files
You can change the order of items in the storyboard.
- Click and drag the file to the position you want.
- Release the file.
The new order is saved automatically.
Clear storyboard
- On the storyboard, next to the Add to storyboard button, click the three dots.
- Click Clear Storyboard.
- Click Clear. The storyboard is cleared of all its contents.


A confirmation displays: Are you sure you want to clear the storyboard?
