About
You can add content to a shared repository by selecting media and publishing it. Be sure to fill in metadata and apply filters to keep things organized.
Once published, authorized users can easily search or browse the shared repository to find and use the content.
Your administrator must enable the SharedRepositories module for this feature to work.
Add content
- Access the edit media page for the desired media item. The edit media page displays with the Details tab open by default.
- On the Details page, select Click to add required metadata for shared repository.
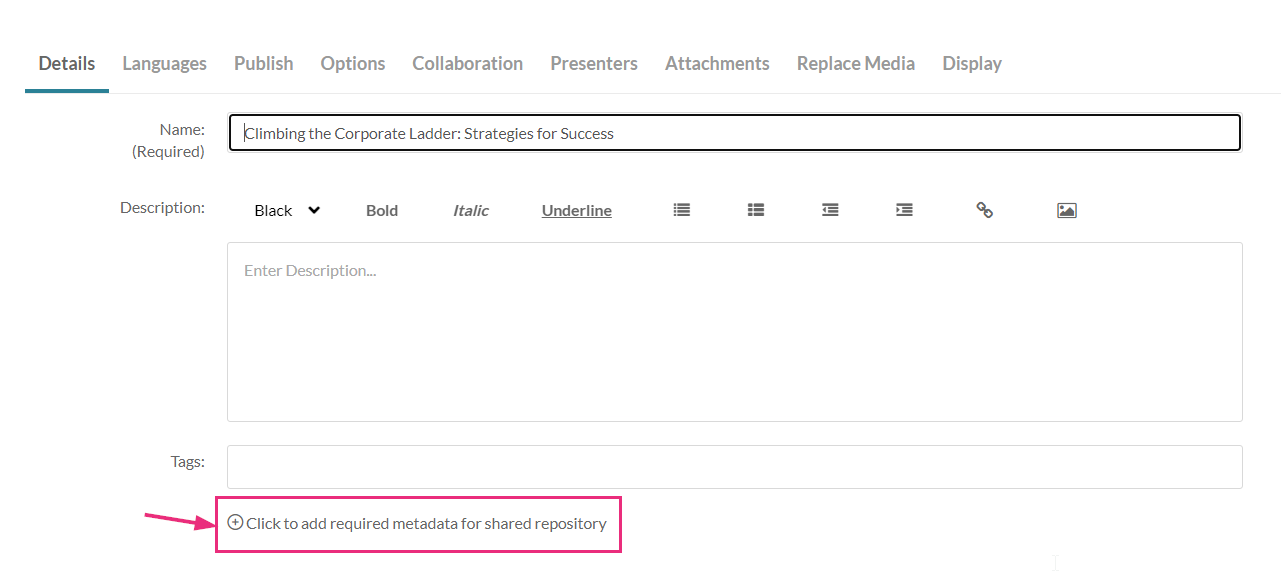
Additional fields display.

- Complete the relevant metadata field(s) (in the example above, it's 'Department Name').
- Assign the media to one or more filters.
- Click Save.


Custom metadata adds fields for details, while filters help organize content, making it easier to search and filter. For more information on custom metadata and filters, and how to set them up, check out these articles: Create a custom data schema and Create nested filters.
Publish the content
- On the edit media page, click the Publish tab.
- Under Publishing Status, click Published.
- Click the Publish in Channel tab.
- Click the checkbox next to the desired shared repository.
- Click Save.


The media is now in the shared repository and can be shared by allowed members.
