When enabling and configuring the Wochit module that powers the integration with Kaltura MediaSpace, the Admin may enable one of two editors - the 'Timeline' editor or the 'Shortcut' editor.
Timeline Editor
The 'Timeline' editor is ideal for use when a long piece of content dictates the format. These pieces require a lot of cutting, trimming, and cropping. Those using the 'Timeline' editor are likely proficient in adding effects (filters and motions), transitions, and free text fields.
A great use case for the 'Timeline' editor is a news video. Publishers covering news may use the 'Timeline' editor to clean up raw footage from the field.
Use of the 'Timeline' editor is described in the Wochit End User Guide.
Shortcut Editor
The Wochit 'Shortcut' editor is ideal for users who are less proficient with video and do not wish to apply sophisticated editing techniques to their video. These users likely wish to take existing templates and change visuals and texts. This editor is especially useful in cases of short form content, wherever the format dictates the content, and not vice versa.
Some use cases for the 'Shortcut' editor are as follows:
- Marketing teams creating short form ads for social and/or event promotions
- HR teams creating hiring ads, team spirit ads, or "employee of the month" ads
- Social media teams creating reaction posts or memes
- Professionals (designers, chefs, etc.) creating profile videos, step-by-step/how-to videos, and work gallery videos
Use of the 'Shortcut' editor is described below.
Using the Shortcut Editor
- Select Wochit Video from the + Add New menu. The Template Selection page displays.
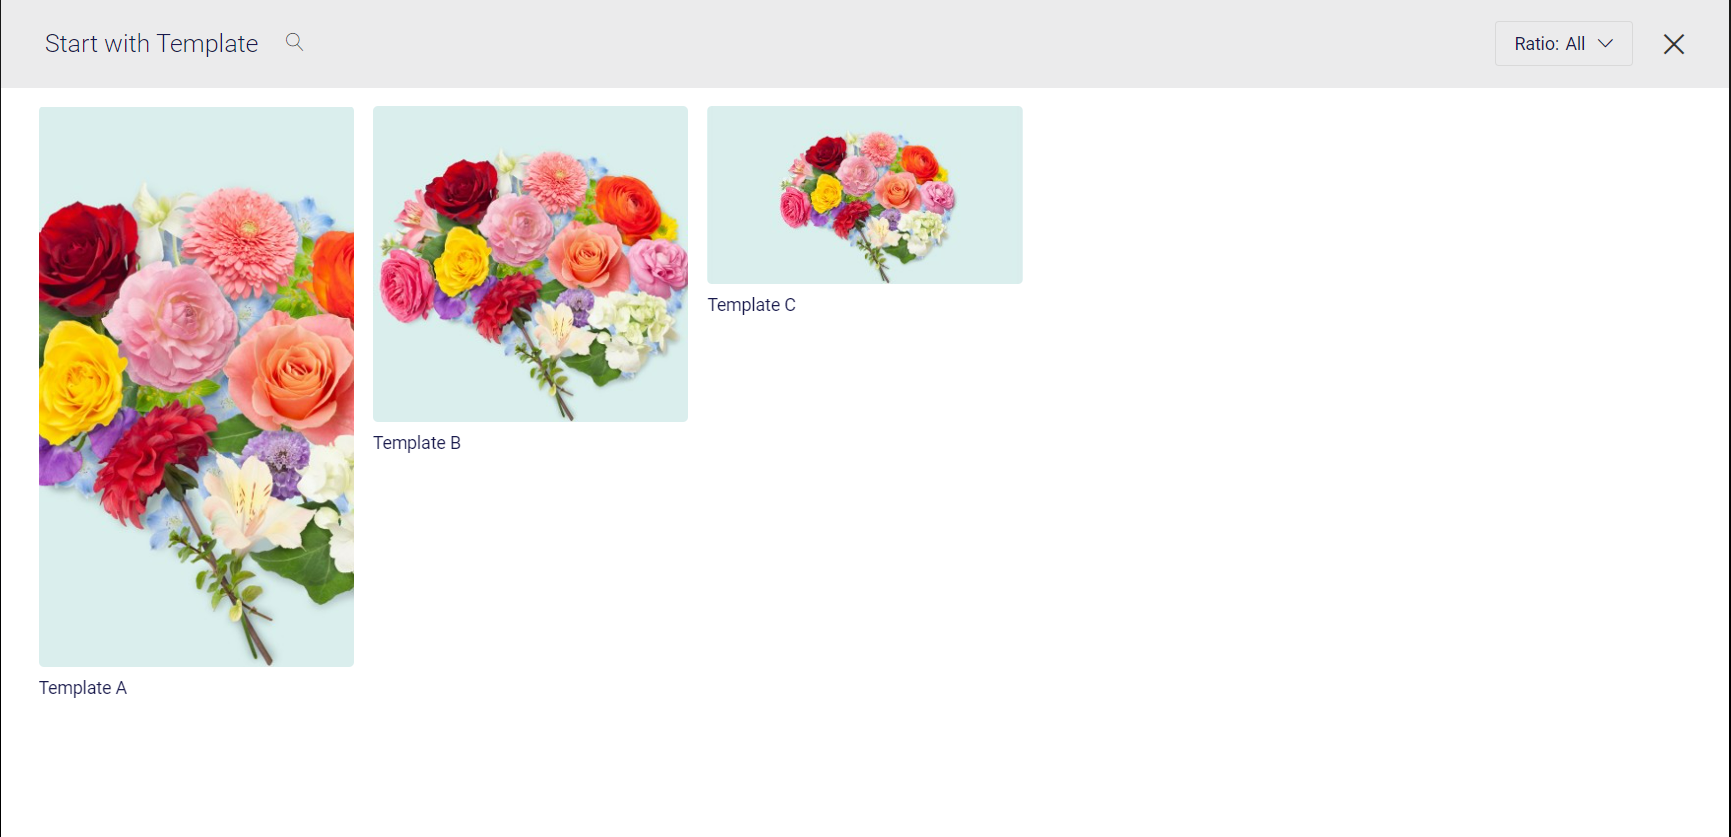
- Select a template. In our example below, we have chosen Template B. The Wochit Studio Workspace displays.
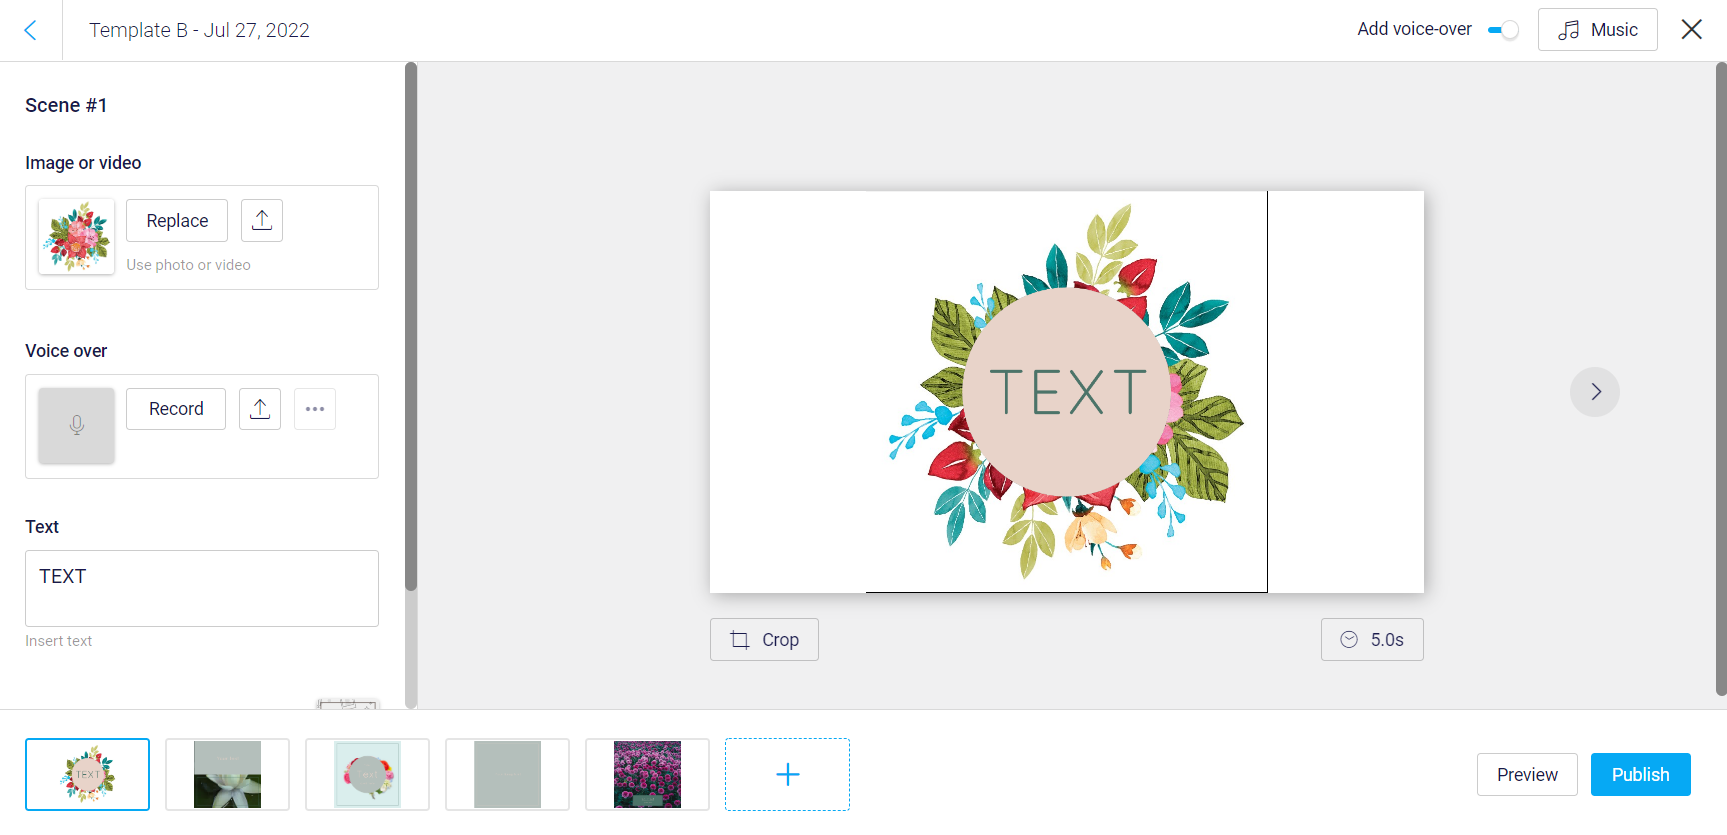
- Your Wochit video is organized by scenes. For each scene, you can:
- Replace the image or video with pre-populated ones by clicking Replace, selecting appropriate media, then clicking Back to Edit. You may also upload your image or video by clicking the Upload button.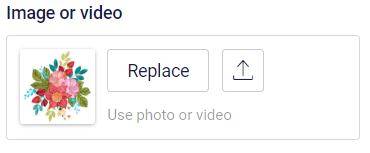 - Record a voice-over by clicking Record. This displays the Record Voice-over page. Make appropriate microphone selections, then click Start Recording. You may also upload a voice-over by clicking the Upload button.
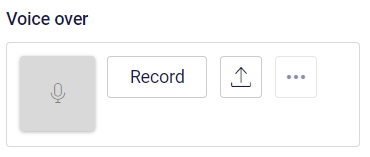 - Insert text by typing in the Insert Text box.
 - Choose layout and motion for your scene by clicking the small image directly to the right of Layout & motion. Make appropriate Title, Short text, Call to Action, Frame, Quote, Number, Long text, Collage, Name and logo, or No text selections, then click Back to Edit.
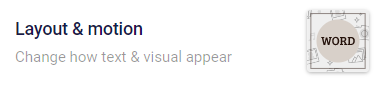
- You can make additional settings as follows:
- Turn on and off voice-over by clicking the Add voice-over toggle switch. - Add background music by clicking the Music button.
 - Crop the scene image by clicking the Crop button.
 - Adjust scene time by clicking on the Time in Seconds button.
 - If you would like to reset scene changes that you have made, click Reset scene changes.
- To move between scenes, click the arrow buttons to the left or right of the scene. - Once you are finished, click Preview to preview your Wochit video, or click Publish to publish it.


 - Record a voice-over by clicking Record. This displays the Record Voice-over page. Make appropriate microphone selections, then click Start Recording. You may also upload a voice-over by clicking the Upload button.
 - Insert text by typing in the Insert Text box.
 - Choose layout and motion for your scene by clicking the small image directly to the right of Layout & motion. Make appropriate Title, Short text, Call to Action, Frame, Quote, Number, Long text, Collage, Name and logo, or No text selections, then click Back to Edit.
 - Add background music by clicking the Music button.
 - Crop the scene image by clicking the Crop button.
 - Adjust scene time by clicking on the Time in Seconds button.
 - If you would like to reset scene changes that you have made, click Reset scene changes.