About
Kaltura Rooms offer integrations and tools to enhance collaboration and presentation so that it's just like meeting in real life, or even better. In this article, you'll learn about whiteboard integration, which will take your virtual experience to a whole other level.
Users without moderator permissions can only view the whiteboard in read-only mode.
Launch the Miro whiteboard
- Click the three dots on the bottom toolbar and select Integrations.
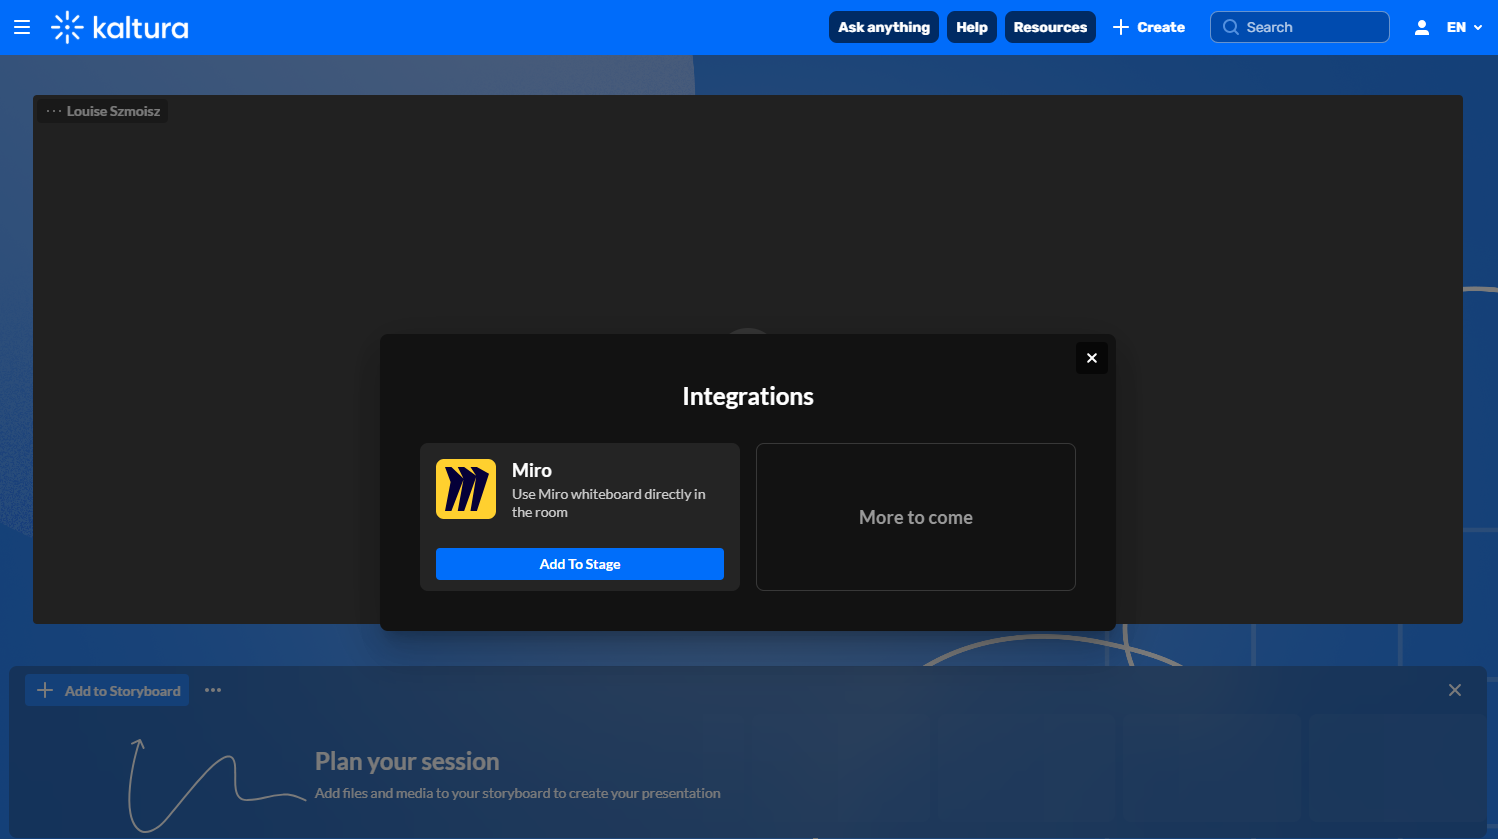
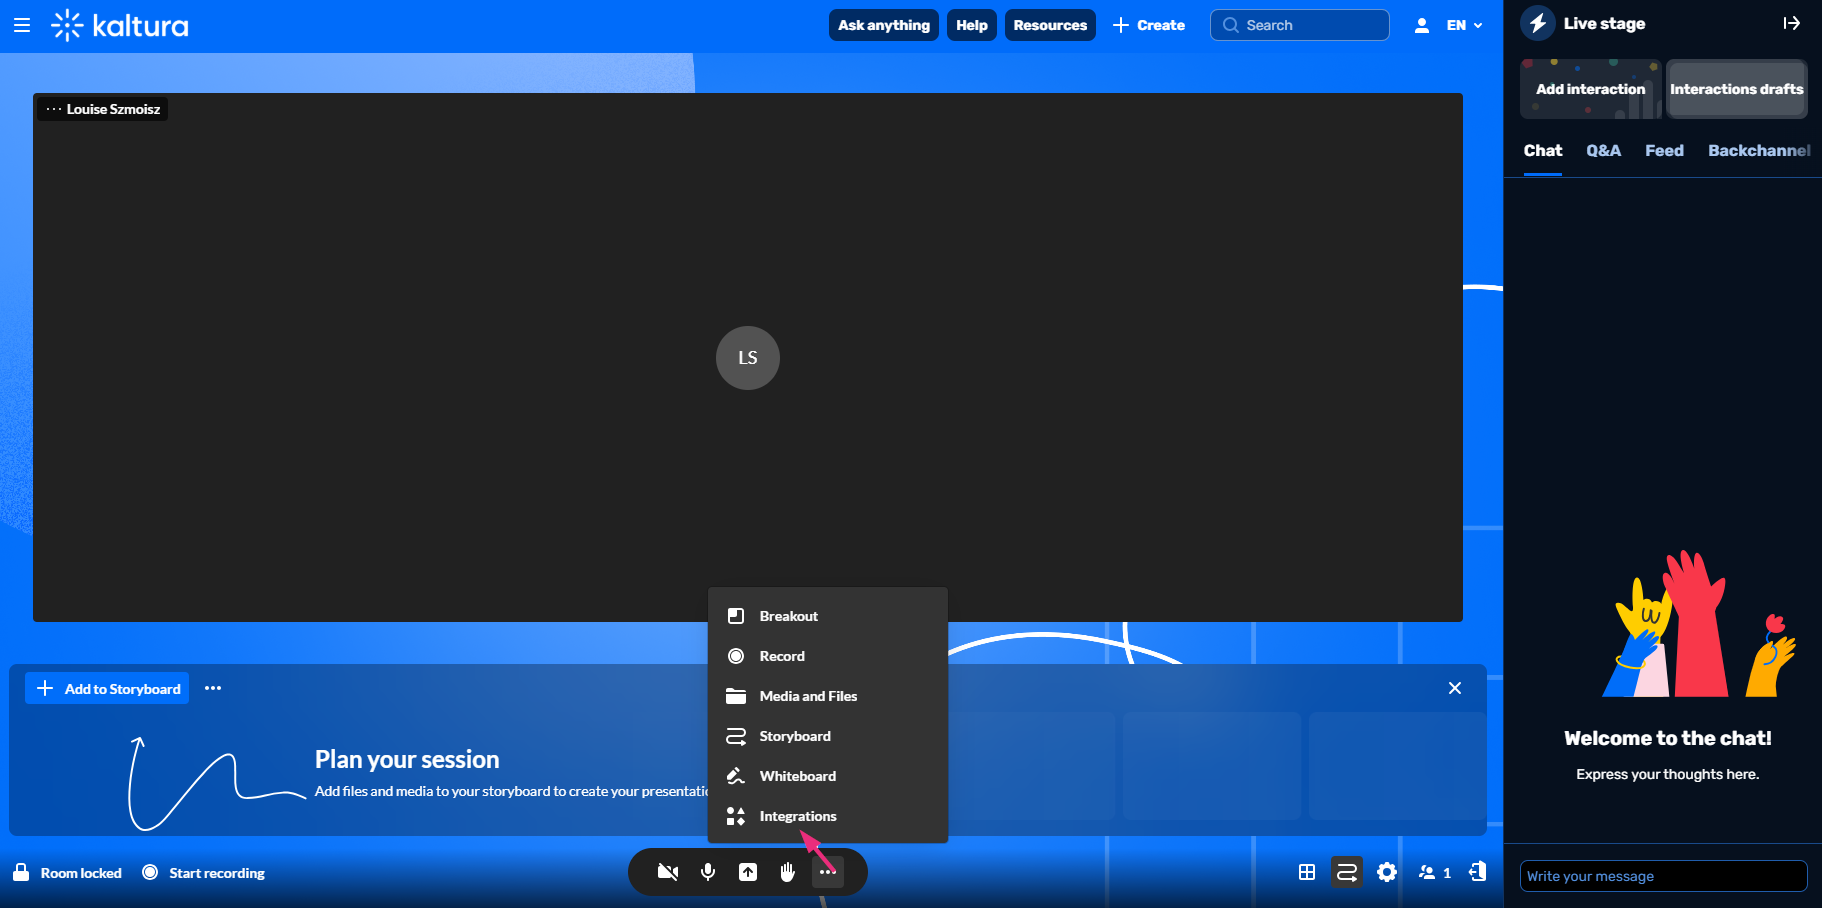 The Integrations window opens.
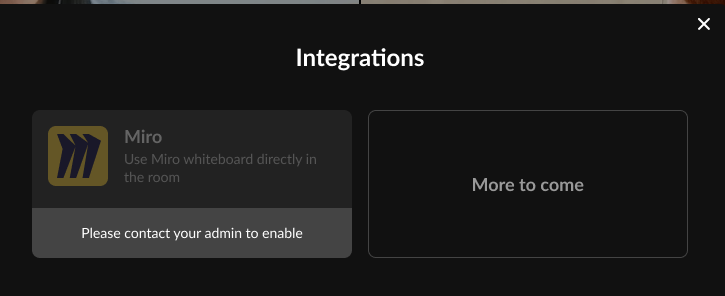
 The Miro integration is usually enabled in the user interface. However, if it is not enabled in your account, you will see the following message:
- Click the blue Add to stage button.
- A Miro popup window or tab will display with the options to create a board without signing into a Miro account, or to sign into a Miro account to create or select a board.
If the popup is blocked by the browser, you'll see the following notification:

You'll need to go into your browser's settings to allow popups, and then reopen Miro again.
- After choosing a board from the popup, the whiteboard displays on stage, below webcams.
You can create a board without signing into a Miro account, but you will only be able to use an anonymous board, with no option for others to collaborate, or for you to save your board for use in a next session. When signing into a Miro account, however, you can create or select a previously saved board, and have other participants collaborate on the board.
For more information on using the whiteboard, see Miro's help article.
Close the whiteboard
- Click the three dots on the bottom toolbar and select Integrations.
- Click the red Stop sharing button.
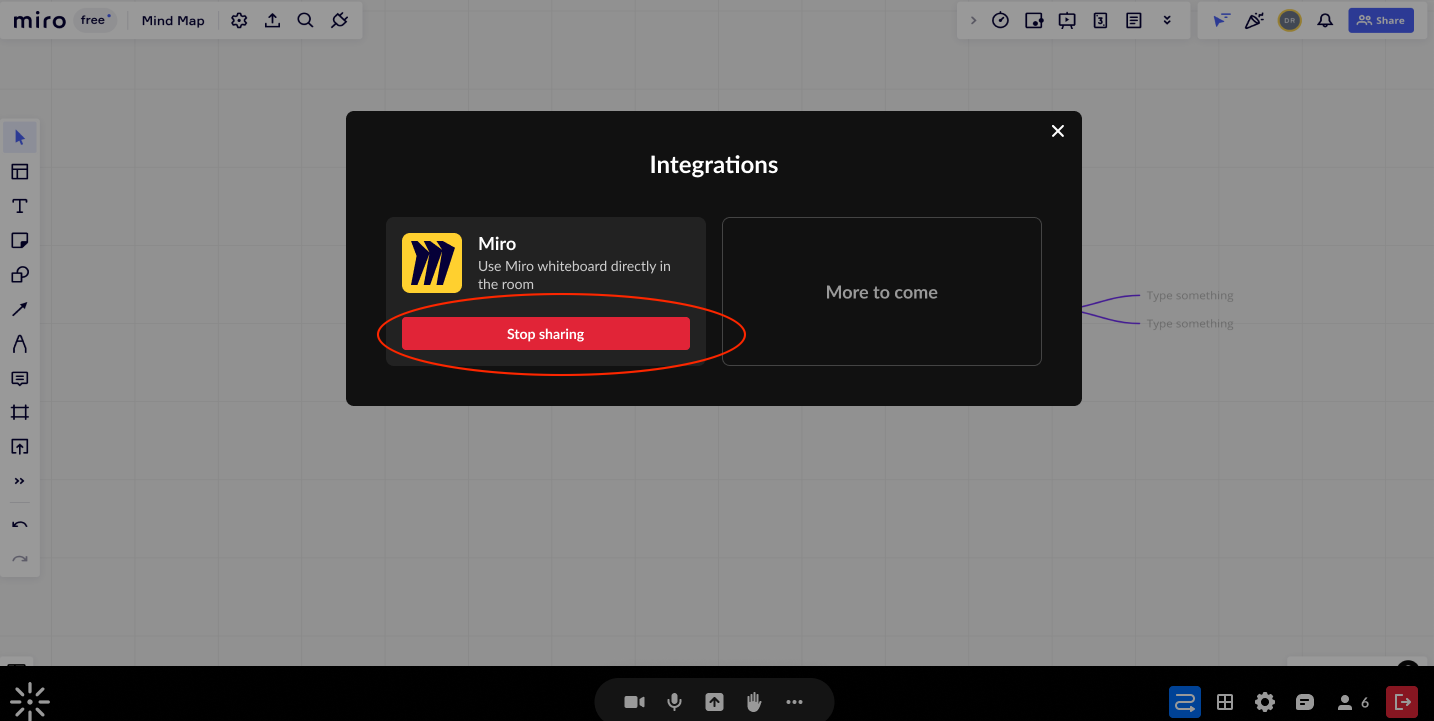
Or click the red Stop sharing button at the top right of the board.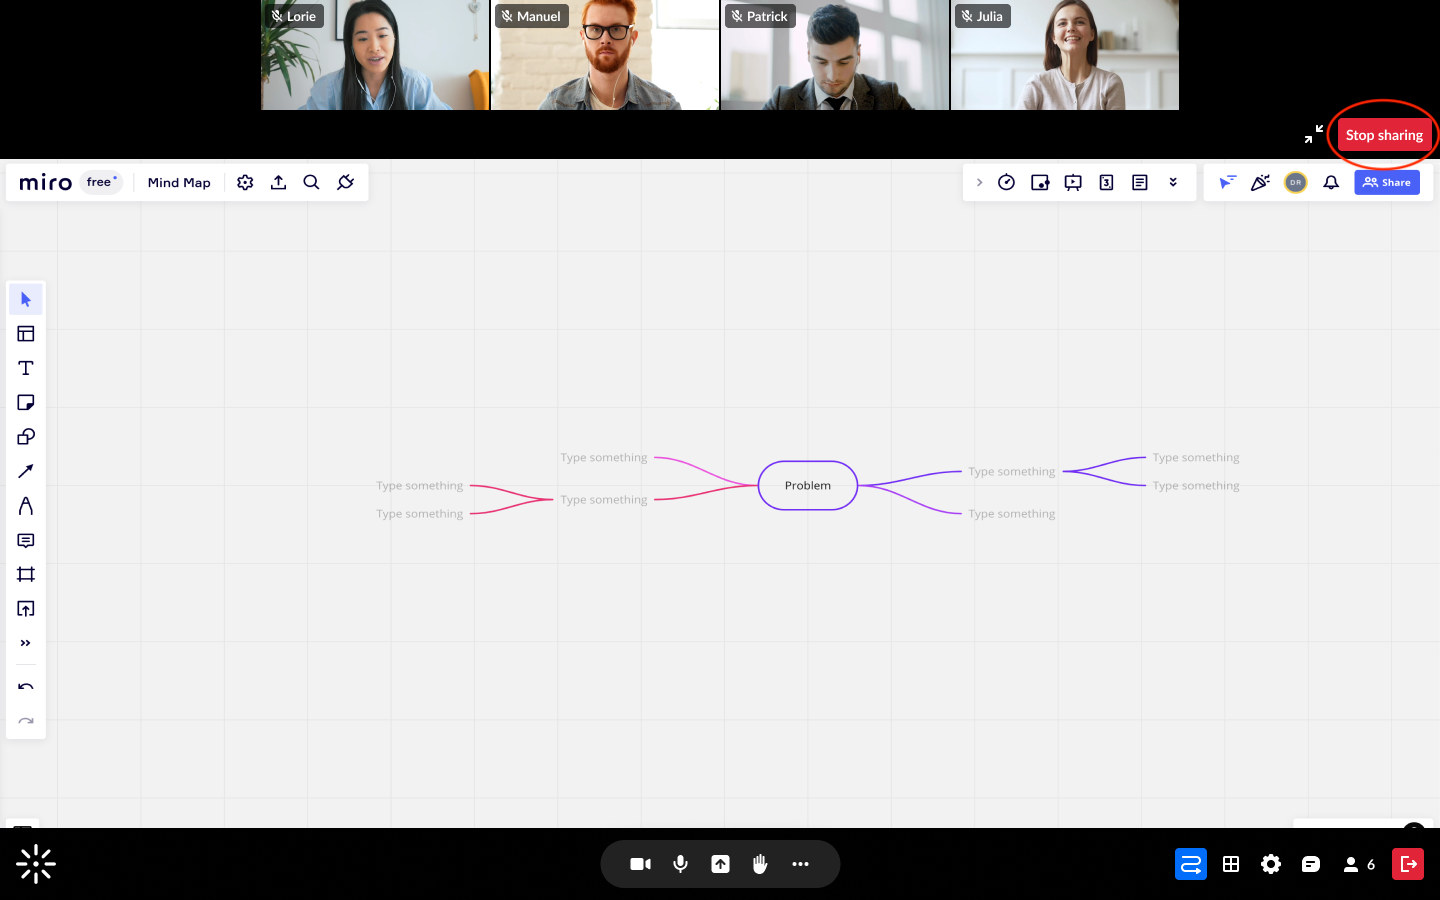
Miro whiteboard content won't be included in recorded content, whether recording the session for yourself or to use as a webcast.
If using the whiteboard while also recording the session, moderators will see the following notification:
 The Integrations window opens.
 The Miro integration is usually enabled in the user interface. However, if it is not enabled in your account, you will see the following message:


