About
The whiteboard allows moderators to draw, write, and collaborate visually during a Kaltura Room session. It can be used for brainstorming, explaining concepts, or annotating ideas in real time.
Only one whiteboard can be active at a time.
Open the whiteboard
- Click the three dots on the bottom toolbar and select Whiteboard from the menu.

The whiteboard displays.

Use the whiteboard tools

Cursor
Use the cursor tool to select existing objects and move, resize, or edit them.

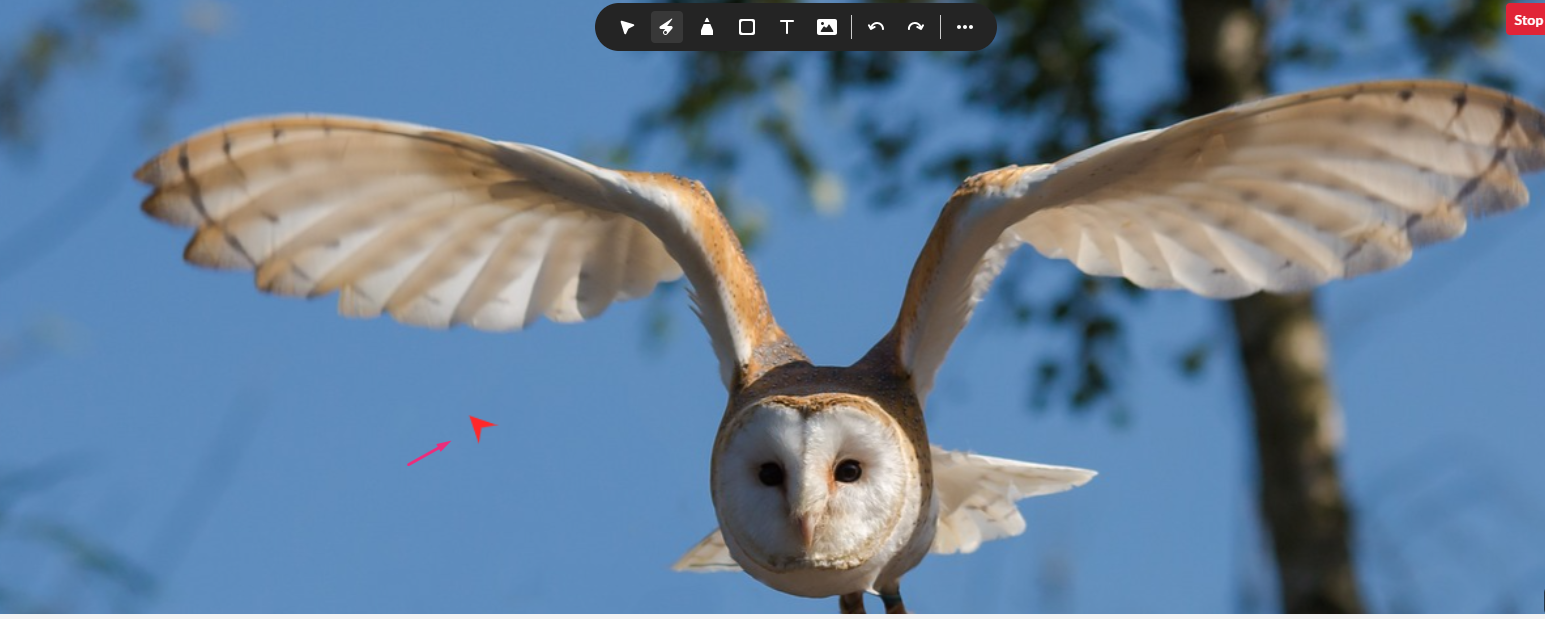
Laser pointer
The laser pointer highlights your cursor movement so participants can easily follow along.
Each participant has their own laser pointer labeled with their name.
Drawing tools
Pencil
- Click the drawing tool to open the dropdown.
- Select the pencil icon.
- Choose a color and thickness.
- Click and drag to draw.


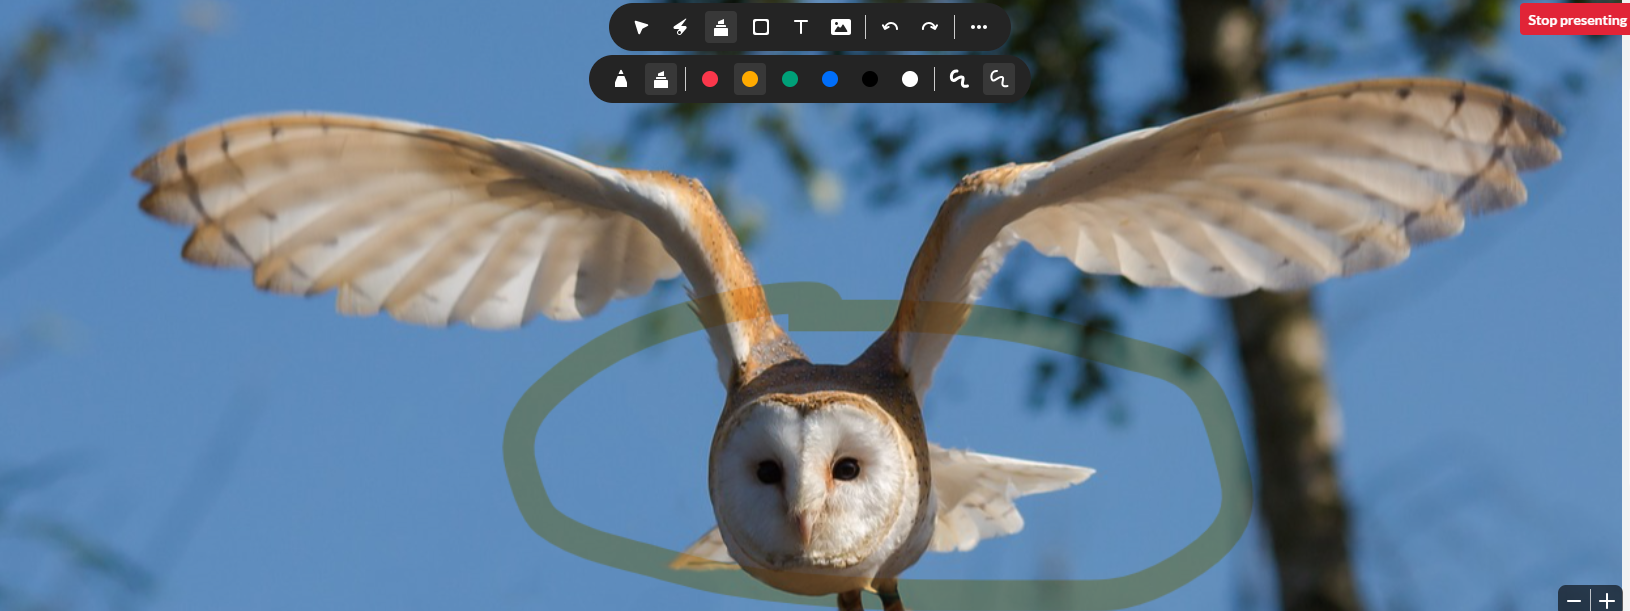
Highlighter
- Click the drawing tool to open the dropdown.
- Select the highlighter icon.

- Click and drag to highlight areas on the whiteboard.

Shapes
- Click the shapes tool.
- Select a shape (square, triangle, circle, or line). To draw a solid shape, click the Fill box.
- Click and drag to draw the shape.

Text
- Click the text tool.
- Click anywhere on the whiteboard and type your text.
- Click outside the text box to place it.

To edit text, double-click the text object.


Add clickable links
- Select the text tool.
- Click anywhere on the whiteboard and enter a link.
 A Go to link hyperlink appears that participants can click.
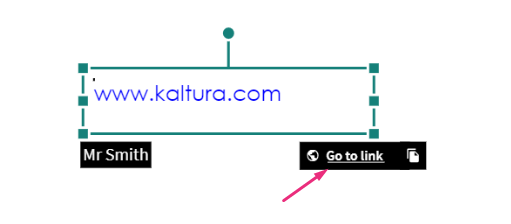
 A Go to link hyperlink appears that participants can click.
Images
Add an existing image
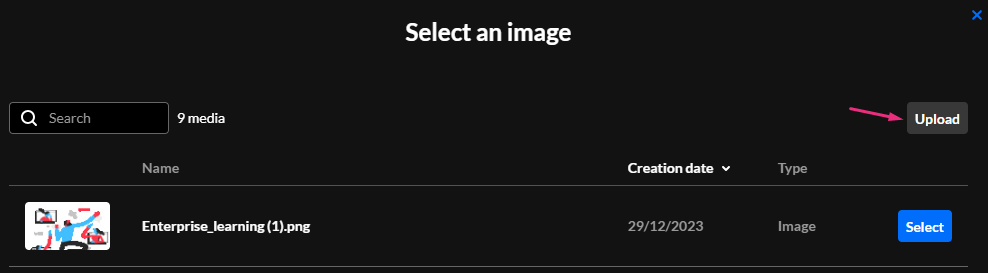
- Click the image icon. The 'Select a media' window opens.
- Locate the image and click Select. The image displays immediately on the whiteboard.

Upload a new image
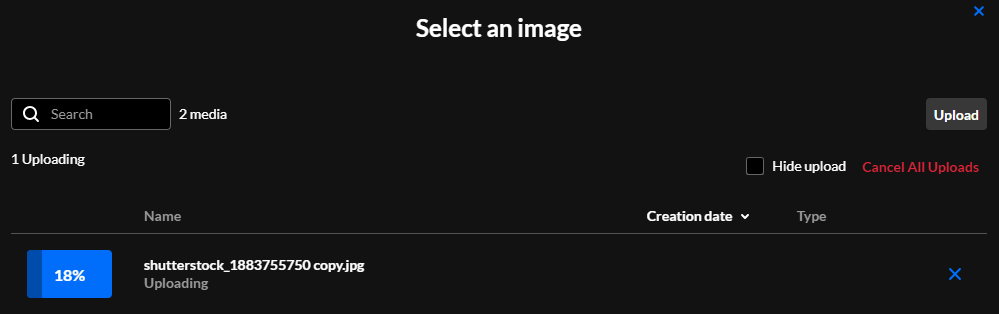
- Click the image icon. The 'Select a media' window opens.
- Click Upload at the top right.
- Select an image from your computer. The image uploads.
During this process, you can click Hide upload to hide all the uploads that are processing, or Cancel All Uploads to cancel the process.
Undo / redo
Click the undo / redo arrows to undo or redo previous actions.
Undo and redo apply to the current session only. You cannot undo or redo marks from previous sessions.
Whiteboard display options
Clear whiteboard
Clearing the whiteboard is only an option for moderators.
- Click the three-dot menu at the end of the toolbar.
- Select Clear whiteboard.
The whiteboard clears immediately.

Change the background grid
Two backgrounds can be applied to the whiteboard: Line grid and Dot grid.
- Click the three-dot menu at the end of the toolbar.
- Select Whiteboard view.
- From the menu that extends, select Line grid or Dot grid.
The whiteboard updates immediately.
 Whiteboard with dot grid
Enable participant collaboration
- Click the three-dot menu at the end of the toolbar.
- Toggle on Allow participants to collaborate.

Zoom
Use the + / – controls at the bottom right of the screen to zoom in or out.
Delete
Moderators can delete any marks drawn on the whiteboard.
- Select the Cursor tool.
- Select the object you want to delete.
- Hit the Delete key on your keyboard.
Stop presenting the whiteboard
To close the whiteboard, click Stop presenting in the top right of the stage.
