About
This guide explains how to use the Upload from URL option available in the +Create menu (for Theming users) or + Add new menu (for non-Theming users). This feature allows you to upload media directly from a URL.
This module applies only to non-Theming users by default. For Theming users, additional configuration is required in other modules.
For technical support, contact Kaltura Customer Care. For all other inquiries, reach out to your Customer Success Manager.
How to use Upload from URL
Theming users
- Log into your Video Portal. If you need help, follow the instructions in our article Log into your Video Portal.
The Video Portal homepage displays.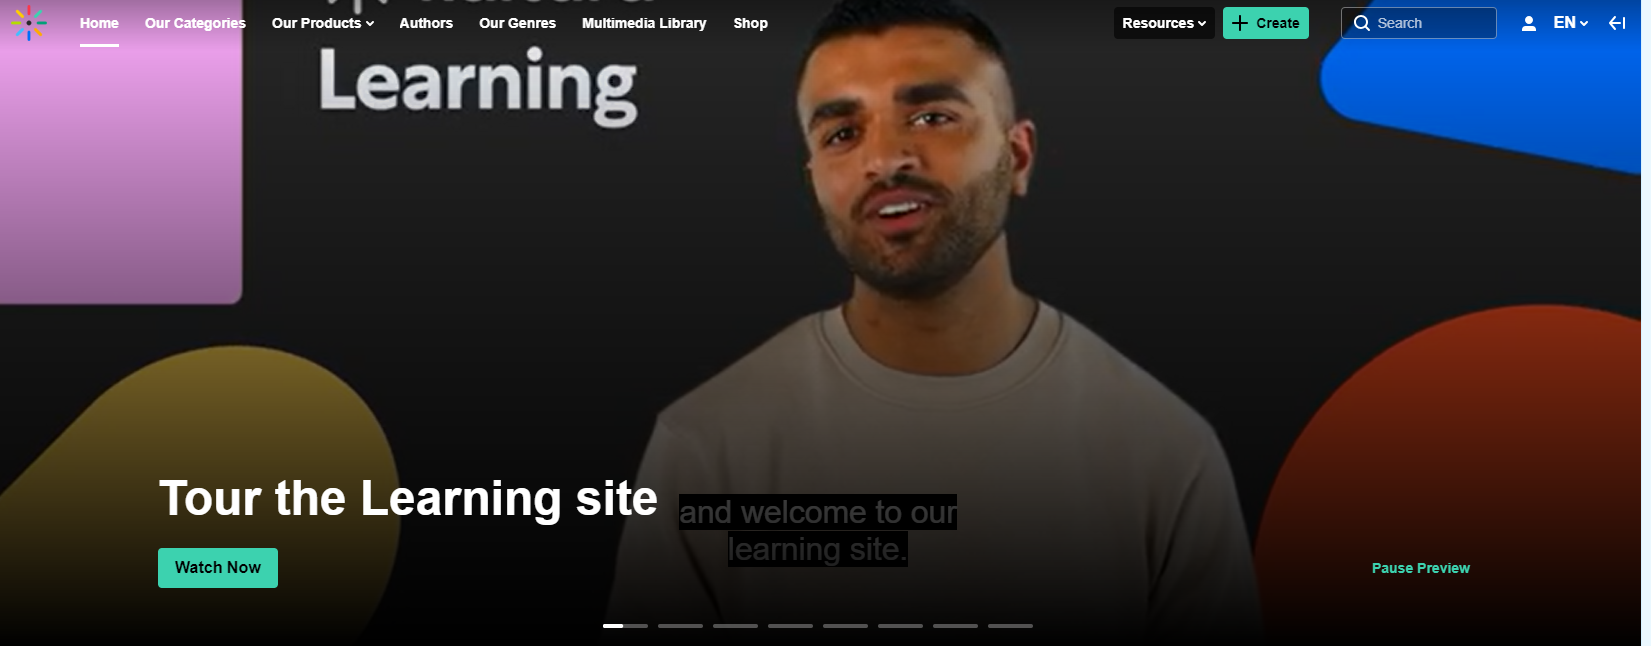
- Click the + Create button and select Upload From URL.
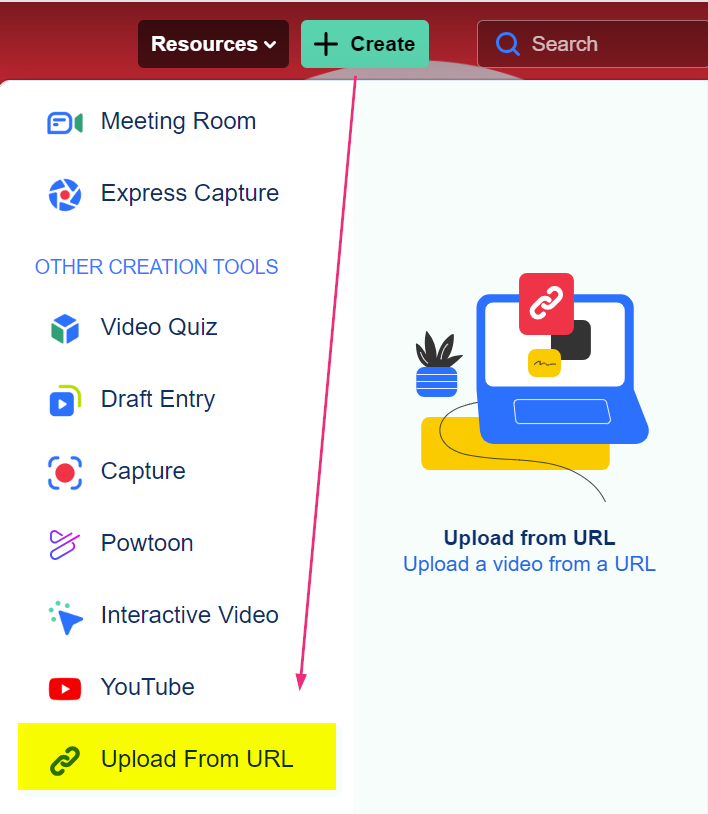 The Upload Video from URL page displays.
 - Paste in the URL of the file you want to upload.
- Click +Upload. The media upload page displays when the upload process starts.
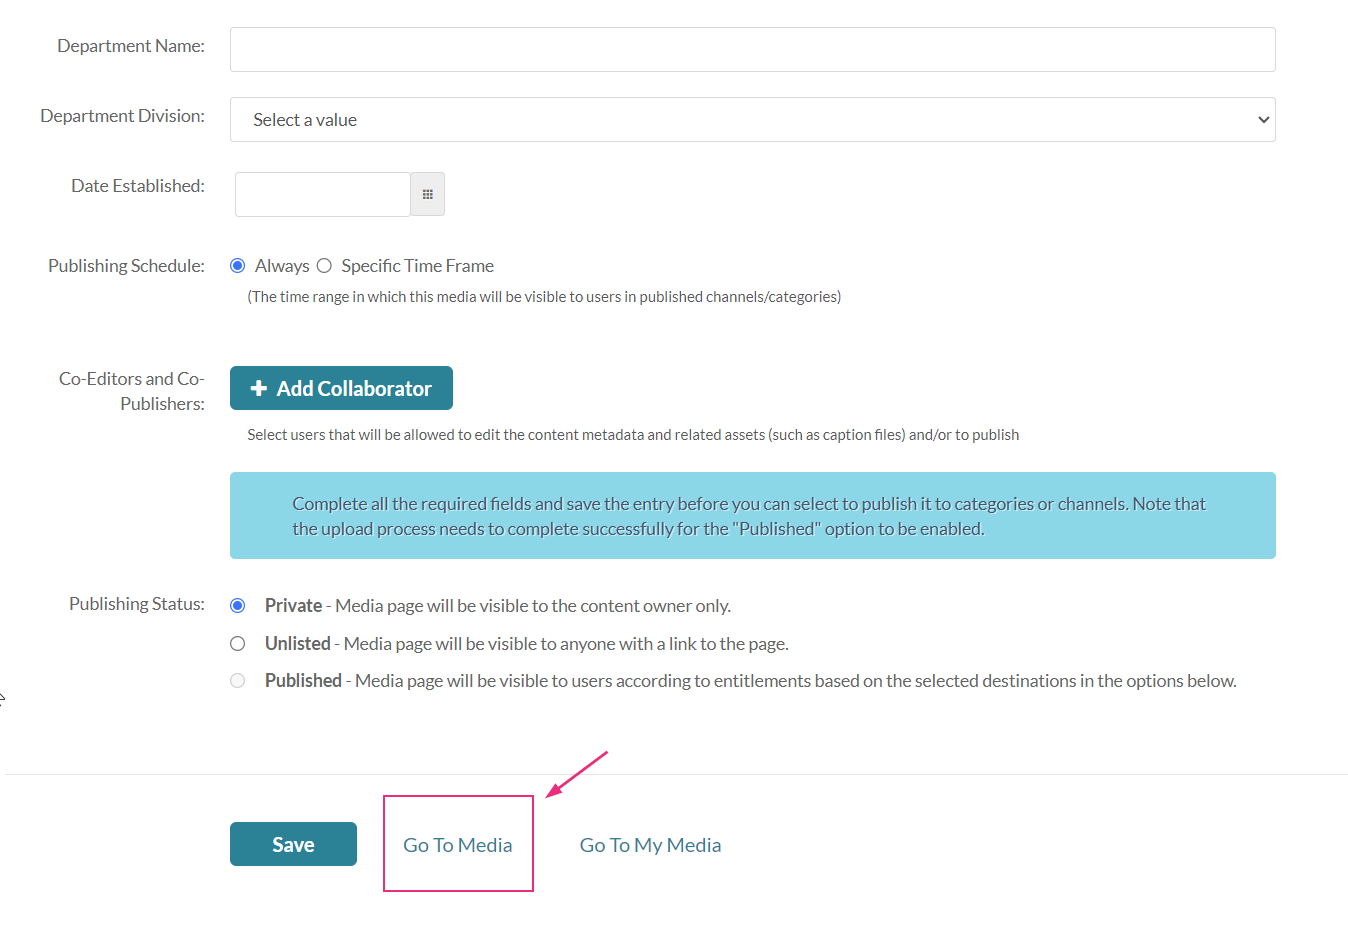
- Complete the details and metadata as desired.
- At the bottom of the media upload page, click Save.
- Click Go to media to view your media.


Supported protocols are: http, https, and ftp.
If the URL is password protected, please add your user name and password to the URL as follows: protocol://username:password@domain/filepathname. For example: http://johnsmith:123456@jdh-kalturaps-test.s3.us-east-2.amazonaws.com/DC-9-50+Pushback.mp4


Your media is uploaded.

Non-Theming users
- Log into your Video Portal. If you need help, follow the instructions in our article Log into your Video Portal.
The Video Portal homepage displays. - Select Media Upload from the +Add New drop-down menu.
- Paste in the URL of the file you want to upload.
- Click +Upload. The media upload page displays when the upload process starts.
- Complete the details and metadata as desired.
- At the bottom of the media upload page, click Save.
- Click Go to media to view your media.Your media is uploaded.


The Upload Video from URL page displays.

Supported protocols are: http, https, and ftp.
If the URL is password protected, please add your user name and password to the URL as follows: protocol://username:password@domain/filepathname. For example: http://johnsmith:123456@jdh-kalturaps-test.s3.us-east-2.amazonaws.com/DC-9-50+Pushback.mp4

This document is maintained by Kaltura’s Professional Services team. Please send comments or corrections to your Customer Success Manager. Ask them to forward it to the Professional Services team. We are committed to improving our documentation and your feedback is appreciated.
