About
Search for entries in your site using keywords, phrases, or advanced search filters.
You can refine search results using metadata-based filters and free-text search to quickly find the entries you need.

Search
- Enter search terms in the Search Entries field.
- Press enter on your keyboard to start the search.
- To clear the search and start a new one, click the 'x' on the blue box.
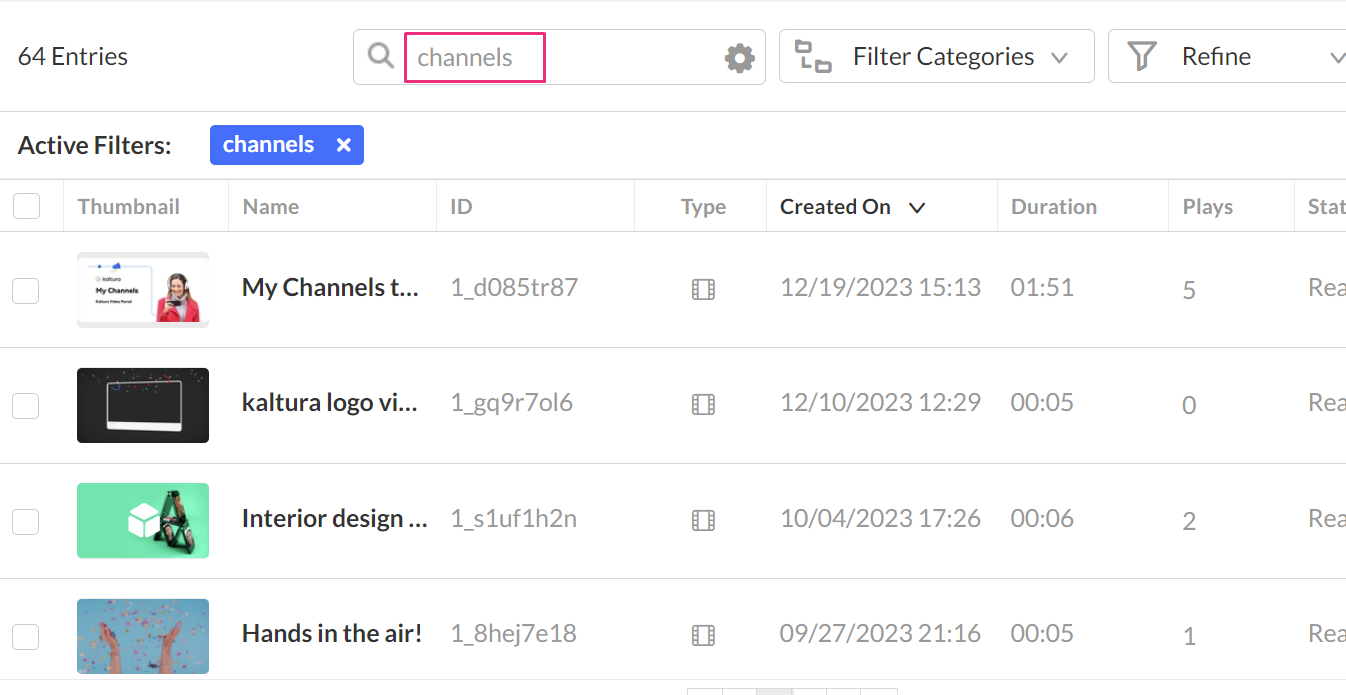
The search term displays in a blue box at the top of the table. The number of entries found displays at the top left.
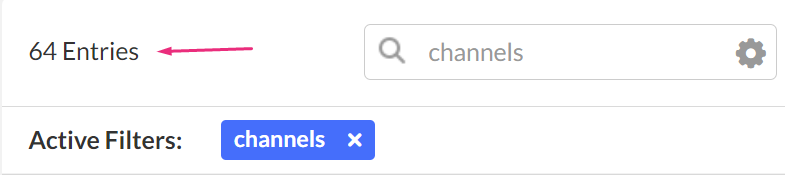
Narrow your search
- To narrow your search results, click the gear icon to open the advanced search options.
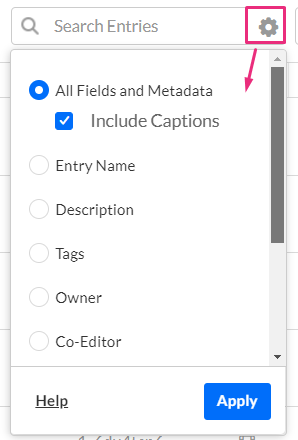
The following advanced search options are available:
- All fields and metadata, including the captions - Searches all metadata fields. This is the default option. Clear Include Captions to exclude caption text and caption file names from the search.
- Entry Name
- Description
- Tags
- Owner
- Co-Editor
- Co-Publisher
- Captions
- Entry ID
- Entry Creator ID
2. Choose the options, then click Apply.
Examples:
- Bulk add or remove a co-editor, co-publisher, or co-viewer from multiple entries.
- Reassign ownership for all media belonging to a departing user.
- Find a specific entry by title (for example, searching “Joe*” finds entries beginning with “Joe”).
- Audit all content owned by a specific user.
- Locate specific entry IDs for bulk actions.
Filter
Use Filter Categories to filter search results. Filtered results appear instantly on the left, with the total number of entries displayed at the top left.
Categories represent the applications connected to your Rich Media CMS account.
- Click the arrow to open the drop-down menu.
- Select a category from the list. Expand a category to view its subcategories.


The filter you chose displays in a blue box to the left.

Filter for uncategorized entries
The Uncategorized filter lets you quickly locate entries that don’t have any categories assigned.
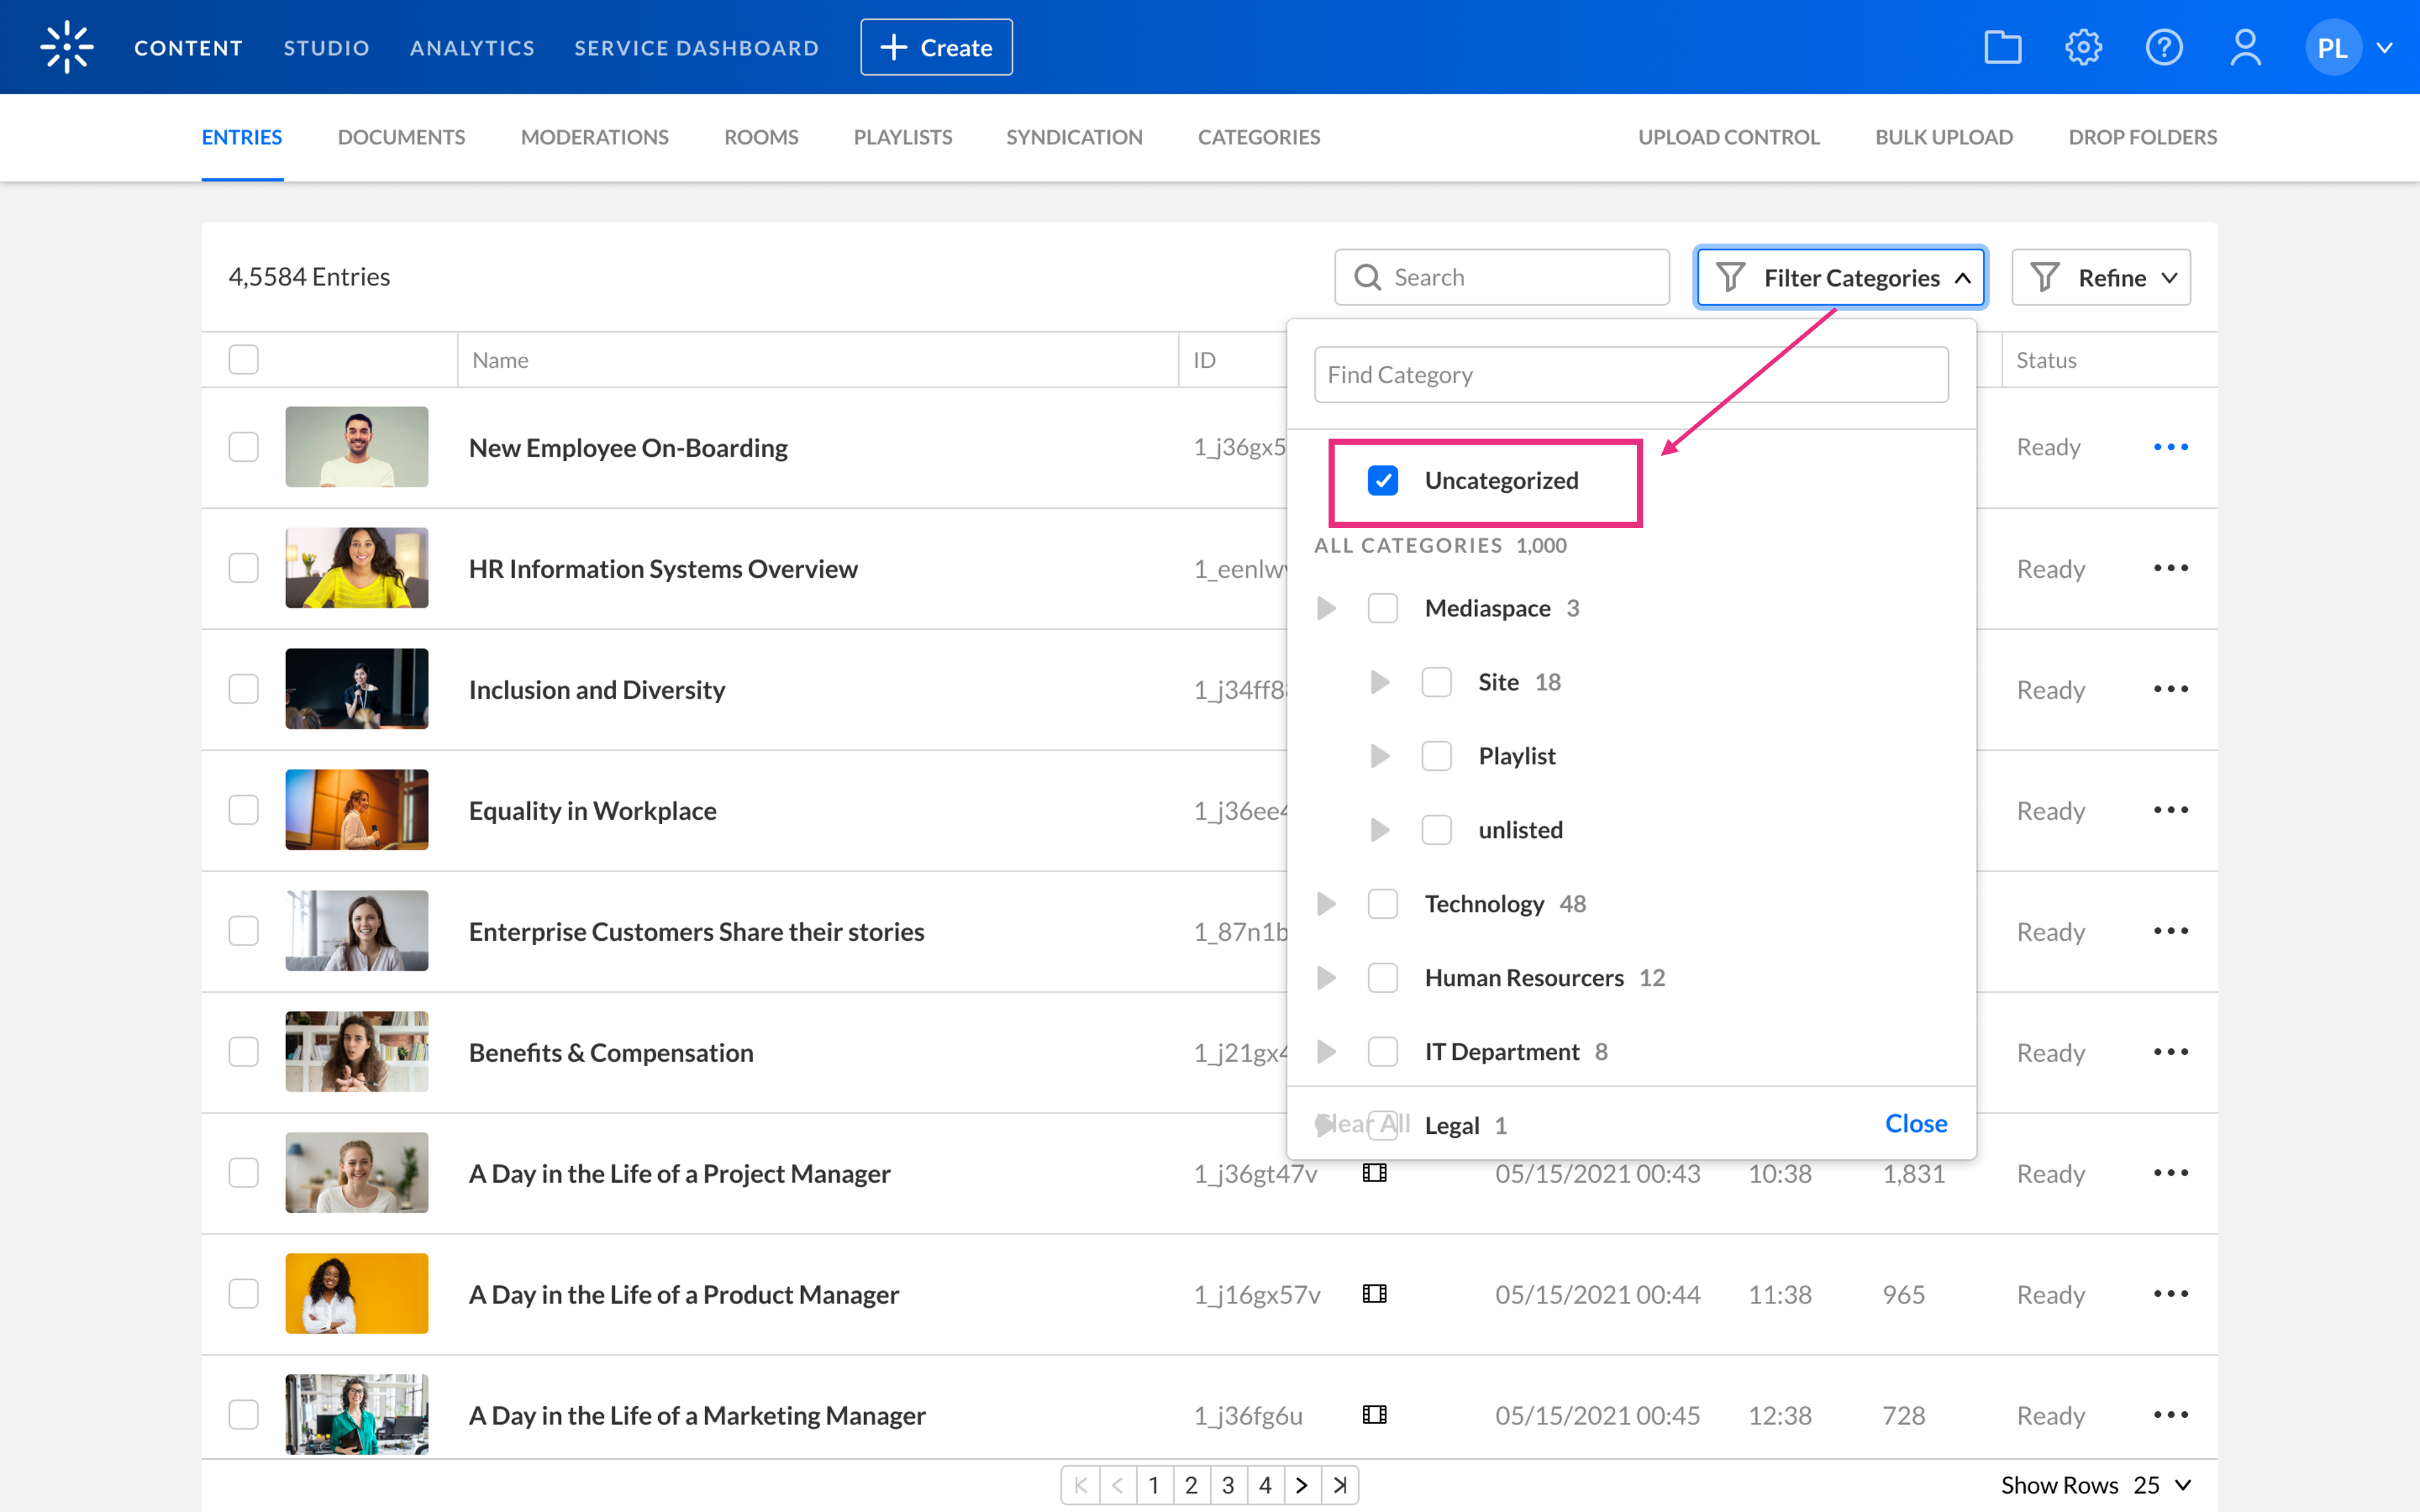
When selected, all other category filters are automatically cleared.
The list updates to show only entries without assigned categories.
Filtering preferences
- Click the settings icon to open filtering preferences.
- Click one of the filtering preferences:

- Display entries associated with the selected category only.
- Display entries associated with the selected category and its sub-categories.

Refine
Use Refine to filter entries by creation date and other criteria.
- Click the arrow to open the drop-down menu.
- Click on the calendar icons to select your desired search range, and watch the entries update instantly.

The Additional Filters menu displays.


Refining options
Select one or more of the following filters:
Media Types
- Click the arrowhead next to Media Types to open the options.
- Click the box(es) next to the media type to select one or more media types:

- Video
- Image
- Audio
- Live Stream
- YouTube Video – Show only entries imported from YouTube.
- Video with Quiz – Show only video quiz entries.
- Video with Captions – Show only entries that include captions.
- Video without Captions – Show only entries that do not include captions.
- Recycled entries – Show only entries in the Recycle Bin.
Ingestion Statuses
- Click the arrowhead next to Ingestion Statuses to open the options.
- Click the box(es) next to the ingestion statuses to choose one or more of the following options:
- Ready - Media has been successfully uploaded and ingested.
- No Media - An entry that you create with the Prepare Video/Audio Entry option is saved as a No Media entry in the Kaltura system until you add content.
- Pending - Media is in the uploading queue and pending ingestion.
- Uploading - Media is in the process of being uploaded.
- Transcoding - Media is being transcoded into the relevant flavors.
- Error - Media is not in a valid format and cannot be ingested.
- Click the box(es) again to deactivate the filter.
Durations
- Click the arrowhead next to Durations to open the options.
- Select one or more duration ranges:
- Short (0-4 min)
- Medium (4-20 min)
- Long (20+ min)
- Click the box(es) again to deactivate the filter.
Original & Clipped Entries
- Click the arrowhead next to Original & Clipped Entries to open the options.
- Click a box next to Original Entries or Clipped Entries to apply the filter.
- Click the box(es) again to deactivate the filter.
Time Scheduling
- Click the arrowhead next to Time Scheduling to open the options.
- Select one or more scheduling options:
- Past Scheduling
- Live
- Future Scheduling
- Scheduled - Displays calendar fields where you can specify a start and end date.
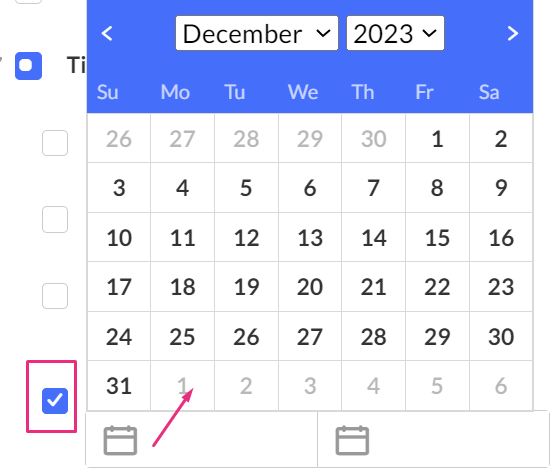
- Click the box(es) again to deactivate the filter.
Moderation Statuses
- Click the arrowhead next to Moderation Statuses to open the options.
- Click one or more boxes next to the desired moderation statuses to activate the filter for the following options:
- Approved
- Flagged for review
- Rejected
- Auto approved
- Pending moderation
- Click the box(es) again to deactivate the filter.
Replacement Statuses
- Click the arrowhead next to Replacement Statuses to open the options.
- Click a box next to Processing new files or Ready for review to activate the filters.
- Click the box(es) again to deactivate the filter.
Flavors
- Click the arrowhead next to Flavors to open the options.
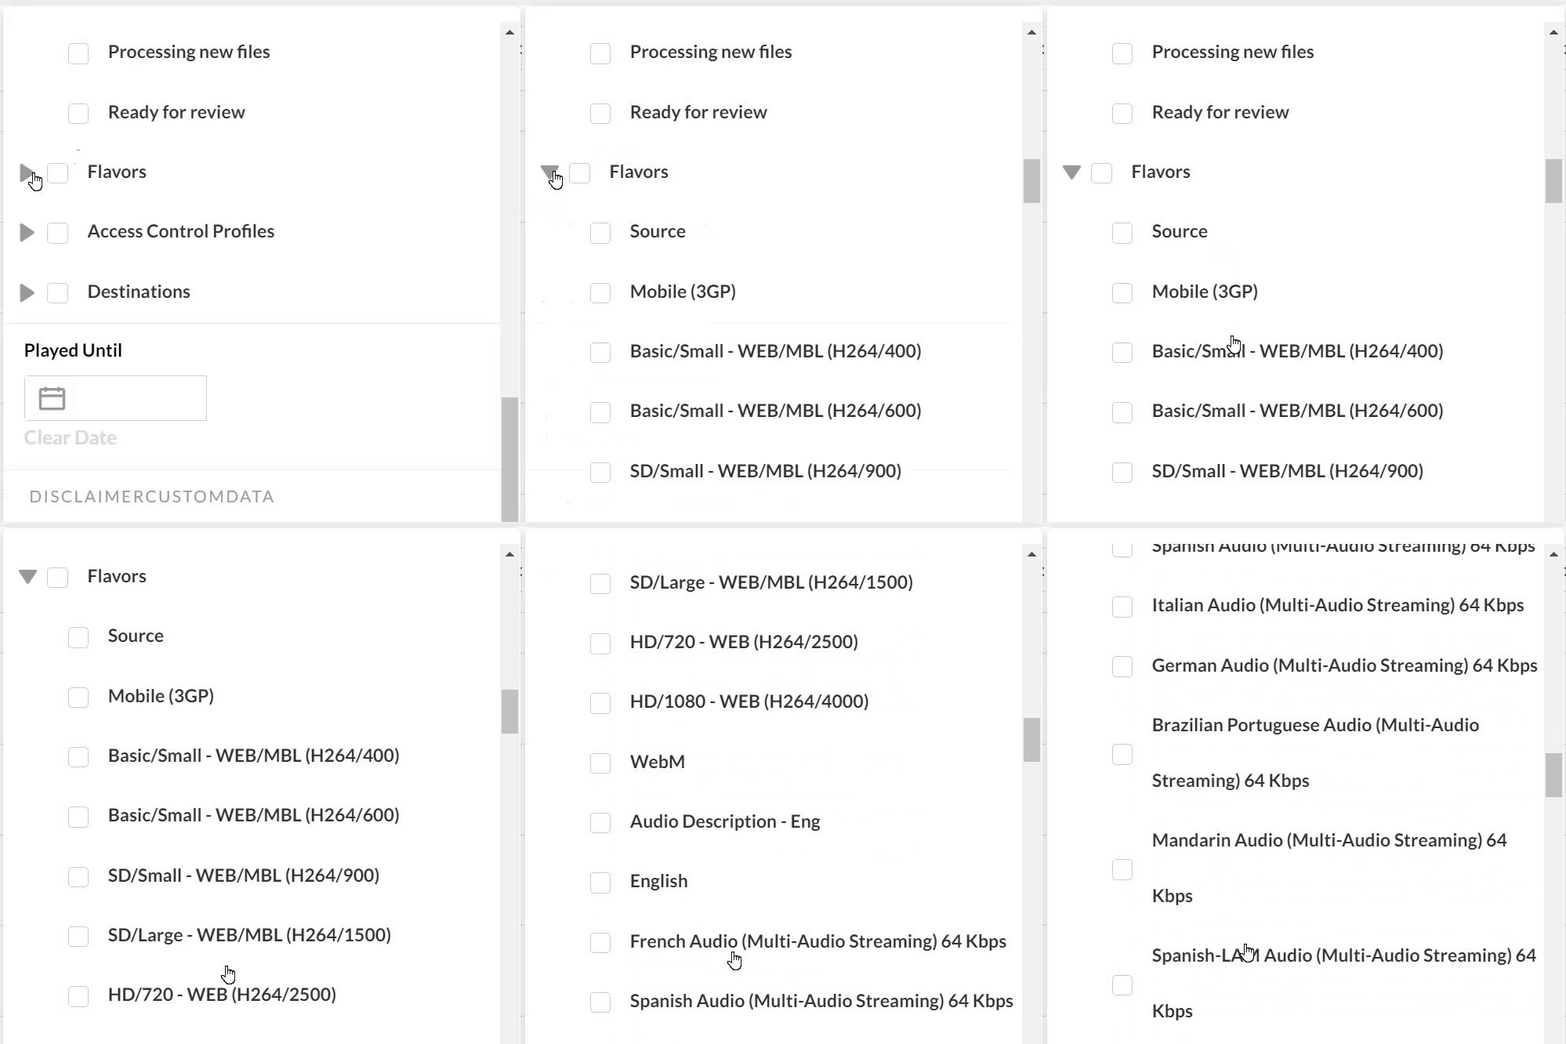
- Click one or more boxes next to the desired flavors to activate the filter.
- Click the box(es) again to deactivate the filter.
For more information about flavors and transcoding, see our article What is transcoding?
Access Control Profiles
- Click the arrowhead next to Access Control Profiles to open the options.
- Click one or more boxes next to the desired access control profiles to activate the filter for those options.
- Click the box(es) again to deactivate the filter.
For more information about access control profiles, visit our articles What are access control profiles? and Managing access control profiles.
Destinations
- Click the arrowhead next to Destinations to open the options.
- Click one or more boxes next to the desired destination(s) to activate the filter for those options.
- Click the box(es) again to deactivate the filter.
To learn more, see our article, Content distribution and syndication.
Played Until
Filter entries that were played on or before a specified date. Results include entries that were played at least once on or before the selected date.
- Select a Played Until date.
- Click Clear Date to deactivate the filter.
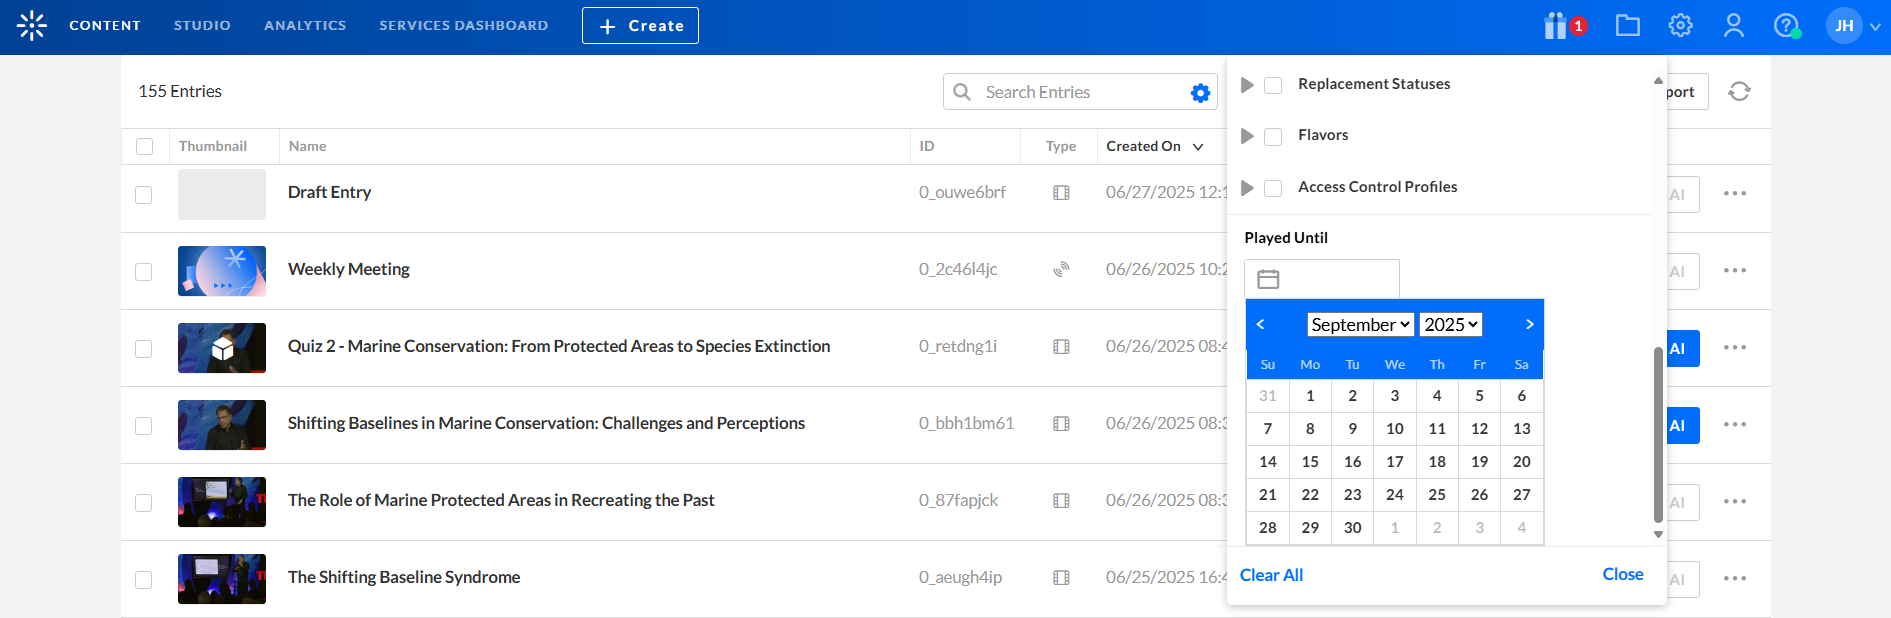
This option can be used to modify entries in bulk that were played until the selected date.
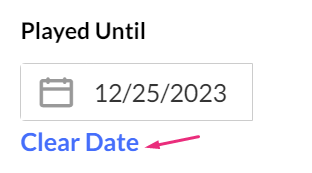
Filters below the Played Until section are based on your custom data schemas and appear only for fields configured as searchable.
Clear filters
Clear filters using one of the following methods:
- Click the 'x' on the blue box.
- Click the checkbox again next to the category.
- Click Clear All at the bottom of the filter pane.
You can also create custom filters. See Custom Data for information.
Only the Text select list custom metadata type is available for filtering in Rich Media CMS. See Kaltura Custom Metadata Functionality.
To learn more about the search capabilities, see Search Behavior and Commands for Rich Media CMS and the Sphinx API.
