This article describes how to organize your assets on the Timeline and create a "rough cut" of your video.
To add media to your Timeline
Click and drag assets from your Lightbox to your Timeline.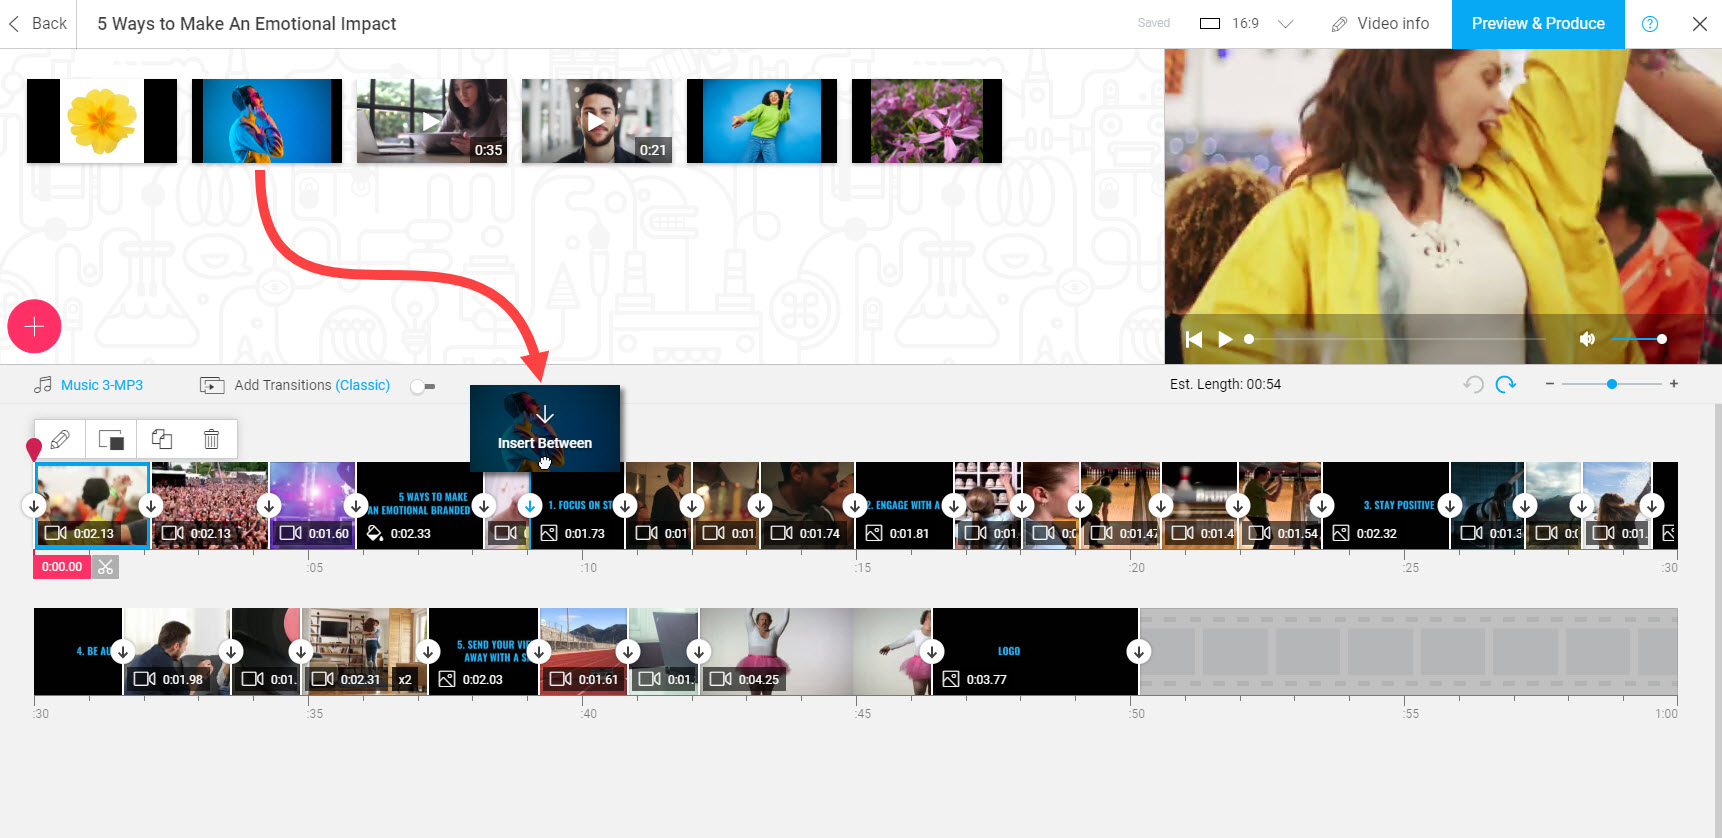
To edit your Timeline
After an asset is placed on the timeline, you may drag it, trim it, or change its duration.
A menu bar displays above the asset:

| Icon | Name | Description |
|---|---|---|
 | Edit | Add texts and post production effects to your video. |
 | Collage | Add assets on top of your video for cutaways, split-screen, or picture-in-picture effects. |
 | Duplicate | Duplicate the assets (along with all of the post production effects that are set). |
 | Delete | Remove media from the timeline. |
To add music to your video
Wochit's Audio Library is home to hundreds of pre-licensed music tracks which can be searched by tempo, genre, and mood. Favorite the tracks you love to share with teammates, or upload your own music with ease.
Click on the music below the Search Media button.
The Background Music window displays.

Here you can browse, listen to, and select music for your video. You can even upload your own music files.
To add transitions
By applying transitions to your entire Timeline, you can define the pace and style of your video. Later on, you can override these transitions in the context of each asset.
Click on transition style to the right of music.
![]()
The Transitions Styles window displays.
![]()
Here you can preview and select the transition style for your video.
