About
Kaltura content moderation helps maintain a safe environment by allowing administrators to review user-generated content before it becomes public.
When a user flags an entry, it’s sent for manual review. Administrators can then approve or reject the content based on your organization’s guidelines.
Flag content for review
The moderation ‘flag’ icon appears on the top right corner of an entry so that viewers can flag content that doesn’t uphold the guidelines and rules set by the organization and/or administrators.
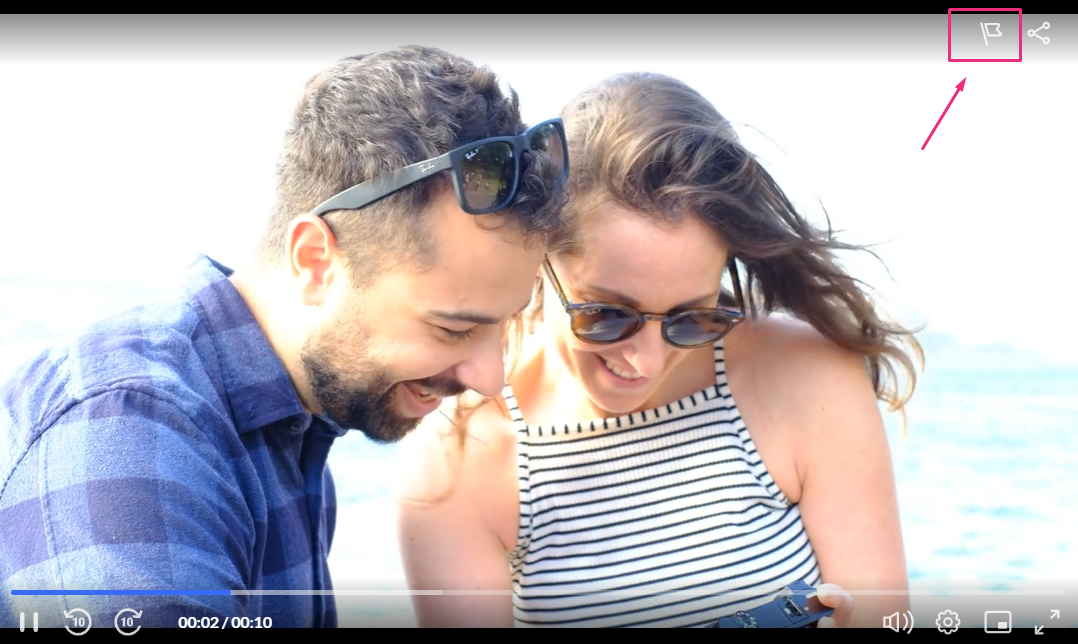
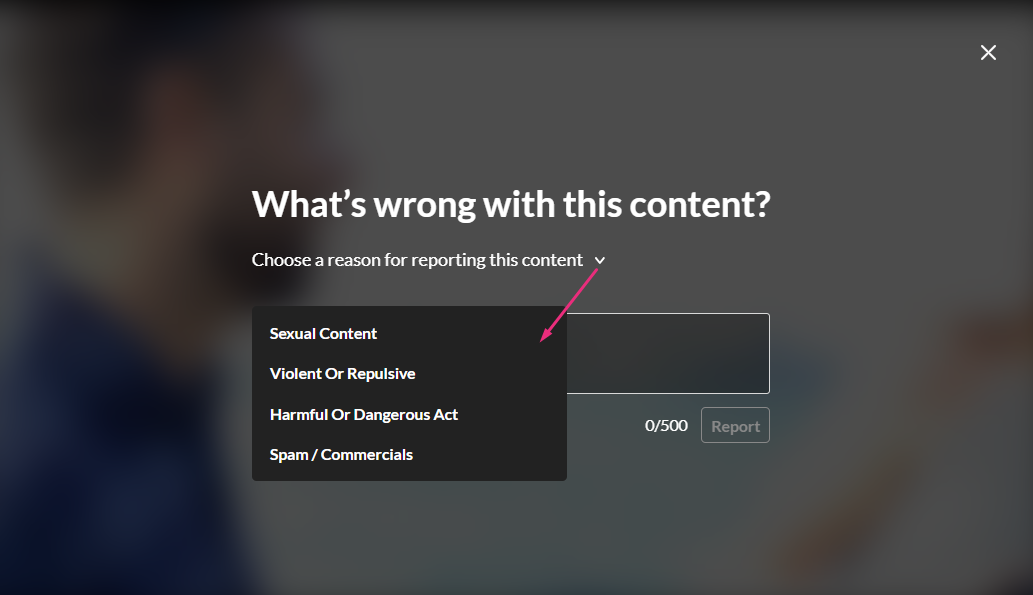
Users can click on the flag icon, then choose a reason for reporting the content. The administrator can then review content before it's published to eliminate spam and inappropriate content.
The moderation options are preconfigured in the Moderation module. The Moderation plugin on the player must also be enabled.
The following video displays how to manage moderated content
Access the moderation page
- Log into your Rich Media CMS.
- Click the Moderation tab.
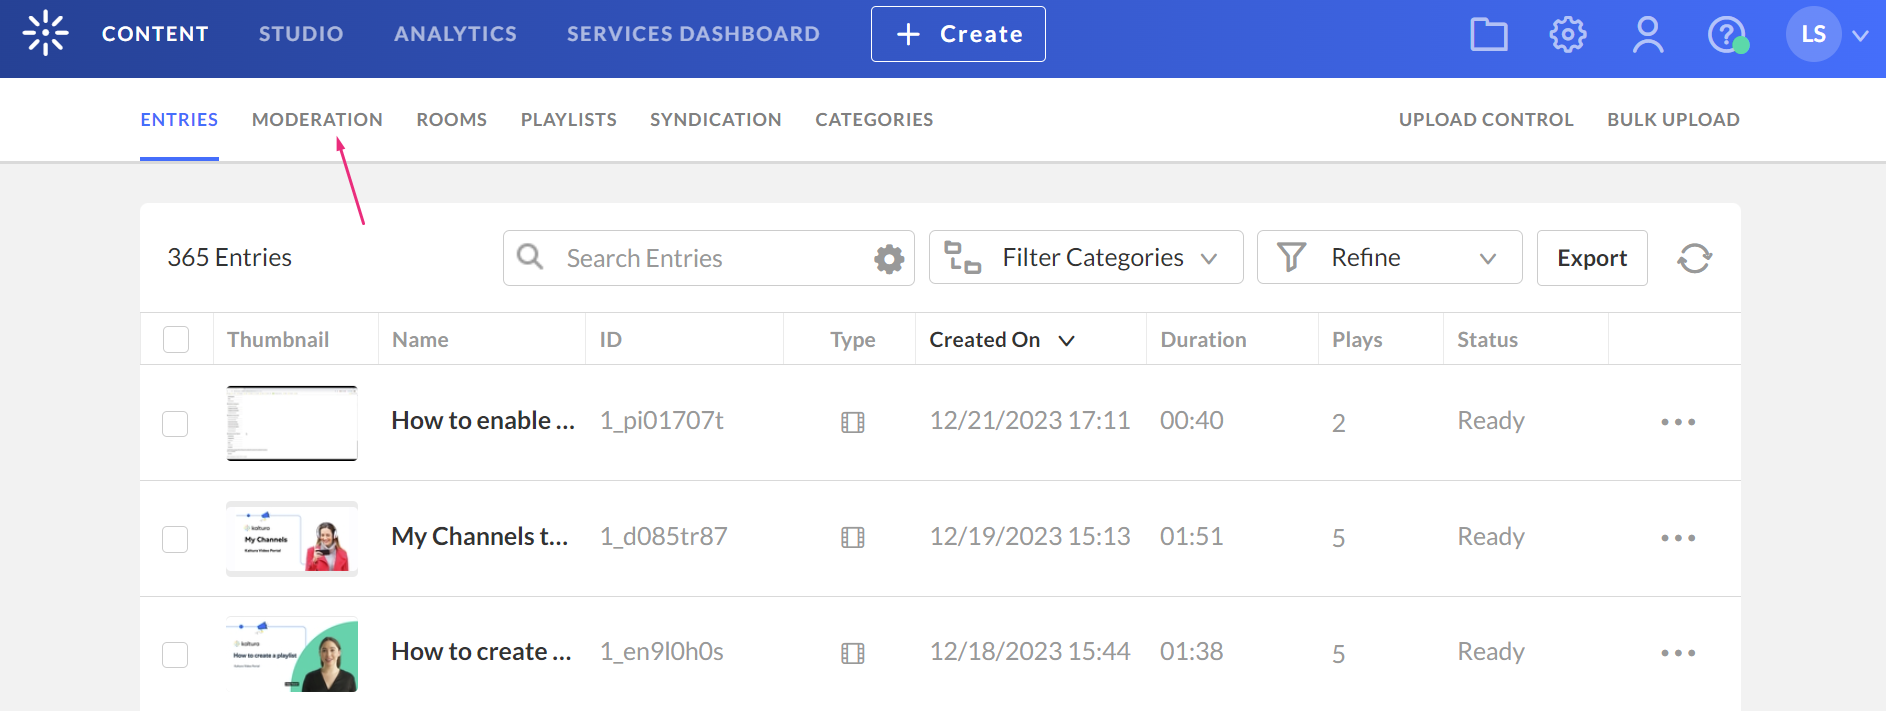
The moderation page displays.
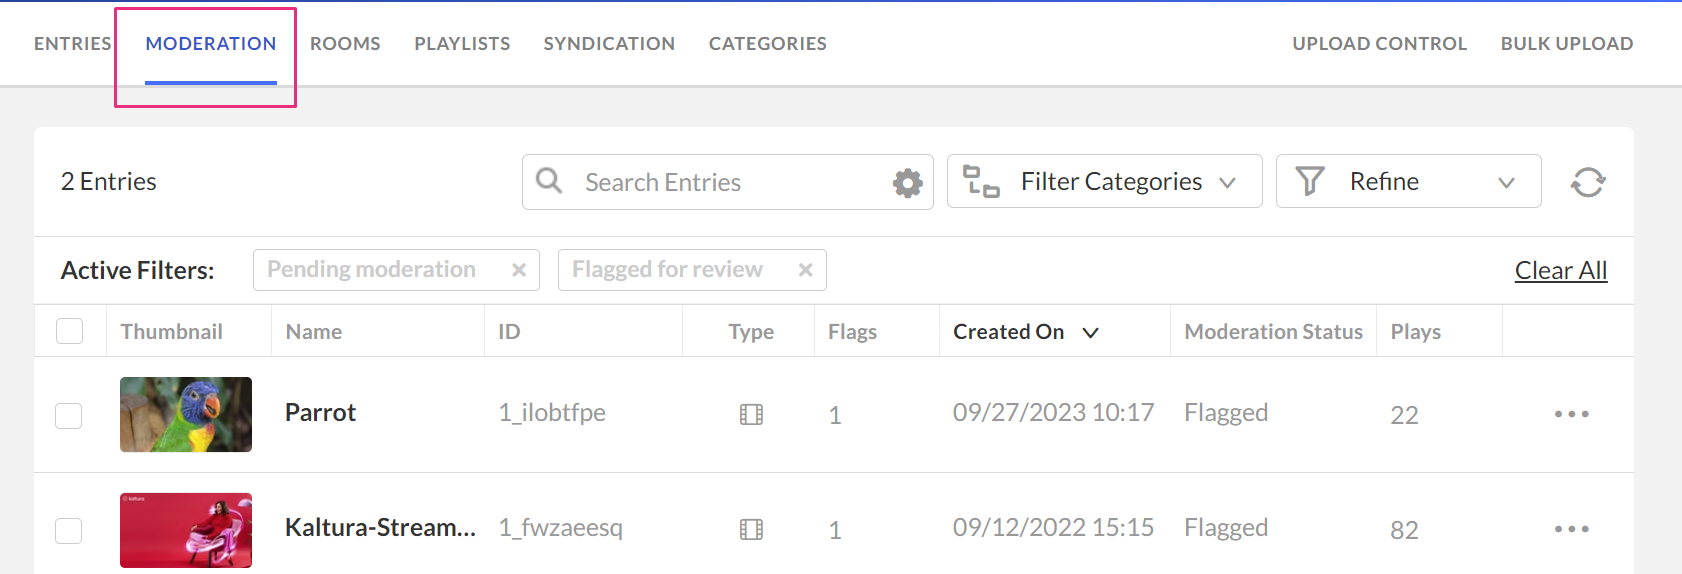
This page displays a list of all content that has been flagged by users. By default, the list is filtered and sorted according to the number of flags that each entry has received.
You can sort the list by clicking the headings of the various columns.
You can also use the search and filters options at the top of the page to filter your moderation entry list according to various parameters and search criteria.
View moderation reports & details
- On the Moderation page, click the three dots at the end of the row.
- Select Reports & details.

The 'Entry Reports' window opens.
View report information
Report tab – Shows how many times the entry was flagged, including the date, time, and reason for each report.

View entry details
Details tab – Shows entry information such as name, entry ID (click to view metadata), media length, number of plays, moderation status, and creator.

Take action on an entry
From the Entry Reports window, you can:
- Click Approve Entry to approve the content. The moderation status changes to Approved.
- Click Reject Entry to reject the content. Rejected entries are hidden from the Entries list and the status changes to Rejected.
- Click Ban Creator to block the content owner. A confirmation message displays. Click OK to continue.
- Click Cancel to return to the Moderation page.
Approve / Reject entries in bulk
You can reject or approve more than one entry at a time for entries appearing on the same page of the main list.
- Check the boxes next to the relevant entries.
- The Select Action drop-down menu displays.
- Click Approve or Reject.

The moderation status updates.
What happens to rejected entries?
For administrators
Rejected entries are hidden from the main Entries list.
To find them:
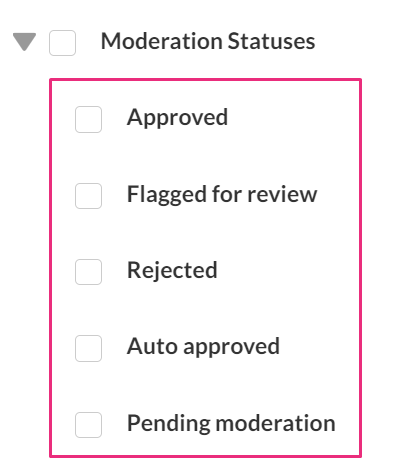
- Open the Refine filter.
- Select Moderation Statuses.
- Choose Rejected.
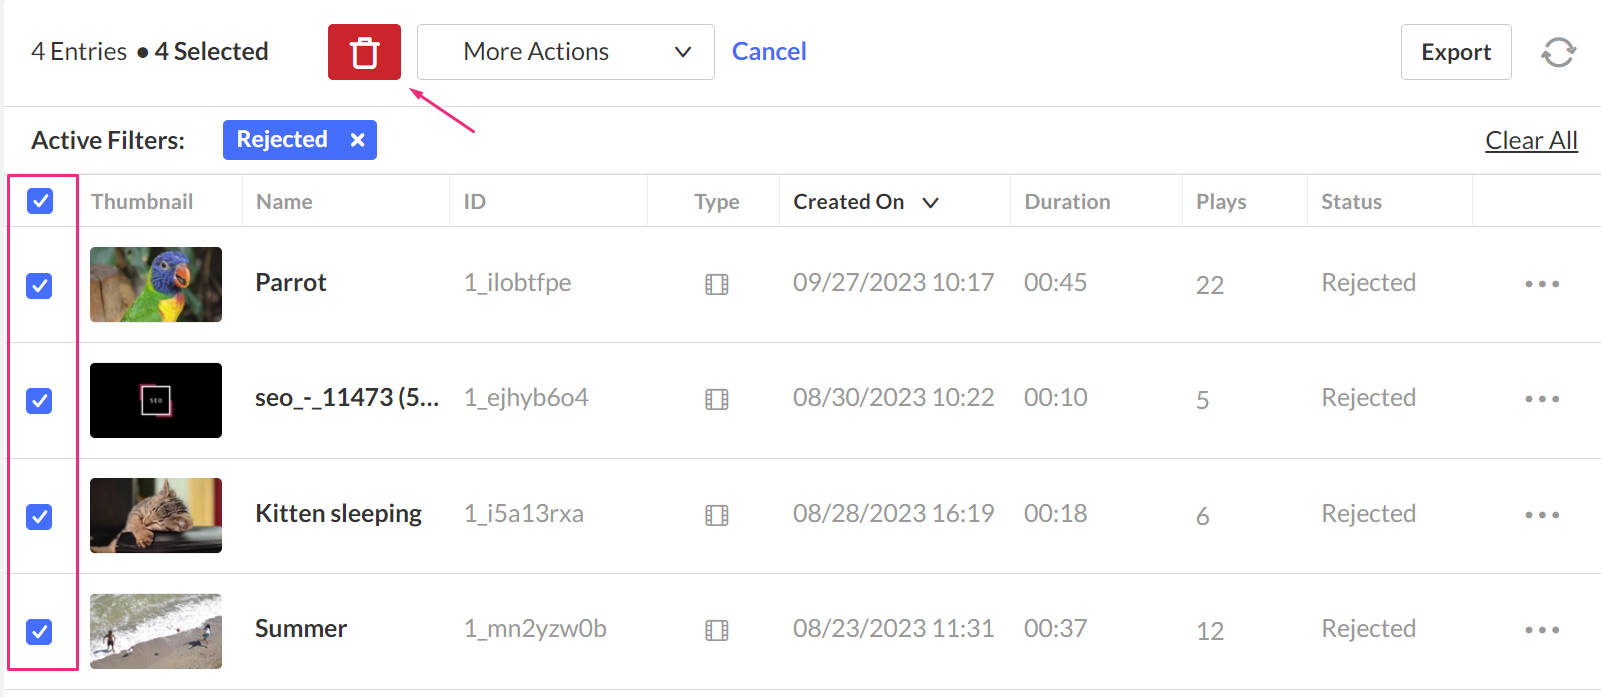
To permanently delete rejected entries:
- Select the checkboxes next to the relevant entries.
- Click the trash can icon at the top of the table.
- In the confirmation message, click Yes.
For users
For the user, the entry displays a new status.
 Pending media in Content Hubs
 Pending media in legacy Video Portal