This article is available for reference, but the WordPress integration is undergoing changes and some information may be outdated.
Overview of the Kaltura Video Plugin for WordPress
Kaltura’s All in One WordPress Video Plugin is a standard WordPress Plugin that adds Kaltura’s powerful video capabilities into WordPress.
With the Kaltura Video Plugin for WordPress activated, WordPress authors and contributors can add videos to posts, while Kaltura takes care of all the video processing including:
- automatic transcoding of uploaded videos
- adaptive streaming
- delivery via leading CDNs
- providing subscribers and guests a superior viewing experience anywhere, anytime, on any device
Getting Started
Installing the Kaltura Video Plugin for the First Time
You can install or upgrade the plugin from a previous version and then add or activate the Recent Videos Sidebar Widget.
To install the plugin for the first time
- Download and extract the plugin zip file from here to your WordPress server.
- Paste the 'All-in-One-Video-Pack' directory under the '/wp-content/plugins/' directory.
- Activate the plugin through the 'Plugins' menu in the WordPress admin application.
The following message is displayed:
- Click the link to get a Kaltura Partner ID or to connect the Plugin to an existing Partner ID.
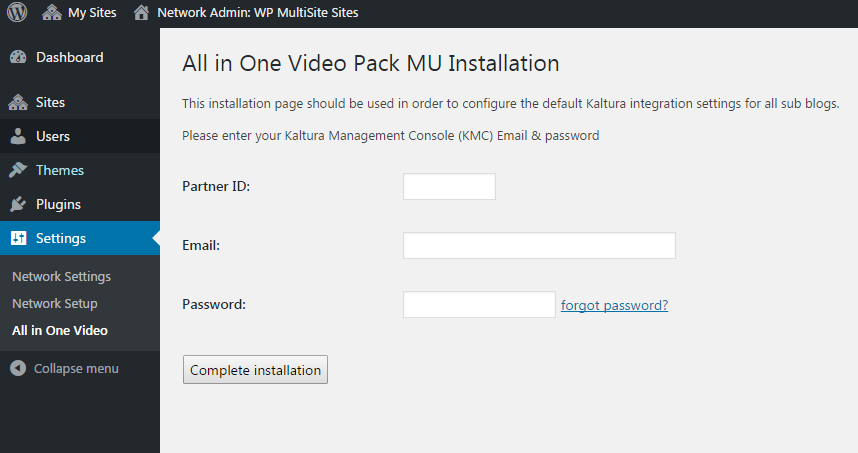
- Fill in All in One Video Package Installation form.
- If you do not have a Kaltura Partner ID, fill in the All in One video Package Installation Form.
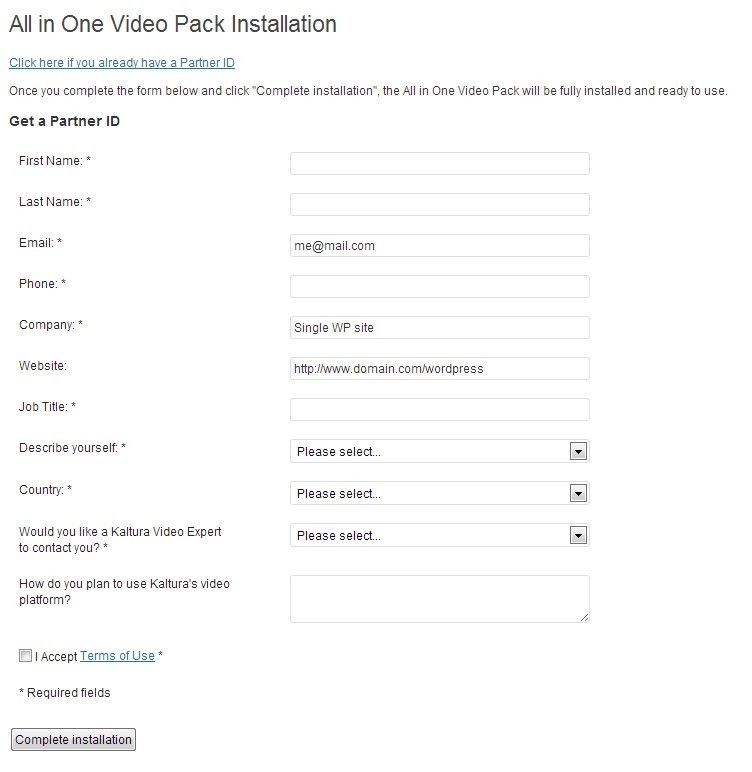
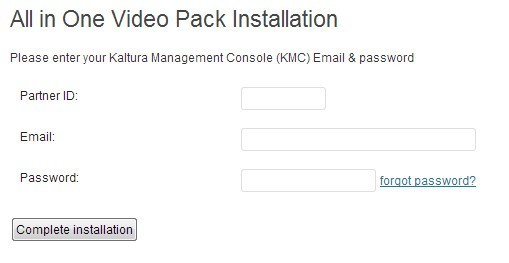
- If you have a Kaltura Partner ID, click “Click here if you already have a partner ID” and fill out the form with your Kaltura credentials.
- If you do not have a Kaltura Partner ID, fill in the All in One video Package Installation Form.
- After the Kaltura Video Plugin for WordPress is connected to a Kaltura publisher account, configure it through Settings > All in One Video Pack in the Admin sidebar.


Installing the Kaltura Video Plugin for WordPress on a WordPress Multi-site
- Download and extract the plugin zip file from here to your WordPress server.
- Paste the 'All-in-One-Video-Pack' directory under the '/wp-content/plugins/' directory.
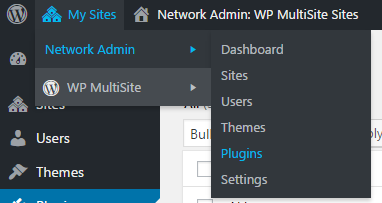
- Activate the plugin through the 'Plugins' menu in the WordPress Network Admin application.
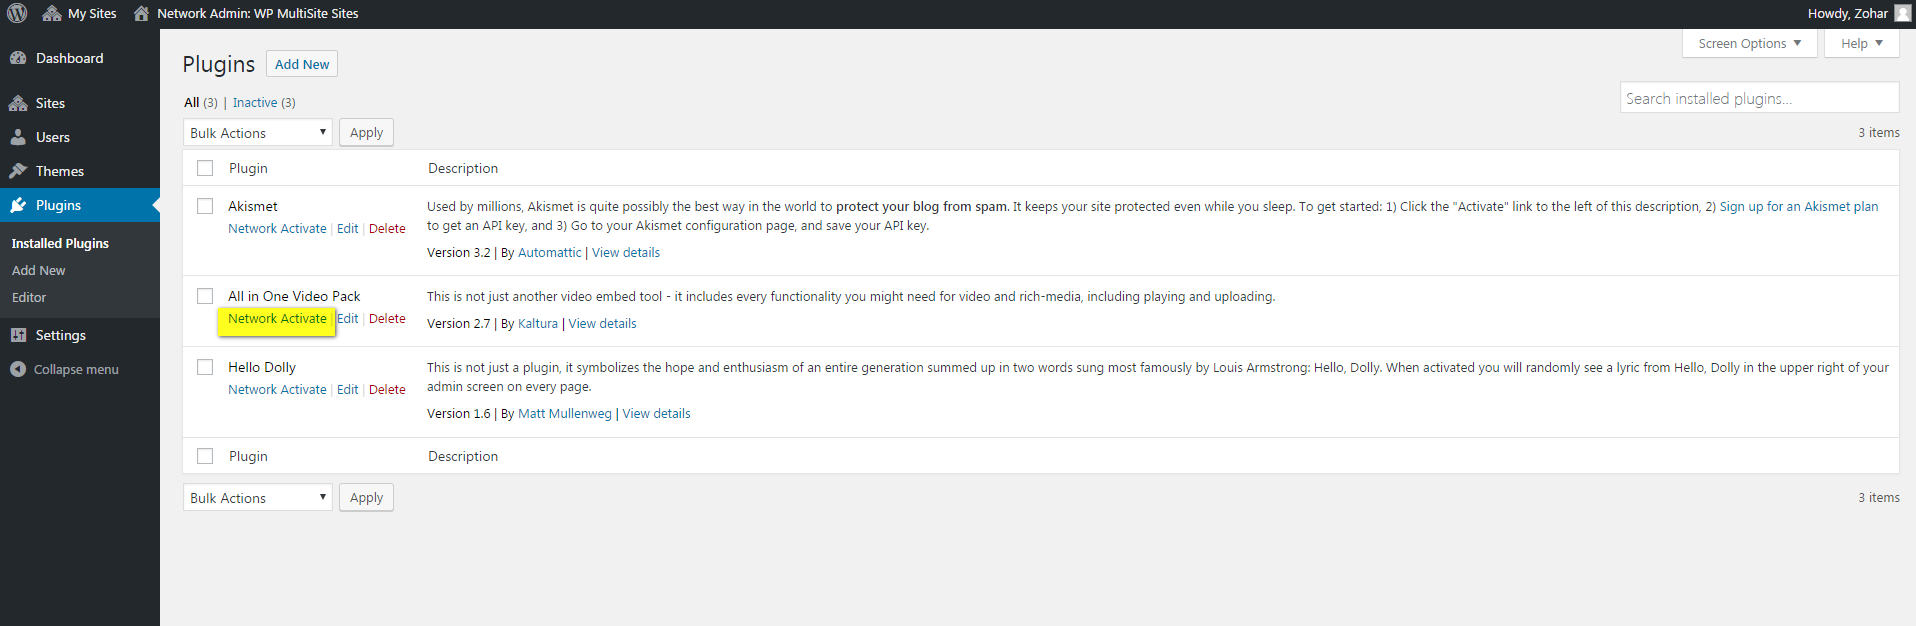
- If you are installing the plugin on a WordPress MultiSite network, select ‘Plugins’ from the Network Admin interface.
- Click ‘Network Activate’ on the Plugins screen.
- Fill the form with your Kaltura credentials.
- After the Plugin is connected to a Kaltura publisher account, configure it from the Network Admin UI through Settings > All in One Video Pack in the Admin sidebar.


Upgrading the Kaltura Video Plugin for WordPress from Previous Versions
To upgrade the Kaltura Video Plugin for WordPress from previous versions
There are two options for upgrading the Kaltura Video Plugin for WordPress from previous versions.
Option A:
You can upgrade from the WordPress plugins screen by clicking ‘Update Now’.

Option B:
- In the WordPress admin application, deactivate the plugin through the 'Plugins' menu.
- Download the latest version.
- Paste the 'All-in-One-Video-Pack' directory under the '/wp-content/plugins/' directory, overwriting the existing directory.
- Activate the plugin through the ‘Plugins’ menu.
Configure the Kaltura Video Plugin for WordPress
To configure the Kaltura Video Plugin for WordPress
- In the Admin sidebar, click Settings and then select All in One Video.
The following screen is displayed: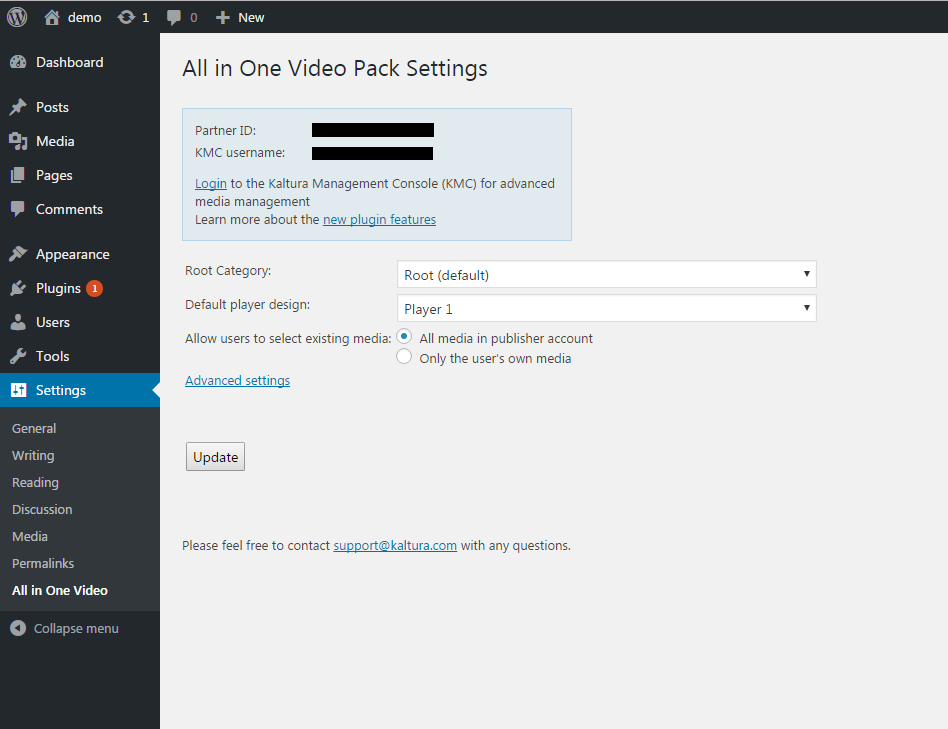
- Select the Root Category. The root category is the category in Kaltura that serves as the main repository for all videos in this WordPress instance.
- Select the Default player design from the dropdown list.
- In the Allow users to select existing media toggle whether users can select to Browse Existing Media from their own content or from all of the publisher’s Kaltura accounts.
- All media in publisher account
- Only the user’s own media.
- In the Advanced settings, you may also choose:
-
- Which players are available for content editors to select from.
- Configuration to enable legacy workflows (not recommended to use).
- Click ‘Update’ when done.

You can only select HTML players. Legacy Flash players are no longer available for use in the WordPress Plugin for smooth workflows. You can easily create new players from the Rich Media CMS. See the Universal Studio Information Guide for more information.
Add Media to a Post
To add new media to post
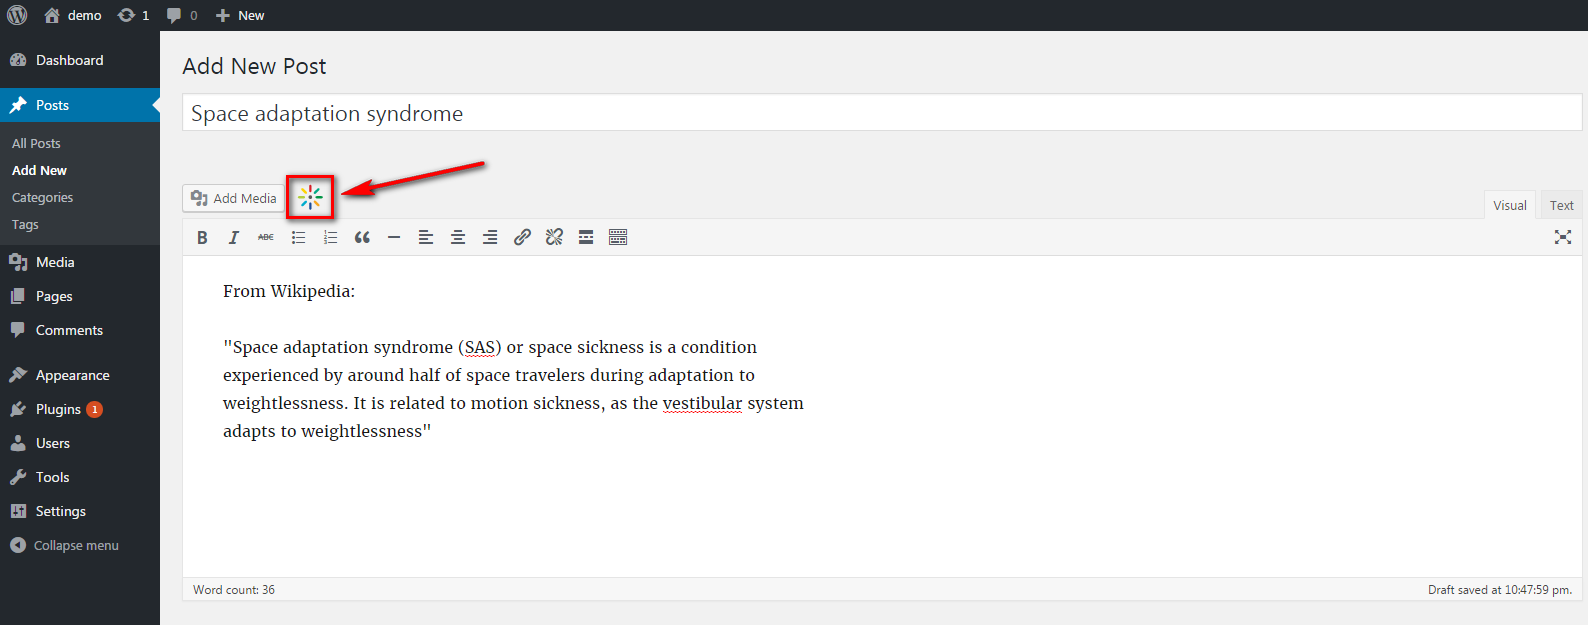
- When creating a new post or editing a post, click the Add Kaltura Media button located above the text editor.

The following screen is displayed:
- Upload your content/media.
After the media item is uploaded, the following screen is displayed: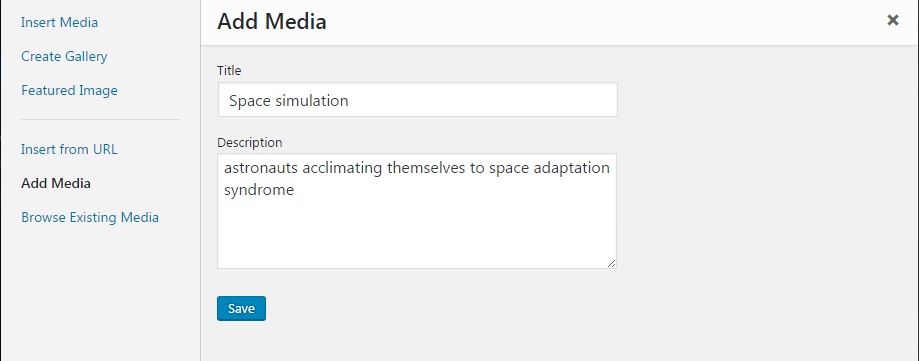
- Enter a Title, Description and click ‘Save’.
The following screen is displayed: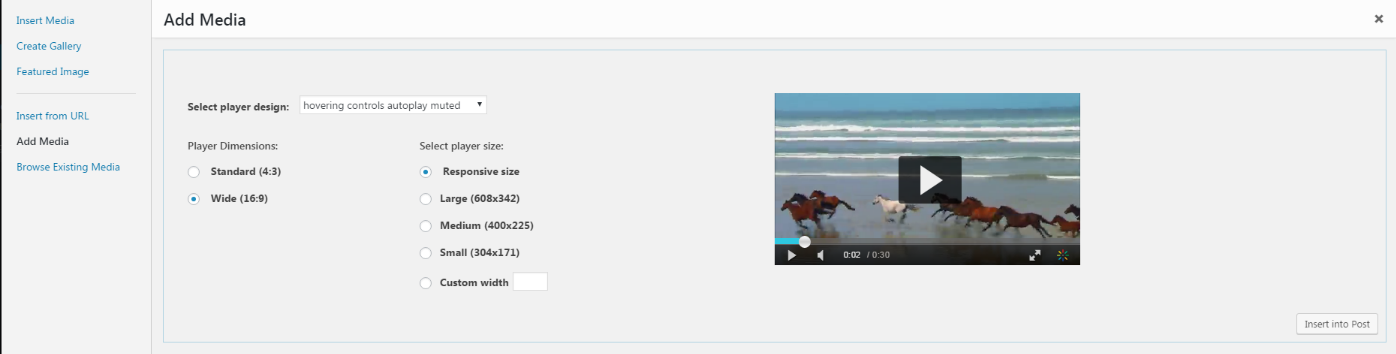
- Select the player to use from the Select player design dropdown.
- Select the Player Dimensions.
Select whether the player is a responsive size (adjusts to the screen size) or pre-set size. - Click Insert into Post.


To add existing media to a post
- When creating or editing a post, click the Add Kaltura Media button located above the text editor.
The following window is displayed: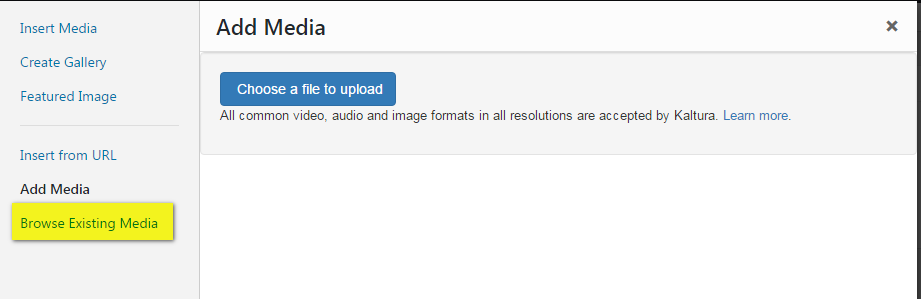
- Click Browse Existing Media.
The following window is displayed: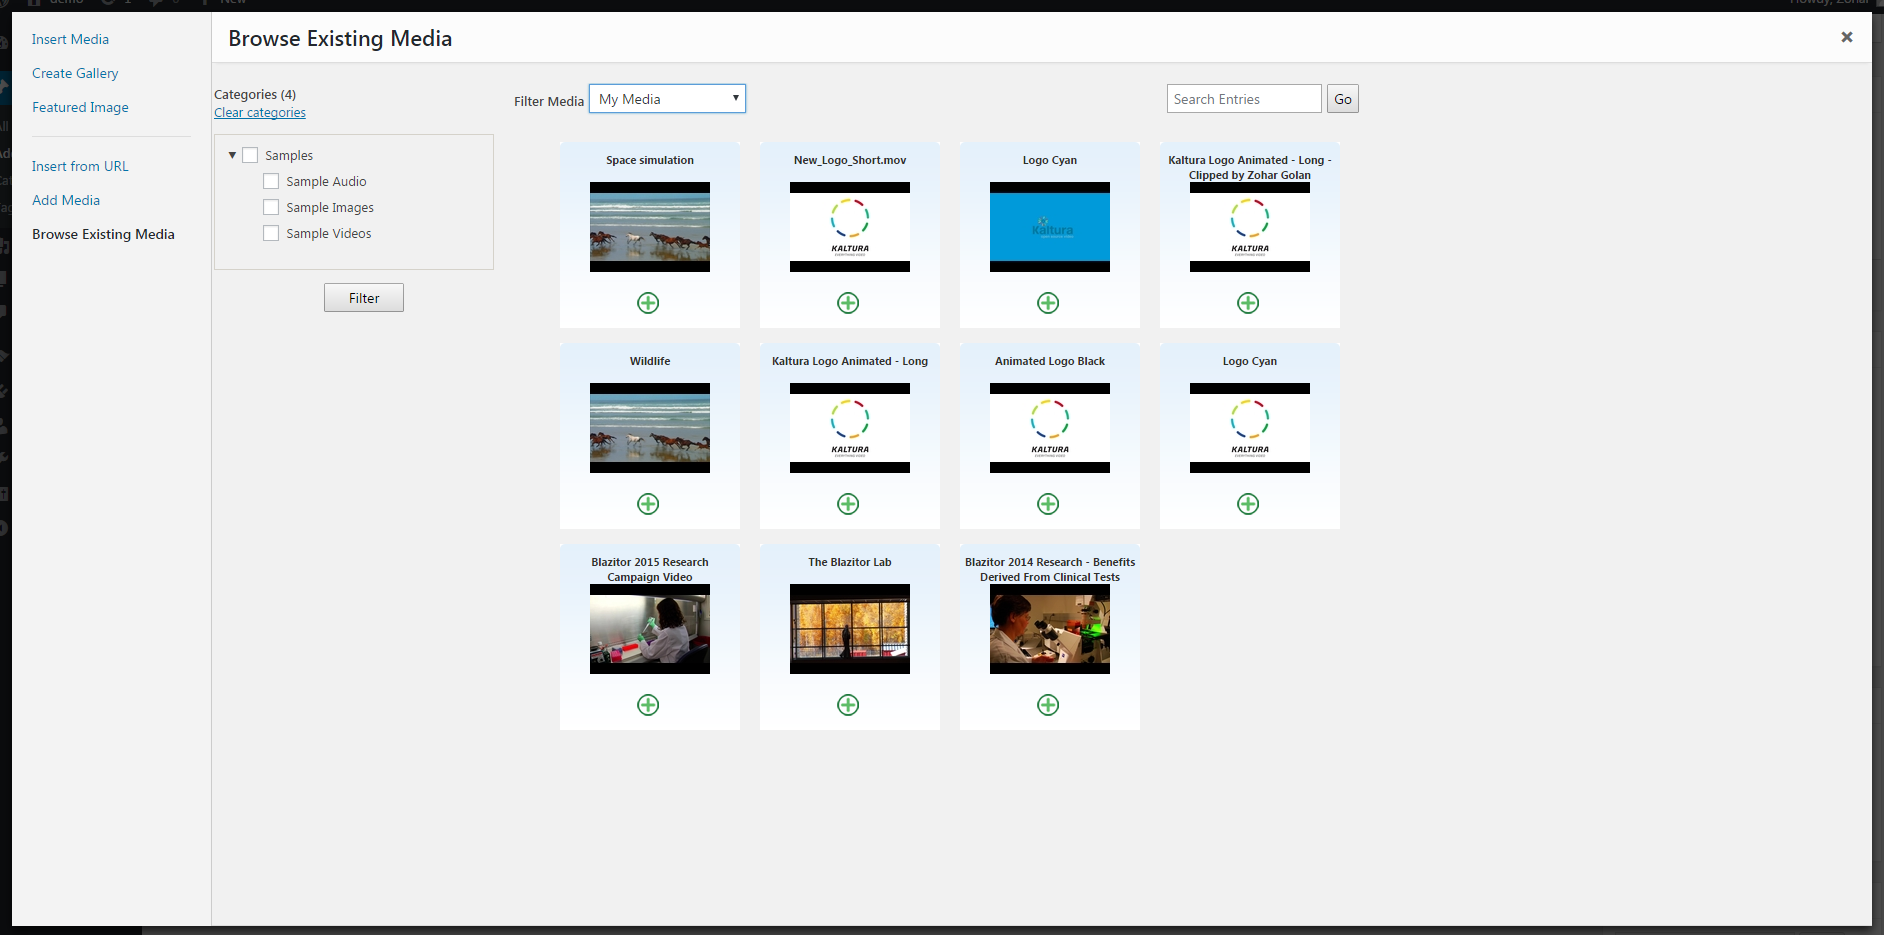
- Choose the media you want to add by clicking the plus sign below the thumbnail.
You can search, browse and filter using the different fields available on screen
After you select the media, the following screen is displayed: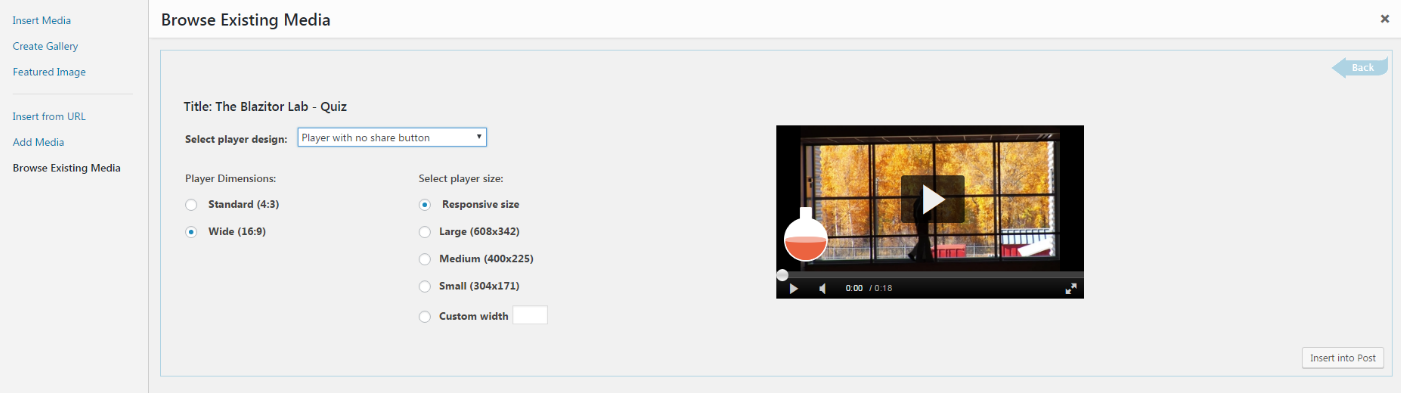
- Select the player to use from the Select player design dropdown.
- Select the Player Dimensions.
- Select whether the player is a responsive size (adjusts to the screen size) or pre-set size.
- Click Insert into Post.


Manage Existing Media
Some basic management functions may be performed from within WordPress, namely, browsing media, updating media titles, changing media thumbnails, and deleting media.
To browse existing media
- On the side menu, select Media and then select All in One Video.
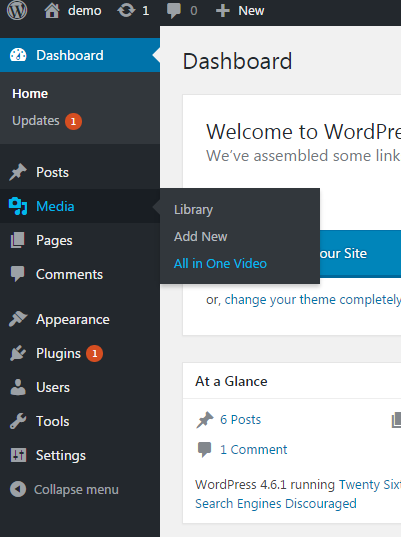
The following screen is displayed: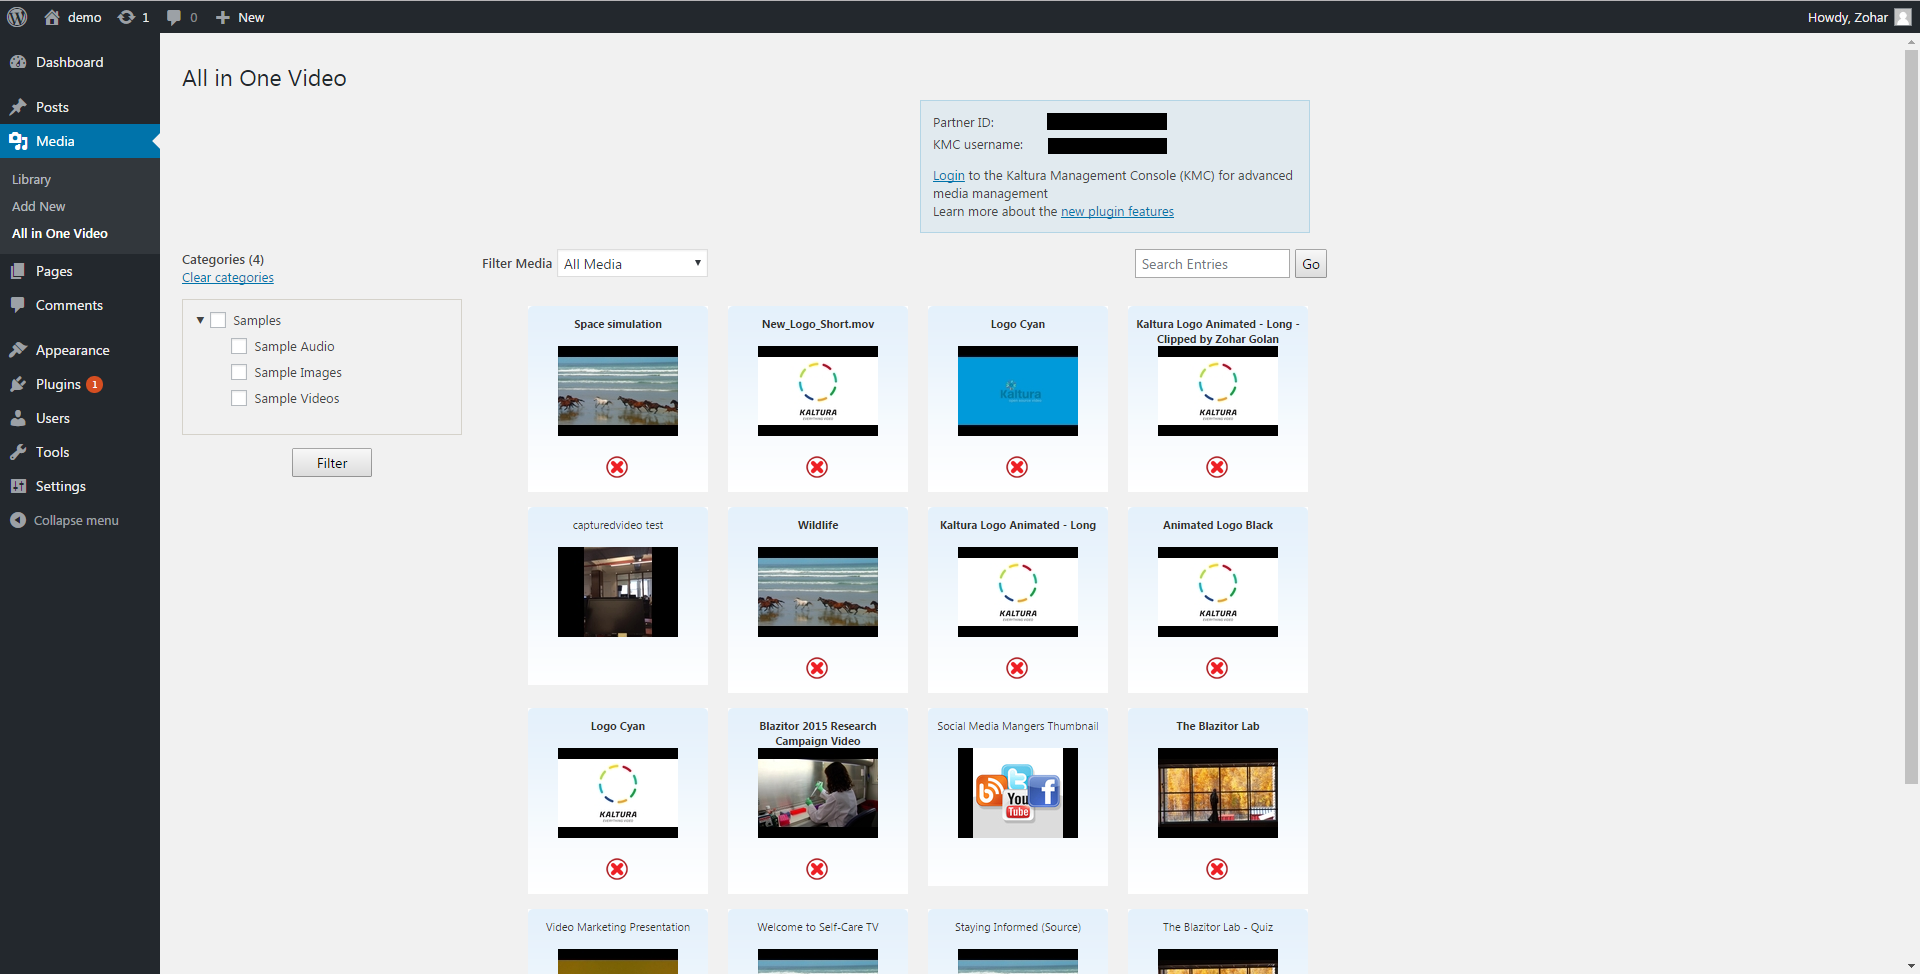


To edit a media title
- Click on the title and modify the information.
- Press Enter to save.
To delete media
- Click the on the red X located below the media thumbnail.
- Click OK on the confirmation box that pops up.
