About
With Kaltura's hybrid events feature, we are bridging the gap between physical and virtual event experiences. This innovative solution enables organizers to reach a wider audience, offers attendees greater flexibility and convenience, and provides valuable data insights for event management.
Here's a brief overview:
- Attendees register for the event through various registration methods.
- Upon registration, a Kaltura user profile is created with a status reflecting their registration status.
- After registration, attendees receive a QR code via email (QR code is also available on their profile page), which serves as a digital pass for check-in.
- Upon arrival at the event, attendees present themselves at the gate.
- The gatekeeper scans the attendee's QR code from the email or profile page. Alternatively, attendees can check themselves in at a kiosk if provided.
Administrators control access to this feature within the Inperson module. Gatekeepers can access the check-in page via this link: {your_base_site_URL}/inperson
Check-in process
Check in with QR code
Attendees must be registered to the event beforehand to use this feature. Only in-person users will get a QR code for check-in.
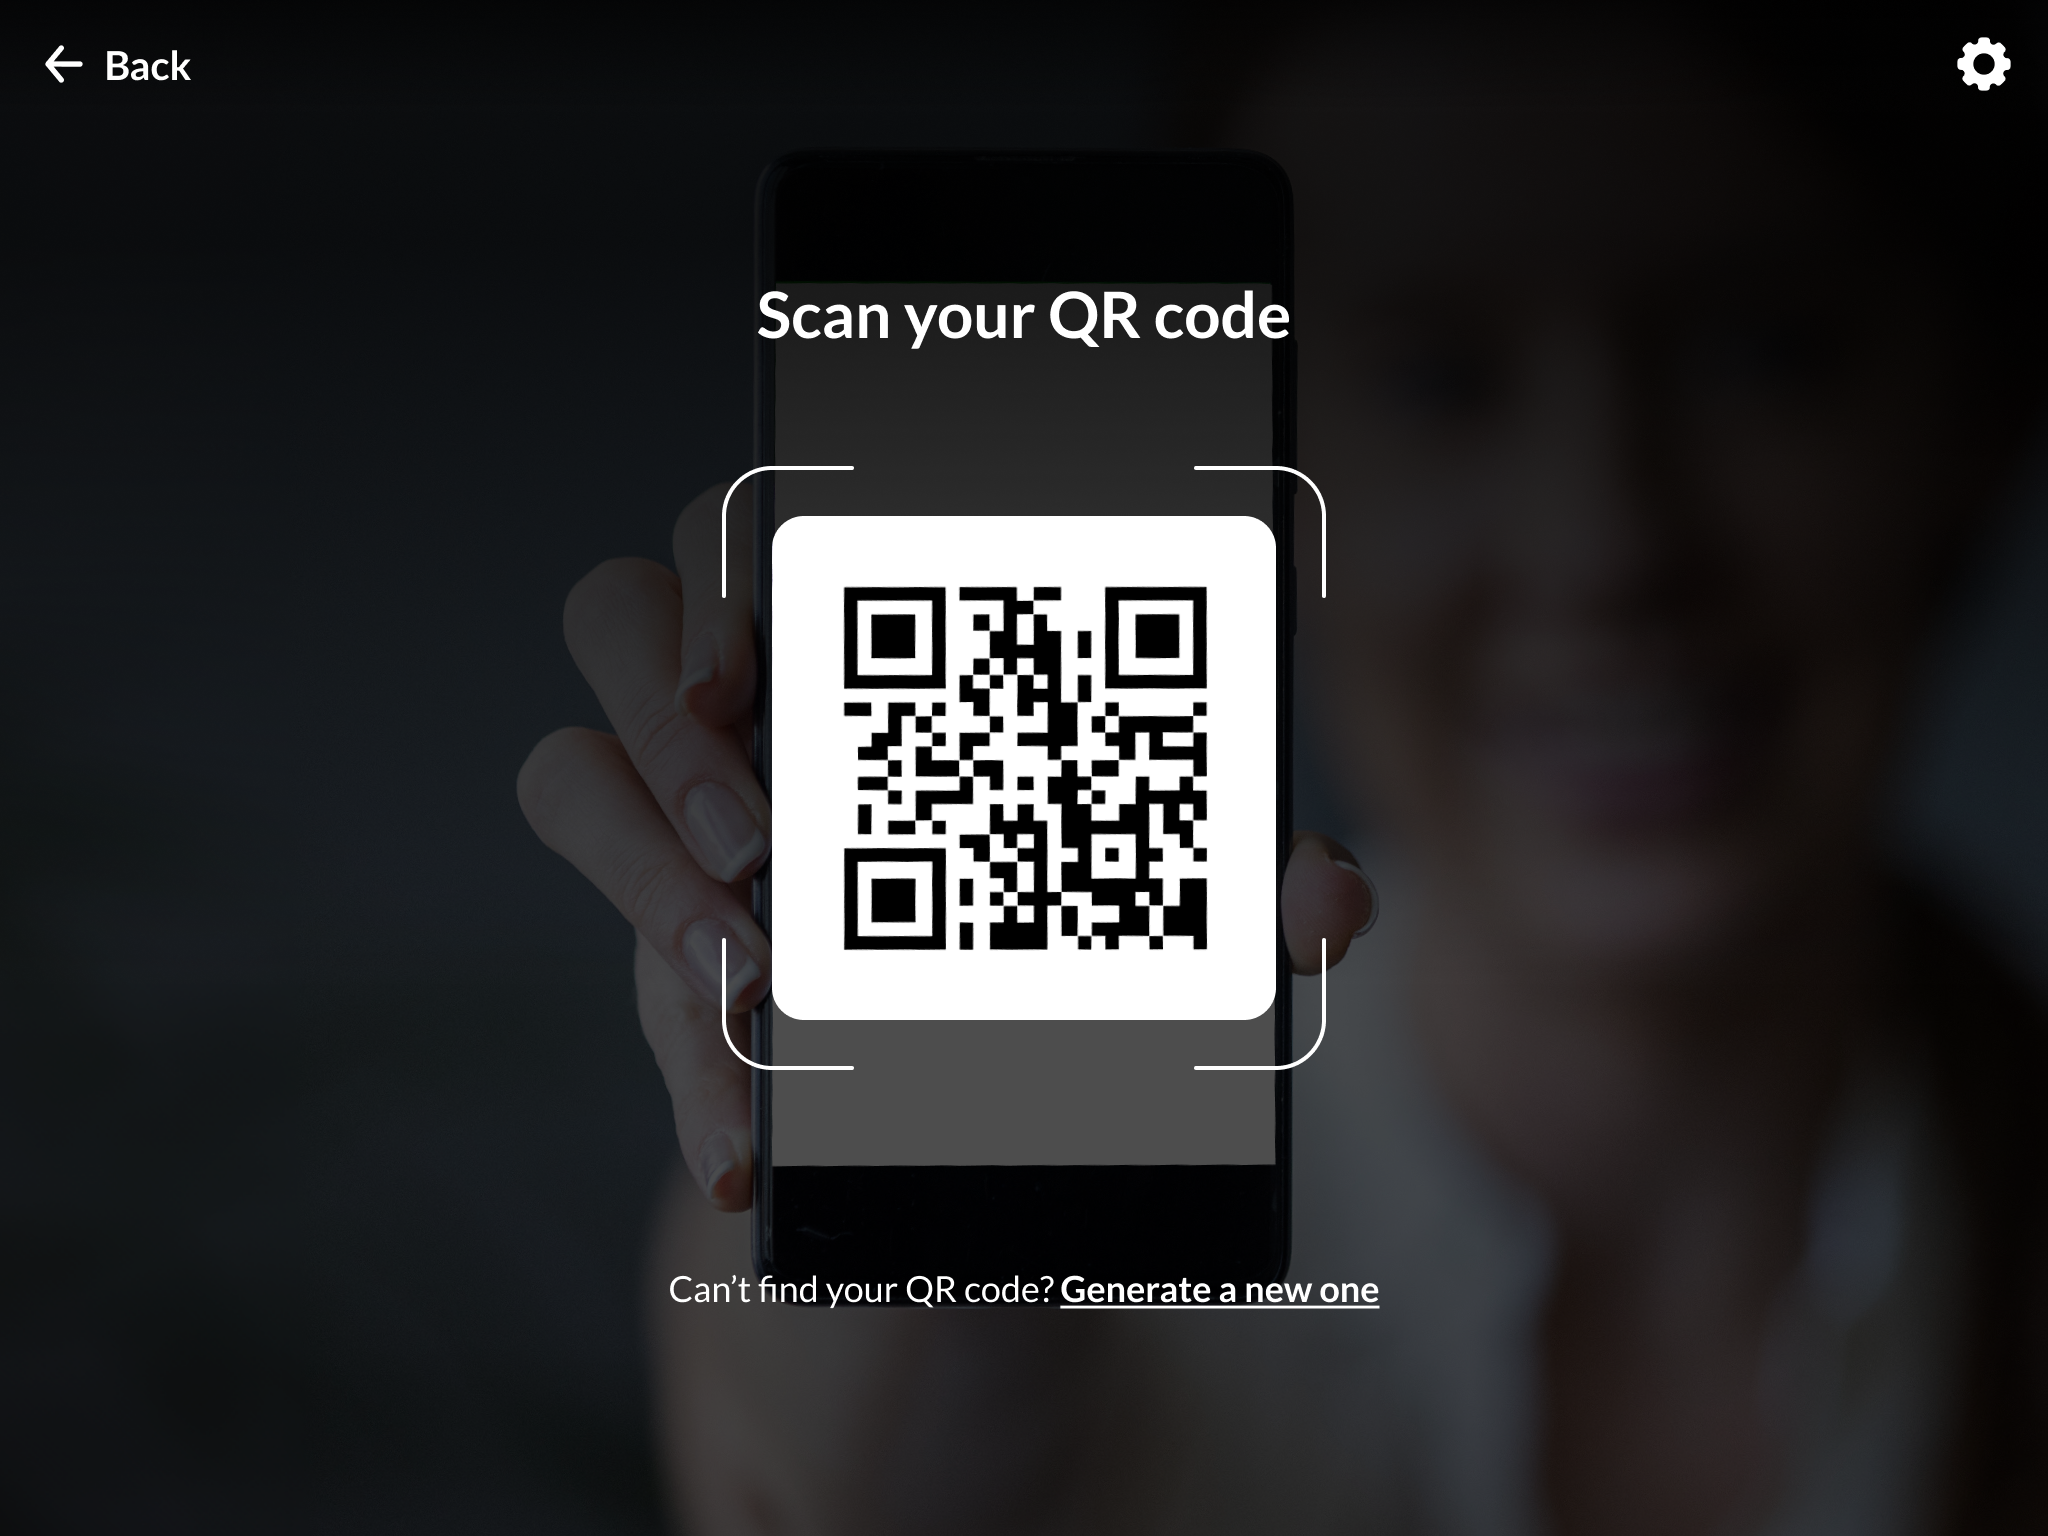
When an attendee checks in, a Welcome page displays featuring the event name, icon or logo, and a banner image.
- Using a mobile device, the gatekeeper (or attendee) clicks Check in now.

- The gatekeeper scans the attendee's QR code or, in a self-check-in scenario, the attendee scans the QR code that they received by email post-registration with their device's camera.
- Click on the settings icon located in the top right corner to access options for selecting the camera to scan the QR code.
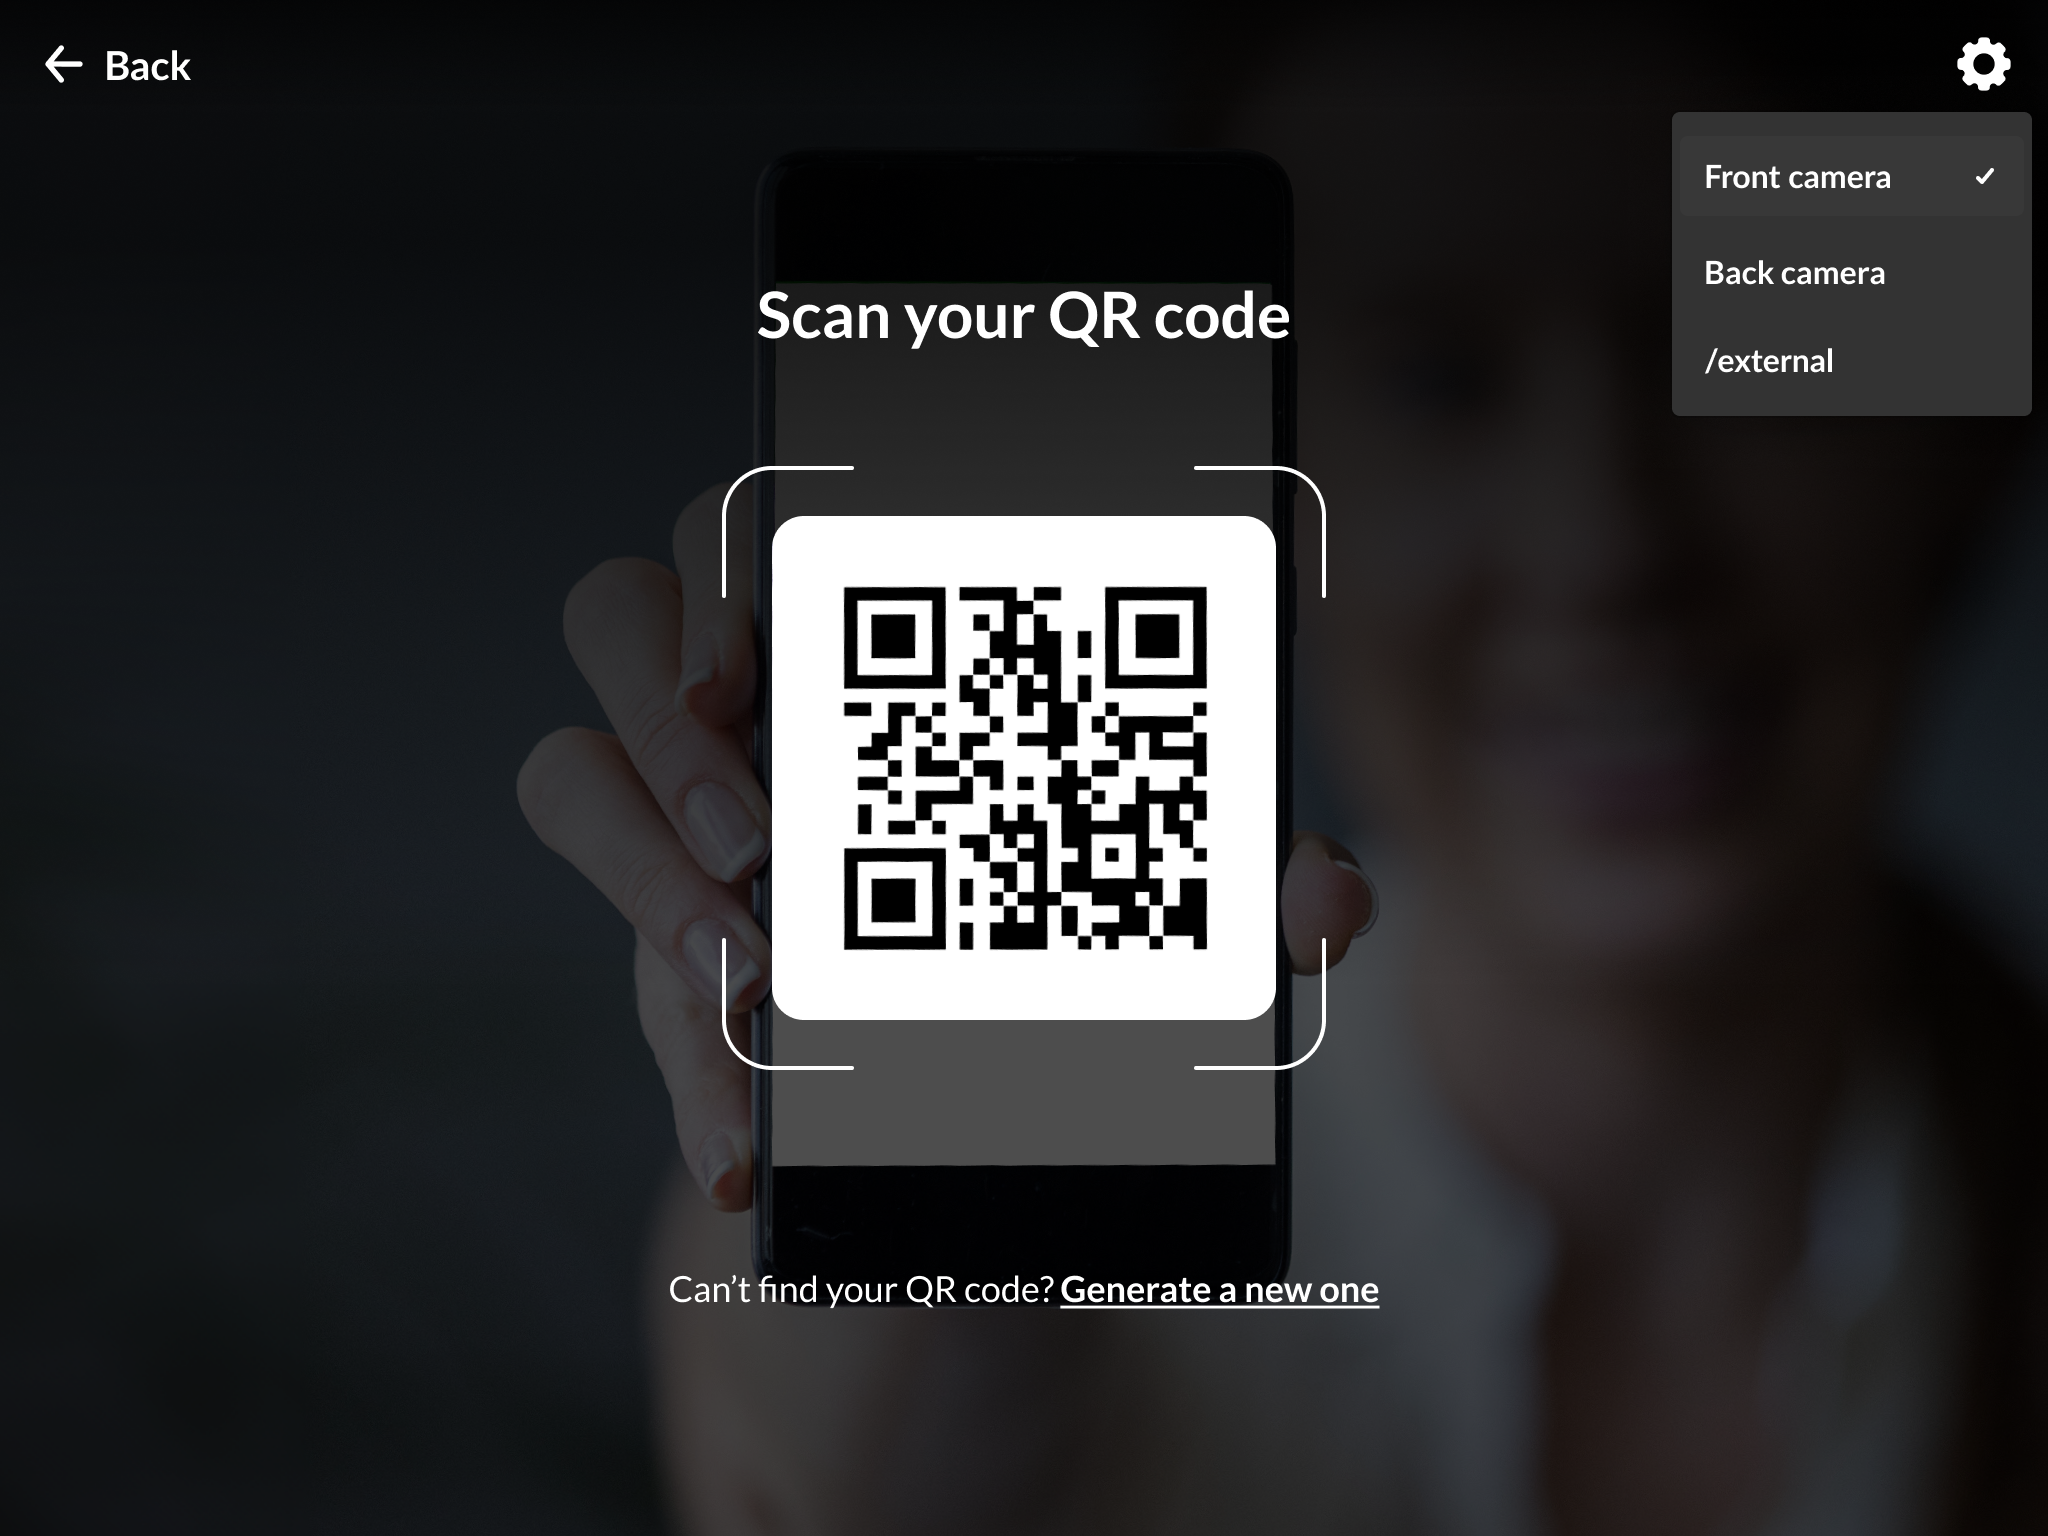 Choose from the following options:
- Front camera
- Back camera
- External
- If the QR scan is successful, the user is redirected to the Welcome screen with the attendee's details. (Details in the registration form are configured by the administrator.)
- If their details are correct, they click Check in. If they would like to edit their details, see Edit details below.
 A confirmation screen displays.
 Once a user logs into the site (including accessing the profile page for the QR code), their registration status changes to “Participated”, and a post-check-in email is sent to them.
The confirmation screen closes automatically in five seconds, so if the user forgets to exit the screen at the kiosk, their information stays private.


 Choose from the following options:
(If one of the camera options isn't connected on the user's device, it won't display.)
If an attendee is unable to locate their QR code, they can request a new one. See Generate new code below. (This feature must be enabled in the Inperson module.)
 A confirmation screen displays.
Email templates are configured in the emailTemplates module and enabled in the Inperson module.
Check in with name
This option is used more for internal events when attendees know one another. (This option must be enabled in the Inperson module.)
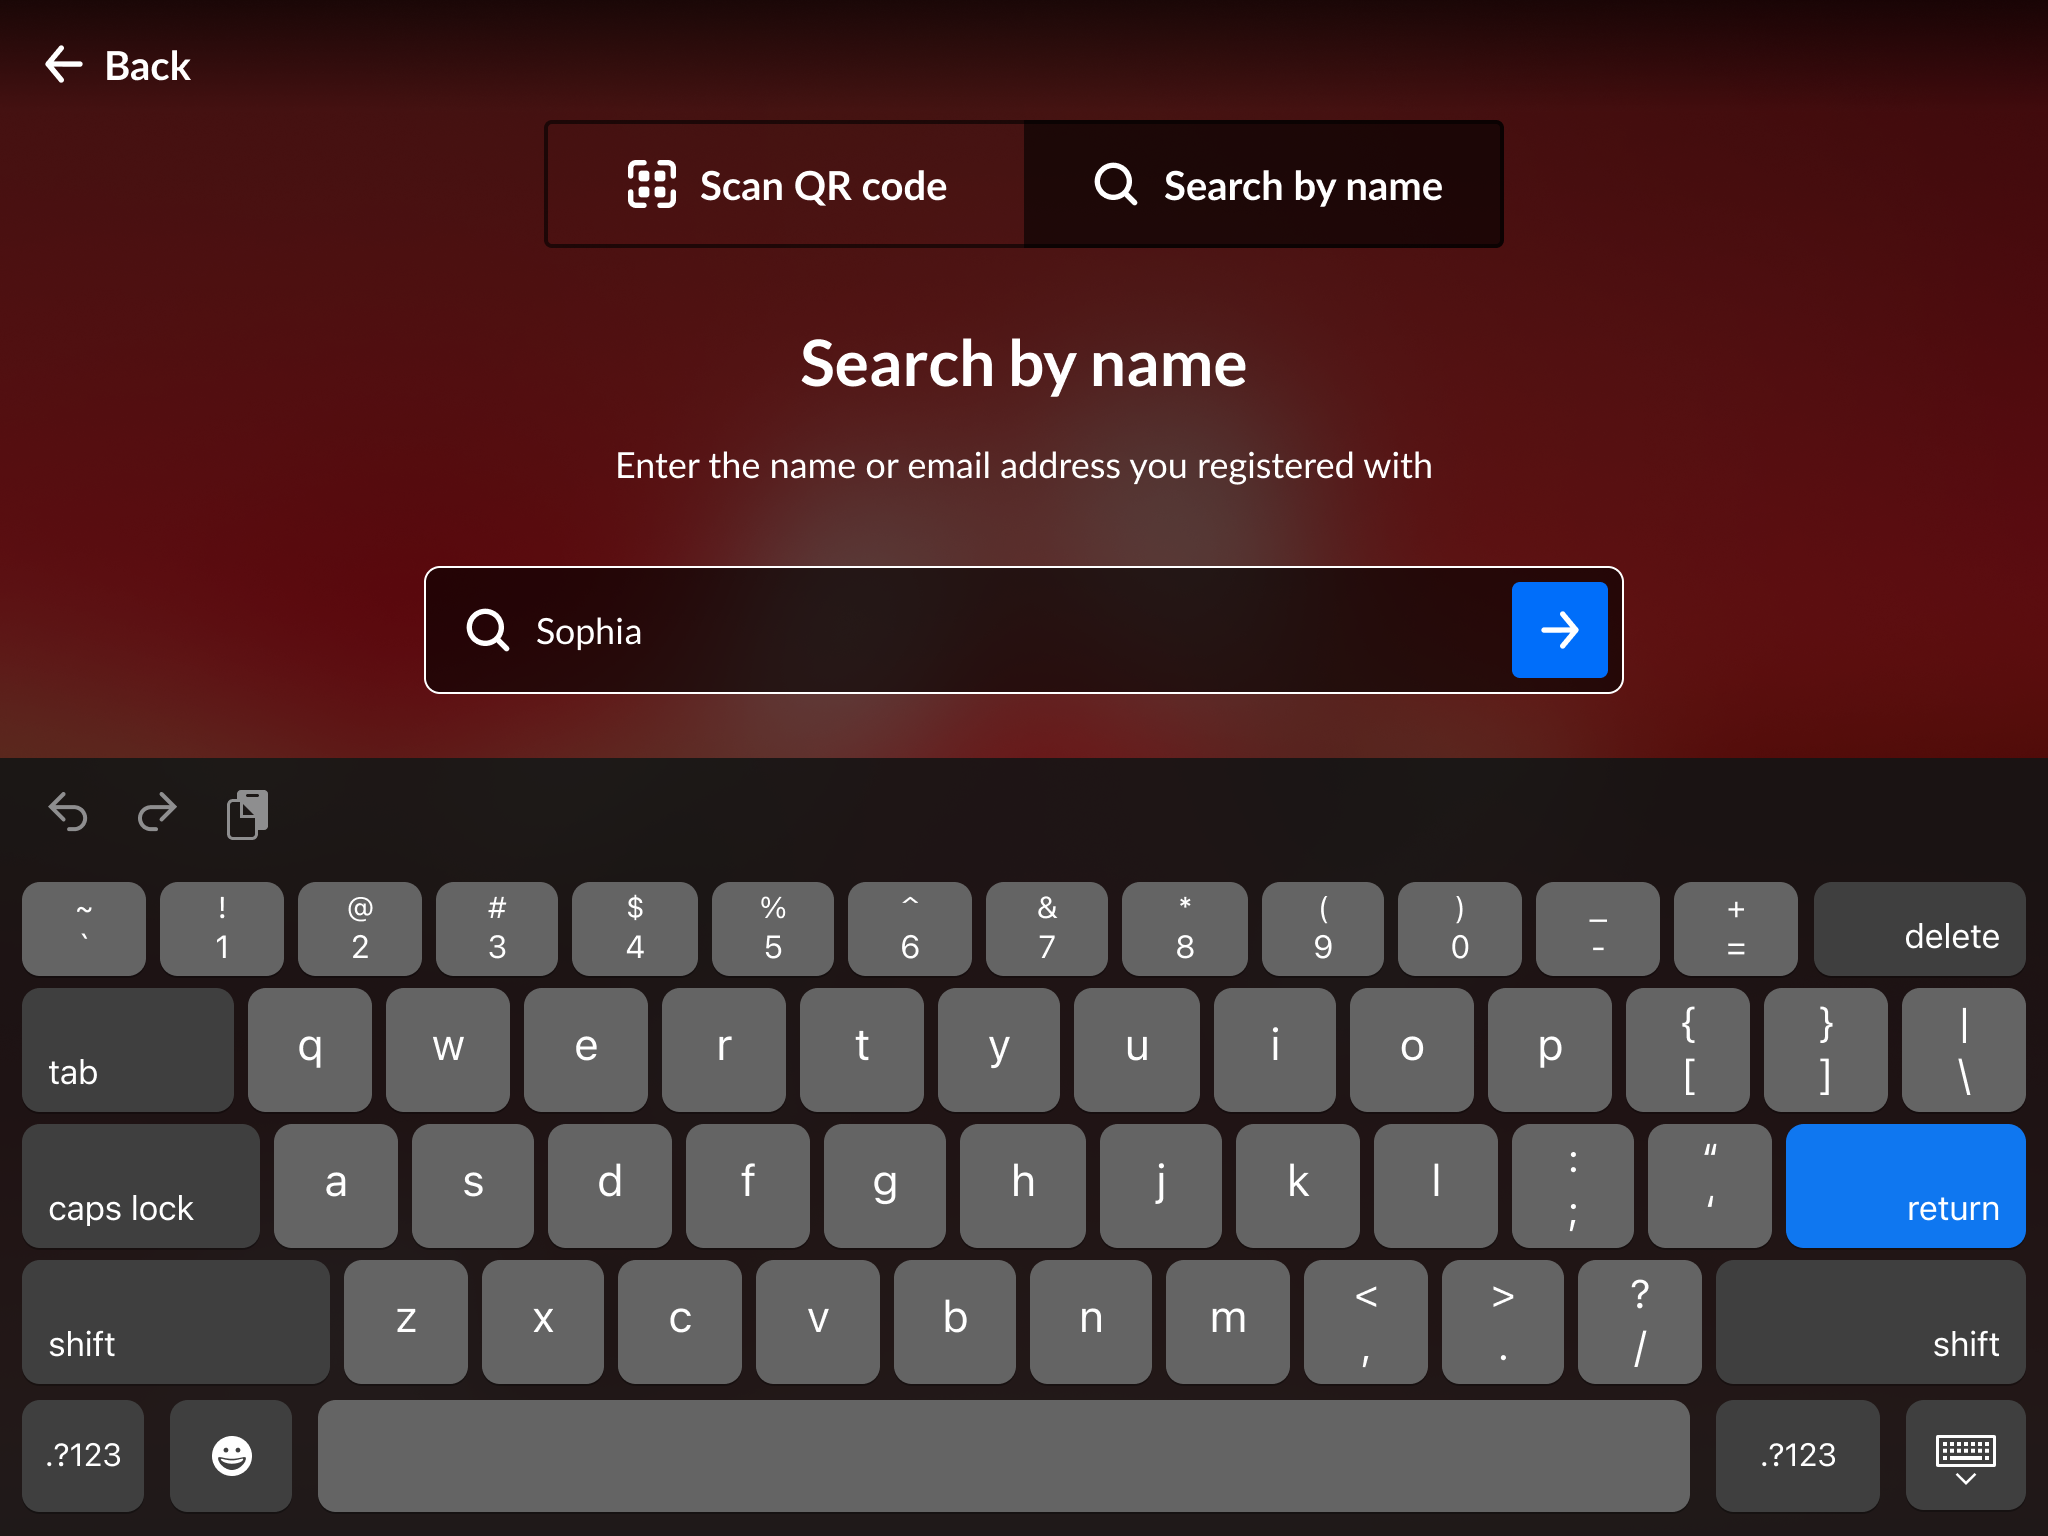
- On the camera screen, users click Search by name.
 The Search screen displays.
 - The user types the name or email address that was used to register, then presses Return / Enter.
 The search results display.
- Click Select next to the desired result.
 The Search screen displays.
 The search results display.
Edit details
- Click Edit details.
 The Edit details screen displays.
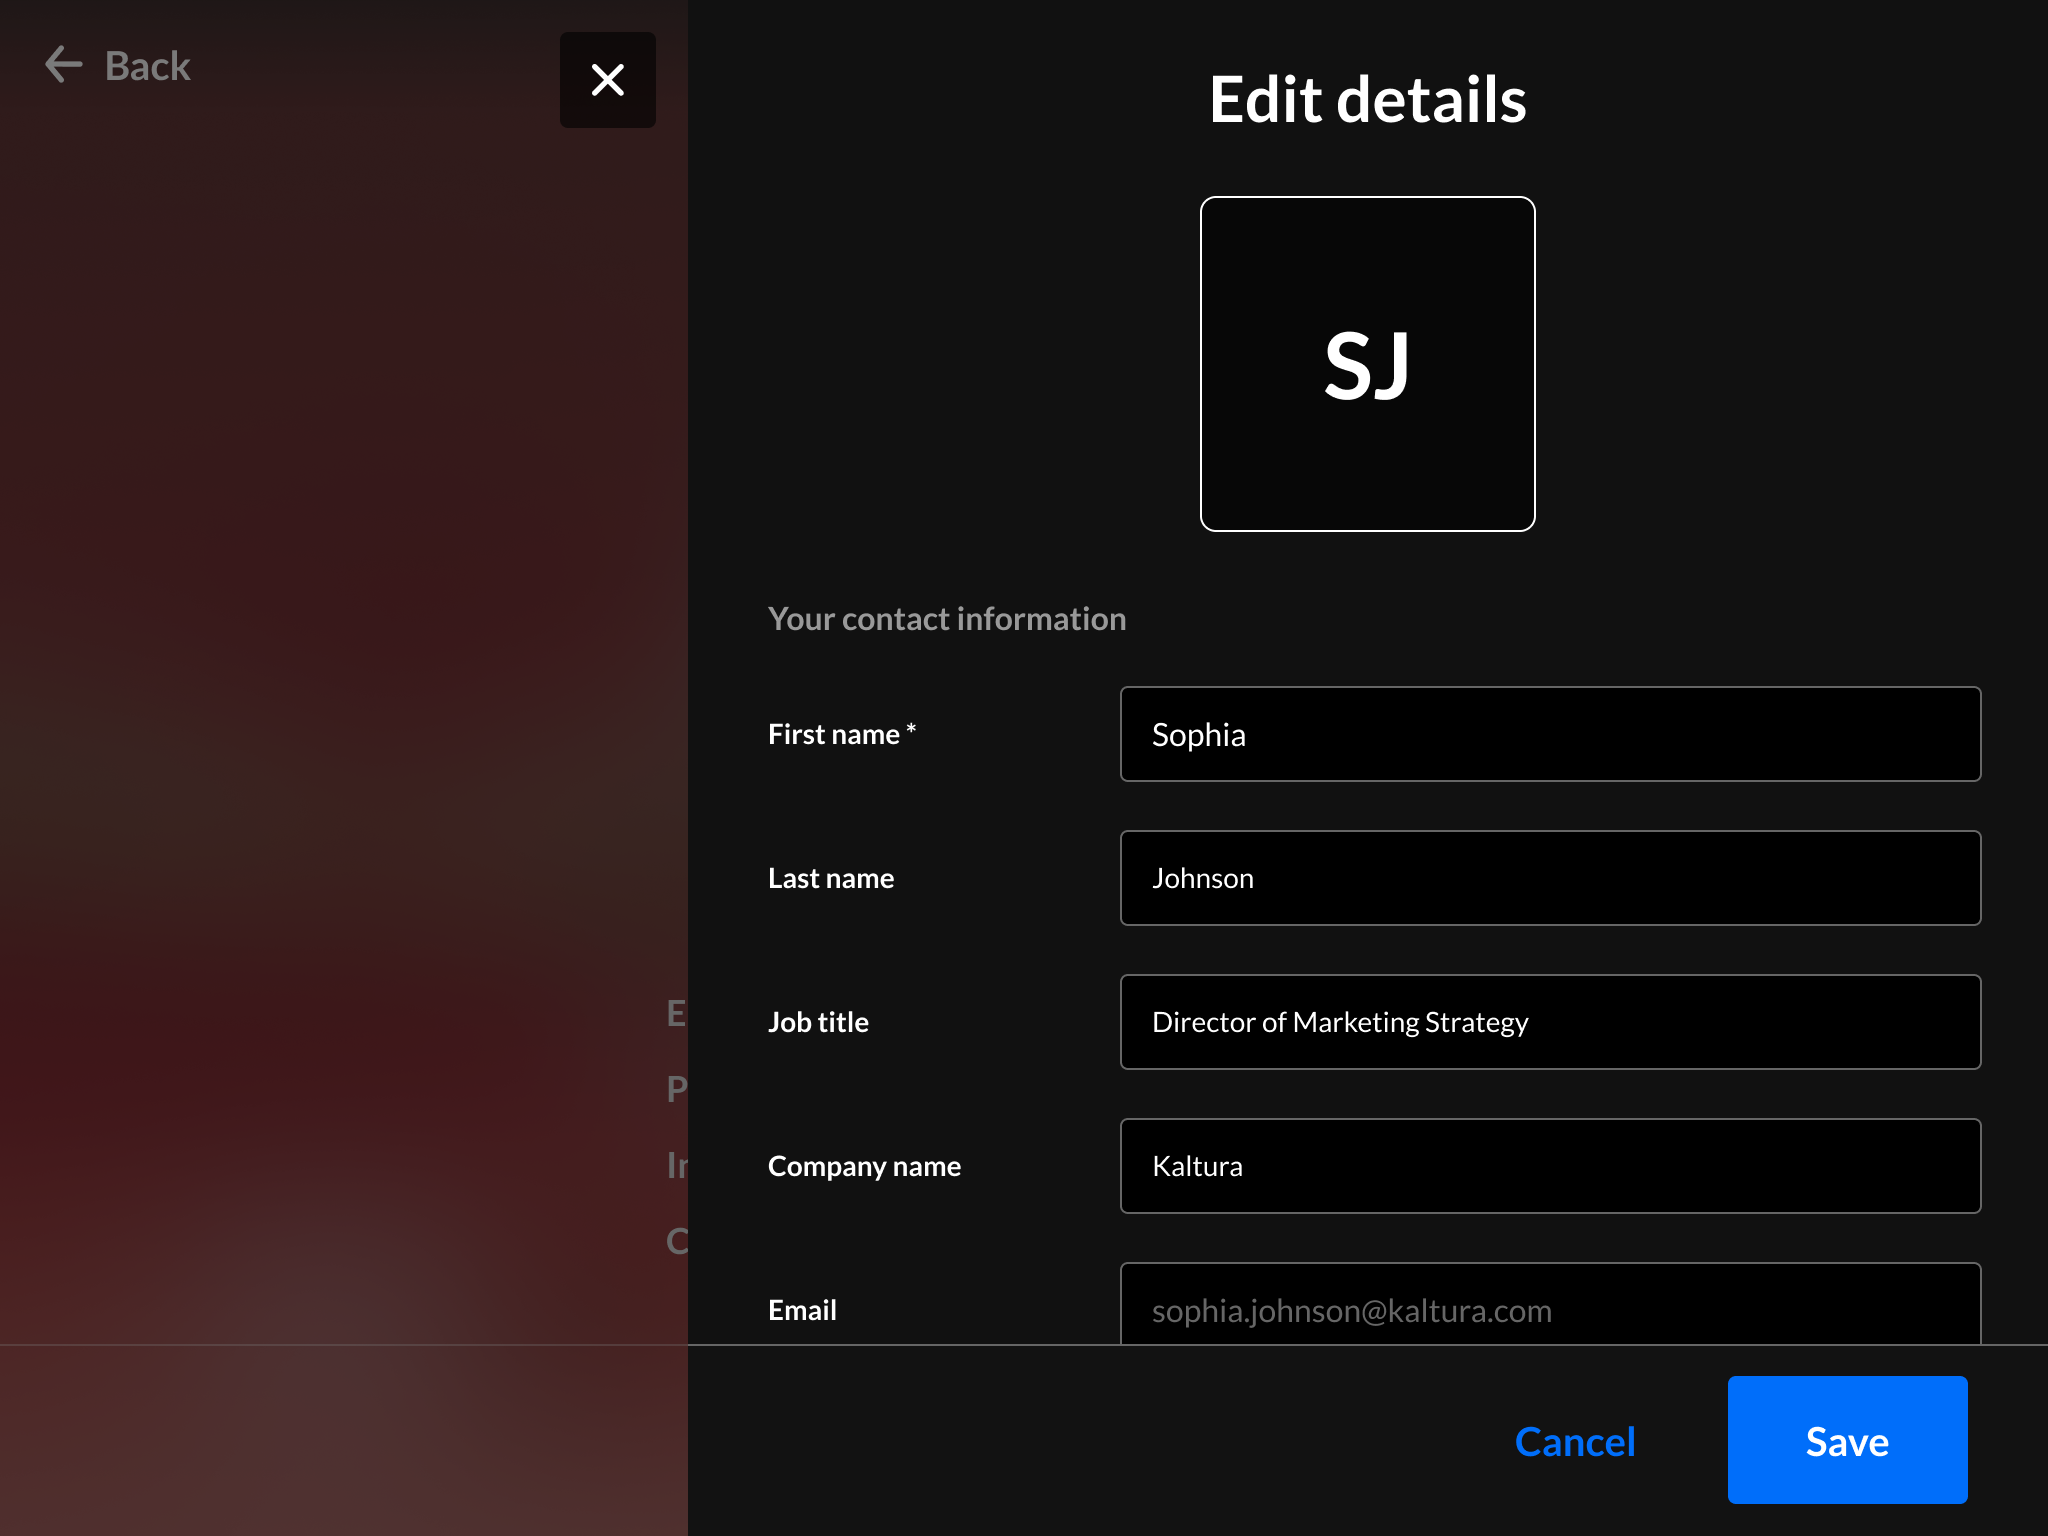
- Users can modify the details, then click Save.
 The Edit details screen displays.
Generate new code
If an attendee can't find their QR code, they can get a new one. (This feature must be enabled in the Inperson module.)
- On the camera screen, click Generate a new one.
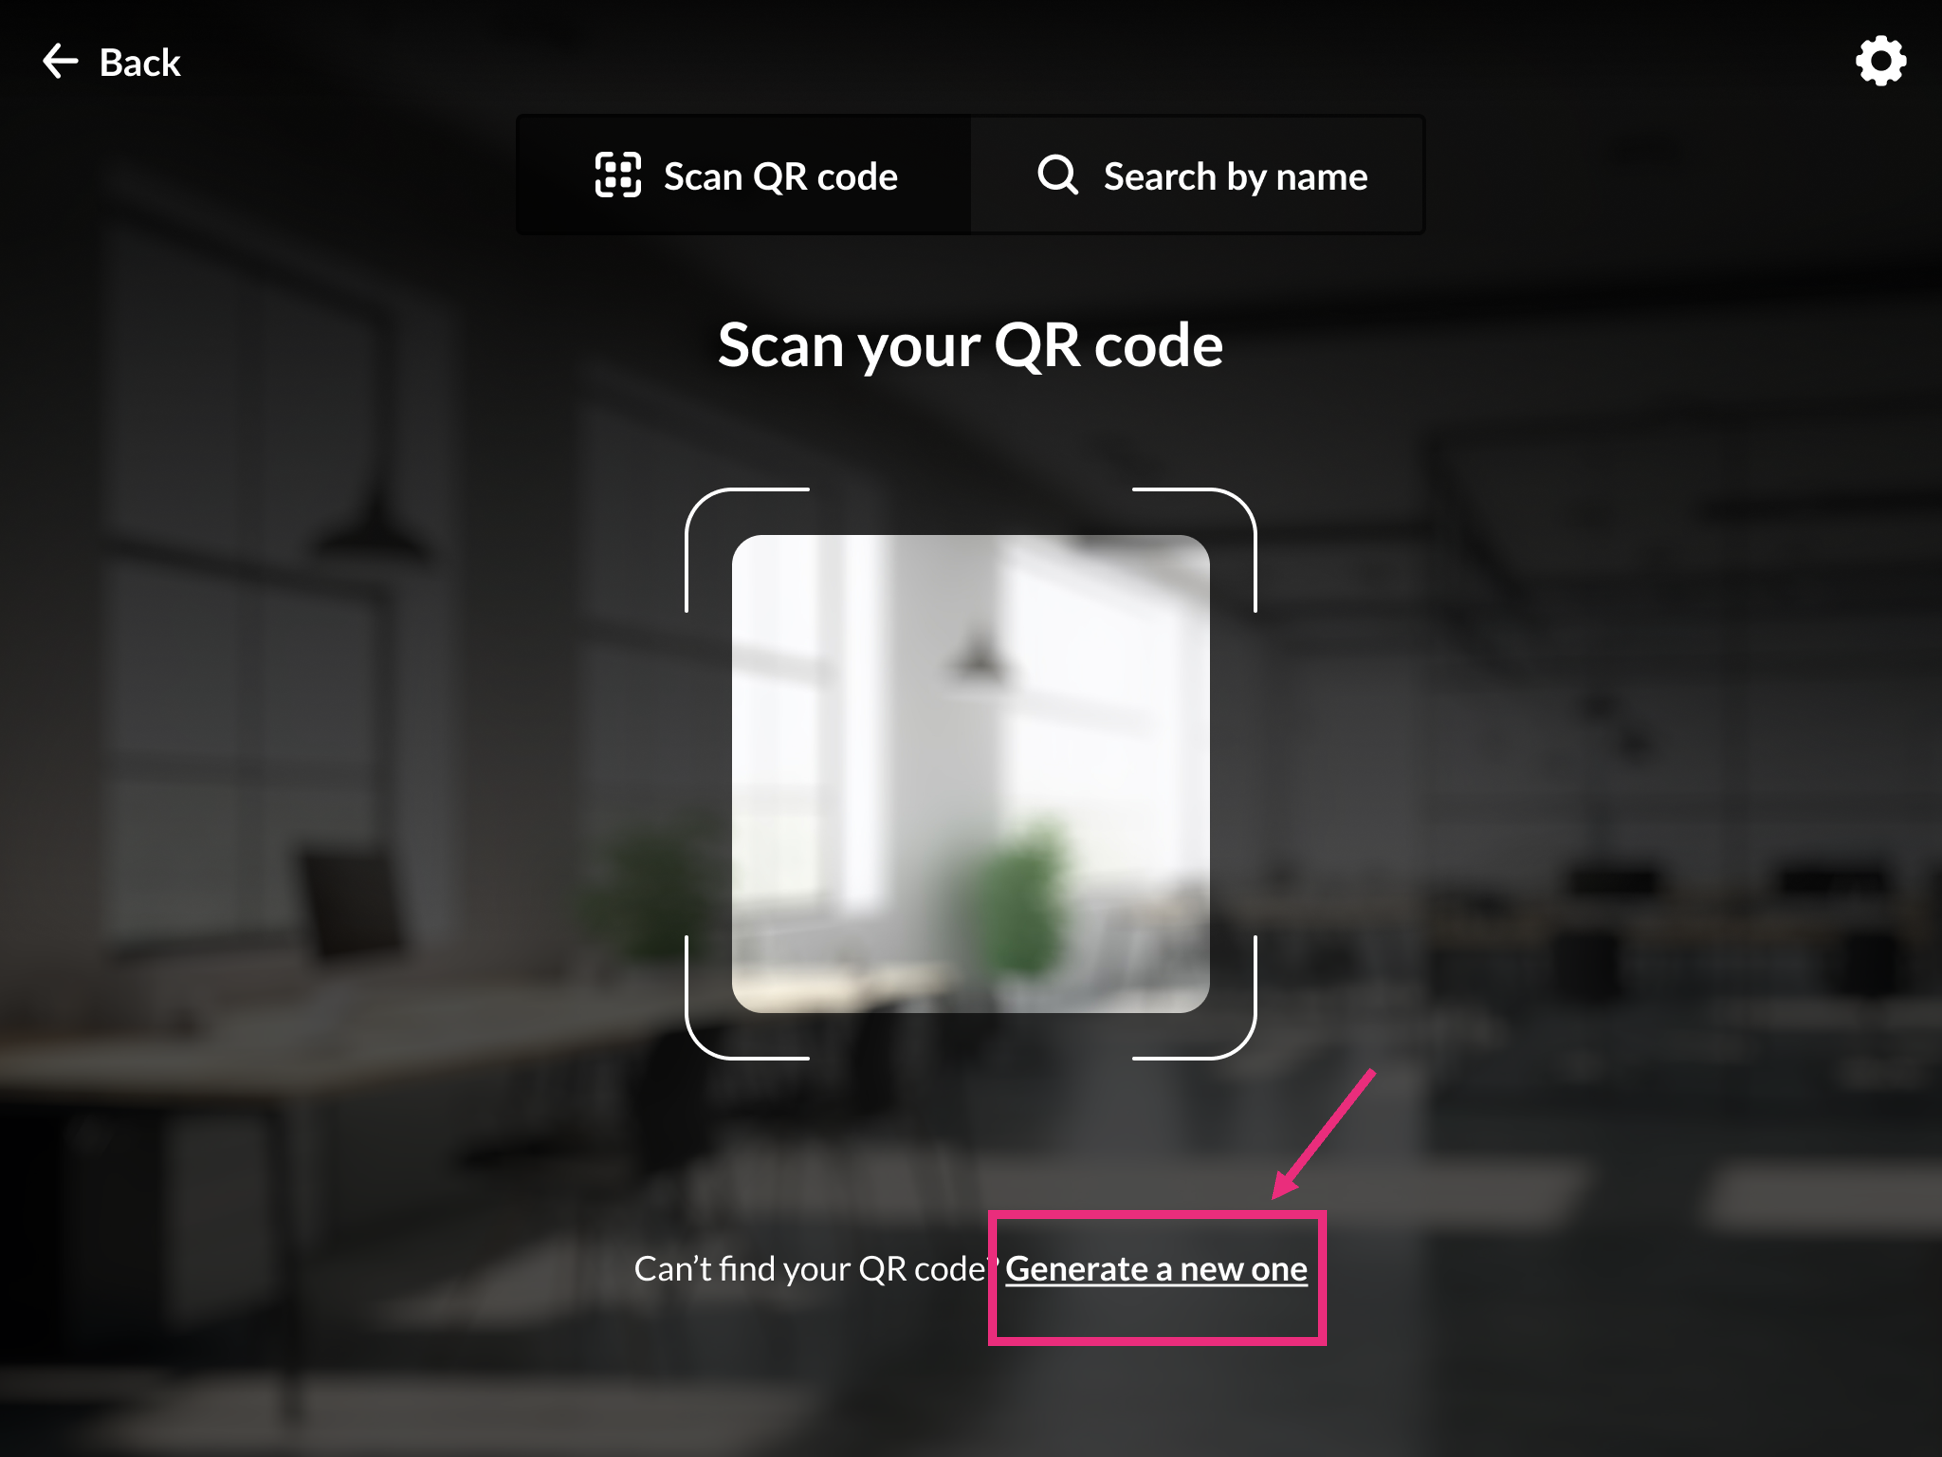 The Generate new QR code screen displays.
- The user enters the email address and clicks Send.
A confirmation message displays: Check your email!
- The new code is sent to the attendee's email.
 The Generate new QR code screen displays.

Attendees might go to one event in person while attending another event virtually. The application updates attendees' information on a per-user, per-event basis when they check into the event in person.
Upcoming features:
- Ability to change profile photos.
- Customizable branded QR codes with colors and logos.
- Wallet integration for Google and Apple, allowing QR codes to be saved directly to attendees' wallets.
