About
Use the Global storyboard to provide specific teams or departments with instant access to the same set of pre-prepared media.
- Standardize content: Ensure everyone uses the same materials without manual file sharing or email chains.
- Real-Time updates: Any changes made to a global storyboard are instantly reflected for all authorized users.
- Centralized access: Teams can find and launch their specific session assets from one location.
If you haven't already unlocked the benefits of the Global Storyboard, reach out to your Kaltura representative.
To make a global storyboard, you must first set up and add content to a 'local' storyboard. Need help? Check out our article Prepare your storyboard for a session in the Kaltura Room to get started.
Make your storyboard global
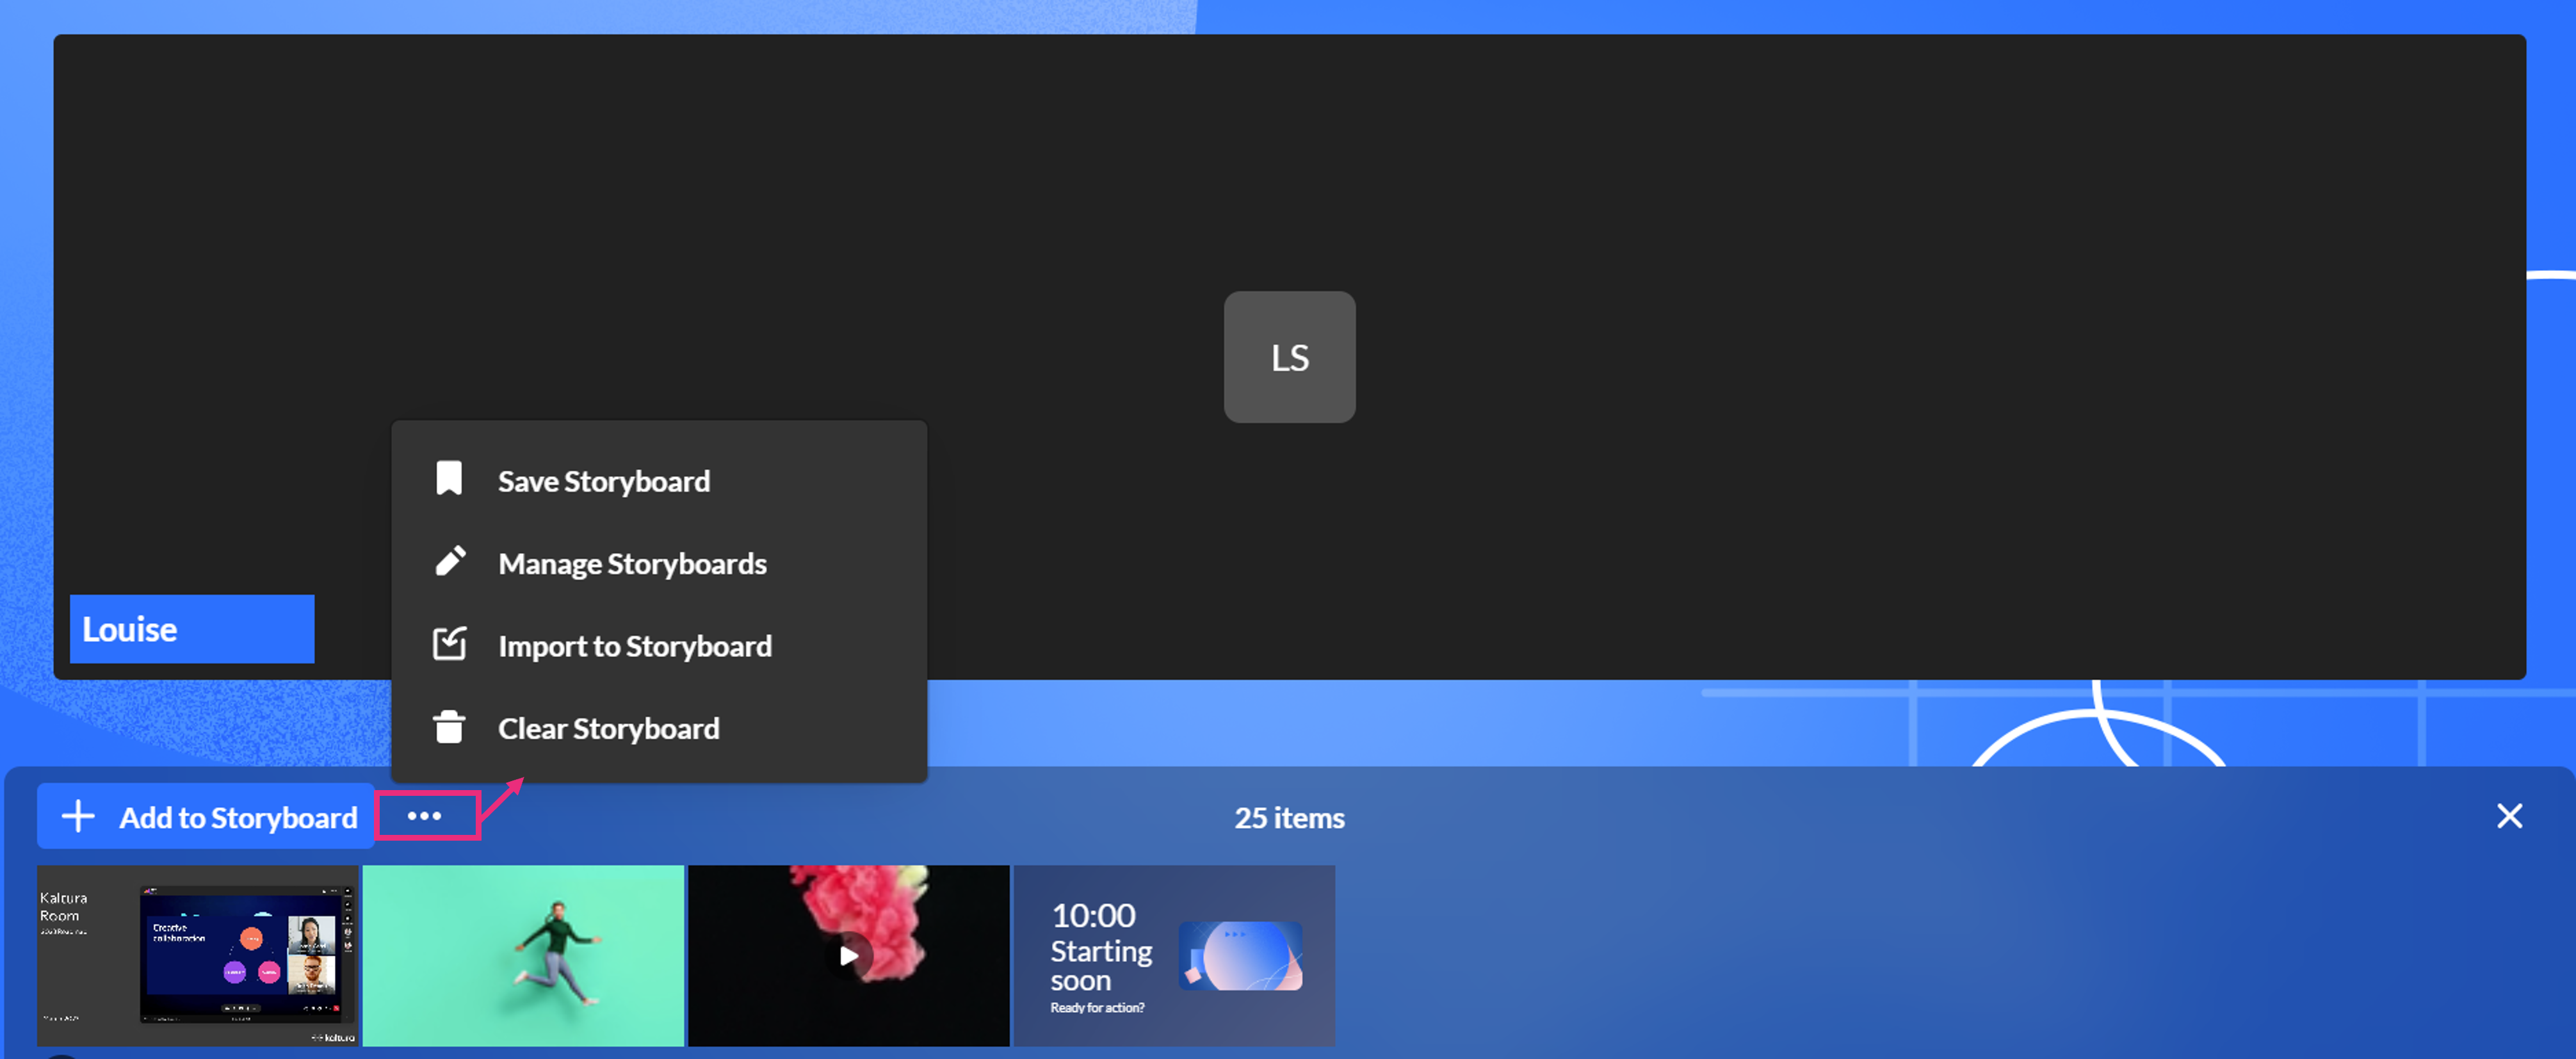
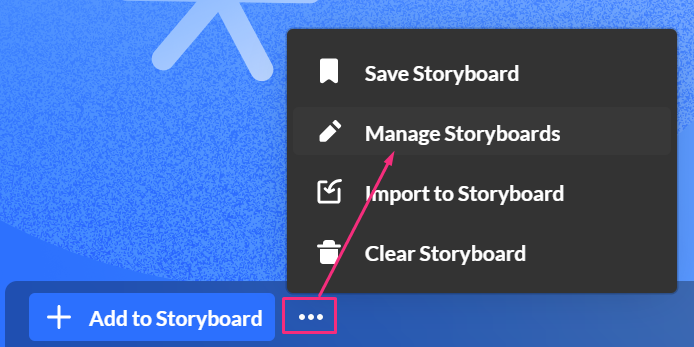
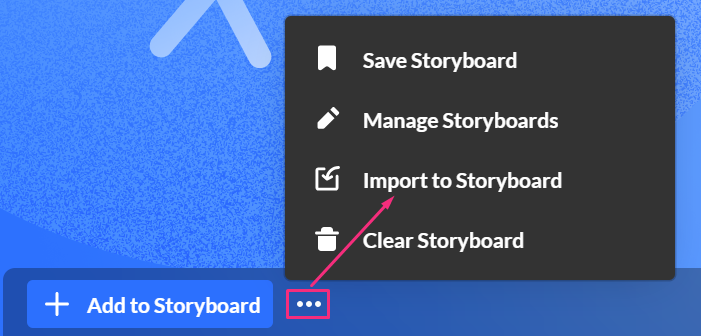
- After you have set up a local storyboard in your room, click the three dots on the top left of the storyboard to open the menu.
If there aren't any items already on the storyboard, the menu will look like this:
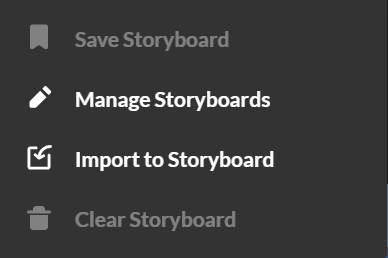 If you're not sure how to add items, see our article Storyboard.
 - From the menu, select Save storyboard.
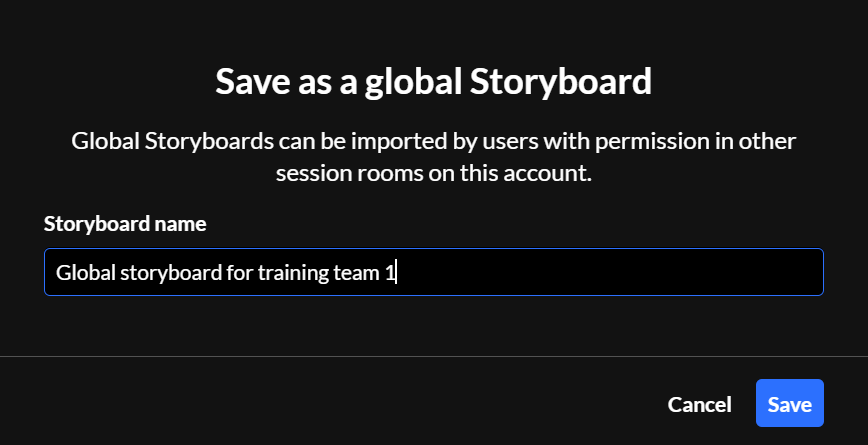
- Enter a name for the global storyboard (max 40 characters).
- Click Save.

 If you're not sure how to add items, see our article
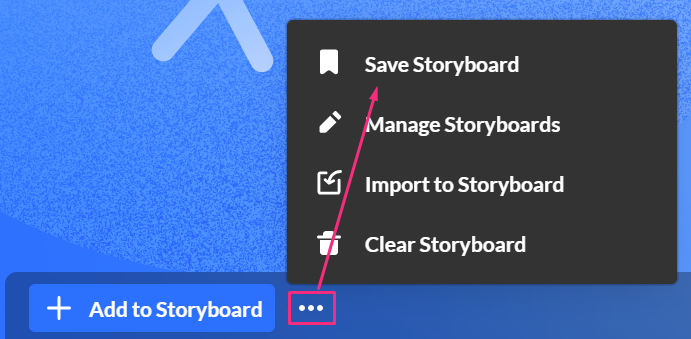
The 'Save as a global storyboard' window opens.
A success message displays: Global storyboard was saved successfully.
Users with access to the storyboard (but without moderator permissions) can import storyboard content. Moderators can save and manage it.
Manage a global storyboard
After creating a global storyboard, you can rename it, import to another storyboard, or delete it.
- At the top left of the storyboard, click the three-dot menu and select Manage storyboards.
- Locate the storyboard you want to manage.
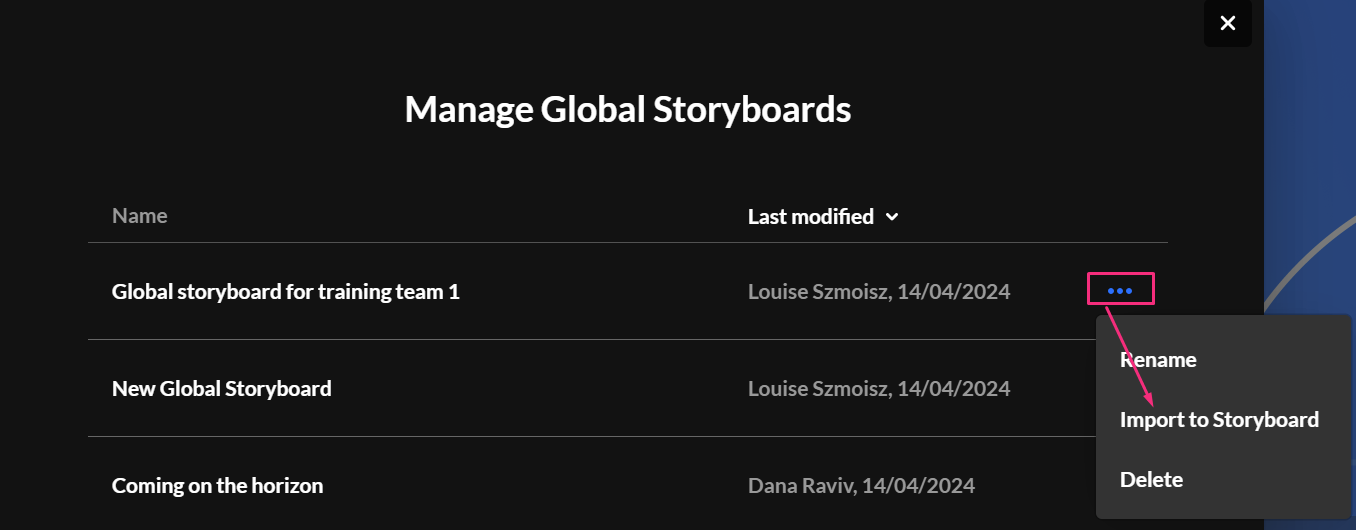
- On the far right of the storyboard, click the three-dot menu, then choose one of the following options:
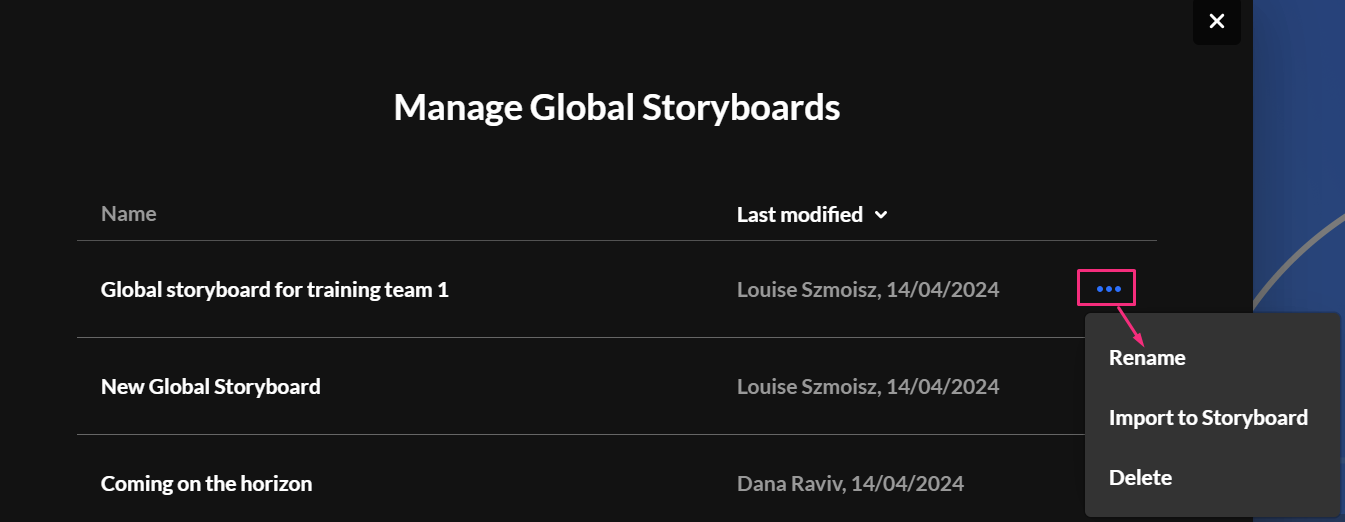
The 'Manage global storyboards' window opens.
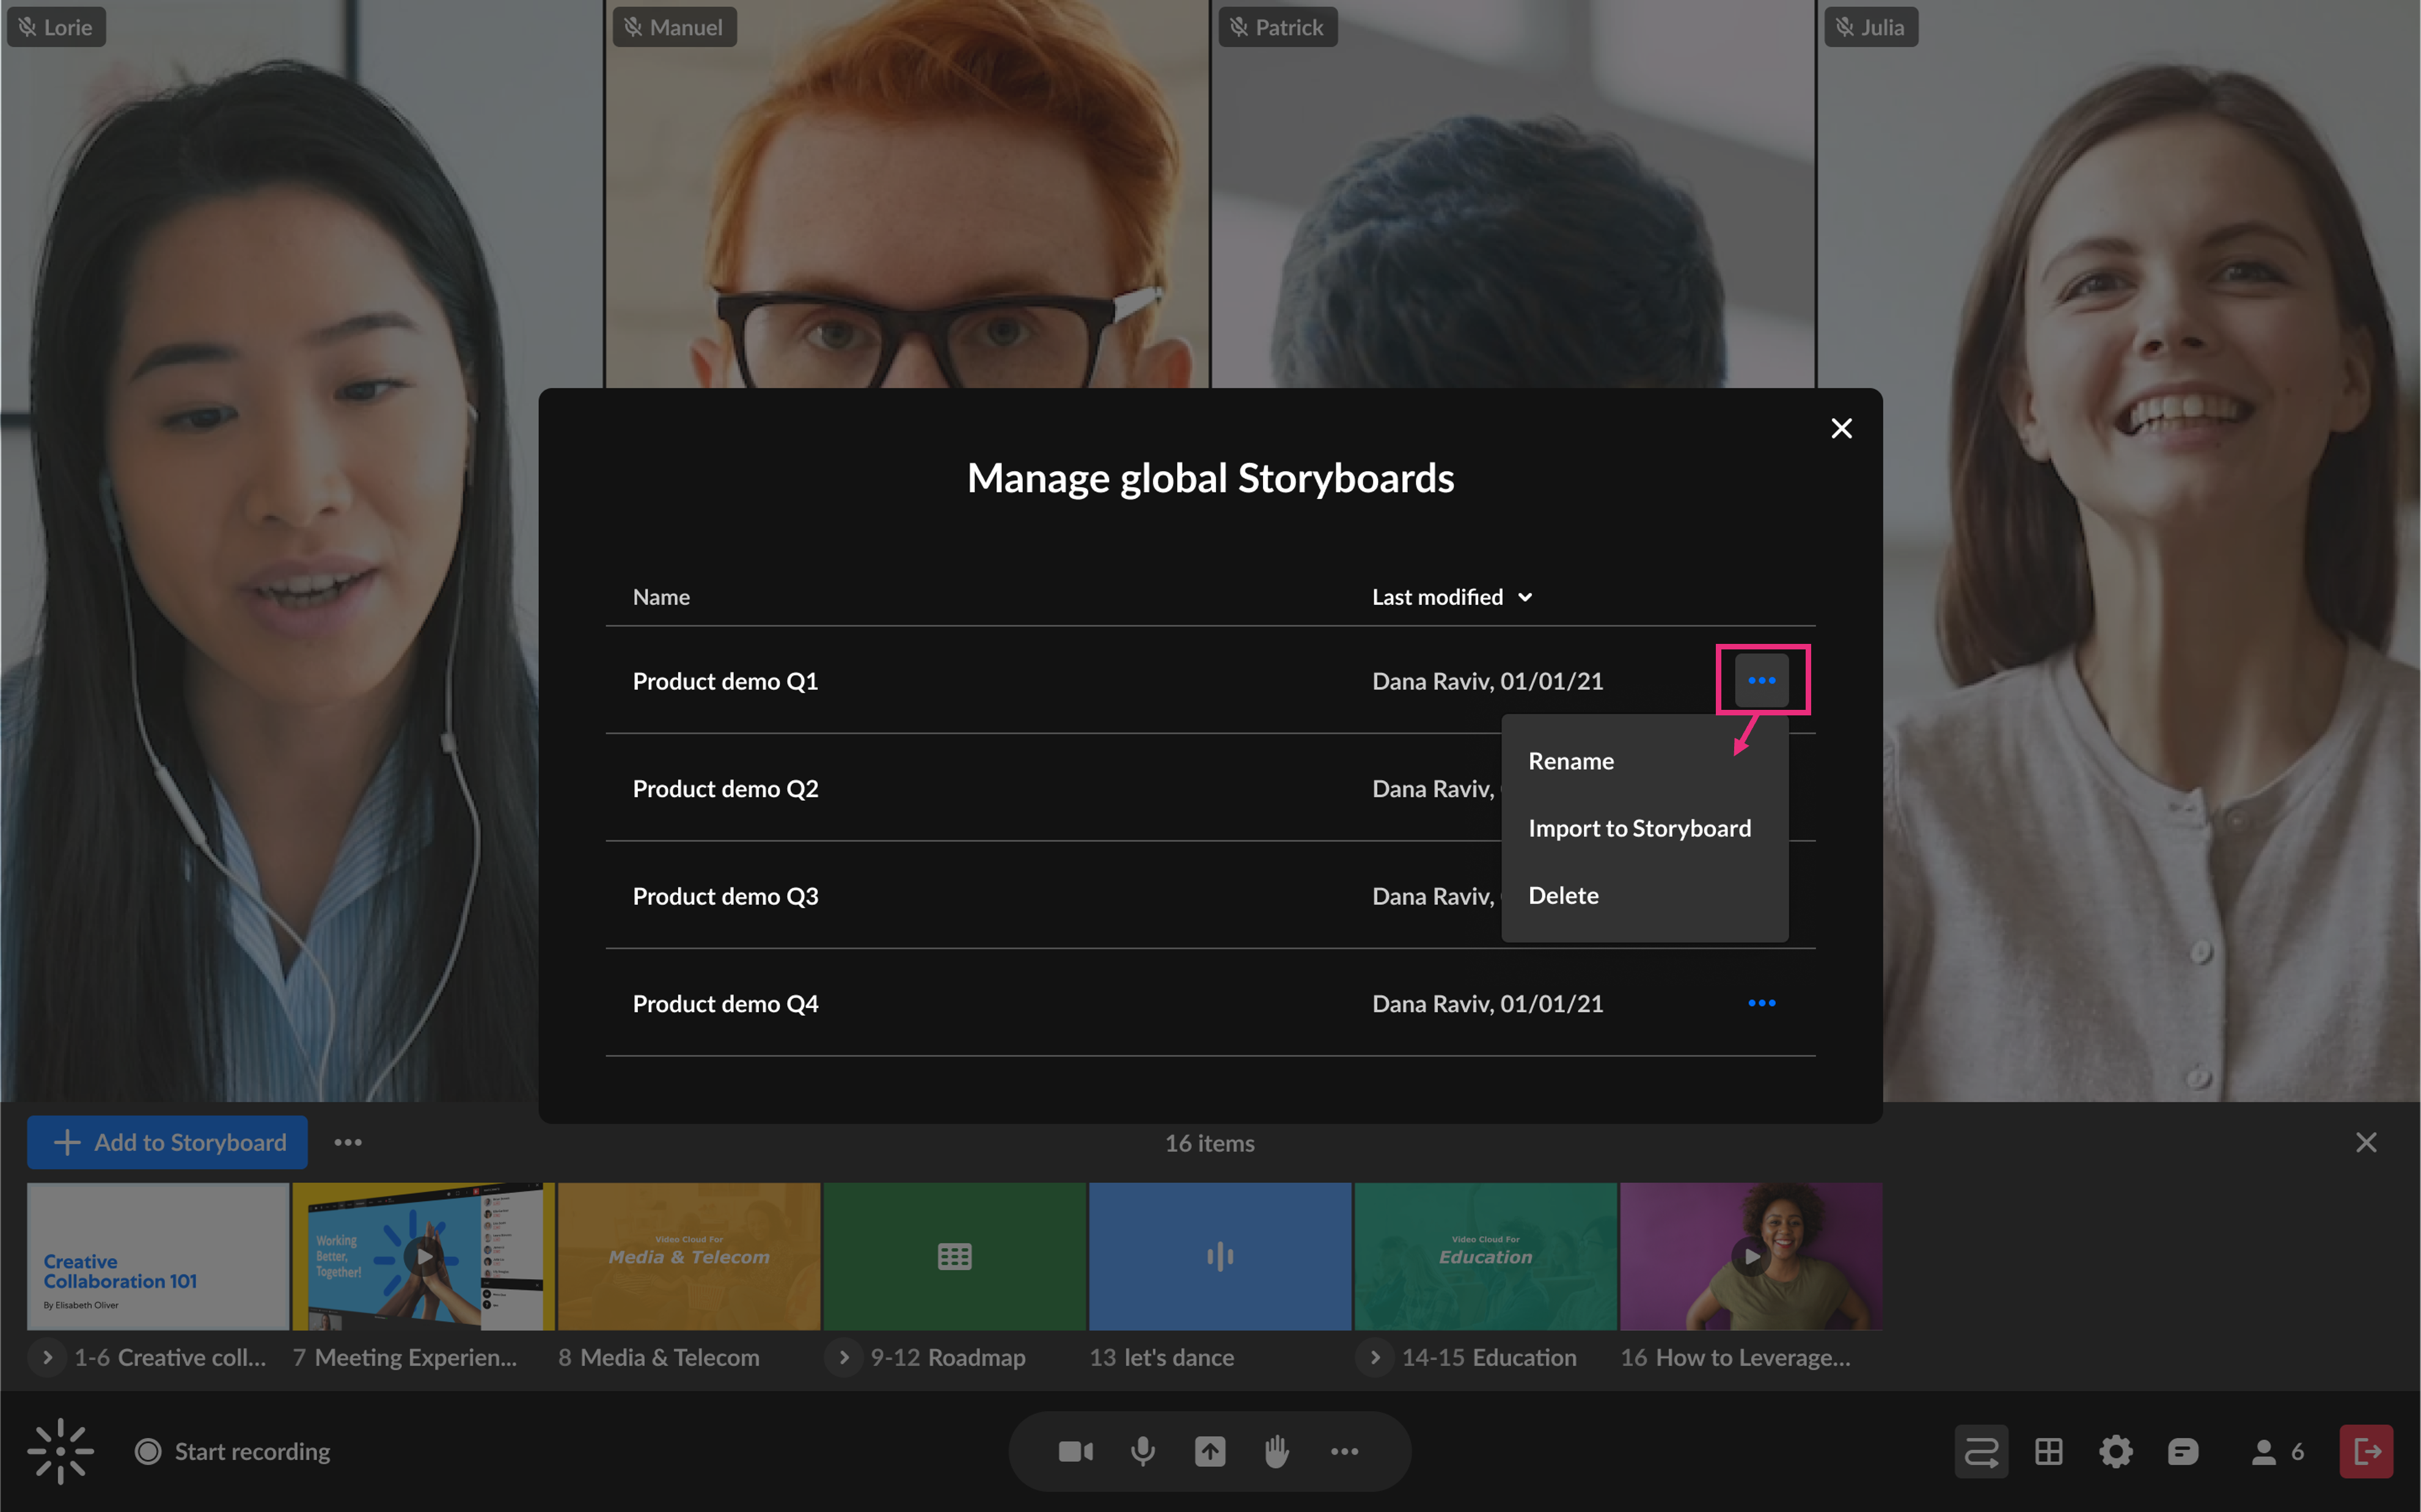
- Rename
- Import to storyboard
- Delete
Rename
- Locate the desired global storyboard and select Rename from the three-dot menu at the end of the row.
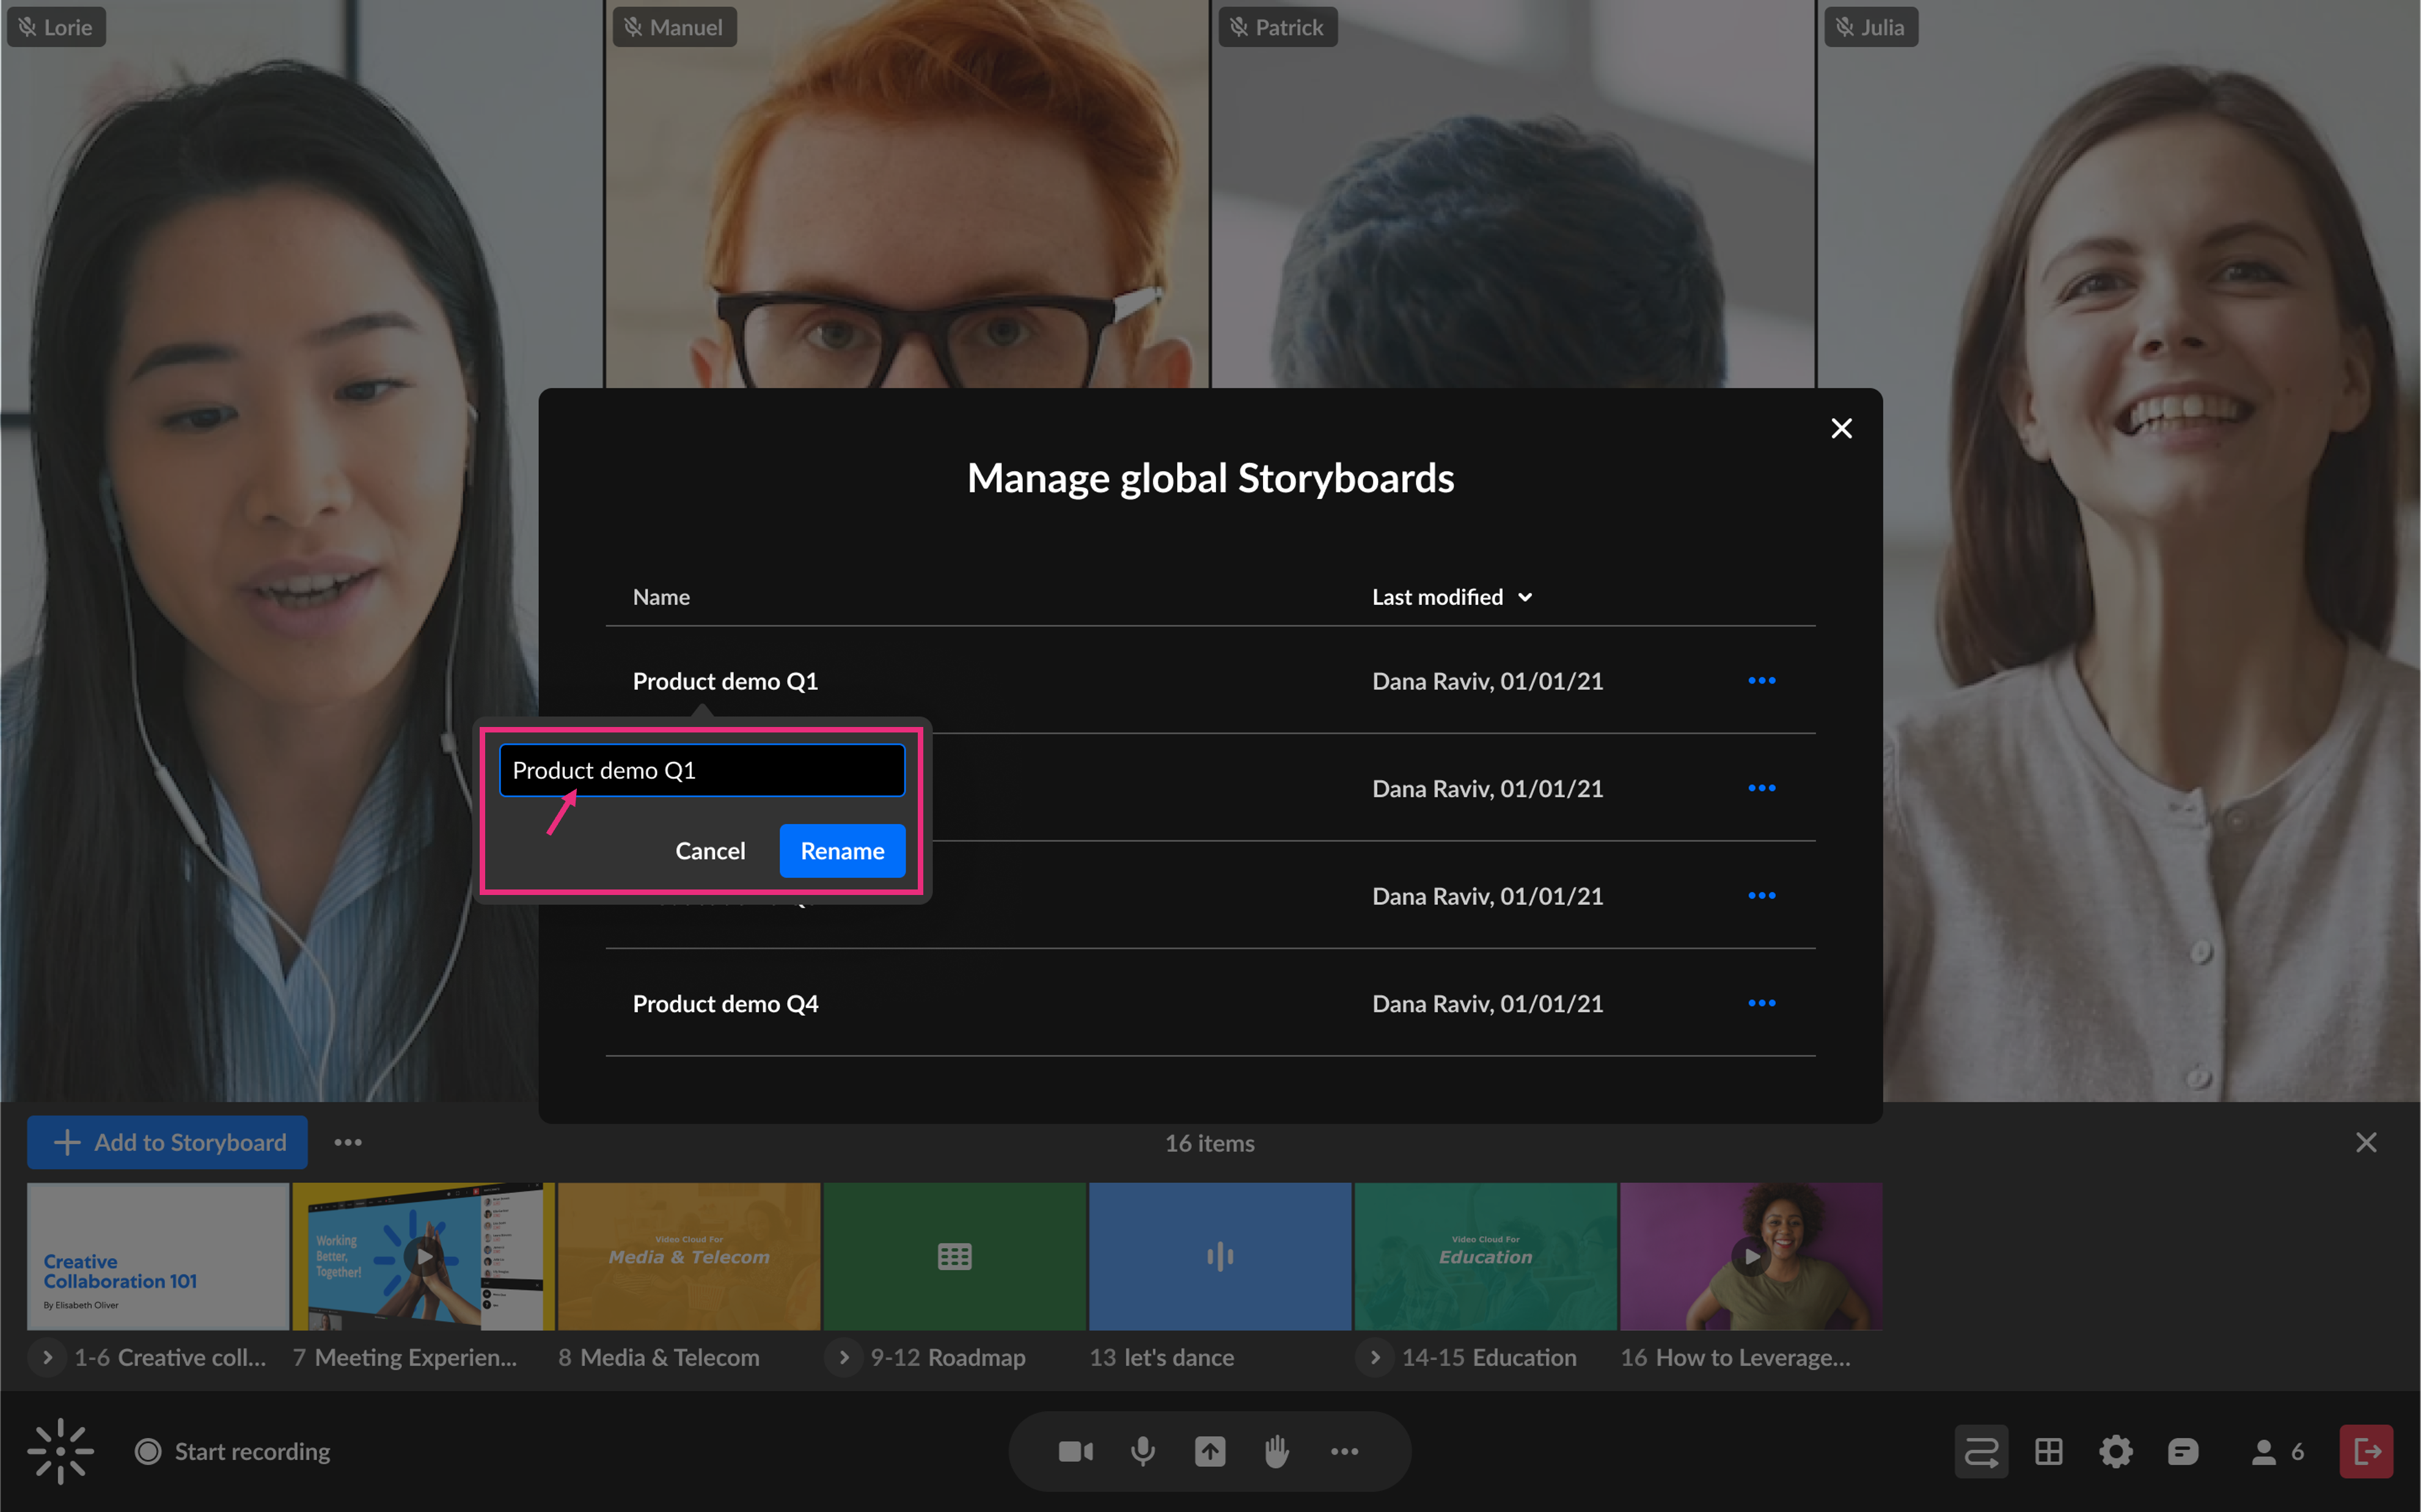
- Click on the field to activate it, and type in the desired name.
- Click Rename.
A pop-up field displays.
The global storyboard's name updates immediately.
Import
- Locate the desired global storyboard and select Import to storyboard from the three-dot menu at the end of the row.
- For the next steps, see Import to storyboard below.
Delete
- Locate the desired global storyboard and select Delete from the three-dot menu at the end of the row.
- Click Delete.
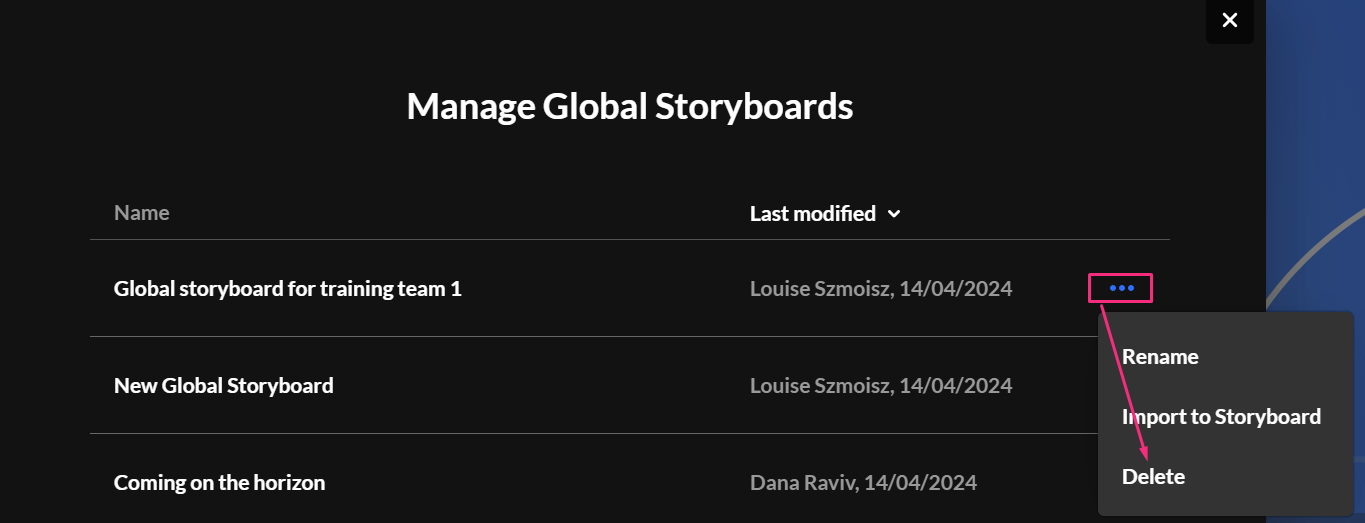
A confirmation displays: Are you sure you want to delete "[name of storyboard]?
Import a global storyboard
You can import a global storyboard to your room.
- At the top left of the storyboard, click the three-dot menu and select Import to storyboard.
- Locate the storyboard you want to import and click Select next to it.
- After reviewing the files, click Import at the bottom right of the window. Imported items are added to the right of any existing storyboard items.
The 'Import to storyboard' window opens.
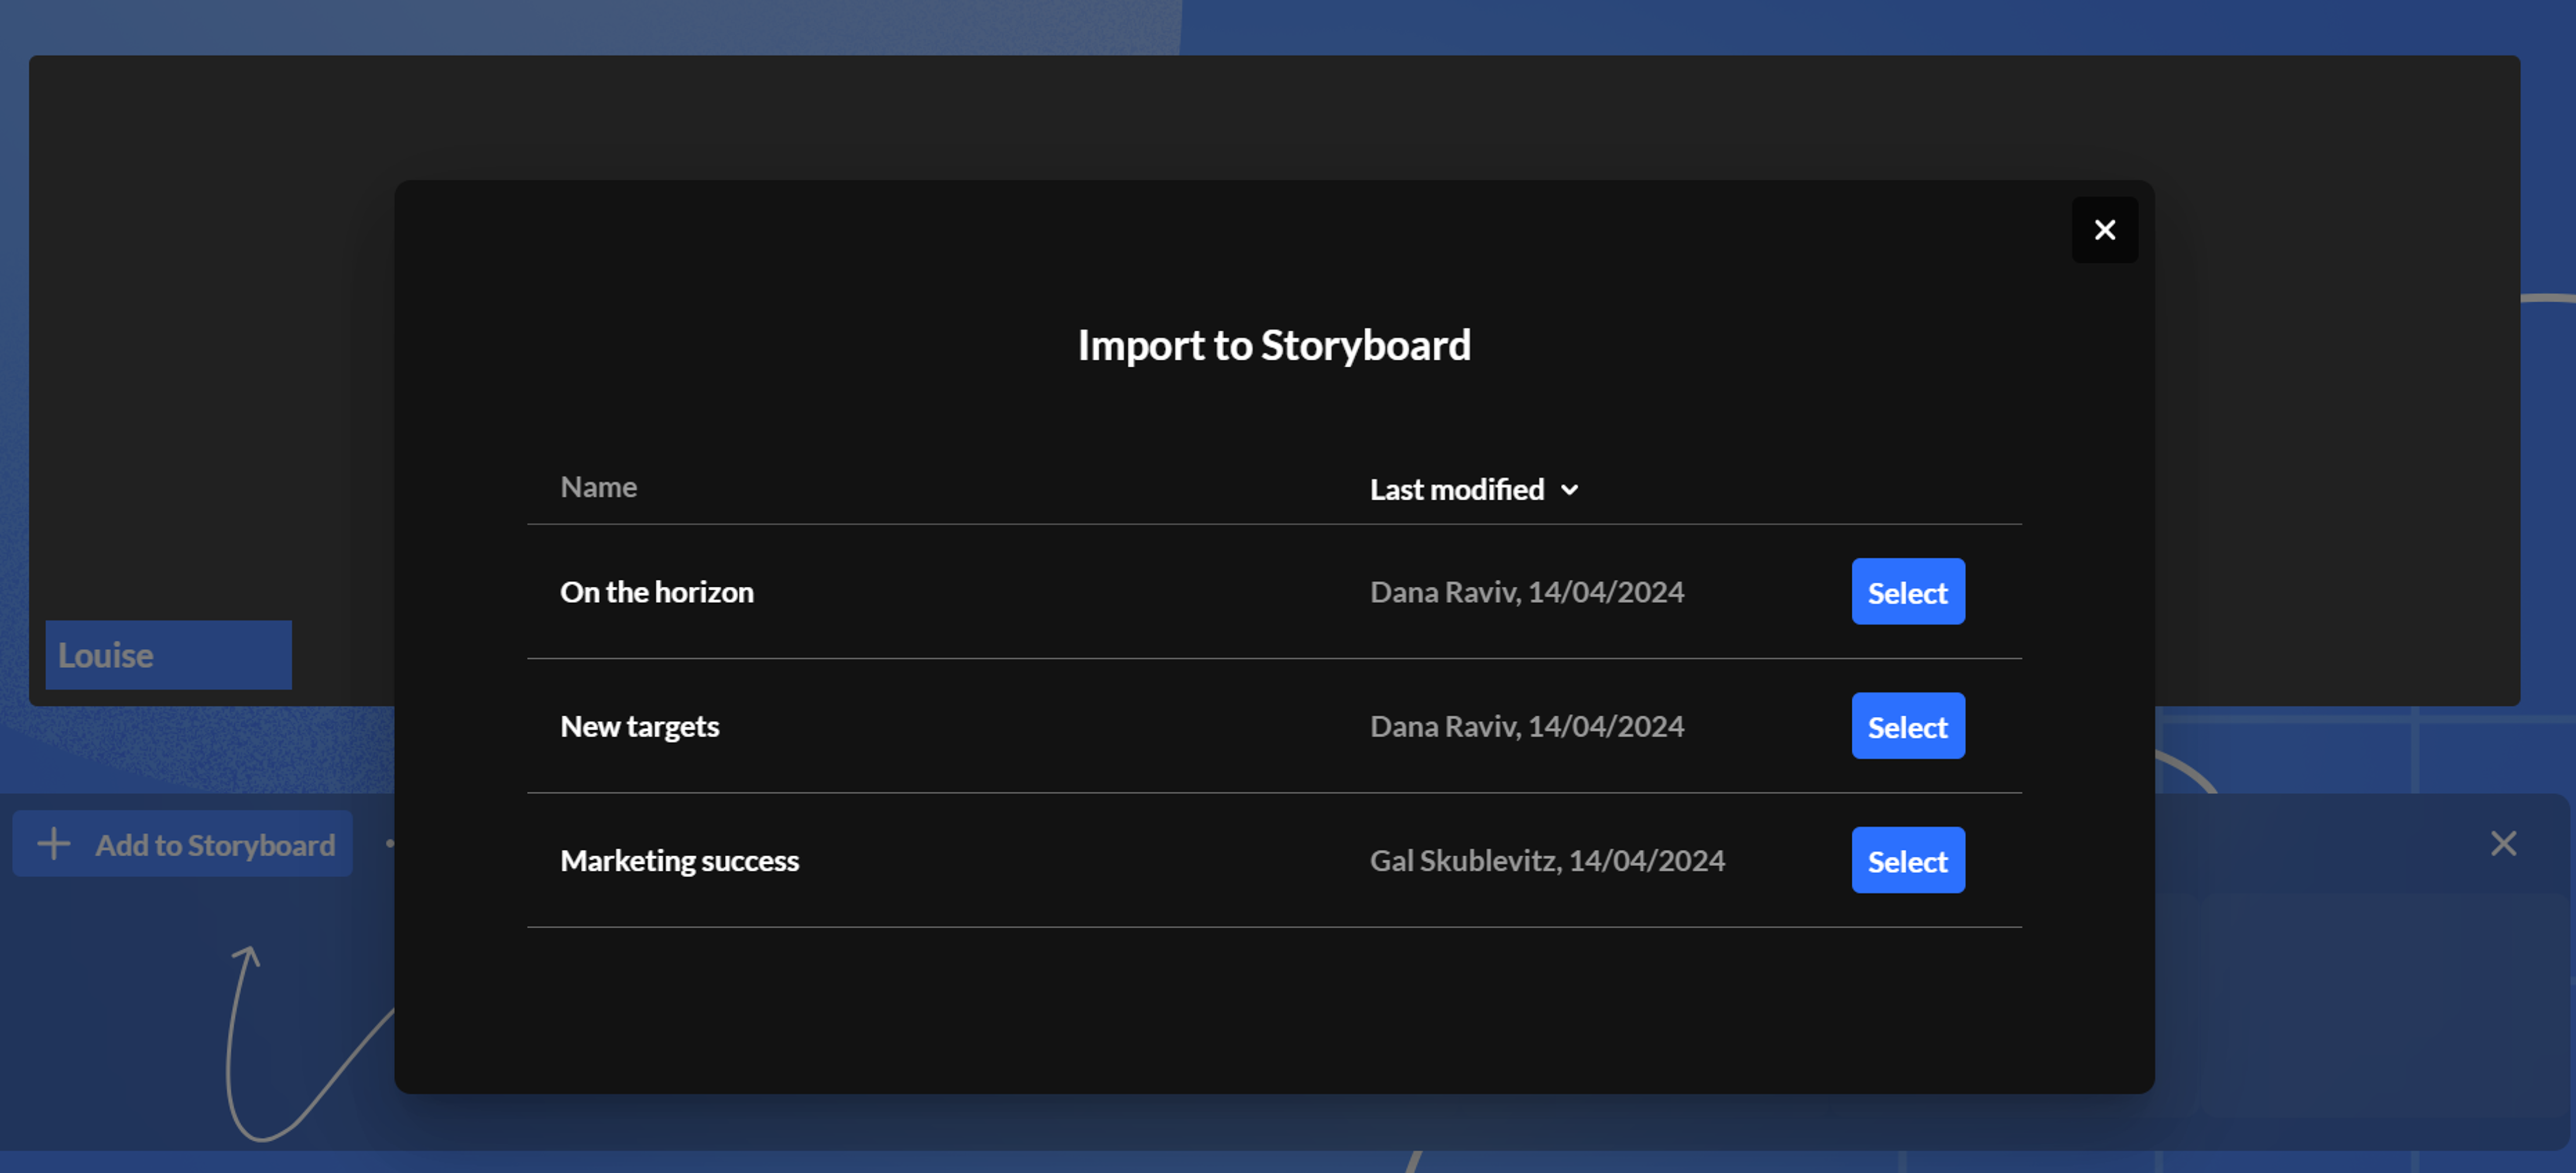
If there are no storyboards to import, it's because you haven't created one yet. To learn how to create one, see our article Storyboard.
The preview window displays where you can see all the items in the global storyboard.
By default, all items are selected, with names displayed below. The total number of selected items is displayed at the bottom left.

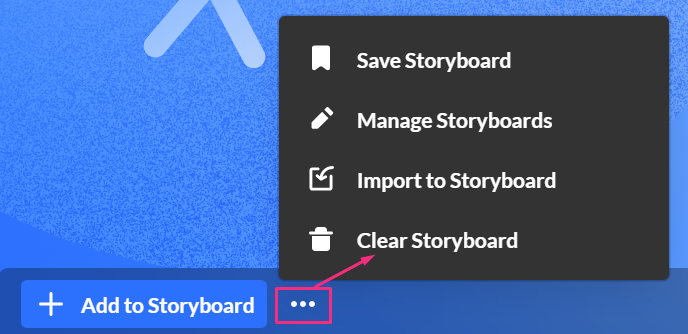
Clear the storyboard
- At the top left of the storyboard, click the three-dot menu and select Clear storyboard.
- Click Clear.
A confirmation displays: Are you sure you want to clear the storyboard?
The storyboard is cleared of all its contents.
