About
You can embed Kaltura Rooms directly in Blackboard course content. This gives students a convenient way to join a room from within their course.
You can embed the same room in multiple courses and locations. Regardless of where students access it, they all join the same room.
- This feature is available only for LMS Video integrations that use Theming.
- Your administrator must enable this feature before you can use it. For setup instructions, see Enable Kaltura Room embedding in Blackboard.
Access the embed tool
-
In your Blackboard course, navigate to the area where you want to embed the room, such as an announcement, discussion, or assignment. In this example, we create an Assignment.
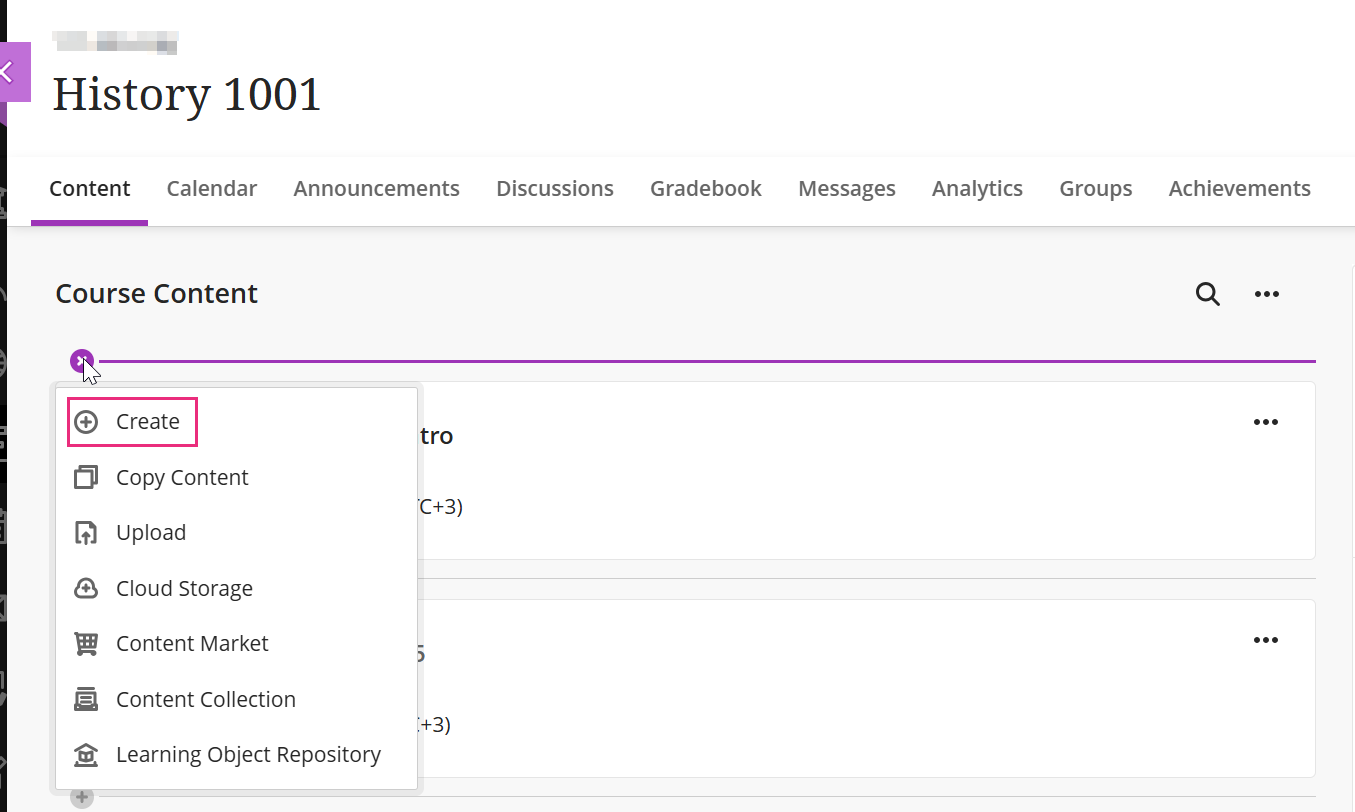
-
In the panel that opens, select Assignment.
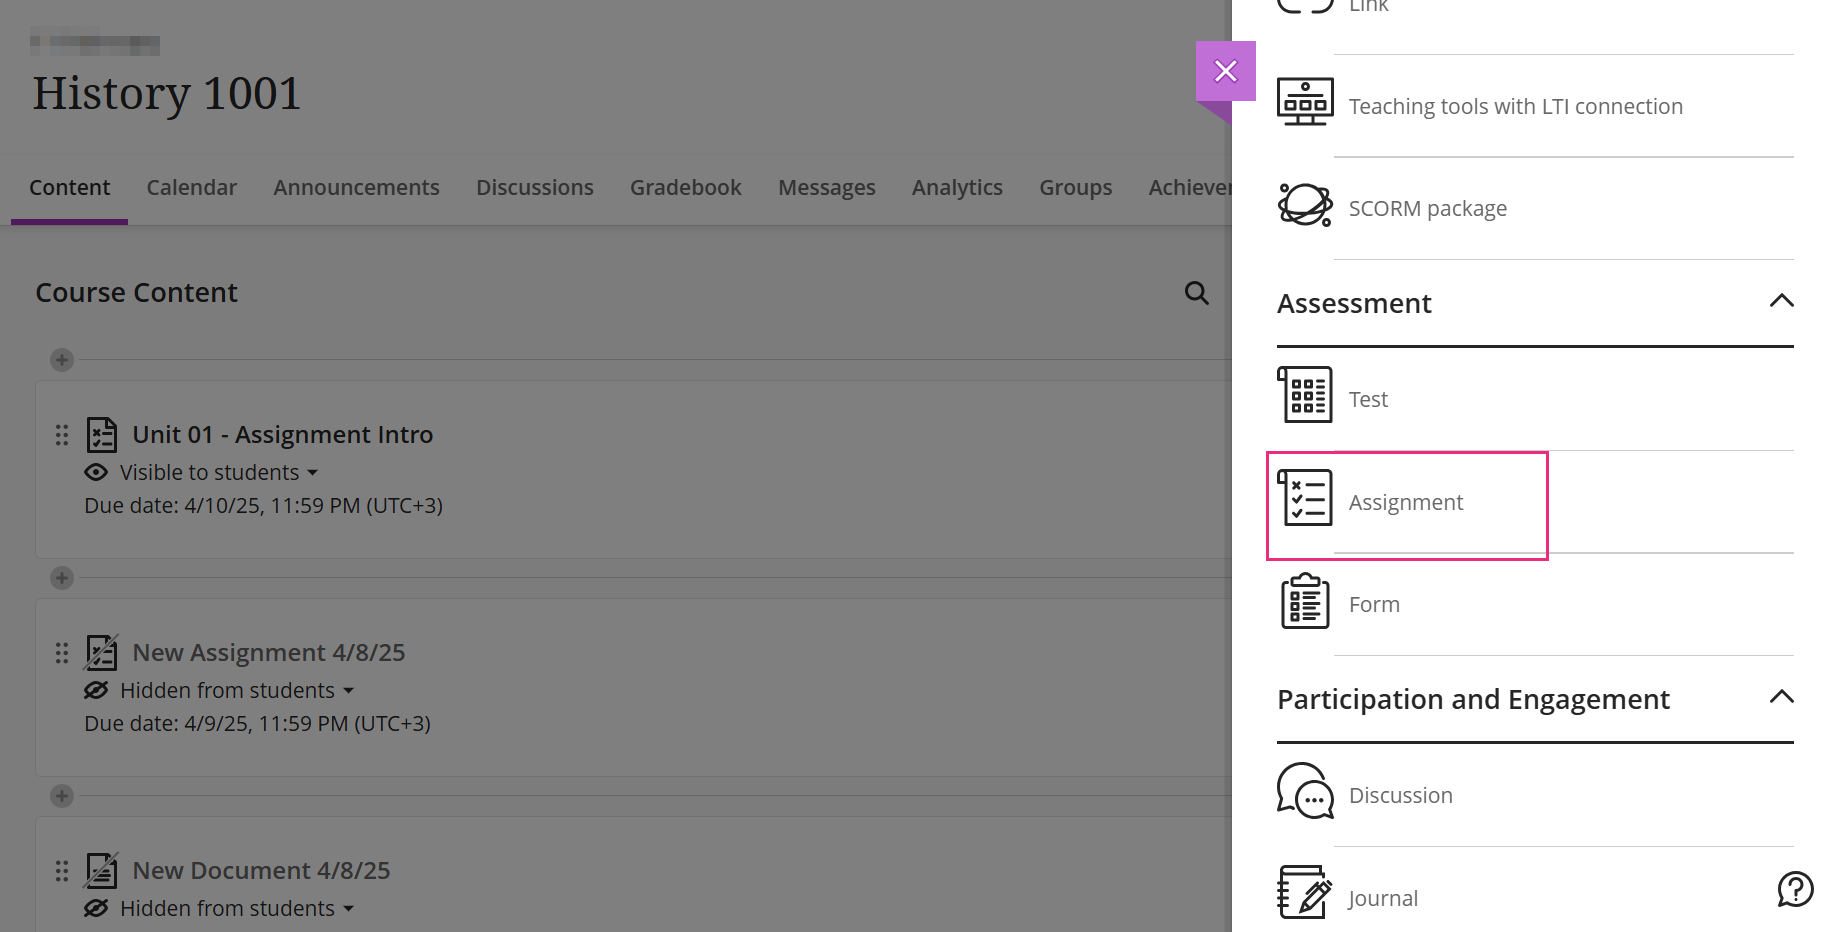
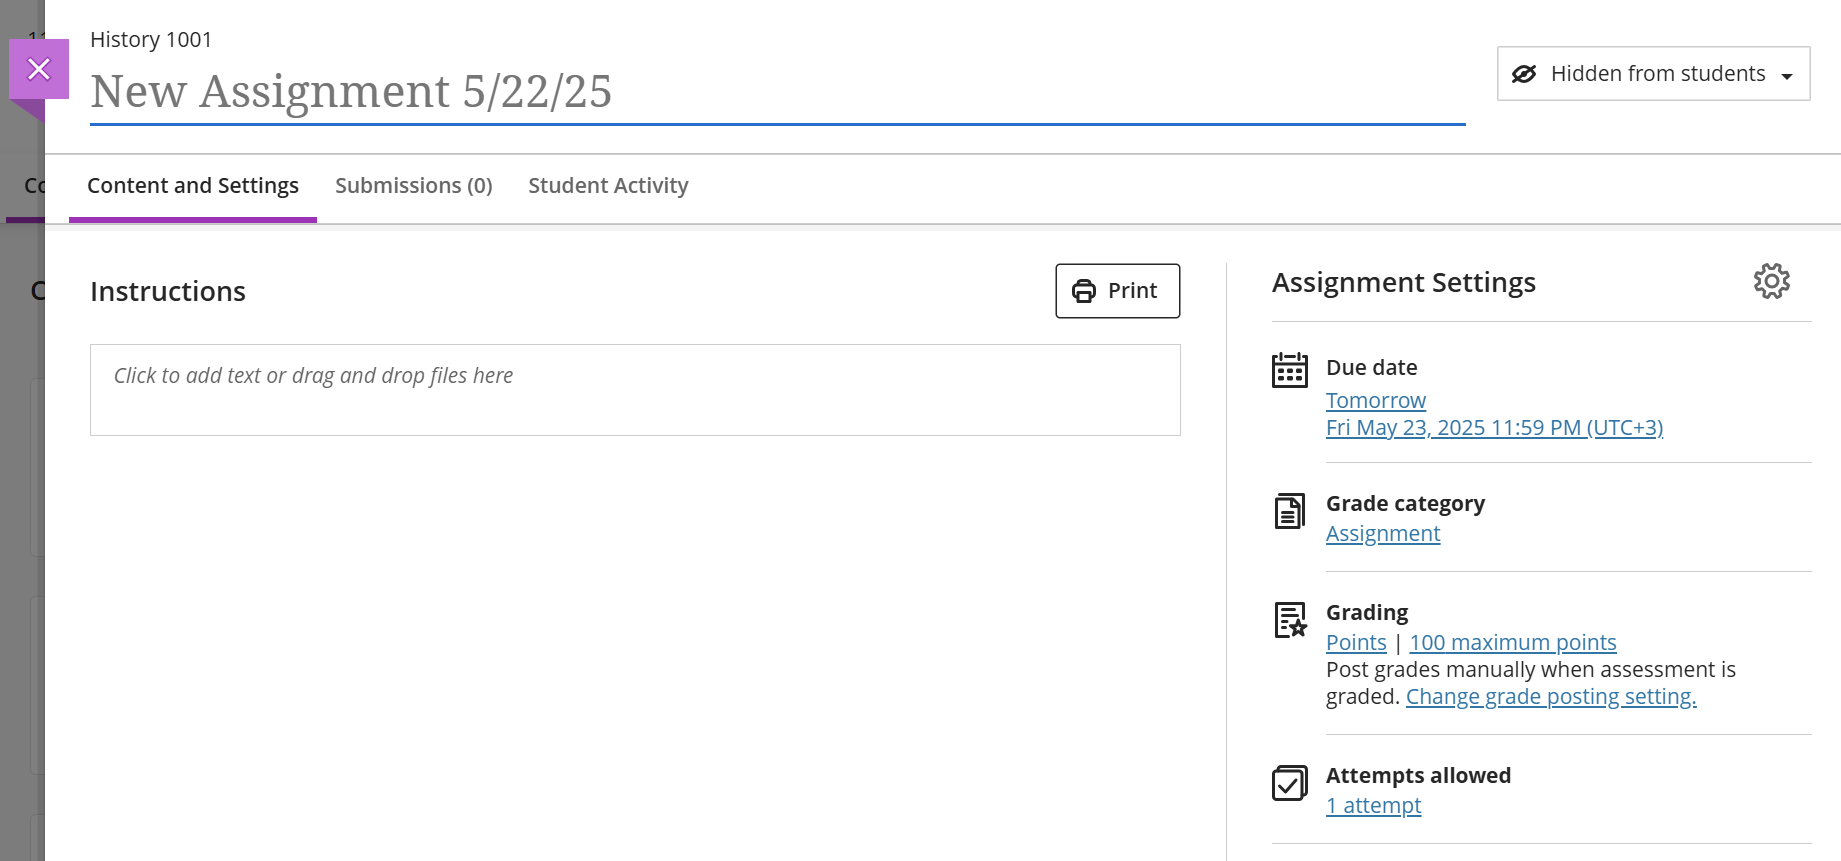
The new assignment page opens.
-
Enter the assignment name and instructions.
-
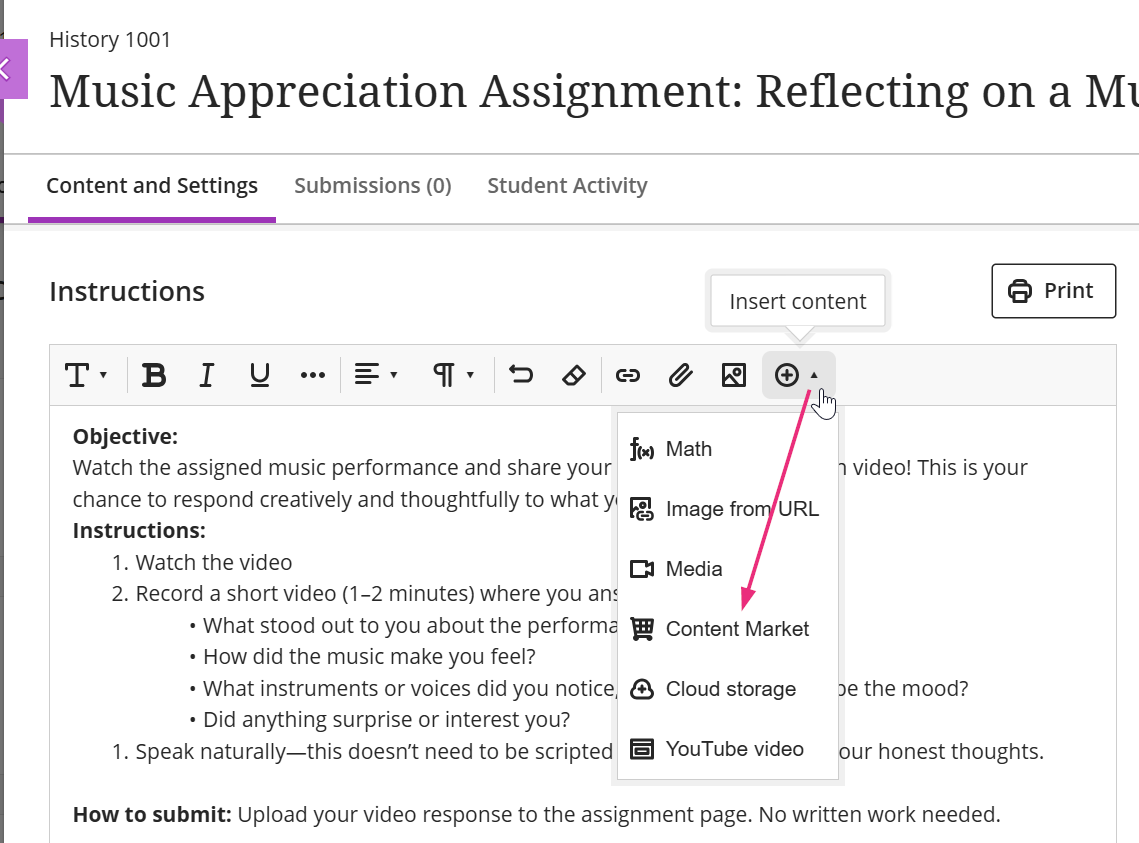
In the text editor, click +, and then select Content Market.
-
In the Content Market, select the Kaltura embed tool.
Note: The name of the tool may differ from the name shown in this example.
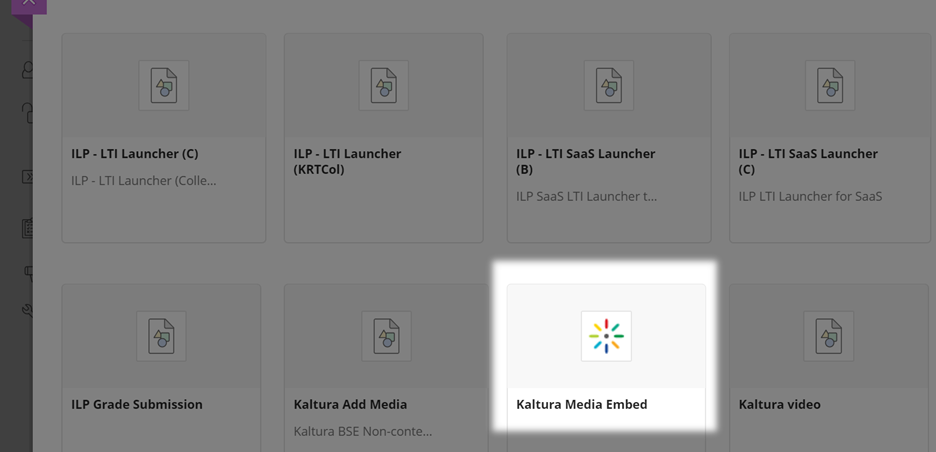
The Embed Kaltura Media window opens.
Embed a room
In the embed window, use the search and filters to locate Kaltura Rooms.
Click Embed on a room entry to insert the room 'card' into your content. (Read more about room cards below.)

If a room appears greyed out in the embed window, it usually means it’s a legacy room. Only the Kaltura Room can be embedded through BSE. Contact your administrator if you’re unsure which rooms are enabled for embedding.
Once you have embedded the room, the card shows the session title, description, thumbnail, and a 'Join now' button.

Room card details

The embedded card displays key session information in a compact, visual layout. It includes:
- Date and time of the session (if scheduled)
- Session title
- Short session description, with a 'Read more' link that opens the entire text
- 'Join now' button - always visible for teachers and co-editors; for students, it's shown based on session timing
- Speaker information (if enabled) - up to three speakers shown with a plus (+) indicator if there are more
- Thumbnail image on the right (if enabled)
The card adjusts its appearance depending on the session status ('Live' or 'Out of Schedule').
What students see
When a student clicks Join now, the session opens in a new tab. They’re authenticated through the LMS and depending on how your Room is configured, they might:
- Land in the waiting room first
- Be taken straight into the live session in the Kaltura Room in a focused view that includes the Chat and Collaboration panel on the right.
- Be prompted with “Access denied” if they're not entering through the LMS.


Access is role-based, using existing Kaltura permissions. Unauthorized users will also see an error message.
