Legacy notice
This article documents the legacy KME Room. For information on the new room, please visit the new Kaltura Room documentation.
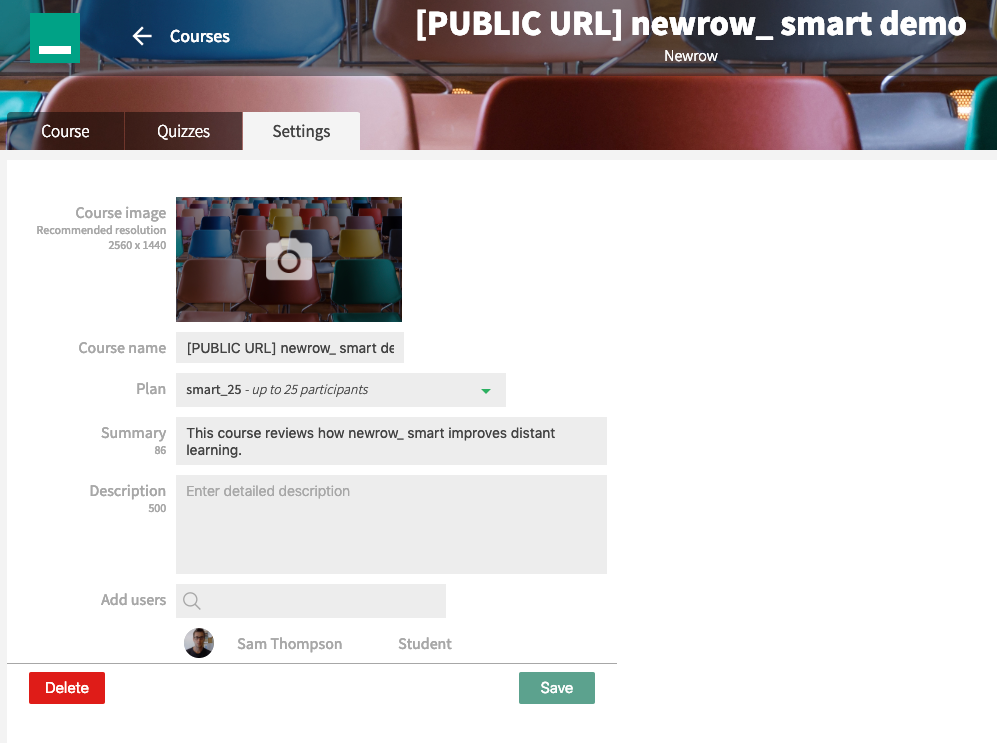
This article describes how to customize your course image, name, and quick summary. You must have an Admin role to change your course name, image, and summary.
Access Course Settings
- Select a course in the Course Directory,
- Click the Settings tab.
Change Course Image
The course image is a great way to add a customized experience for your learners. This image is used both in the Course Directory as well as the guest sign in page as a background banner image.
- In Course Settings, click the default Course Image.
- From your file browser, choose the image you want to represent your course.
- Click the Save button to update the image.
Update Course Name
The course name appears in the Course Directory as well as the guest sign in banner.
- In Course Settings, enter the new name in the Course Name field.
- Click the Save button,
Update Plan
After purchasing a license, you'll be able to make your course active.
- Click the green drop down arrow in the Plan field.
- Select your plan.
Enter Course Summary
The Course Summary appears only in the Course Directory.
- In Course Settings, enter the summary in the Course Summary field.
- Click the Save button.
Add Users
You can add users to your course that have previously been invited to your Live Room.
- Search for a person's name.
- Click on that person to add them to the course.
