About
Use the Distribution settings in the Rich Media CMS to publish a media item to connected destinations such as YouTube or Facebook. This article walks you through exporting, updating metadata, scheduling, and removing distributed entries.
For more information about the Facebook distribution connector, visit our article Facebook Distribution Connector.
Distribute an entry
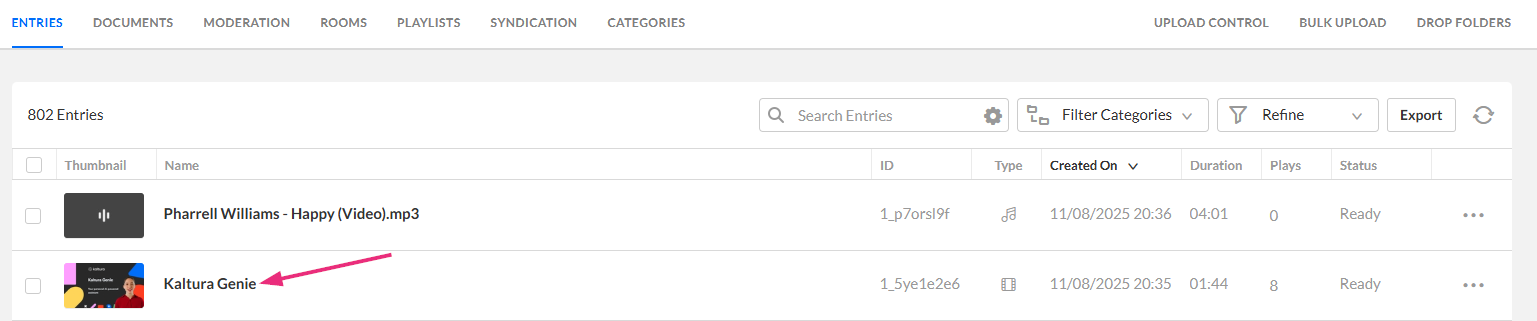
- Log into Rich Media CMS. The Entries tab displays by default.
- Click the entry's name or thumbnail.
- In the left panel, click Distribution.
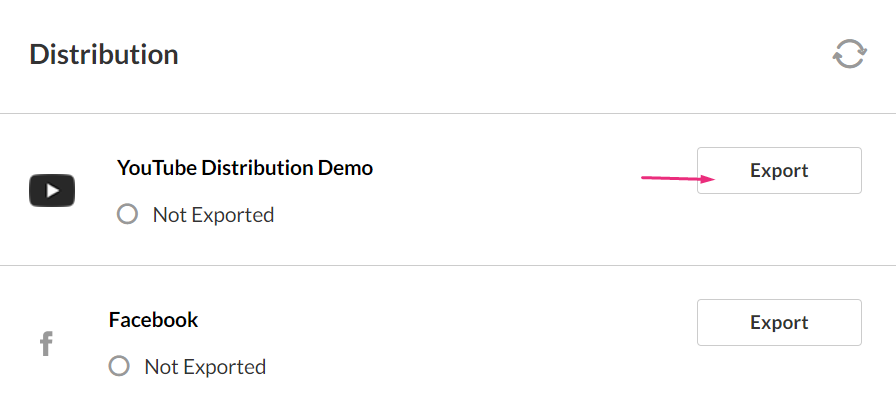
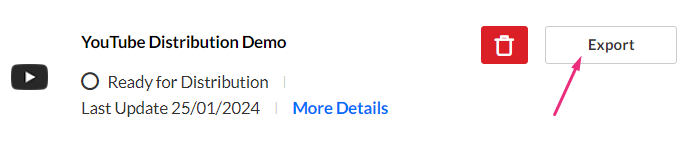
- Find the distribution profile you want to use and click Export.


The entry details page displays.

The distribution profiles configured for your account display.

After you click 'Export' for the first time, the distribution details page opens. Here you can review metadata, enable automatic updates, and confirm the export.
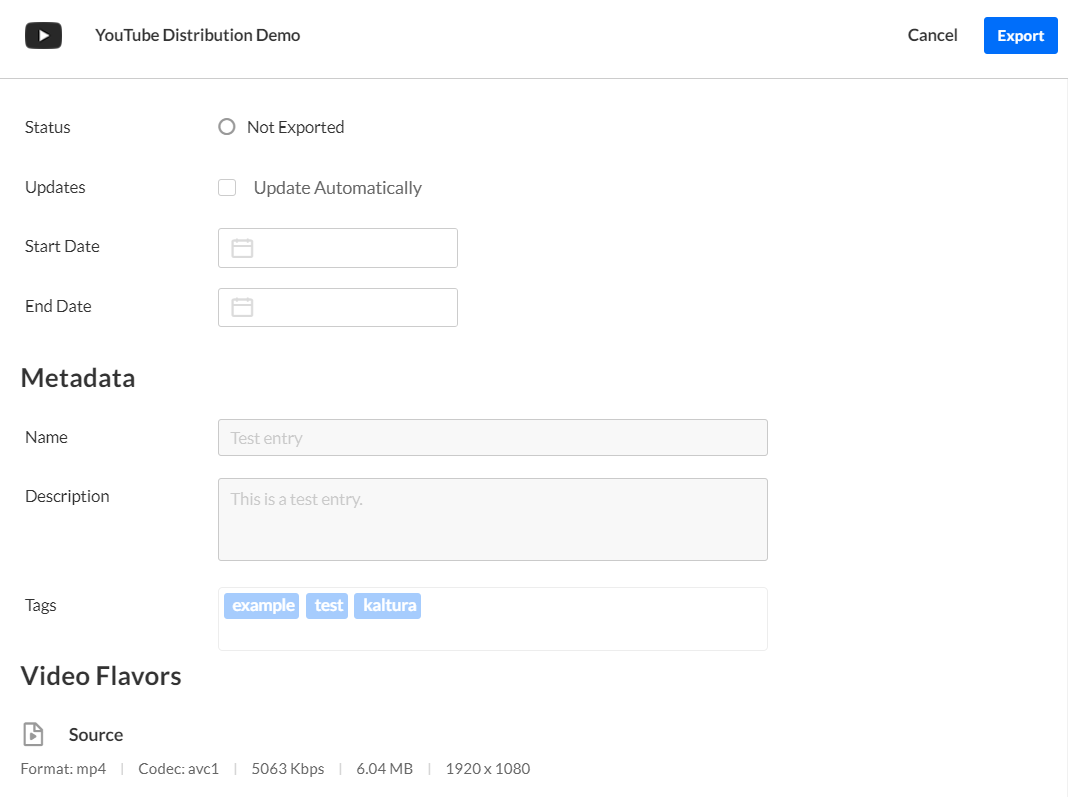
On the distribution details page, you’ll see one of the following statuses:
- Not Exported – grey circle
- Ready for Distribution – black circle
- Distributing – blue spinner
- Distributed – green check
Update metadata after distribution
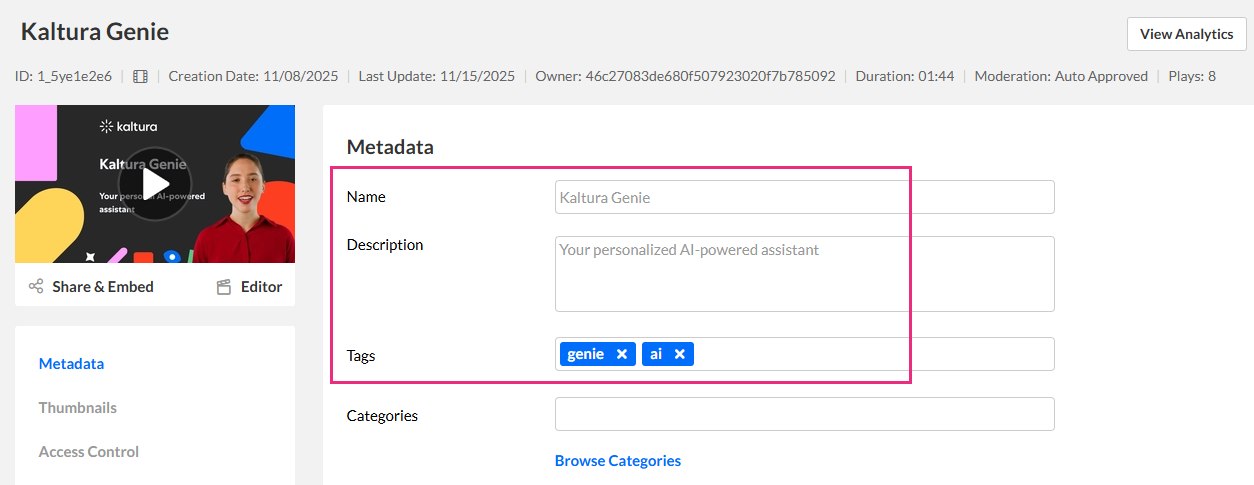
You can update title, description, and tags after export.
- On the Entries page, click on the desired entry name or thumbnail.
- Edit the Name, Description, or Tags fields.
- Click Save at the top right.
The entry details page displays.
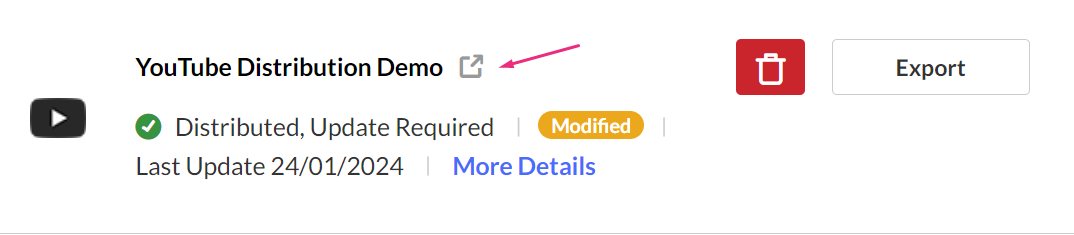
A Modified notification appears on the Distribution tab.
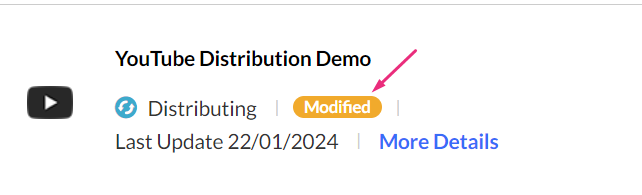
Kaltura sends these updates to the destination platform automatically, unless you chose not to enable automatic updates for that profile.
Automatic metadata updates
When you click 'Export' for the first time, the distribution details page opens. This page includes the Update Automatically option.
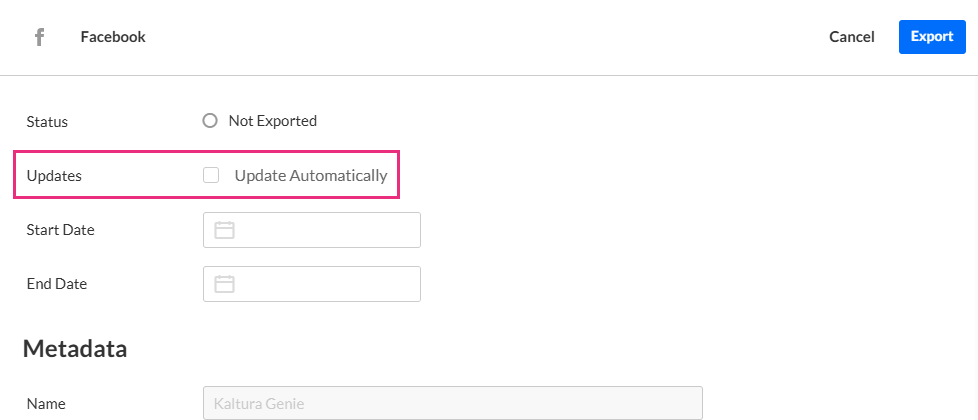
If you enable 'Update Automatically', Kaltura will continue to push future changes to the following fields:
- Name
- Description
- Tags
This option applies only to metadata. It does not update the video file, thumbnails, captions, or any other asset.
To update the video file itself on the destination platform (for example, after replacing or trimming the video), you must remove the exported entry and re-export it.
Schedule distribution
You can set scheduling separately for each distribution so that the same content may have a different schedule depending on the distributor.
- Open the distribution page for the desired entry
- Click More Details.
- Select the desired start date and end date and times.
- Click Update. The distribution profile displays.
- When you're ready to distribute the content, click Export.

The distribution details page displays.
This allows the same content to have different schedules for different destinations.
Remove a distributed entry
- On the Entries page, click on the desired entry name or thumbnail.
- In the left panel, click Distribution to view the distribution profile page.
- Click the red trash can icon next to the destination.
- Click Yes to continue.
The entry details page displays.

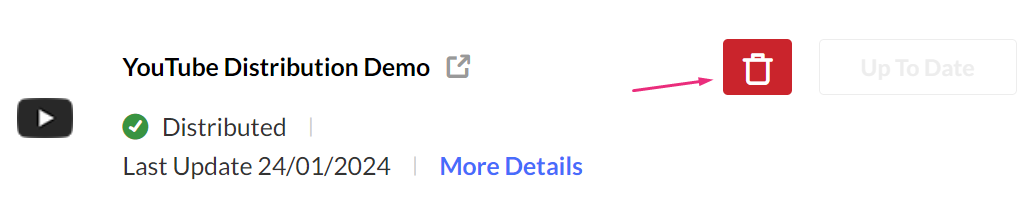
A warning message displays: You are about to remove the exported video that was distributed by (xx). The video will no longer be available via the video page on the external platform. How do you want to proceed?
Preview on the destination platform
Once an entry is distributed, a remote ID is generated and a link icon appears on the Distribution tab. You can:
- Click the link icon to open the entry page directly on the destination platform.
- Copy the Remote ID and paste it into the destination site as a reference to locate the distributed entry.
OR

Search for distributed entries
- Under the Entries tab, click the Refine filter to open it.
- Click the arrow next to Destinations to expand the category.
- Select the destination(s) by checking the corresponding box(es).

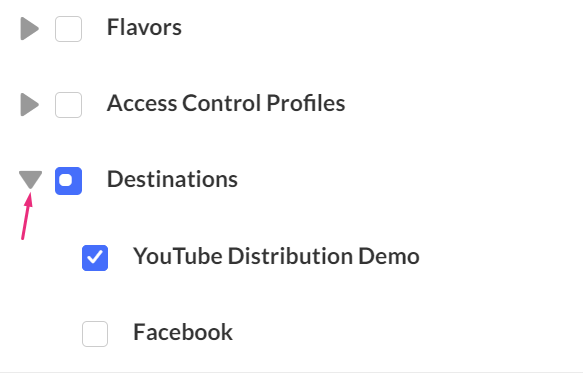
Review the filtered results.

