About
Chapters and slides help organize your video and make it easier for viewers to follow along. Chapters act like bookmarks for quick navigation, while slides show synced visuals alongside your content.
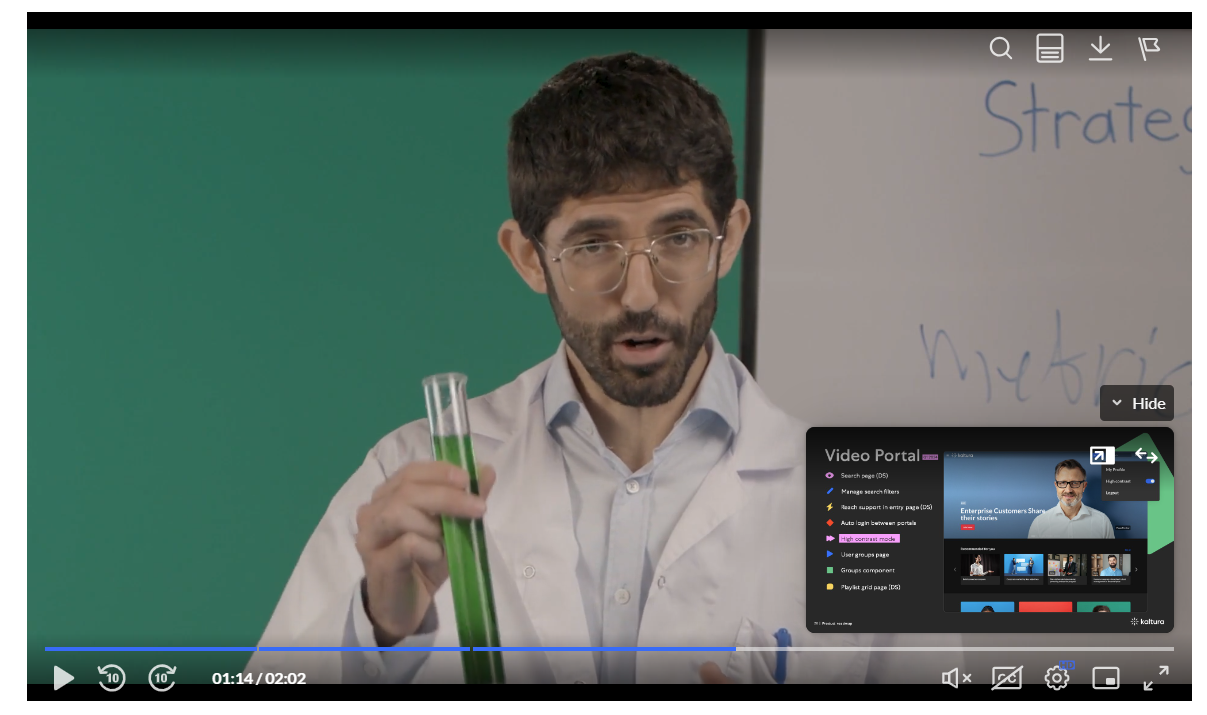
Viewers can explore chapters and slides using the extended player, but they can’t access the editing timeline. They can also search for text within them.
To learn more about how this works in the dual-screen layout, see our article Dual Screen.
This feature requires the Chapters module to be enabled.
In LMS instances that are set with remote storage configuration, slides on entries are stored and played from the remote storage.
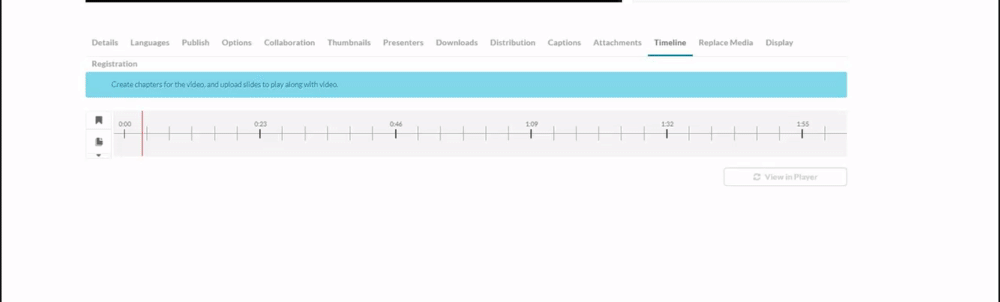
Create chapters
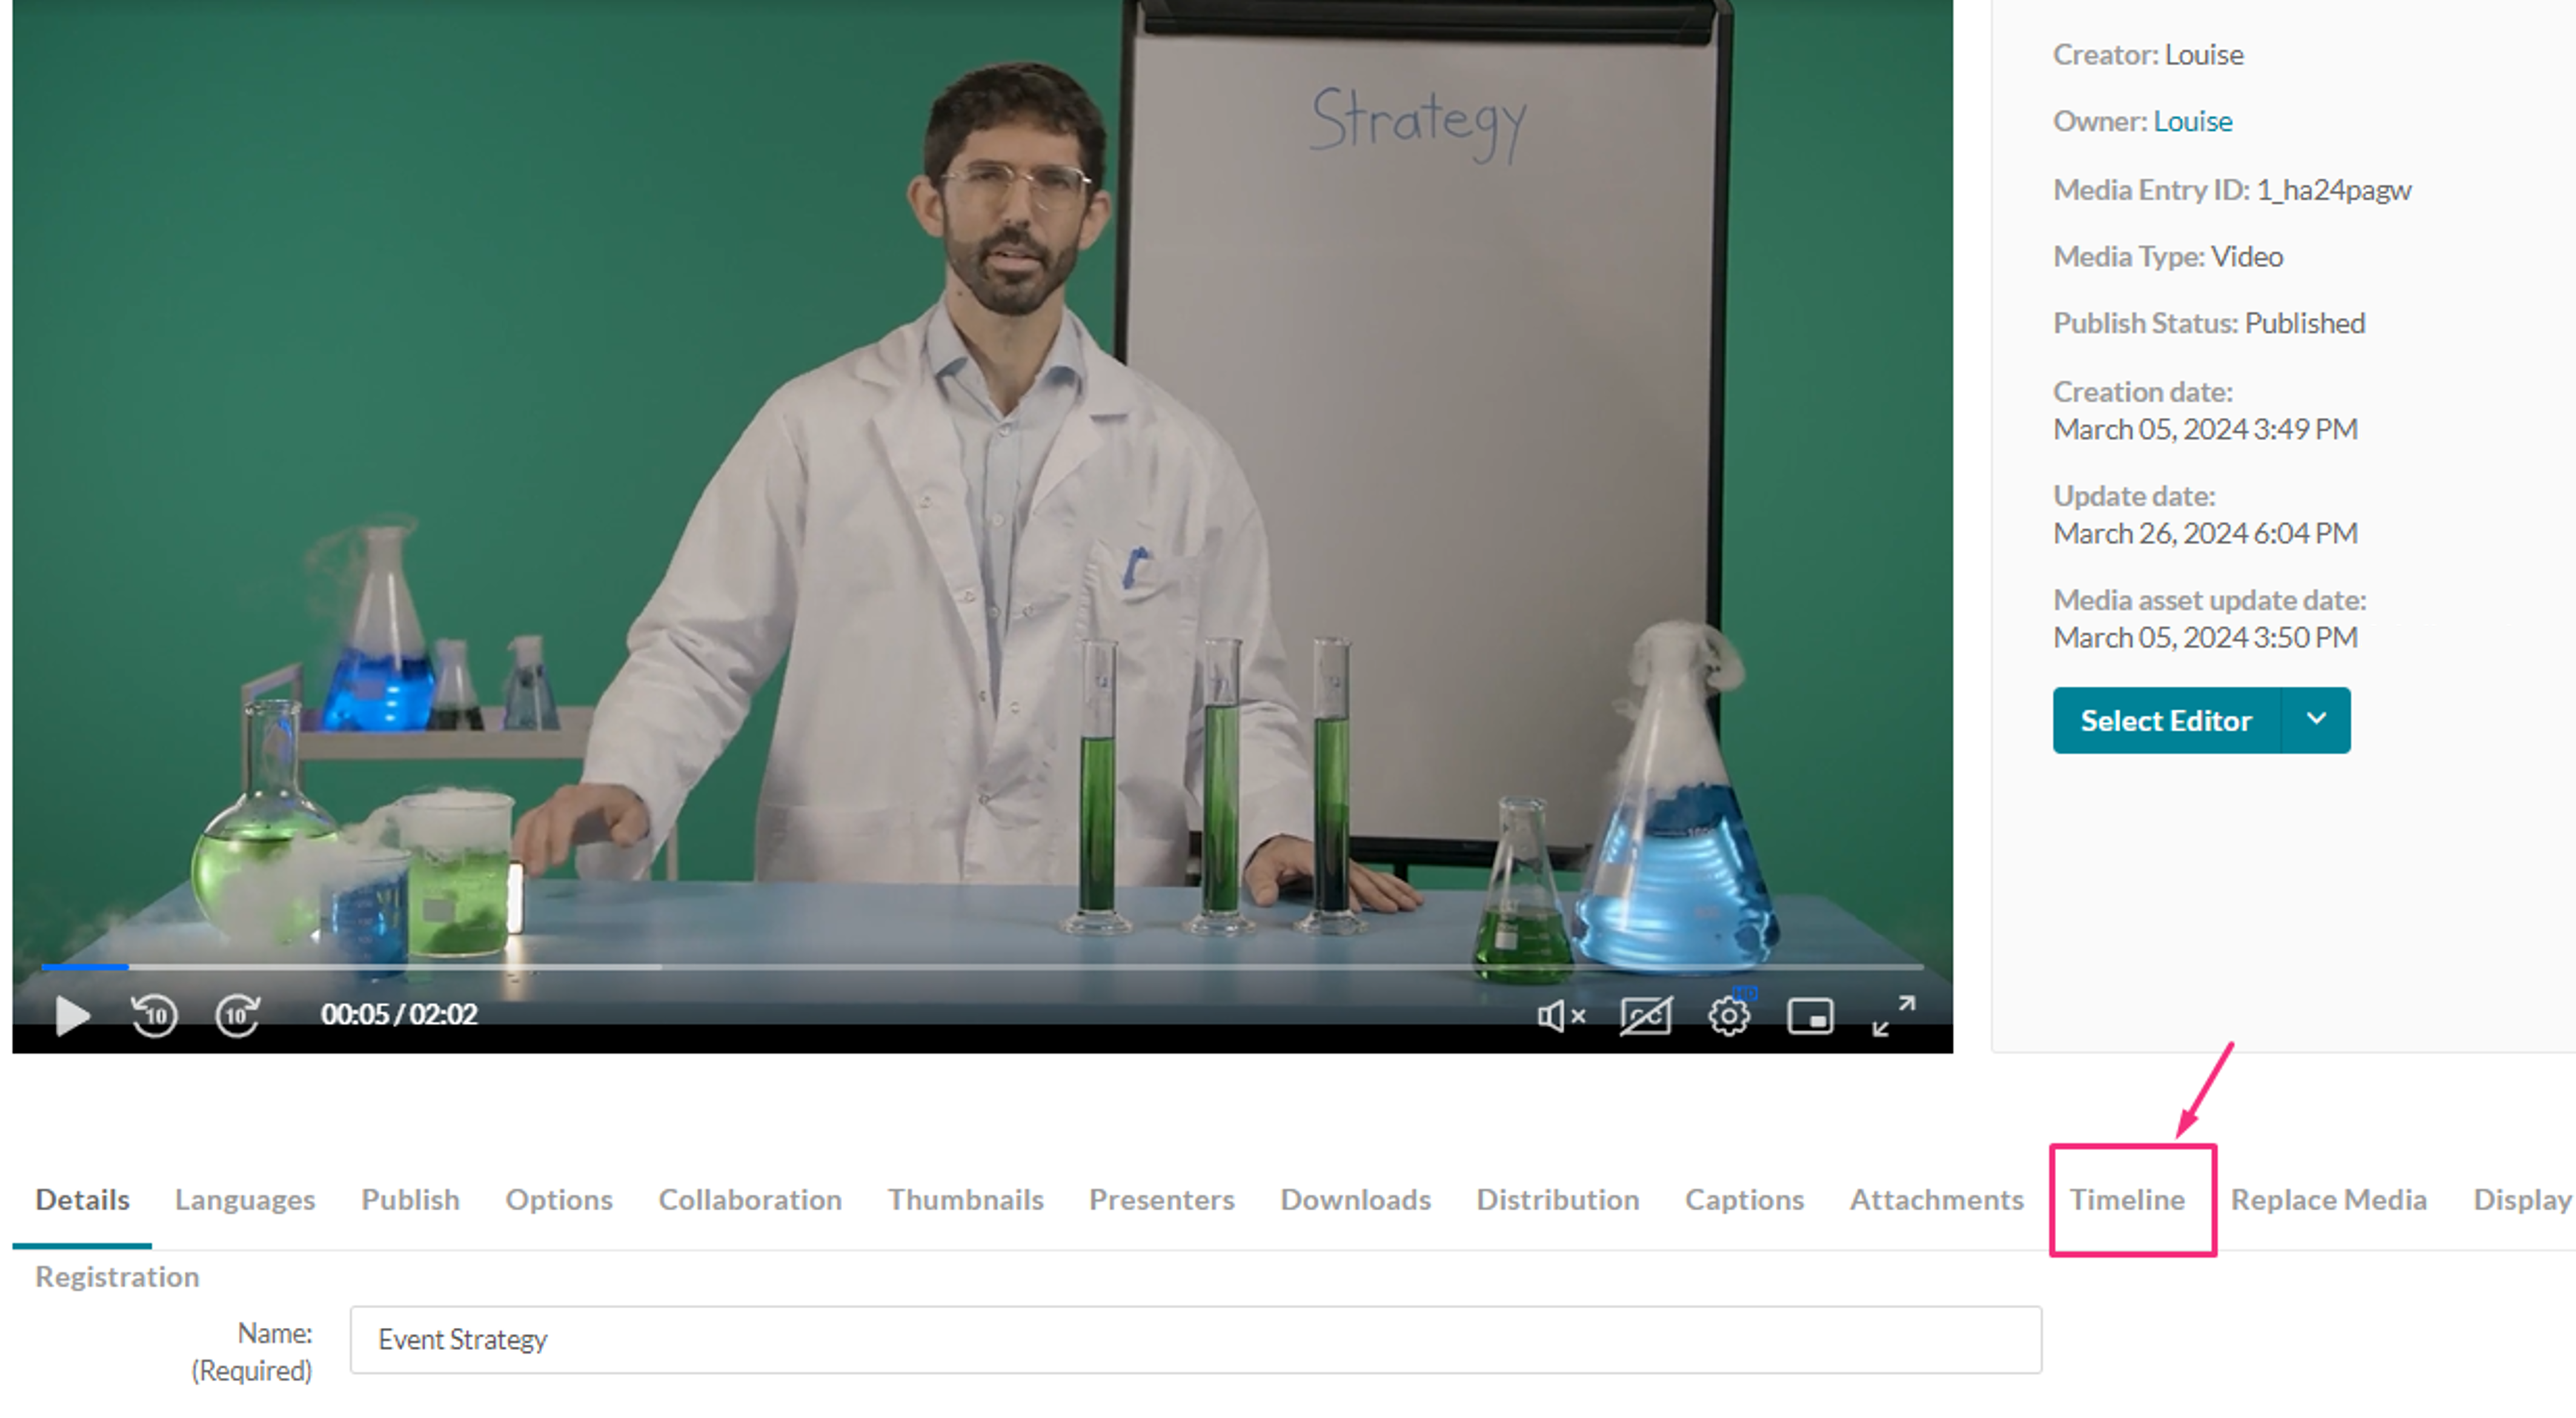
- Access the edit media page and click on the Timeline tab.
- Click the Create New Chapter icon.

The chapter settings display.
- Move the cue point to the desired position of the first chapter.
The media's timeline displays.


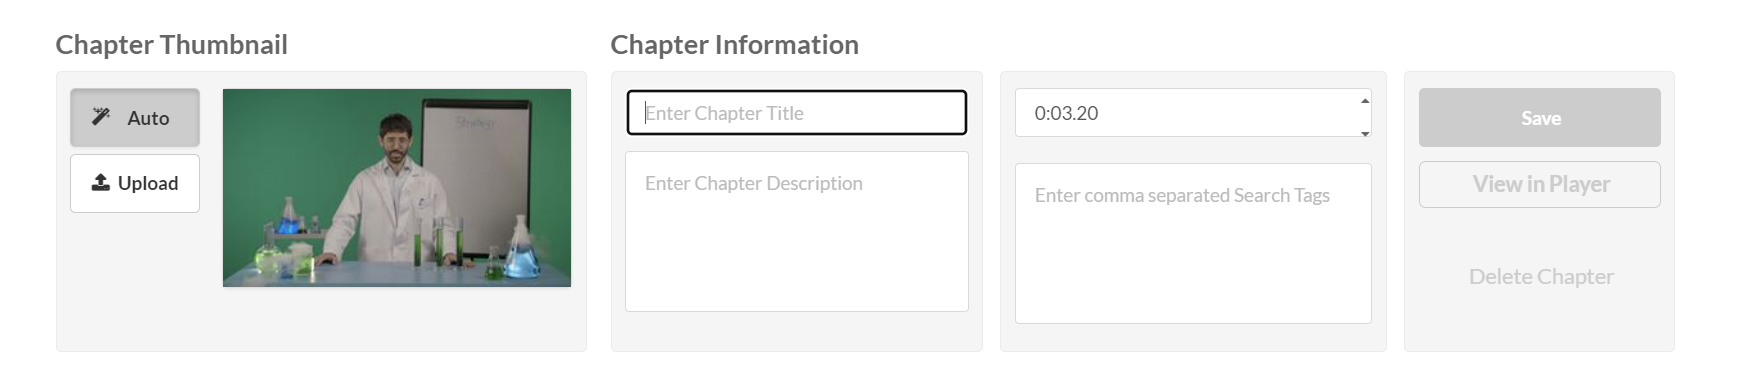
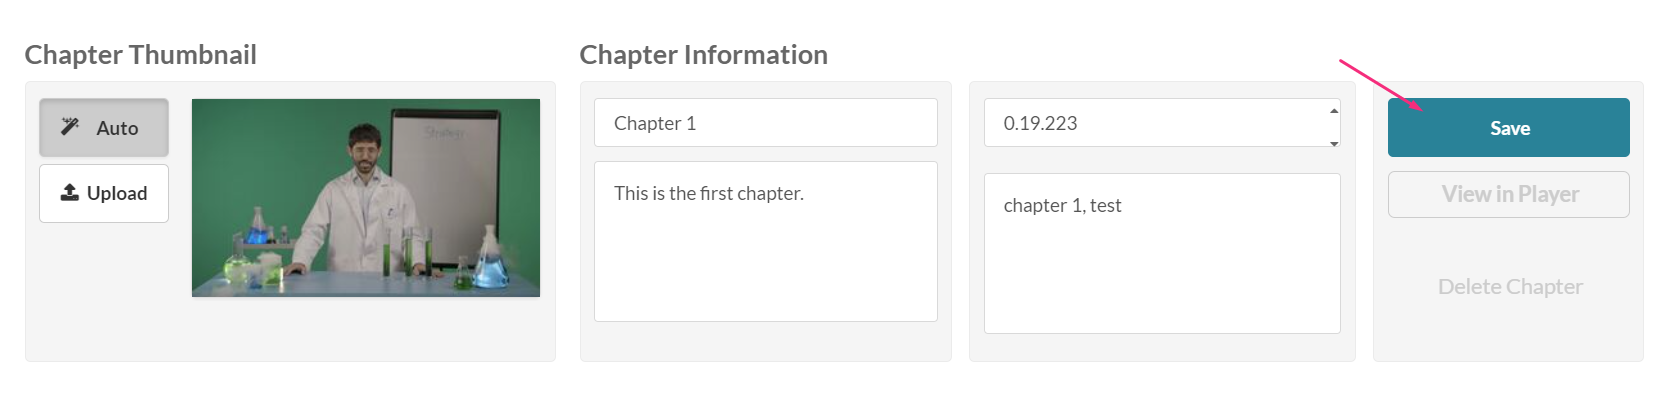
Chapter information
Enter name, description, and tags (optional). The exact time of the cue point is shown, and you can modify it if necessary.

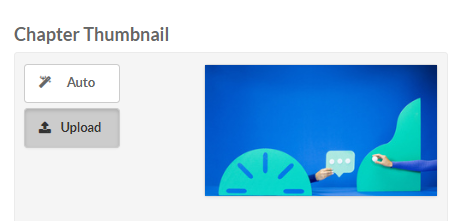
Thumbnail
A default thumbnail is set for the chapter, but you can change it using Auto or Upload.
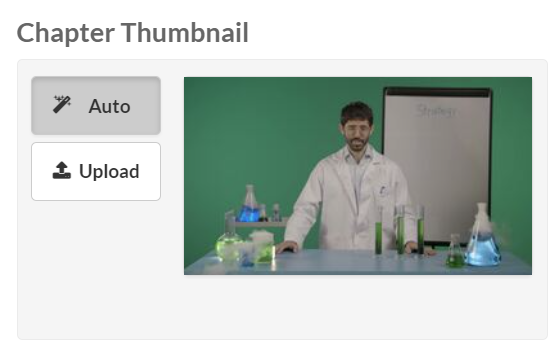
Auto
Pick a moment in the video for the thumbnail image and click Auto to create it automatically.

The thumbnail updates.
Upload
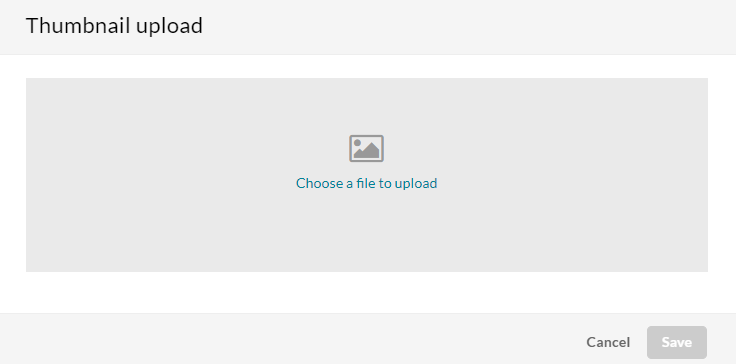
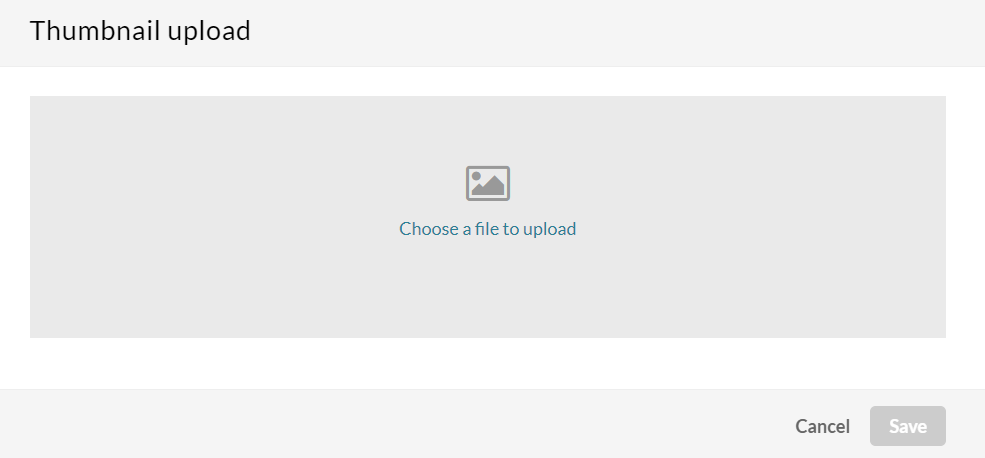
- Click Upload (or click on the thumbnail). The Thumbnail upload window displays.
- Choose a file to upload.
- Click Save.
The image displays as your new thumbnail for that chapter.
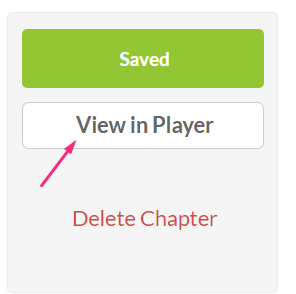
At any time, you can preview the chapters in the player by clicking View in Player.
- When you have finished configuring your first chapter, click Save.


To create another chapter, click the Create New Chapter icon and repeat the steps above.
Delete chapters
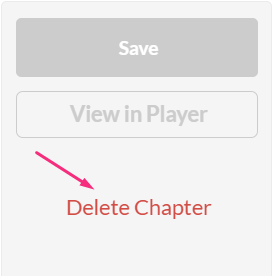
- Click on the cue point of the chapter you want to delete.
- Click Delete Chapter.
- Click Delete to confirm.

A confirmation message displays: 'Are you sure you want to delete this chapter?'
Click View in Player any time to see your changes.

Create slides
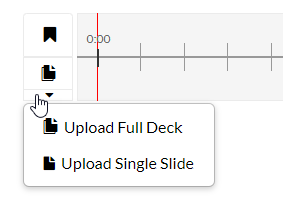
- Move the cue point to where you want to add the slide(s).
- Click the arrow below the slides icon and select Upload Full Deck to add a series of slides (the supported formats are PPT, PPTX, and PDF), or Upload Single Slide to upload one slide (image file types only are supported).
If the option to "Upload Full Deck" is not available, please contact your Kaltura administrator to have it enabled. For additional information see the Chapters module.
Upload full deck
- Click the upload icon.
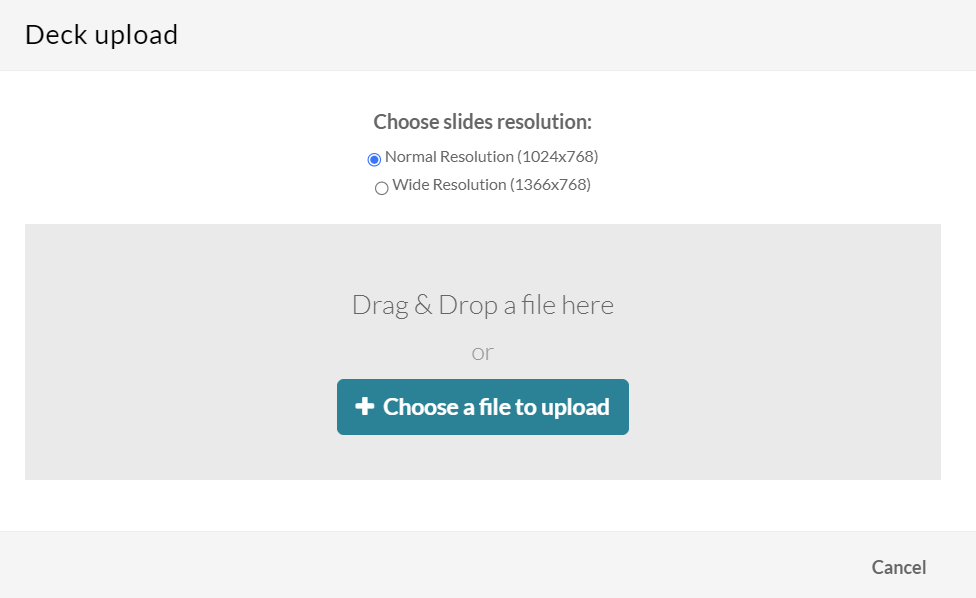
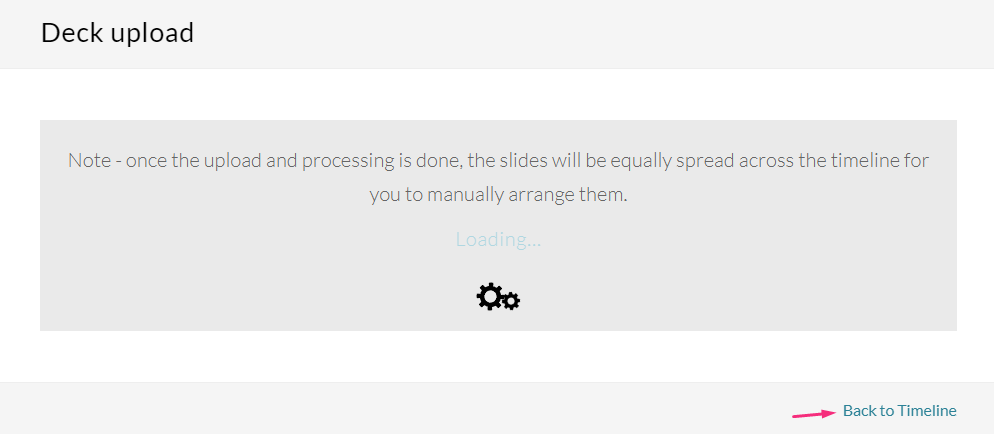
- Choose the resolution (default is Normal), then drag and drop the desired file or click +Choose a file to upload. You can return to the timeline while the upload is processing by clicking Back to Timeline.
- After the upload and processing have finished, the slides will be equally spread across the timeline and you can manually rearrange them.
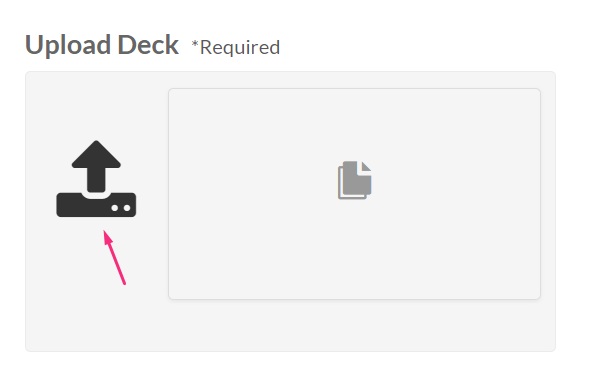
The Deck upload window displays
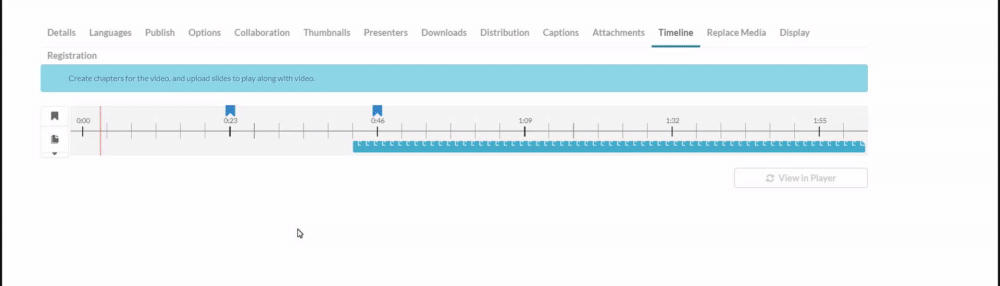
Arrange your slide deck
- Click and drag the slide to the desired position in the timeline.
- In the slide information section, enter a name, description and tags (optional) for the slide.
- Click Save. Repeat this process for each slide.

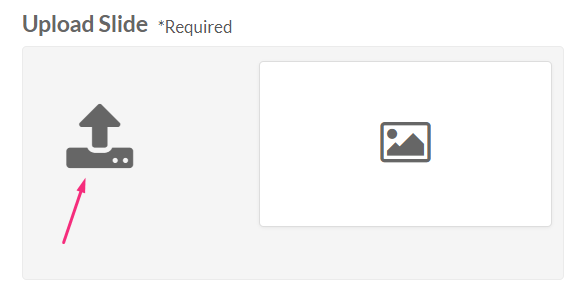
Upload single slide
- Click the upload icon.
- Choose a file to upload (image file only).
- Click Save.
- Enter name, description, and tags (optional). The exact time of the cue point is shown, and you can modify it if necessary.
- When you are happy with all your configurations, click Save.
The upload window displays.

Click View in Player any time to see your changes.
The slides appear on the player. To learn more about viewing slides on the player, check out our article Dual Screen.
Delete slides
- Click on the slide you want to delete.
- Click Delete Slide
- Click Delete to confirm.
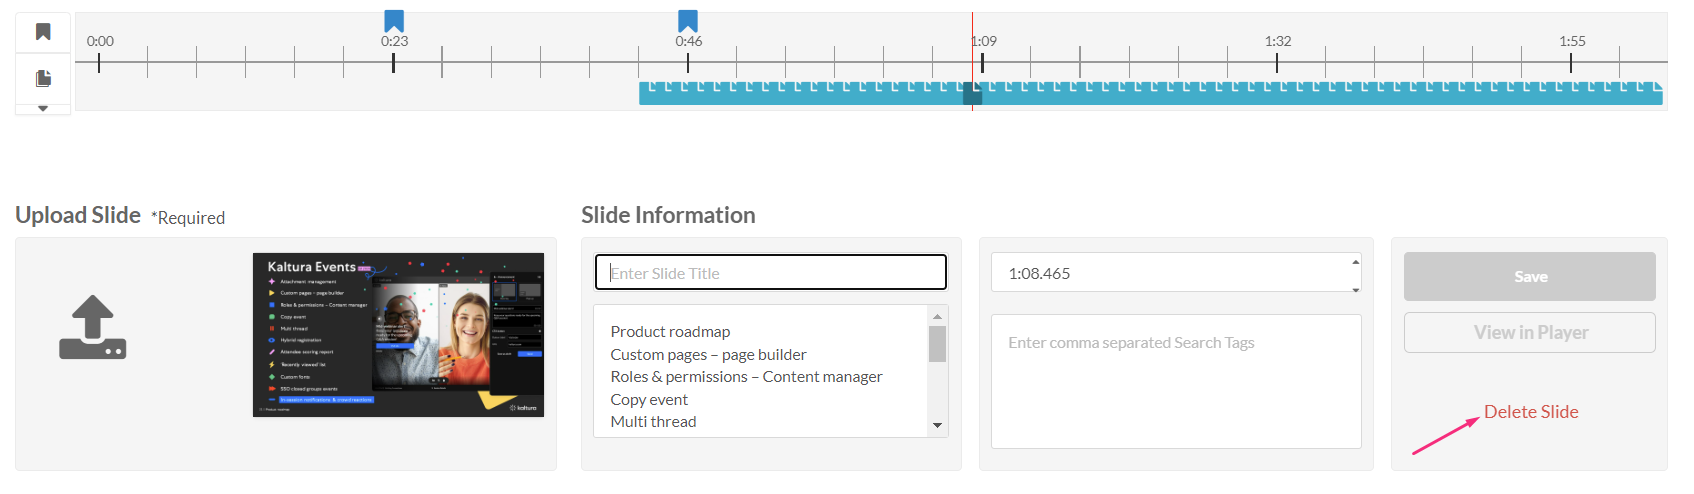
A confirmation message displays: 'Are you sure you want to delete this slide?'
You can only delete one slide at a time.
