About
Draft entries offer users the convenience of generating an entry without the immediate need to upload content such as videos, audios, or images.
During the creation process, users can specify the metadata of the entry, such as titles and descriptions. This is useful for creating entries in advance, or for collaborating with others on an entry.
Create a draft entry
- Select Draft Entry from the +Create menu.
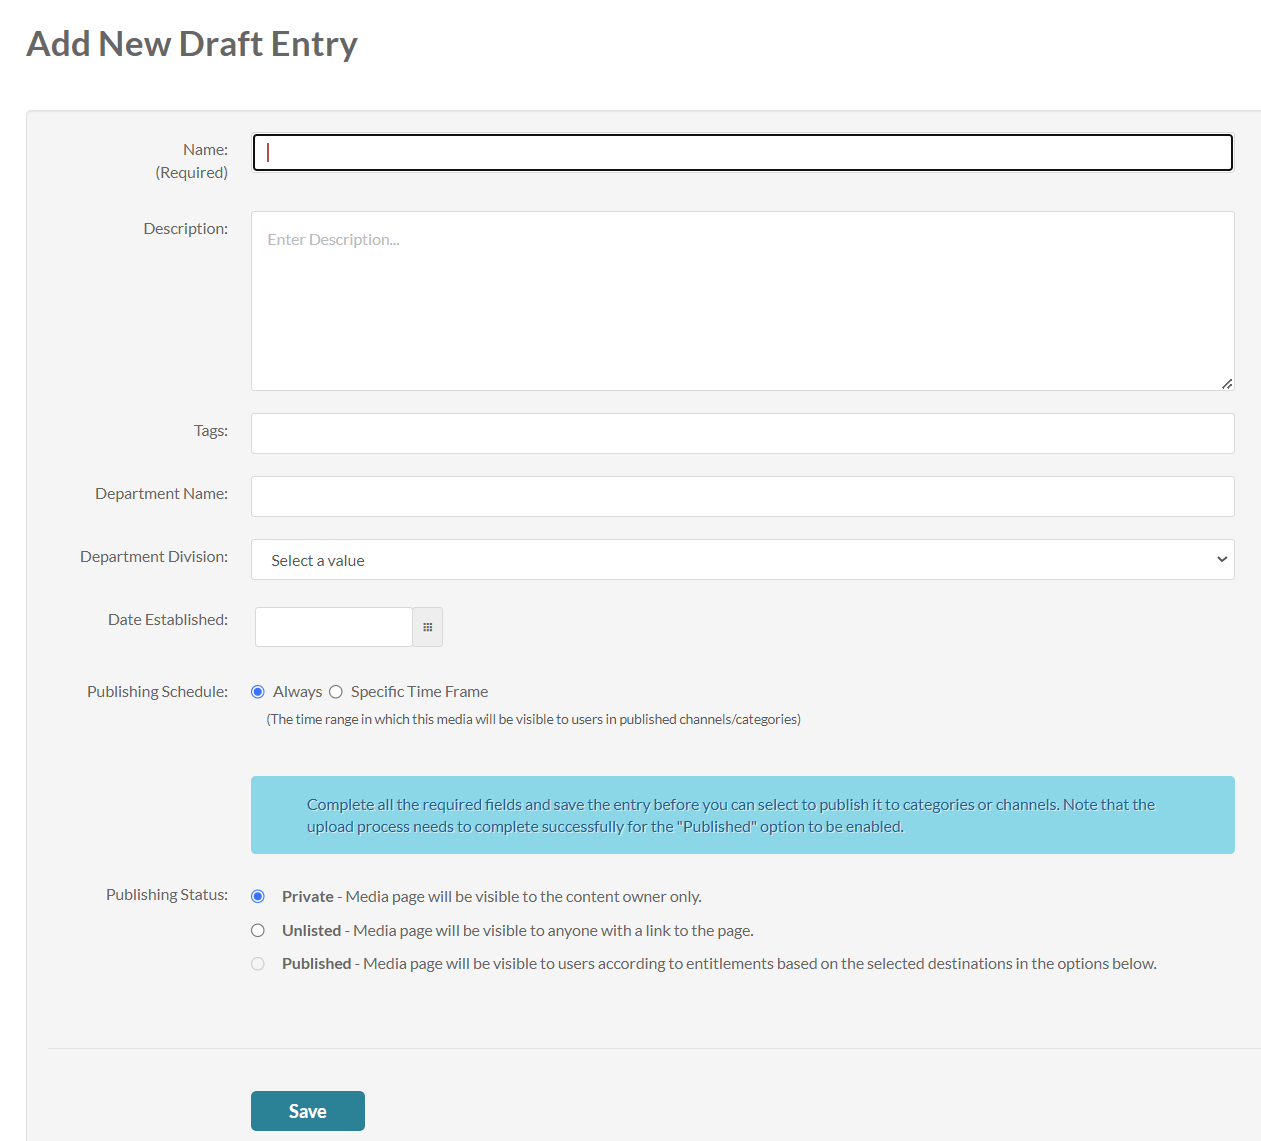
- Enter a name for the new entry (required).
- Type a description, tags, and any other custom metadata fields as configured for your instance.
- If desired, set the publishing status from the following options:
- Private (default) - Media page will be visible to the content owner only.
- Published - Media page will be visible to users according to entitlements based on the selected destinations in the options that display below, as demonstrated in the image:
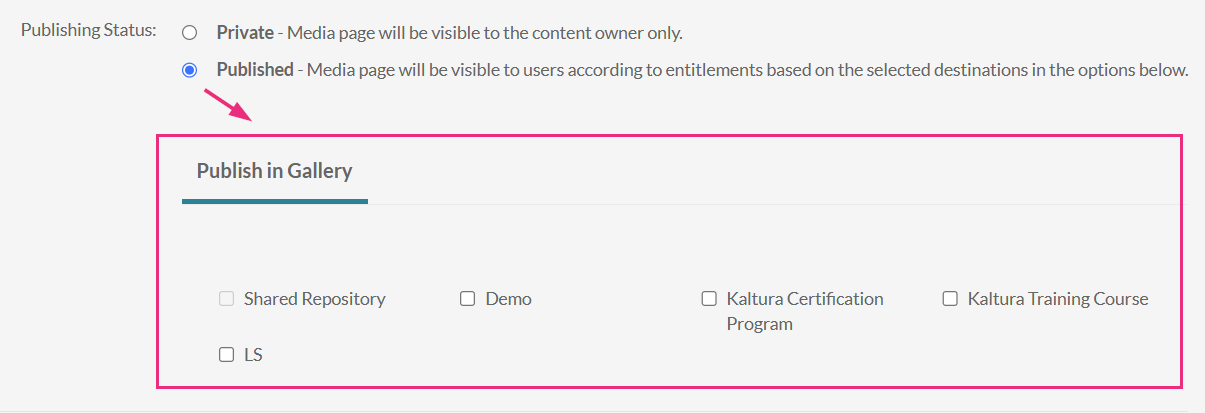
The Publish option is disabled until you click Save at the bottom of the page. Once saved, you can select Publish.
- Click Save.

The Add New Draft Entry page displays.

Until content is uploaded, the draft entry displays a generic thumbnail or banner.
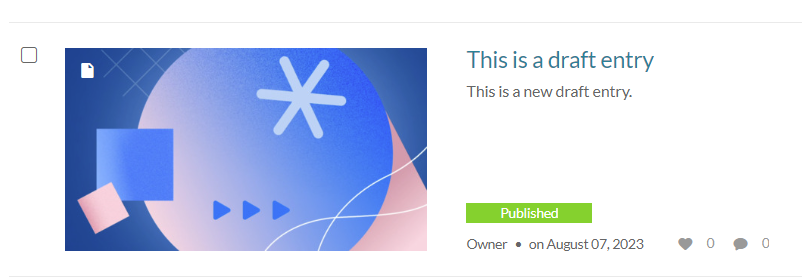 Draft entry thumbnail
Edit a draft entry
You have many editing options for draft entries, just like with regular entries. This gives you plenty of ways to customize your draft before adding content.
- To edit the draft entry, click the Actions menu and select Edit.
- Once you're in the Edit page, you can:

The Edit page displays.

- Edit media metadata
- Setup metadata in different languages for your media
- Publish
- Schedule media
- Enable clipping
- Disable comments and close discussion
- Change media owner and add collaborator
- Set and modify thumbnails
- Add attachments
