About
In the legacy Video Portal, administrators and gallery managers can create sub-galleries under existing parent galleries. Parent galleries must be created in the Rich Media Content Management System (Rich Media CMS).
Once parent galleries exist, you can create and manage sub-galleries directly in the legacy Video Portal.
Sub-galleries help you further organize content, assign permissions, and manage users within a gallery
To learn more about galleries, visit our article Introduction to galleries.
Create a sub-gallery
- On the top navigation bar, select the gallery you want to access.
- Click the edit icon (three bars) in the upper right corner and select +Add a Sub-Gallery from the menu.

The gallery page displays.

The Edit page displays.

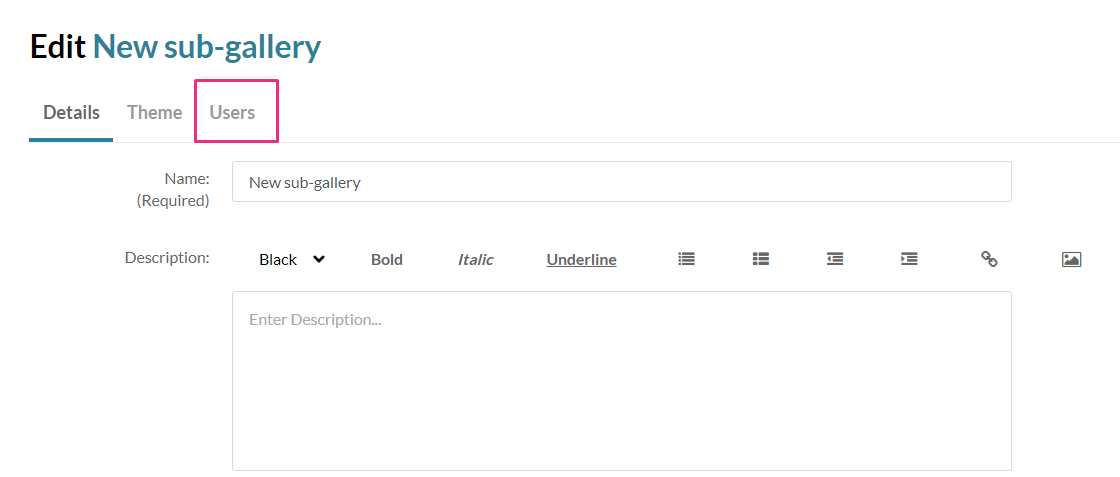
Complete the details
- Complete the following fields for your new sub-gallery:
Name – Enter the sub-gallery name which will display under the main (parent) gallery.
Description – Enter a summary of the sub-gallery content which will display on the sub-gallery page.
Tags – Enter a descriptive tag to use in searches.
Reference ID- (Optional) Enter an external identifier for supporting integrations with systems external to Kaltura. - Select the Privacy settings:
Open - Anyone can view content (including anonymous users) but only admin role users and category members can contribute content.
Restricted - All logged in users can view content but only Category members can contribute content.
Private - Only Category members can view and contribute content.
Note: Sub-categories under a private category will be visible only to members of those sub-categories. - (Optional) Select the Options settings:
Moderate content (Media will not appear in category until approved by category manager.)
Enable comments in category.
Keep comments private to category. - Click Save.


Your new sub-gallery appears under the main gallery, marked by an arrow in the navigation bar.

Add users
- Click the Users tab.
- Click the +Add Users button.
The Add Users screen displays. - Type in the user name.
- Select the permission type.
- Member
- Contributor
- Moderator
- Manager
- Click Add.

For guidance on permission types, visit our article Specific End-user Permissions.