About
This article explains how to configure the Zoom integration for Kaltura On-Prem using Server-to-Server OAuth.
Use this procedure for new integrations and when migrating from JWT to Server-to-Server OAuth.
Server-to-Server OAuth replaces the legacy JWT-based integration, which is no longer supported. Remove any existing JWT-based Zoom integration before proceeding.
Server requirements
Before configuring Zoom, make sure the following requirements are met:
- The following plugins are installed in the plugins.ini configuration file:
- ZoomDropFolder
- Zoom
- Vendor
- All relevant deployment scripts have been run
- In vendor.ini, the ZoomAccount section is empty (clientId, clientSecret, and verificationToken)
- Server code version:
- 18.18.1 and above (kaltura-onprem-base-18.18.0-5.noarch.rpm) or 19.16.0 and above to support Server to Server OAuth
- Ansible version v23.3.4 and above
Integration workflow
Account setup
To set up Zoom processing for a single partner ID (PID):
- Create a Zoom Server-to-Server OAuth app
- Set Zoom secrets in Ansible zoomintegration file
- Deploy vendor.ini using Ansible
- Create the Zoom vendor integration and drop folder
Create a Zoom server-to-server OAuth app
- Go to the Zoom Marketplace at https://marketplace.zoom.us and sign in as a Zoom administrator.
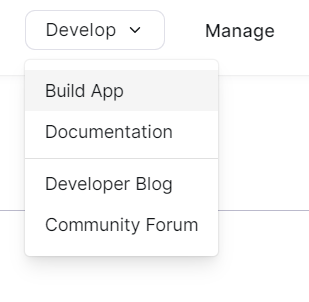
- From the Develop drop-down menu, select Build App.
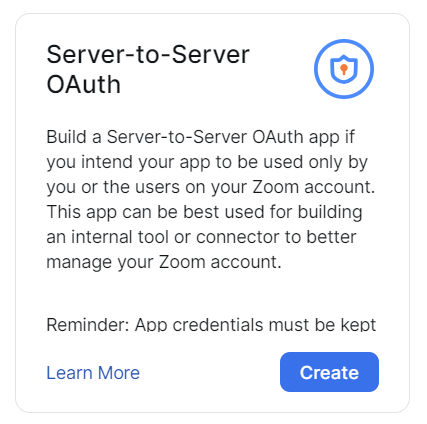
- Under Server-to-Server OAuth, click Create.
- Name the app Kaltura Server-to-Server OAuth.
From the App Credentials page, copy the following values (these are associated with a specific PID and are required later):
- Account ID (zoom_account_id)
- Client ID (zoom_client_id)
- Client Secret (zoom_client_secret)
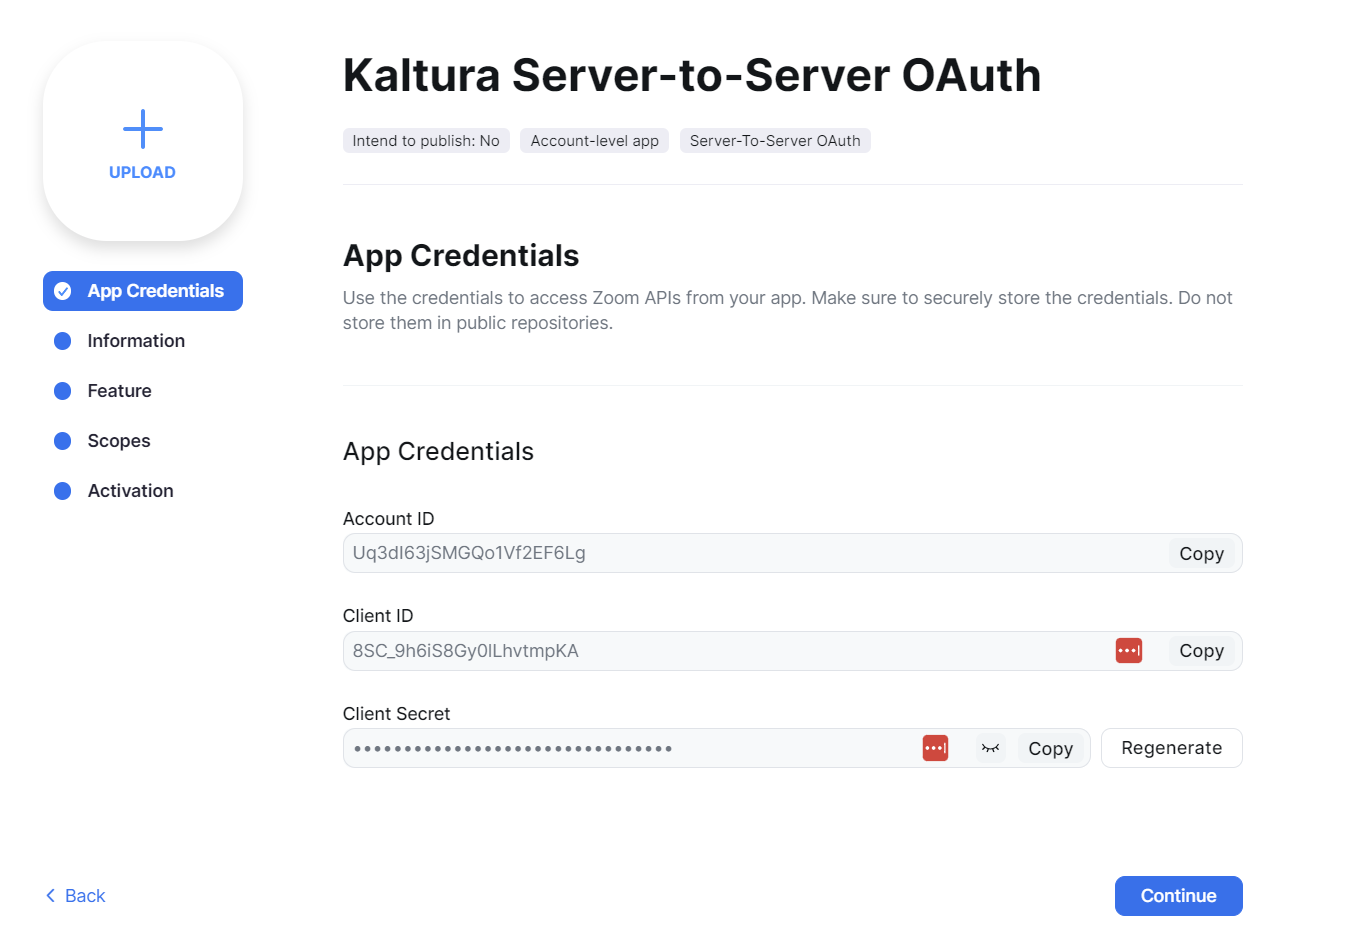
5. Click Continue.
6. Select the Information tab, and complete the following:
- Company name
- Developer name and email
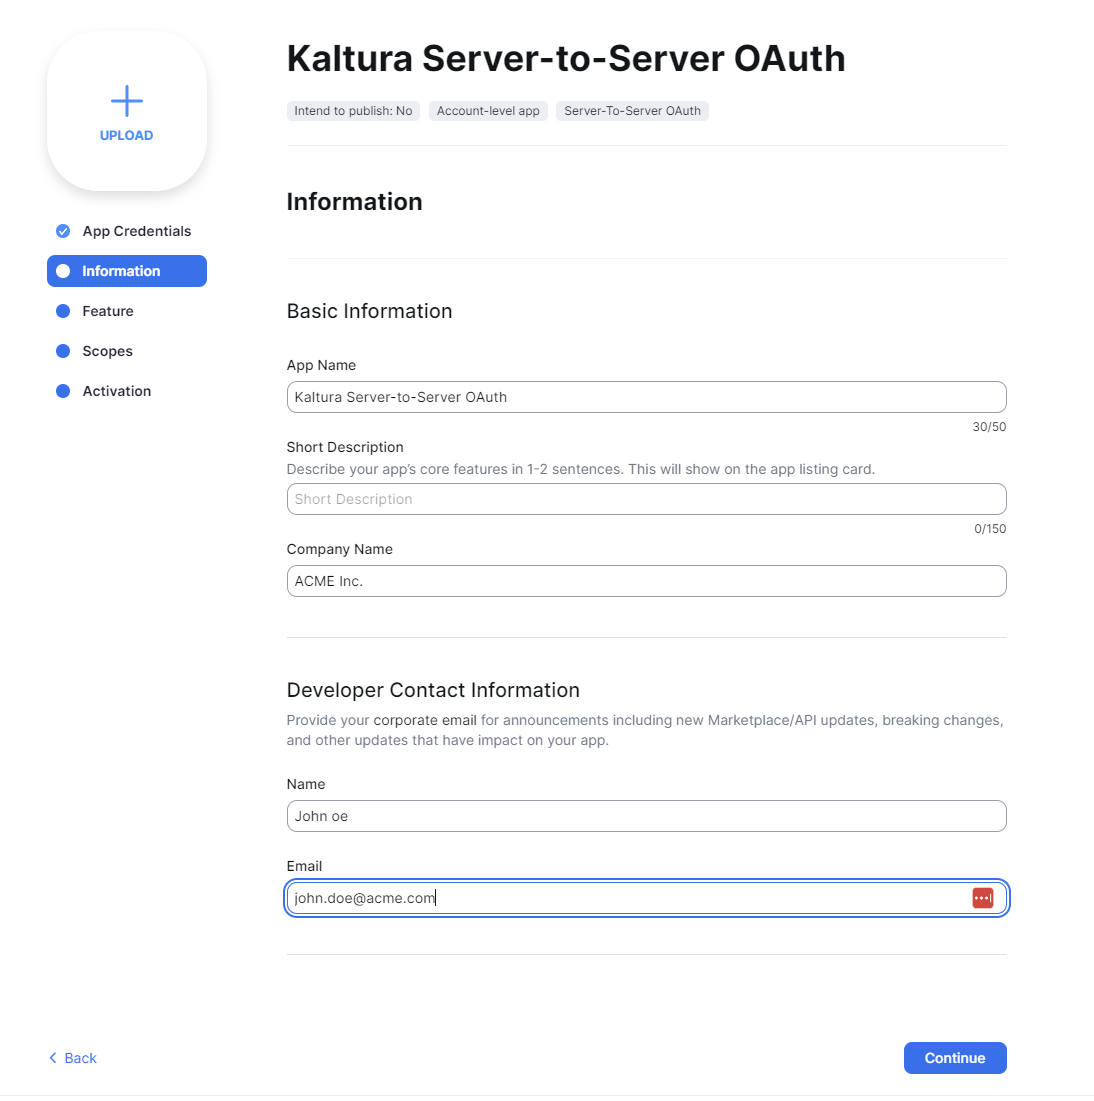
7. Click Continue.
8. Select the Feature tab, and copy the Secret Token (zoom_secret_token).
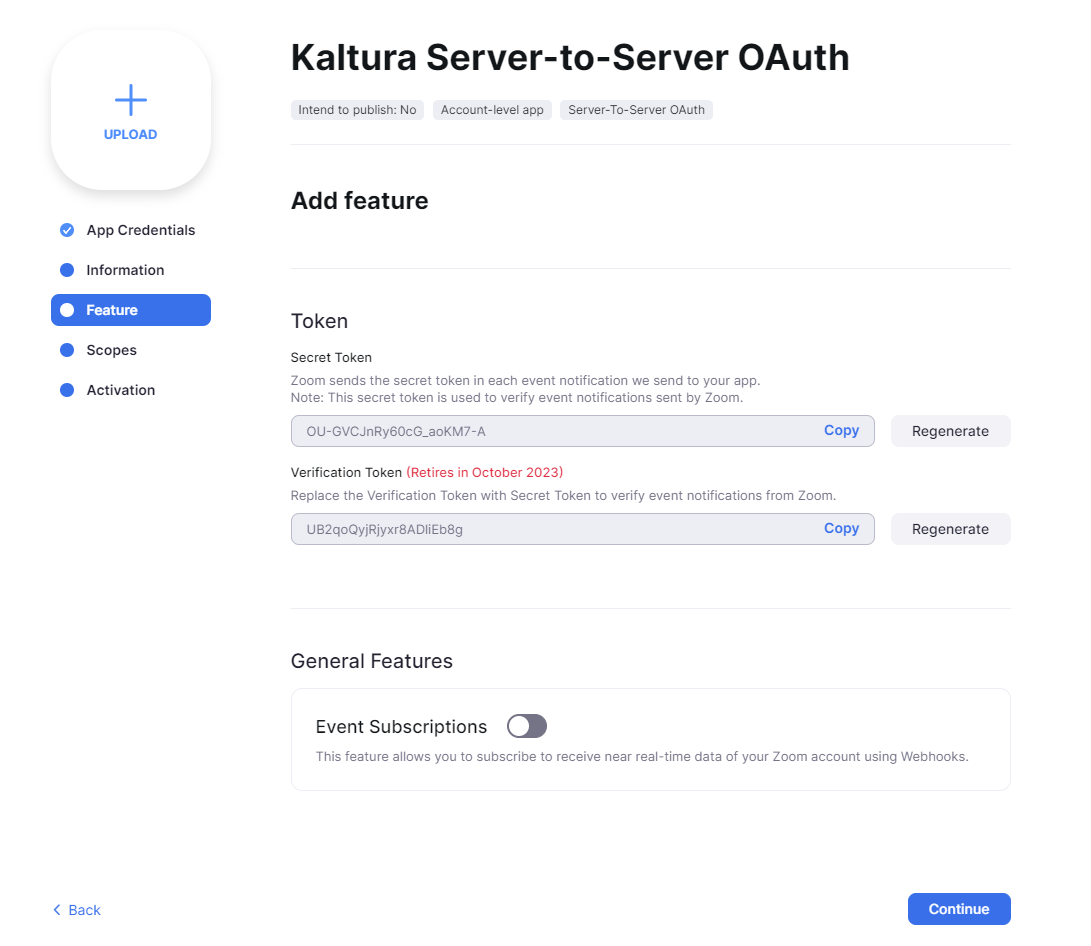
The Secret Token isn’t currently used by the integration, but it’s required for future event support.
9. Select the Scopes tab, and click +Add Scopes.
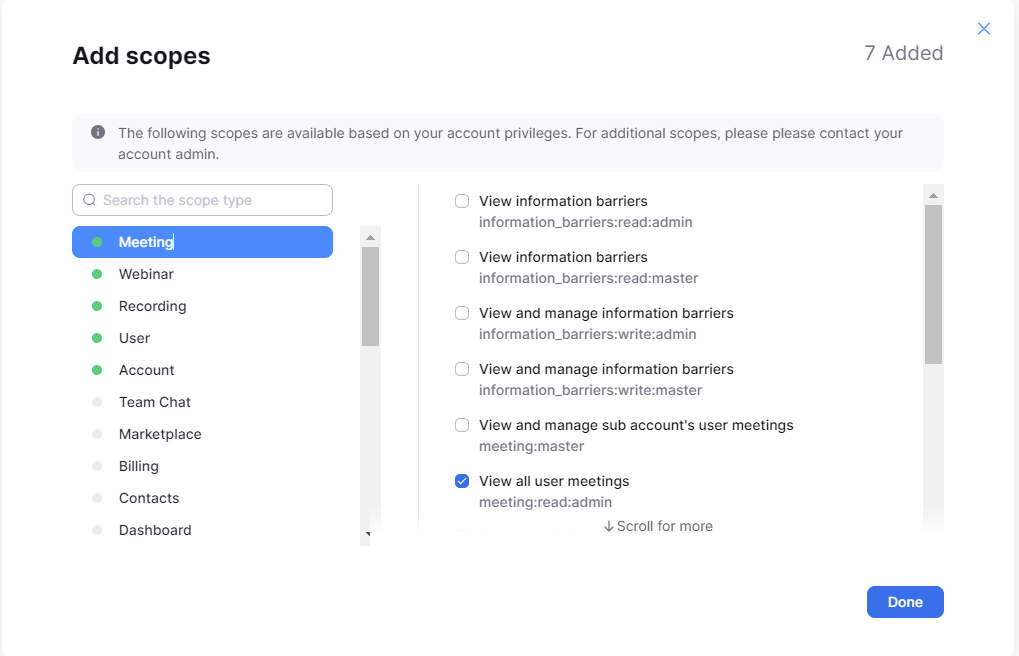
10. In the 'Add scopes' window, use the left-hand sidebar to select each Scope Type and then check the required scope:
Meeting: meeting:read:admin
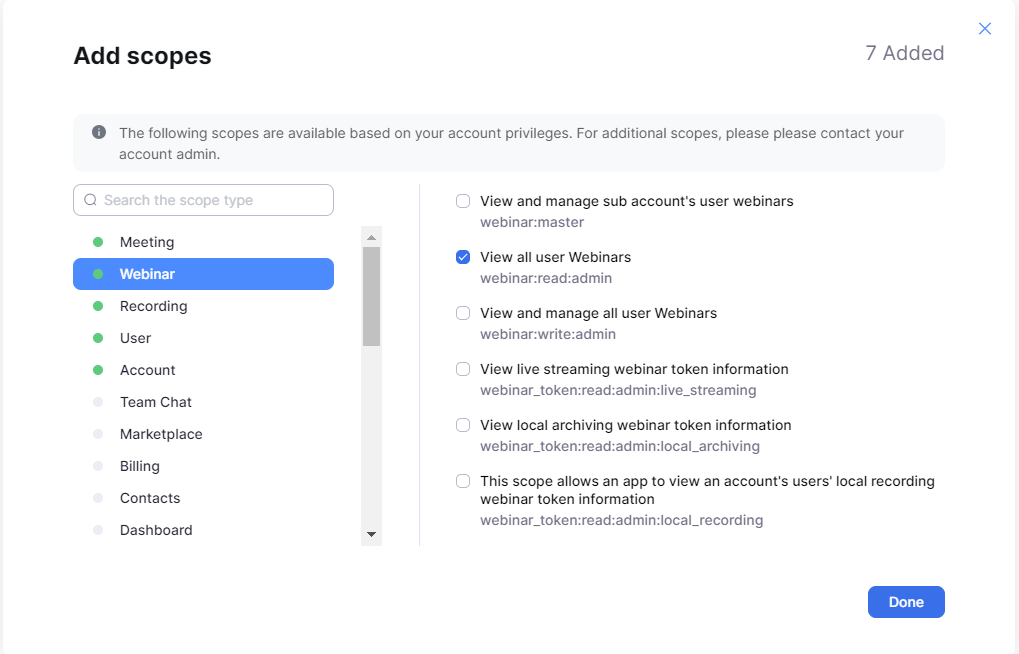
Webinar: webinar:read:admin
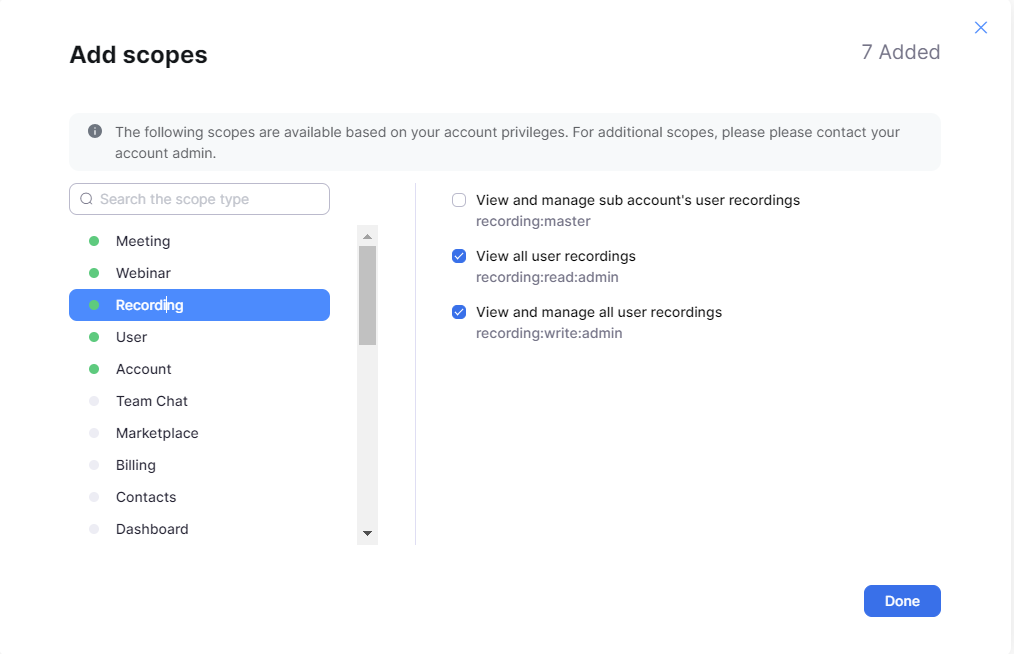
Recording: recording:read:admin, recording:write:admin
User: user:read:admin
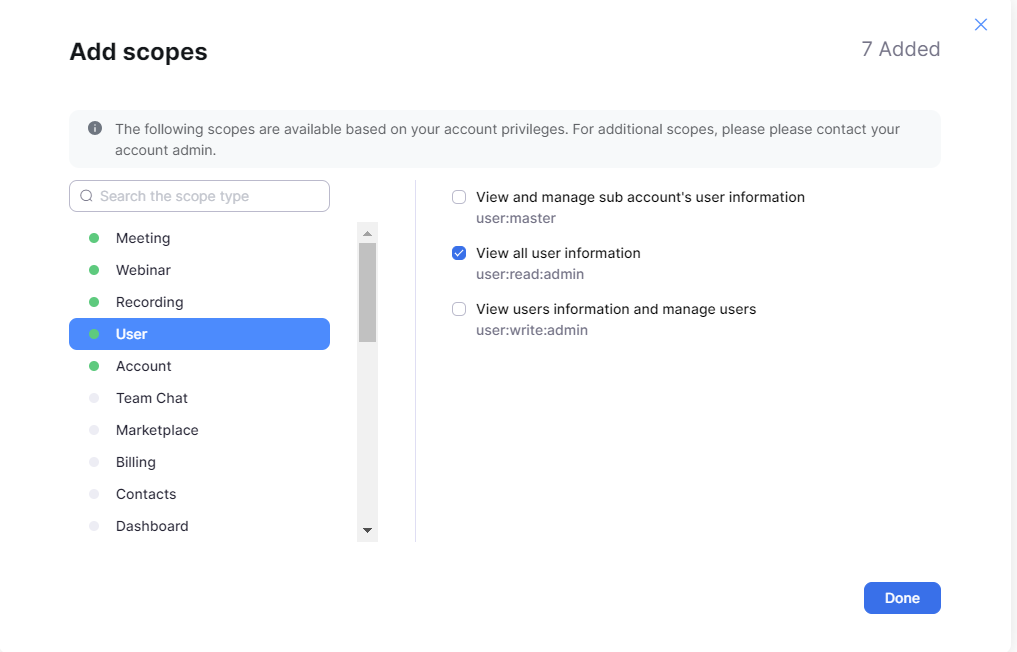
Account: account:read:admin
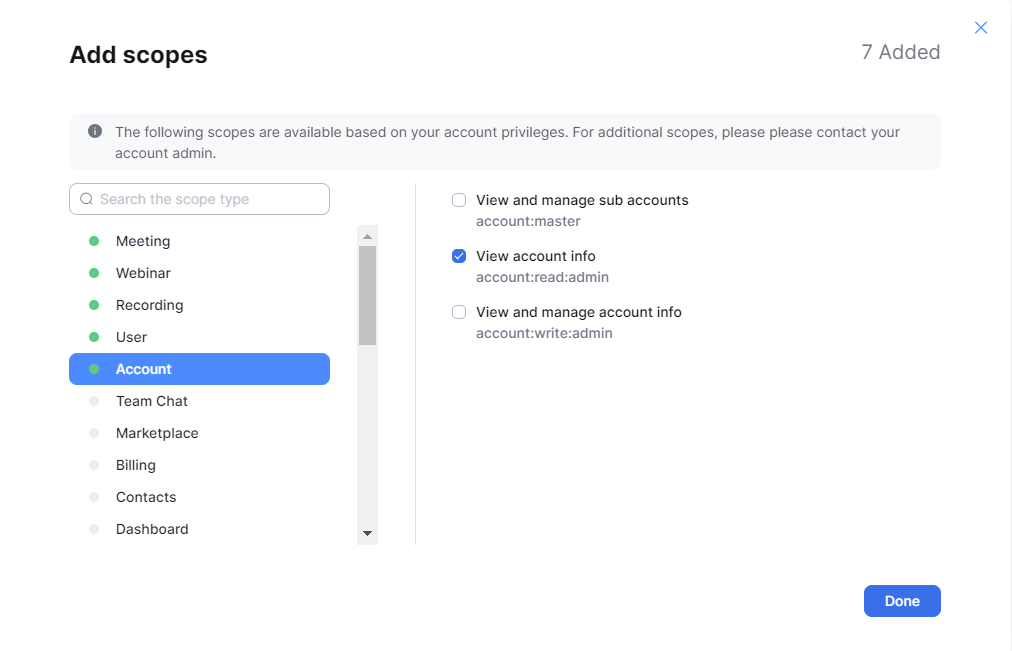
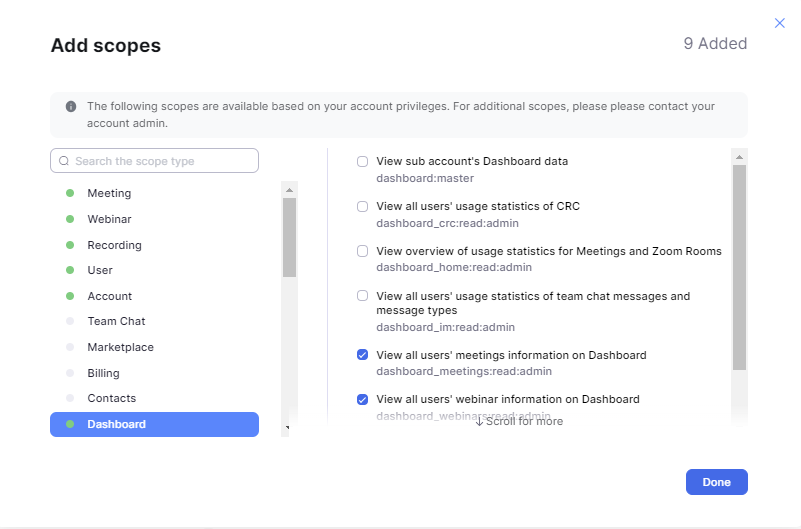
Dashboard: dashboard_meetings:read:admin, dashboard_webinars:read:admin
Report: report:read:admin
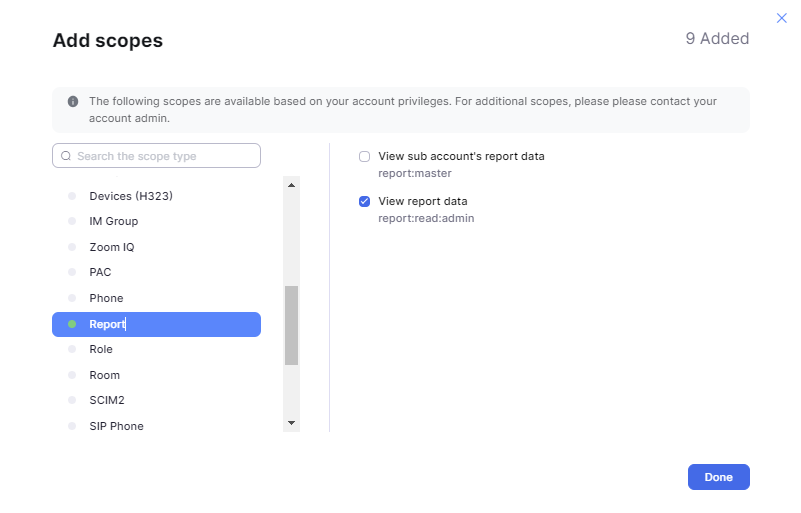
11. Click Done.
12. Confirm that the following nine scopes are listed in the app configuration, as shown below:
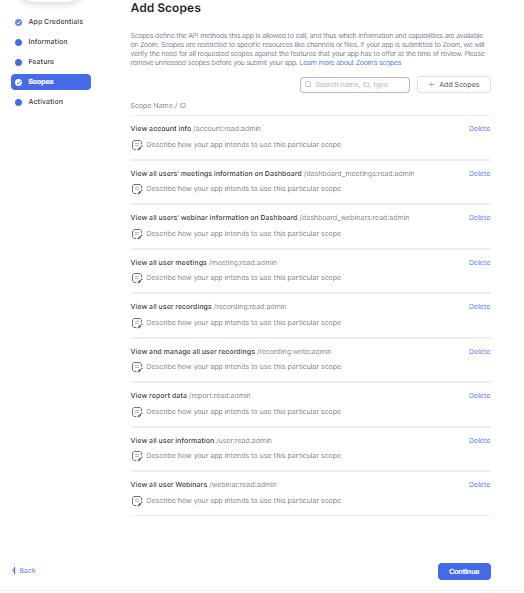
13. On the main Scopes page, click Continue.
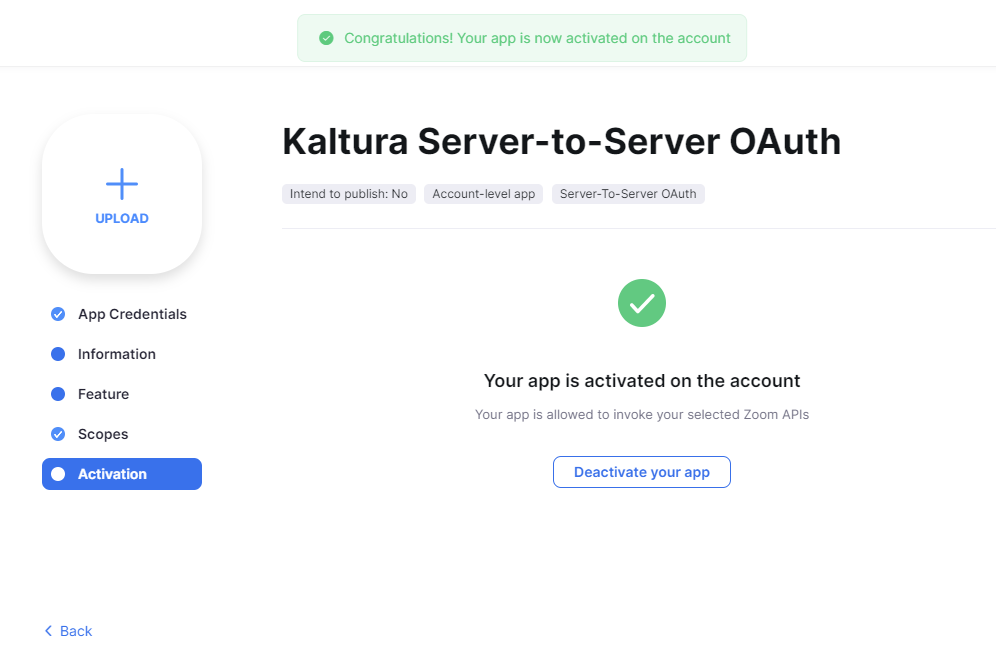
14. To activate the app, select the Activation tab from the left navigation, then click Activate your app.

A success message displays.
Set Zoom secrets in Ansible
- SSH to the server running Ansible.
- Open the Zoom integration file located under: environment/<env_name>/group_vars/all/
- Uncomment the zoom_server_to_server_applications section if needed.
- Set the partner_id to the PID that will use Zoom processing.
- Set the following values:
- zoom_account_id
- zoom_client_id
- zoom_client_secret
- zoom_secret_token
If multiple partners are required, duplicate the existing partner block under zoom_server_to_server_applications and update the values accordingly.
Deploy vendor.ini using Ansible
- SSH to the server running Ansible.
- Run the playbook in check mode to see the expected changes:
- Verify that only vendor.ini is affected.
- Run the playbook as a real run:
cd /etc/ansibleansible-playbook playbooks/00-Install_01-11.yml --tags inifiles --check
ansible-playbook playbooks/00-Install_01-11.yml --tags inifilesCreate the Zoom vendor integration and drop folder
- In Rich Media CMS for the relevant PID, go to Settings (gear icon) > Integration.
- Generate the Zoom integration code (KS) and copy it.
- In a text editor, copy and adjust the following URL:


https://{api hostname}/api_v3/service/vendor_zoomvendor/action/localRegistrationPage?zoomAccountId={accountID}&ks={ks}- change {api hostname} to your specific API hostname
- change {accountID} to the actual account ID you obtained from Zoom
- change {ks} to the Zoom Integration code (KS) obtained from Rich Media CMS
4. Open the URL in a new browser tab. The registration process creates the vendor integration and Zoom drop folder for the partner.
5. Configure the integration settings as needed, toggle on Enable Integration, and then click Submit.
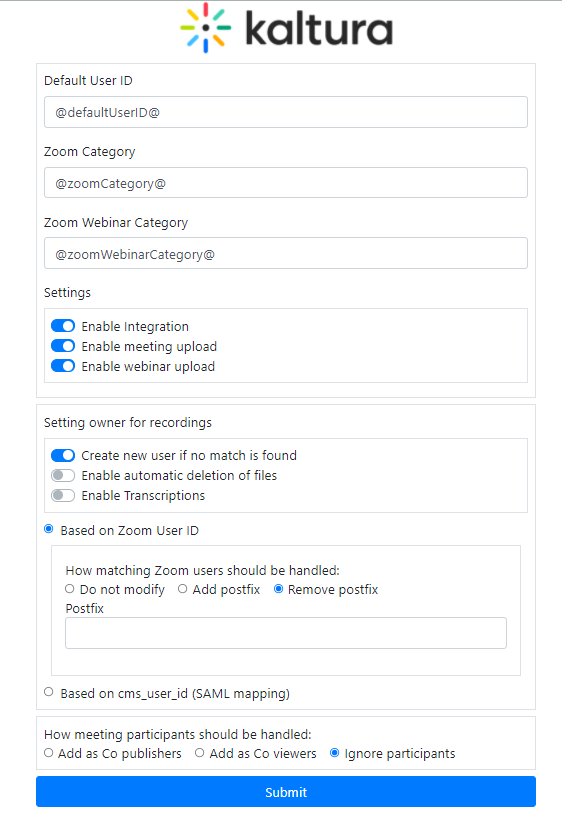
After submission, your configuration is saved on the vendor integration object, and a success message is displayed:

A Zoom drop folder is created automatically for the partner. Recordings from the Zoom account are uploaded into Kaltura.
